How To Repair Air Conditioner Compressor

Troubleshooting and Repairing Your Air Conditioner Compressor: A Homeowner's Guide
The air conditioner compressor is the heart of your cooling system. When it fails, your AC stops producing cold air. While some compressor issues require professional intervention, understanding the basics can empower you to troubleshoot common problems and potentially save on repair costs. This guide will walk you through the process, focusing on DIY-friendly tasks and highlighting when it's crucial to call a qualified HVAC technician.
Safety First!
Before attempting any repairs, remember that working with electrical components can be dangerous. Always disconnect the power supply to your AC unit at the breaker box. Confirm the power is off using a non-contact voltage tester. Wear safety glasses and gloves to protect yourself. If you are uncomfortable with any of these steps, contact a professional.
Tools and Materials You Might Need
- Screwdrivers (Phillips and flathead)
- Socket set
- Wrench set
- Multimeter
- Non-contact voltage tester
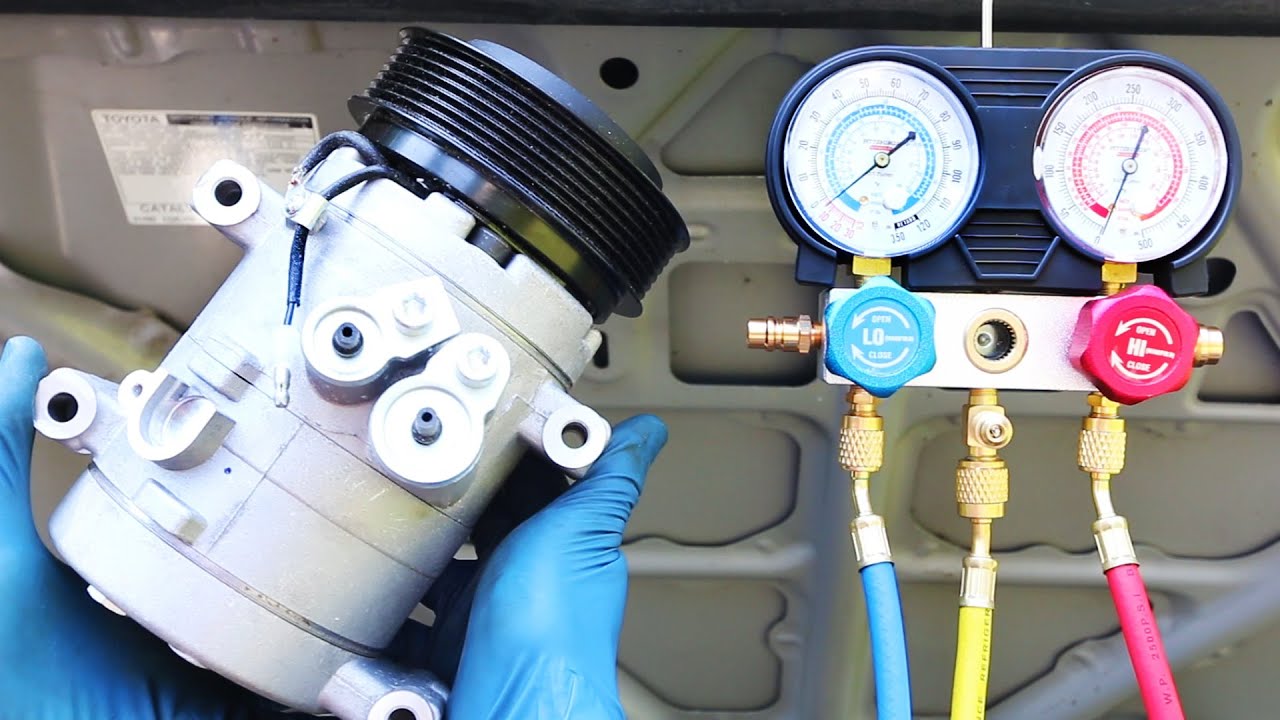
- Refrigerant gauges (manifold gauge set) - Use with extreme caution and proper training ONLY. Refrigerant handling is regulated.
- Capacitor tester (optional)
- Replacement capacitor (if needed)
- Wiring connectors
- Electrical tape
- Vacuum pump (if opening the refrigerant lines)
- Refrigerant (same type as your system uses) - Only for certified technicians.
- Leak detector (if opening the refrigerant lines) - Only for certified technicians.
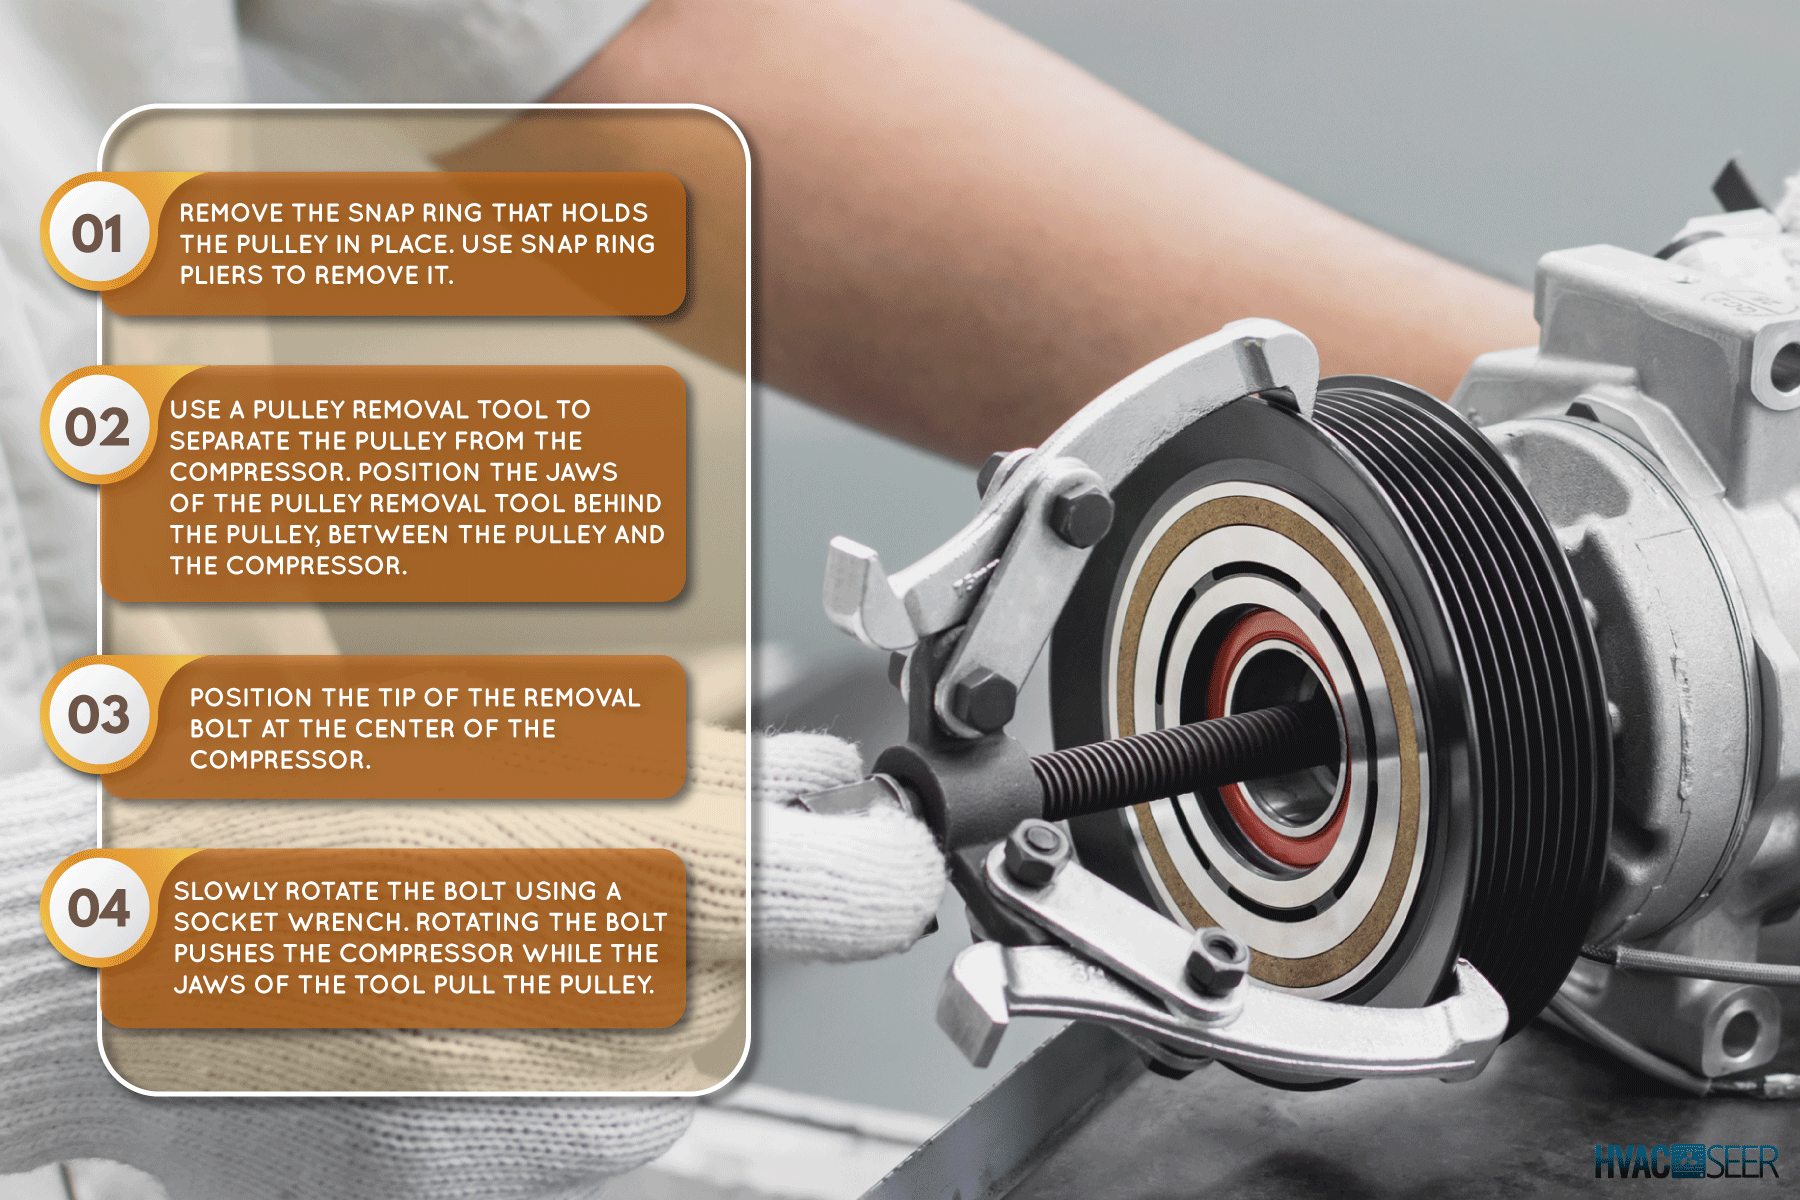
Common Air Conditioner Compressor Problems and How to Address Them
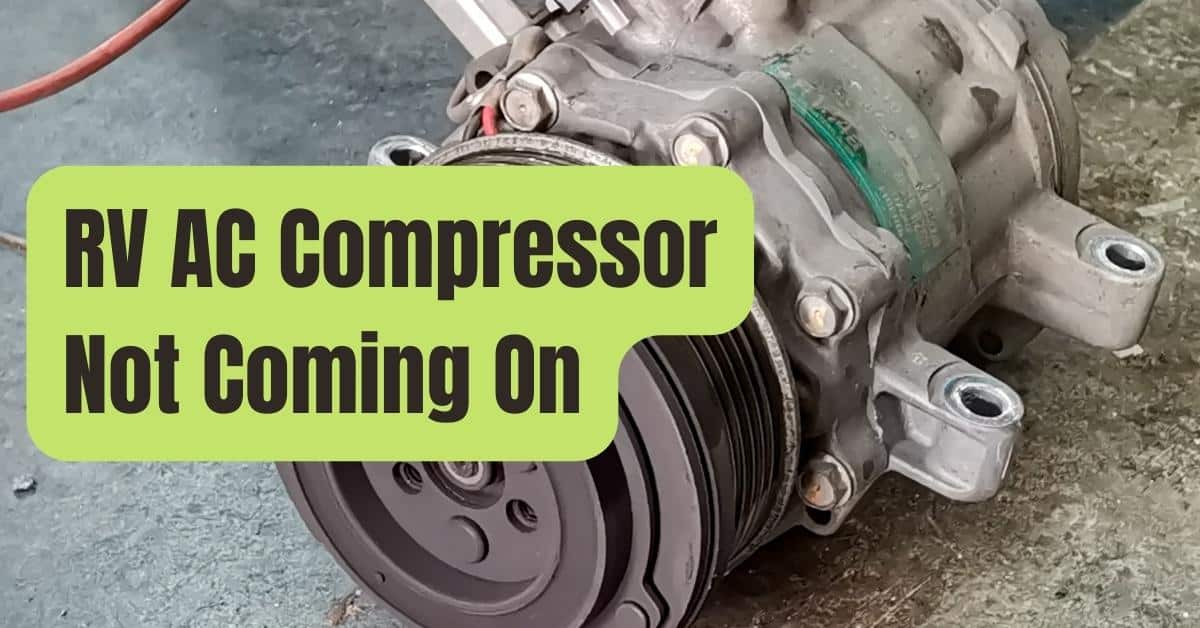
1. Compressor Not Turning On
If the compressor isn't starting, the issue could be electrical. Here's how to investigate:
- Check the Breaker: Make sure the breaker for the AC unit hasn't tripped. Reset it if necessary.
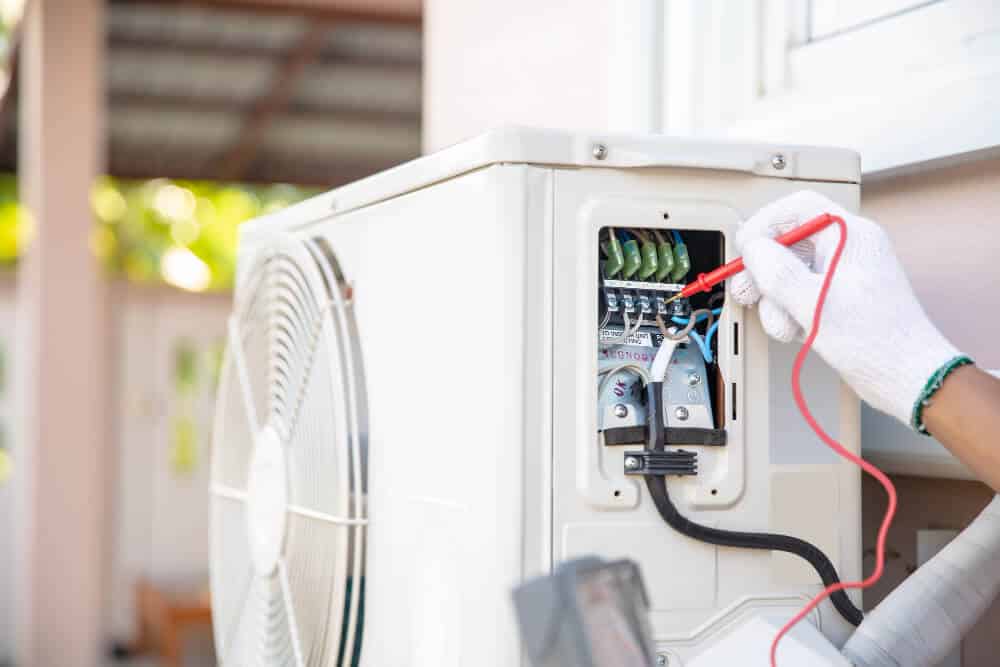
- Inspect the Contactor: The contactor is an electrical switch that supplies power to the compressor. Locate it within the outdoor unit. Use a non-contact voltage tester to ensure power is reaching the contactor. If it is, carefully (power off!) examine the contactor for burnt or corroded terminals. A faulty contactor often needs replacement.
- Examine the Capacitor: The capacitor provides the initial jolt of electricity needed to start the compressor motor. A failing capacitor is a common culprit.
- Visual Inspection: Look for signs of swelling, bulging, or leaking on the capacitor. These are clear indicators of failure.
- Testing with a Multimeter (or Capacitor Tester): Disconnect the power. Discharge the capacitor by carefully shorting the terminals with an insulated screwdriver. Use a multimeter set to capacitance mode (or a dedicated capacitor tester) to measure the capacitor's microfarad (µF) rating. Compare the reading to the value printed on the capacitor. If the reading is significantly lower (more than 10% off), the capacitor likely needs replacement.
- Replacing the Capacitor: Purchase a replacement capacitor with the exact same voltage and microfarad (µF) rating. Carefully disconnect the wires from the old capacitor, noting their positions. Connect the wires to the new capacitor in the same configuration.
- Wiring Issues: Inspect the wiring connections to the compressor and contactor. Look for loose wires, corrosion, or burnt insulation. Tighten or replace any damaged wires.
2. Compressor Overheating
An overheating compressor can indicate several underlying problems:
- Dirty Condenser Coils: The condenser coils release heat from the refrigerant. If they're covered in dirt, leaves, or debris, the compressor has to work harder, leading to overheating. Clean the coils thoroughly with a garden hose and a fin comb.
- Restricted Airflow: Ensure proper airflow around the outdoor unit. Trim back any shrubs or vegetation that are blocking the unit.
- Low Refrigerant Levels: Low refrigerant can cause the compressor to overheat. This requires a licensed HVAC technician. Do not attempt to add refrigerant yourself without proper training and EPA certification.
- Fan Motor Failure: The condenser fan blows air across the condenser coils to help dissipate heat. If the fan motor is failing, the compressor can overheat. Check the fan motor for proper operation. If it's not spinning freely or making unusual noises, it may need replacement.
3. Compressor Making Unusual Noises
Strange noises coming from the compressor often signal internal mechanical issues:
- Rattling or Banging: This could indicate loose components or internal damage to the compressor. This almost always requires professional replacement of the compressor.
- Buzzing: A buzzing sound might indicate an electrical issue or a stuck compressor motor. Check the capacitor and wiring connections. If the buzzing persists, it could indicate a more serious problem.
- Clicking: A rapid clicking sound might be the contactor attempting to engage the compressor. This could be due to a weak capacitor or a faulty contactor.
4. Compressor Short Cycling
Short cycling is when the compressor turns on and off frequently in short intervals. This can indicate:
- Oversized AC Unit: If your AC unit is too large for your home, it might cool the space too quickly and then shut off prematurely. This is a common problem that may require professional evaluation.
- Refrigerant Leaks: Leaks can cause the system to lose pressure, leading to short cycling. Refrigerant leaks require professional diagnosis and repair.
- Frozen Evaporator Coil: A frozen evaporator coil can restrict airflow and cause the compressor to shut down. Check your air filter and ensure proper airflow to the indoor unit.
When to Call a Professional HVAC Technician
While some compressor issues can be addressed with basic DIY skills, many require the expertise of a licensed HVAC technician. It's essential to know when to call for professional help to avoid further damage to your system and ensure your safety.
Call a professional if:
- You suspect a refrigerant leak. Refrigerant handling requires EPA certification.
- You are not comfortable working with electrical components.
- The compressor requires internal repairs or replacement.
- You lack the necessary tools or knowledge to diagnose the problem.
- You are unsure about any step in the repair process.
- You have opened the refrigerant lines. This requires evacuation and recharging the system.
Estimating Repair Costs
The cost of repairing or replacing an air conditioner compressor can vary depending on several factors, including:
- The type and size of the compressor.
- The complexity of the repair.
- The cost of labor in your area.
- The age and condition of your AC unit.
Here's a general estimate of potential costs:
- Capacitor Replacement: $50 - $200 (DIY or professional)
- Contactor Replacement: $100 - $300 (DIY or professional)
- Refrigerant Recharge: $200 - $600 (Professional only)
- Compressor Replacement: $800 - $2500 (Professional only)
- Complete AC System Replacement: $3000 - $8000+ (Professional only)
Note: These are just estimates. It's always best to get a quote from a qualified HVAC technician before proceeding with any repairs.
Preventative Maintenance: Avoiding Compressor Problems
Regular maintenance can help prevent compressor problems and extend the life of your AC system:
- Change your air filter regularly (every 1-3 months).
- Clean the condenser coils annually.
- Keep the area around the outdoor unit clear of debris.
- Schedule annual maintenance with a qualified HVAC technician.
By following these tips, you can keep your air conditioner running smoothly and efficiently, ensuring a comfortable home environment for years to come.
Disclaimer: This guide is for informational purposes only and should not be considered a substitute for professional advice. Always consult with a qualified HVAC technician for any repairs or maintenance on your air conditioning system.