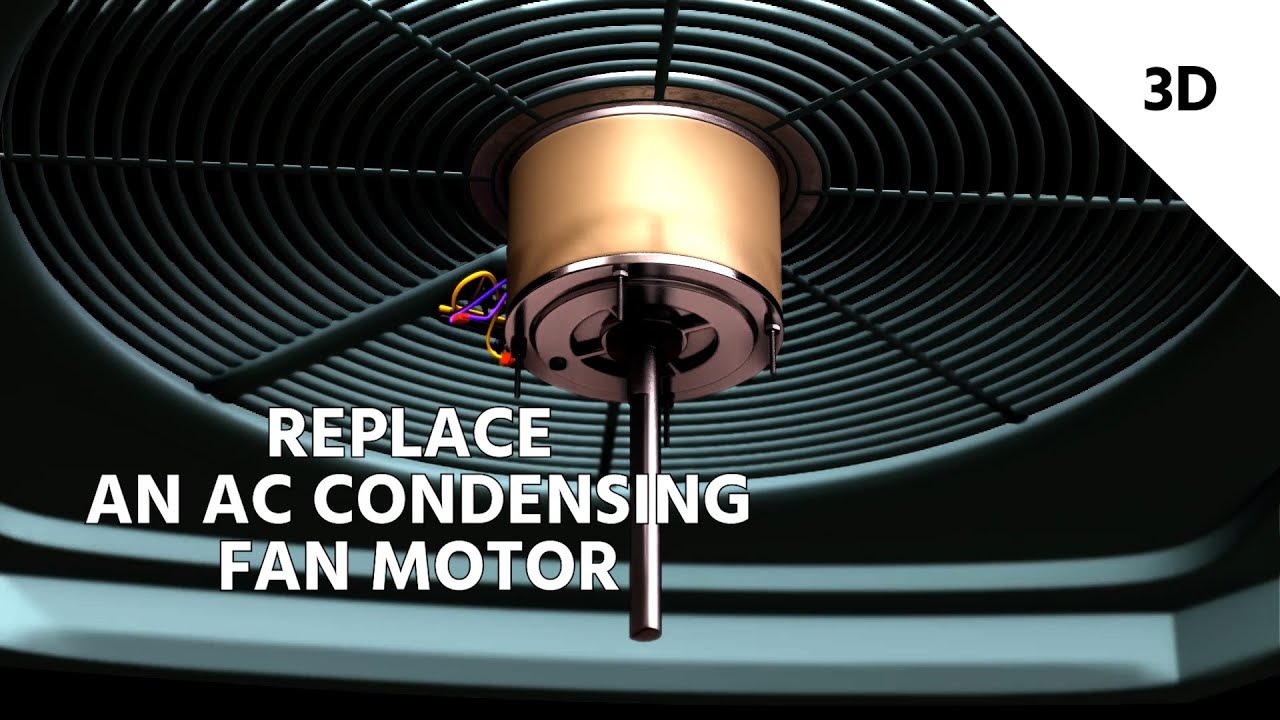
How To Replace A Fan Motor In An Air Conditioner

One of the most frustrating experiences for a homeowner, especially during the hottest days of summer, is a malfunctioning air conditioner. A common culprit behind a non-cooling or poorly cooling AC unit is a faulty fan motor. Whether it's the condenser fan (outside unit) or the blower fan (inside unit), a broken motor can significantly impact your AC's performance. This article will guide you through the diagnostic process and provide steps for safely replacing a fan motor. However, it's crucial to understand your limitations and when to call a professional. Safety is paramount, so always disconnect power before working on your AC unit.
Identifying the Problem: Is it Really the Fan Motor?
Before jumping to conclusions, let's properly diagnose the issue. A non-spinning fan doesn't automatically mean a dead motor. Other potential problems include:
- Tripped Breaker: This is the simplest fix. Check your circuit breaker panel and reset any tripped breakers.
- Loose Wiring: Wires can become loose over time, especially due to vibrations.
- Contactor Issues: The contactor is an electrical switch that controls power to the unit. Faulty contactors are often visibly burned or pitted.
- Capacitor Failure: Capacitors store energy to help start the motor. A failing capacitor is a common cause of motor problems.
- Obstructions: Debris like leaves, branches, or even ice (in colder climates) can block the fan blades.
Step 1: Preliminary Checks (Power Off!)
Always disconnect power to the AC unit at the breaker box before performing any inspection or repairs.
- Visually Inspect: Look for obvious signs of damage to the fan blades, motor housing, and wiring.
- Remove Obstructions: Clear any debris blocking the fan blades. Try spinning the fan blades by hand. If they spin freely, the motor isn't physically seized.
- Check Wiring Connections: Gently tug on the wires connected to the motor. If any are loose, reconnect them securely. Use wire connectors if needed.
Step 2: Testing the Capacitor
A faulty capacitor is a very common reason for a fan motor to fail. It's relatively easy and inexpensive to replace. Capacitors store a charge, even when disconnected from power. You must discharge the capacitor before handling it to avoid electric shock.
- Discharge the Capacitor: Use a screwdriver with an insulated handle to short across the capacitor terminals. Touch the screwdriver blade to both terminals simultaneously. This will discharge any stored electricity. Do this carefully and avoid touching any metal parts of the screwdriver.
- Visual Inspection: Look for signs of bulging, leaking, or corrosion on the capacitor. These are clear indicators of failure.
- Testing with a Multimeter (Optional): If you have a multimeter with capacitance testing capabilities, you can measure the capacitor's capacitance. Compare the reading to the microfarad (µF) rating printed on the capacitor. A significant deviation indicates a faulty capacitor.
Replacing the Capacitor:
- Purchase a Replacement: Buy a capacitor with the exact same microfarad (µF) rating and voltage rating as the original.
- Note Wiring: Carefully note the location and color of each wire connected to the old capacitor. Take a picture if needed.
- Disconnect and Replace: Disconnect the wires from the old capacitor and connect them to the new capacitor in the same positions.
- Secure the Capacitor: Ensure the capacitor is securely mounted in its bracket.
After replacing the capacitor, restore power to the AC unit and see if the fan motor starts. If it does, you've successfully resolved the issue.
Replacing the Fan Motor: A Step-by-Step Guide
If replacing the capacitor doesn't solve the problem, the fan motor itself may be faulty. Here's how to replace it:
Step 1: Gather Your Tools and Supplies
You'll need the following:
- New fan motor (ensure it's the correct replacement for your AC unit)
- Screwdrivers (various sizes)
- Wrenches (various sizes)
- Wire strippers
- Wire connectors
- Multimeter (optional, for testing voltage)
- Gloves
- Safety glasses
- Voltage tester
Step 2: Disconnect Power (Double Check!)
Verify that the power to the AC unit is completely disconnected at the breaker box. Use a voltage tester to confirm that no voltage is present at the motor terminals.
Step 3: Access the Fan Motor
The access procedure varies depending on whether you're dealing with the condenser fan motor (outside unit) or the blower fan motor (inside unit). Here's a general guide:
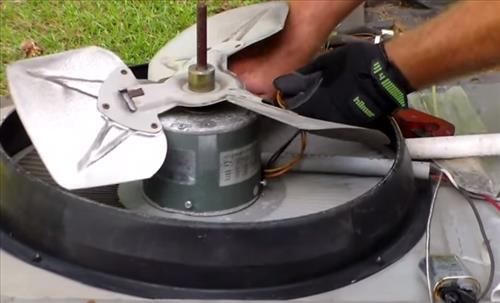
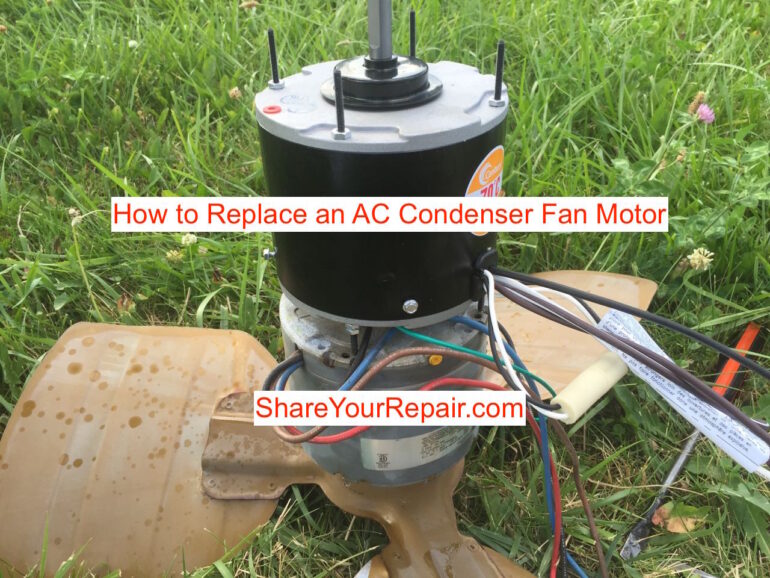
Condenser Fan Motor:
- Remove the Fan Grill: Usually held in place by screws.
- Disconnect Wiring: Carefully disconnect the wires connected to the motor. Note their positions or take a picture for reference.
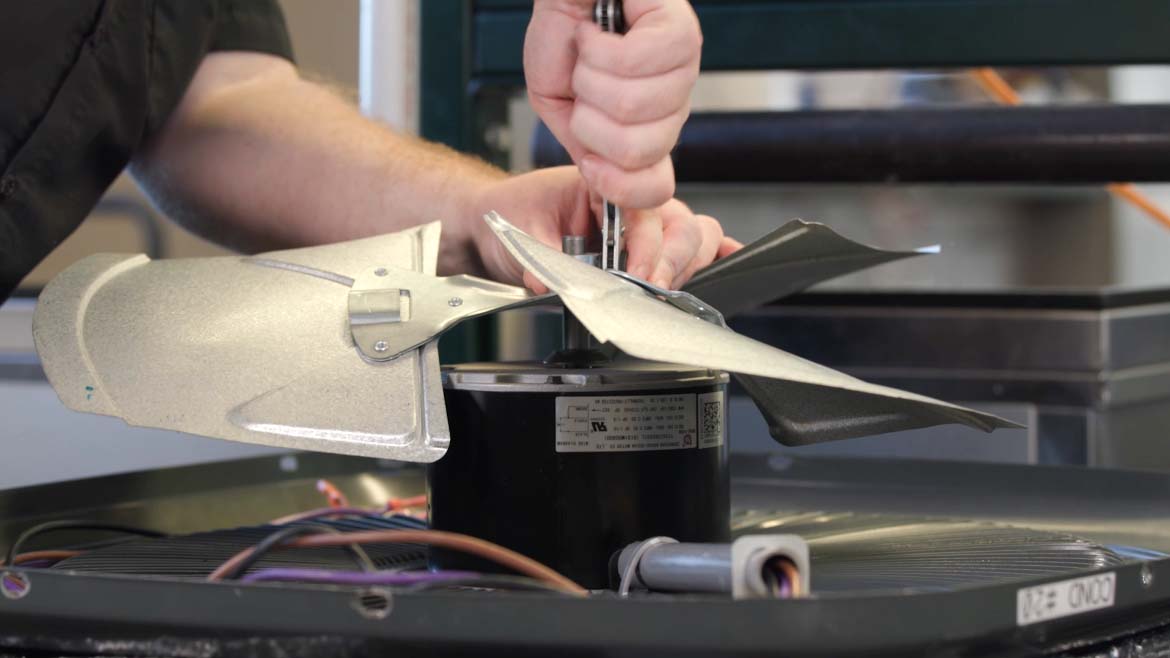
- Remove the Fan Blade: This is usually attached to the motor shaft with a set screw. Loosen the set screw and carefully pull the fan blade off the shaft. Note the orientation of the fan blade.
- Remove the Motor Mounting Hardware: The motor is typically mounted to the unit with screws or bolts. Remove these to detach the motor.
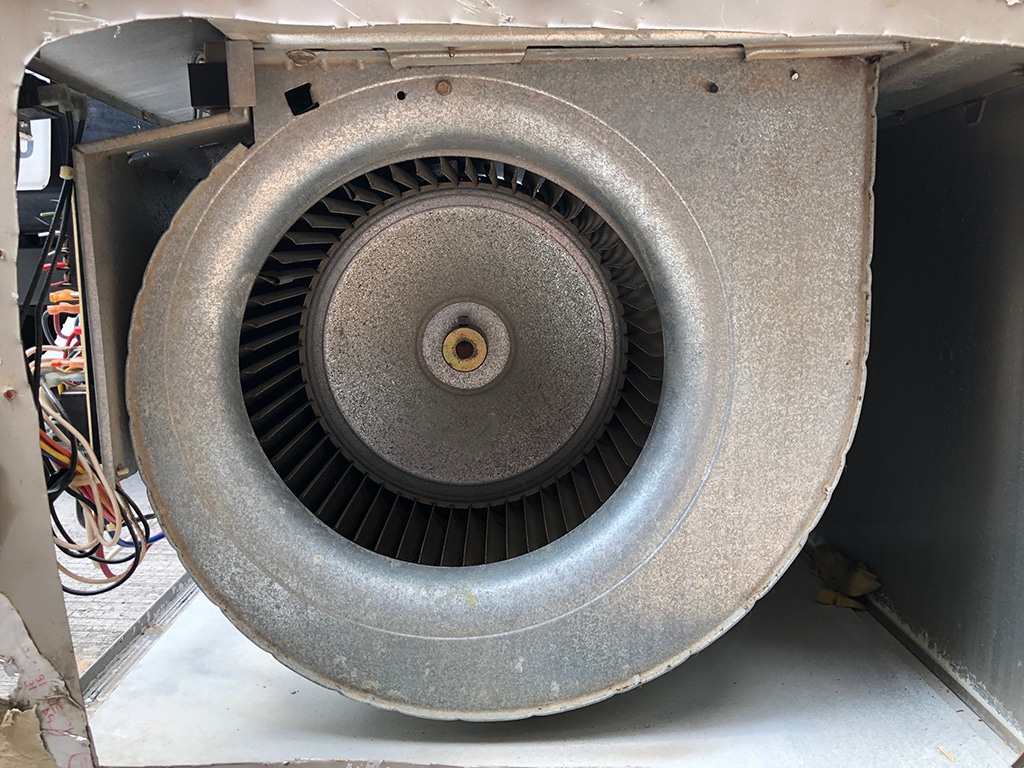
Blower Fan Motor:
- Access the Blower Compartment: This is usually located inside the air handler unit. You may need to remove an access panel.
- Disconnect Wiring: Carefully disconnect the wires connected to the motor. Note their positions or take a picture for reference.
- Remove the Blower Wheel: This is attached to the motor shaft. It may be held in place with a set screw or a retaining clip. Loosen the set screw or remove the clip and carefully pull the blower wheel off the shaft.
- Remove the Motor Mounting Hardware: The motor is typically mounted to a bracket with screws or bolts. Remove these to detach the motor.
Step 4: Install the New Fan Motor
Reverse the removal process to install the new motor:
- Mount the New Motor: Secure the new motor to the mounting bracket or unit using the screws or bolts you removed earlier.
- Reconnect the Wiring: Connect the wires to the new motor, matching the original wiring configuration. Use wire connectors to ensure secure connections. Double check your picture or notes.
- Reinstall the Fan Blade or Blower Wheel: Slide the fan blade or blower wheel onto the motor shaft and tighten the set screw or secure the retaining clip. Ensure the fan blade is oriented correctly.
- Reinstall the Fan Grill or Access Panel: Reattach the fan grill (condenser unit) or access panel (blower unit).
Step 5: Test the New Motor
- Restore Power: Turn the breaker back on to restore power to the AC unit.
- Observe Operation: Observe the fan motor as it starts up. Make sure it spins smoothly and quietly.
- Monitor Cooling Performance: Check the temperature of the air coming from your vents to ensure the AC is cooling properly.
When to Call a Professional
While this guide provides a comprehensive overview of replacing a fan motor, there are situations where professional help is necessary:
- You're Uncomfortable Working with Electricity: Working with electricity can be dangerous. If you're not comfortable, don't risk it.
- You Can't Identify the Problem: If you've followed the troubleshooting steps and still can't determine the cause of the problem, a professional can diagnose the issue accurately.
- The Wiring is Complex: If the wiring is complex or you're unsure how to reconnect it properly, a professional can ensure the connections are safe and correct.
- The Motor is Difficult to Access: If the motor is in a hard-to-reach location or requires specialized tools to remove, it's best to leave it to a professional.
- You Suspect Refrigerant Leaks: If you suspect a refrigerant leak, do not attempt to repair it yourself. Refrigerant handling requires specialized equipment and training.
- The AC Unit is Under Warranty: Replacing parts yourself may void the warranty. Contact the manufacturer or a qualified technician for warranty repairs.
- HVAC systems using R-22 refrigerant: R-22 refrigerant is being phased out, finding replacement parts can be difficult and professionals can offer better solutions.
Safety First! Remember, safety should always be your top priority. If you're unsure about any step in the process, err on the side of caution and call a qualified HVAC technician. A professional can diagnose the problem accurately, perform the repairs safely, and ensure your AC unit is running efficiently.
Disclaimer: This article provides general guidance only. Always consult with a qualified professional for specific advice related to your situation. The author and publisher are not responsible for any damages or injuries resulting from the use of this information.