How To Replace A Wall Heater Thermostat

Replacing a wall heater thermostat is a relatively straightforward project that can unlock significant energy savings, improve comfort, and even integrate your heating system into a smart home ecosystem. This guide provides a step-by-step approach, focusing on efficiency, safety, and ROI.
Understanding Your Wall Heater and Thermostat
Before diving in, it's crucial to understand the type of wall heater you have. Common types include electric resistance heaters, radiant heaters, and hydronic (hot water) heaters. Identifying the type will help you choose the correct replacement thermostat.
The thermostat controls the heater's operation by sensing the room temperature and switching the heater on or off accordingly. Older thermostats often use bimetallic strips or mercury switches, which are less accurate and responsive than modern electronic thermostats. Replacing these with newer models can lead to better temperature regulation and reduced energy waste.
Key Considerations Before You Start:
- Safety First: Always turn off the power to the heater at the circuit breaker before working on the thermostat. Double-check with a non-contact voltage tester to ensure the power is off.
- Compatibility: Ensure the new thermostat is compatible with your wall heater's voltage (typically 120V or 240V) and amperage. Using an incompatible thermostat can damage the heater or create a fire hazard.
- Wiring: Carefully note the existing wiring configuration before disconnecting anything. Taking photos or drawing a diagram can be extremely helpful.
- Local Codes: Check your local building codes for any specific requirements related to thermostat replacements.
Step-by-Step Guide to Replacing Your Wall Heater Thermostat
Step 1: Gathering Your Tools and Materials
You'll need the following:
- New thermostat (compatible with your wall heater)
- Screwdrivers (Phillips and flathead)
- Wire strippers
- Wire connectors (wire nuts)
- Non-contact voltage tester
- Pliers
- Electrical tape
- Safety glasses
- Work gloves
- Flashlight
Step 2: Disconnecting the Power
Locate the circuit breaker that controls the wall heater. Turn the breaker to the "off" position. Use a non-contact voltage tester to confirm that the power is off at the thermostat. Place the tester near the wires, and if it lights up or beeps, double-check that you have the correct breaker turned off.
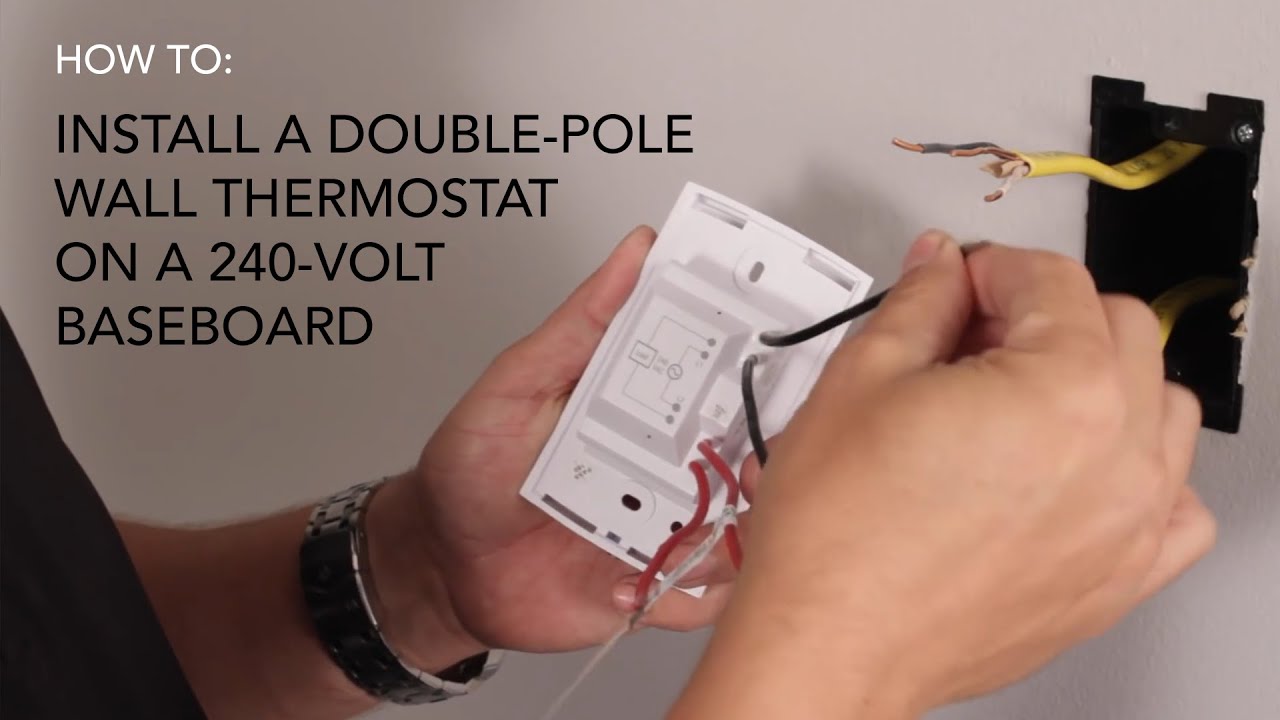
Step 3: Removing the Old Thermostat
Carefully remove the cover of the old thermostat. You may need to use a screwdriver to loosen any screws holding it in place. Once the cover is off, you'll see the wiring connections.
Important: Before disconnecting any wires, take clear photos of the wiring configuration. This will be your reference when connecting the new thermostat.
Using a screwdriver, carefully disconnect the wires from the old thermostat. Use wire strippers to ensure clean wire ends if needed. Cap the ends of the disconnected wires with wire nuts to prevent accidental shorts.
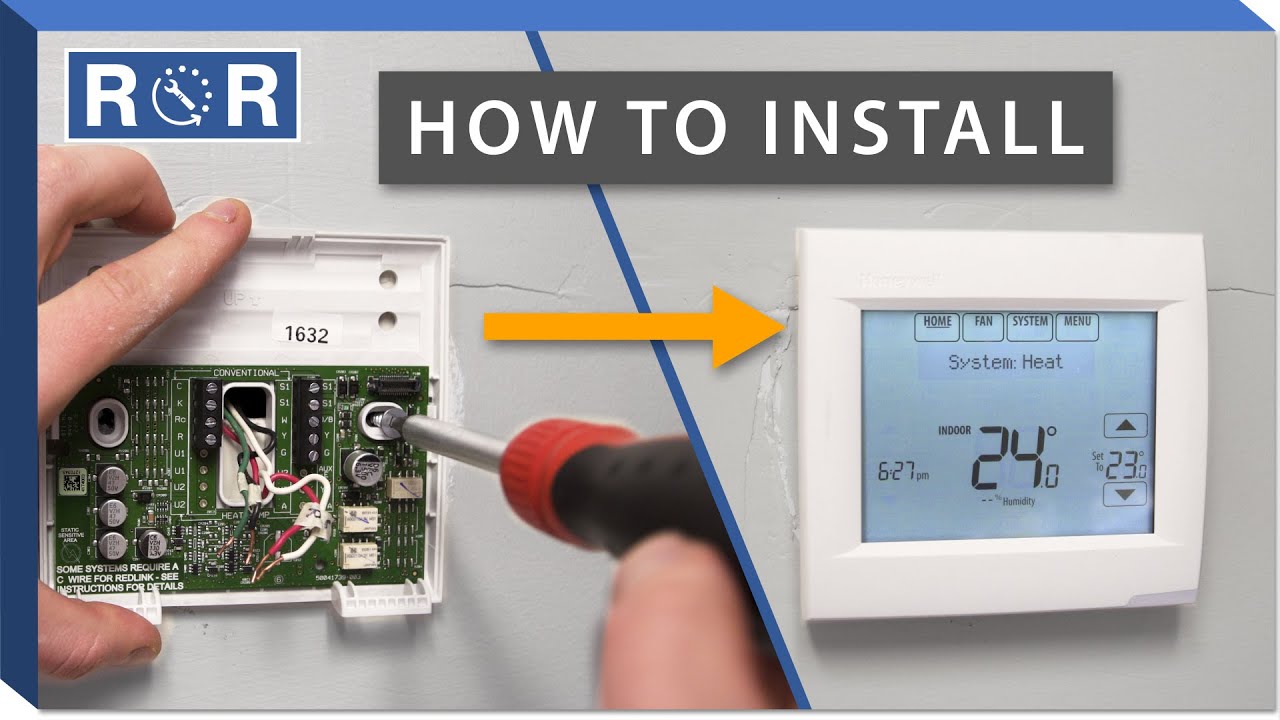
Step 4: Connecting the New Thermostat
Refer to the wiring diagram you created earlier and the instructions included with your new thermostat. Carefully connect the wires from the wall heater to the corresponding terminals on the new thermostat using wire connectors. Ensure the connections are secure and that no bare wire is exposed. Give each wire a gentle tug to verify that it's firmly connected.
Common Wiring Scenarios:
- Two-Wire Systems: These are the simplest. Typically, one wire connects to the "line" terminal and the other to the "load" terminal.
- Three-Wire Systems: These may involve a neutral wire. Consult the thermostat's wiring diagram for proper connections.
- Ground Wire: If there's a ground wire (usually green or bare copper), connect it to the ground terminal on the thermostat.
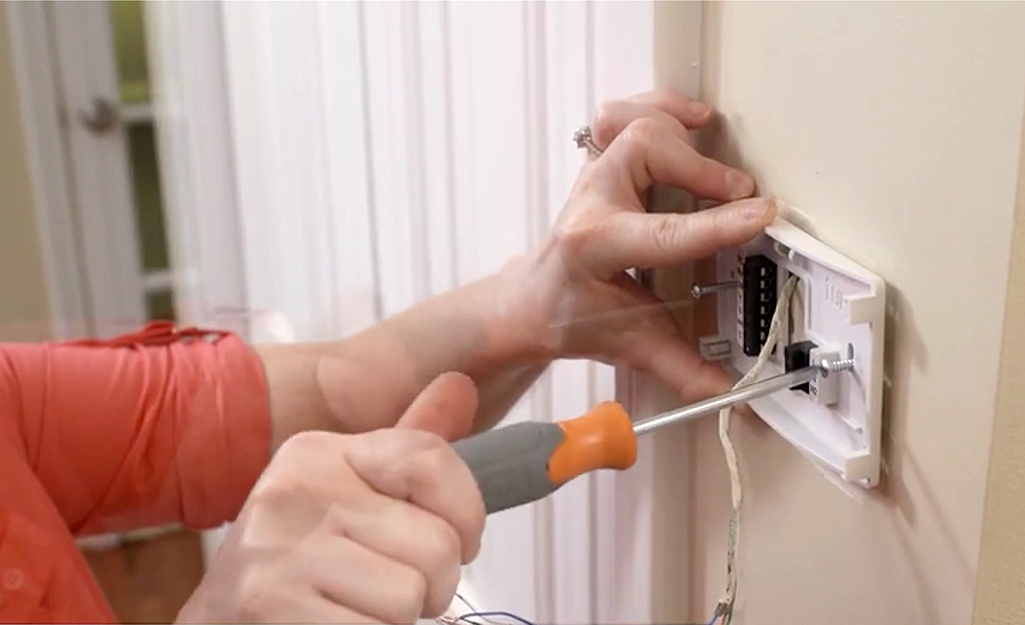
Step 5: Mounting the New Thermostat
Carefully tuck the wires back into the wall box and mount the new thermostat to the wall using the provided screws. Ensure the thermostat is level for accurate temperature readings.
Step 6: Restoring Power and Testing
Turn the circuit breaker back to the "on" position. Program the thermostat according to the manufacturer's instructions. Set the thermostat to a temperature above the current room temperature to activate the heater. Verify that the heater turns on and off as expected.
Step 7: Final Touches
Once you've confirmed that the thermostat is working correctly, replace the cover and secure it with the screws. Double-check that everything is properly installed and that there are no exposed wires.
Choosing the Right Thermostat for Energy Savings
Selecting the right thermostat is crucial for maximizing energy savings. Consider the following options:
- Programmable Thermostats: These allow you to set different temperatures for different times of the day. For example, you can lower the temperature when you're asleep or away from home. According to the Energy Star program, properly using a programmable thermostat can save you up to 10% on your heating bill.
- Smart Thermostats: These offer advanced features like Wi-Fi connectivity, remote control, and learning capabilities. They can learn your heating patterns and automatically adjust the temperature to optimize energy efficiency. Many smart thermostats also integrate with other smart home devices, such as lighting and security systems.
- Electronic Thermostats: Offer more precise temperature control compared to older mechanical models. This ensures consistent heating and prevents temperature swings, leading to better energy efficiency.
Cost-Benefit Analysis:
While smart thermostats typically have a higher upfront cost, they offer a faster ROI due to their advanced features and energy-saving capabilities. Programmable thermostats are a more affordable option that still provides significant energy savings. The specific payback period will depend on your heating habits, climate, and energy costs.
Smart HVAC Integration for Enhanced Efficiency
Integrating your wall heater with a smart home system can further enhance energy efficiency and convenience. Here are some potential benefits:
- Remote Control: Adjust the temperature from anywhere using your smartphone or tablet.
- Geofencing: Automatically adjust the temperature based on your location. For example, the thermostat can lower the temperature when you leave home and raise it when you're approaching.
- Voice Control: Control the thermostat using voice commands with devices like Amazon Echo or Google Home.
- Energy Monitoring: Track your energy usage and identify areas for improvement.
- Integration with Sensors: Connect the thermostat to occupancy sensors or window/door sensors to automatically adjust the temperature based on occupancy and whether windows or doors are open.
Data indicates that homes with smart HVAC systems can achieve up to 15% energy savings compared to homes with traditional thermostats.
Maximizing Your Investment: Rebates and Incentives
Many utility companies and government agencies offer rebates and incentives for installing energy-efficient thermostats. Check with your local utility company and the Energy Star website for available programs. These rebates can significantly reduce the upfront cost of a new thermostat, making it an even more attractive investment.
Example Rebates:
- Some utility companies offer rebates of $50-$100 for installing Energy Star-certified smart thermostats.
- Federal tax credits may be available for certain energy-efficient home improvements.
Troubleshooting Common Issues
If you encounter any problems during or after the installation process, here are some common troubleshooting tips:
- Heater Not Turning On: Check the wiring connections, ensure the thermostat is properly programmed, and verify that the circuit breaker is on.
- Heater Constantly Running: Check the thermostat's settings, ensure it's properly calibrated, and inspect the wiring for any shorts.
- Inaccurate Temperature Readings: Make sure the thermostat is mounted away from direct sunlight, drafts, or other heat sources.
- Thermostat Not Responding: Check the batteries (if applicable) and ensure the thermostat is properly connected to the power supply.
If you're unsure about any aspect of the installation or troubleshooting process, it's always best to consult a qualified HVAC technician.
Conclusion: A Smart Upgrade for Comfort and Savings
Replacing your wall heater thermostat with a modern, energy-efficient model is a worthwhile investment that can improve your comfort, lower your energy bills, and even integrate your heating system into a smart home ecosystem. By following the steps outlined in this guide and considering the various options available, you can make an informed decision and enjoy the benefits of a more efficient and comfortable home. Remember to prioritize safety, choose the right thermostat for your needs, and take advantage of available rebates and incentives.
Investing in an upgrade pays off in the long run, as each year you can save around 10-20% on your energy bill with an efficient and smart thermostat.