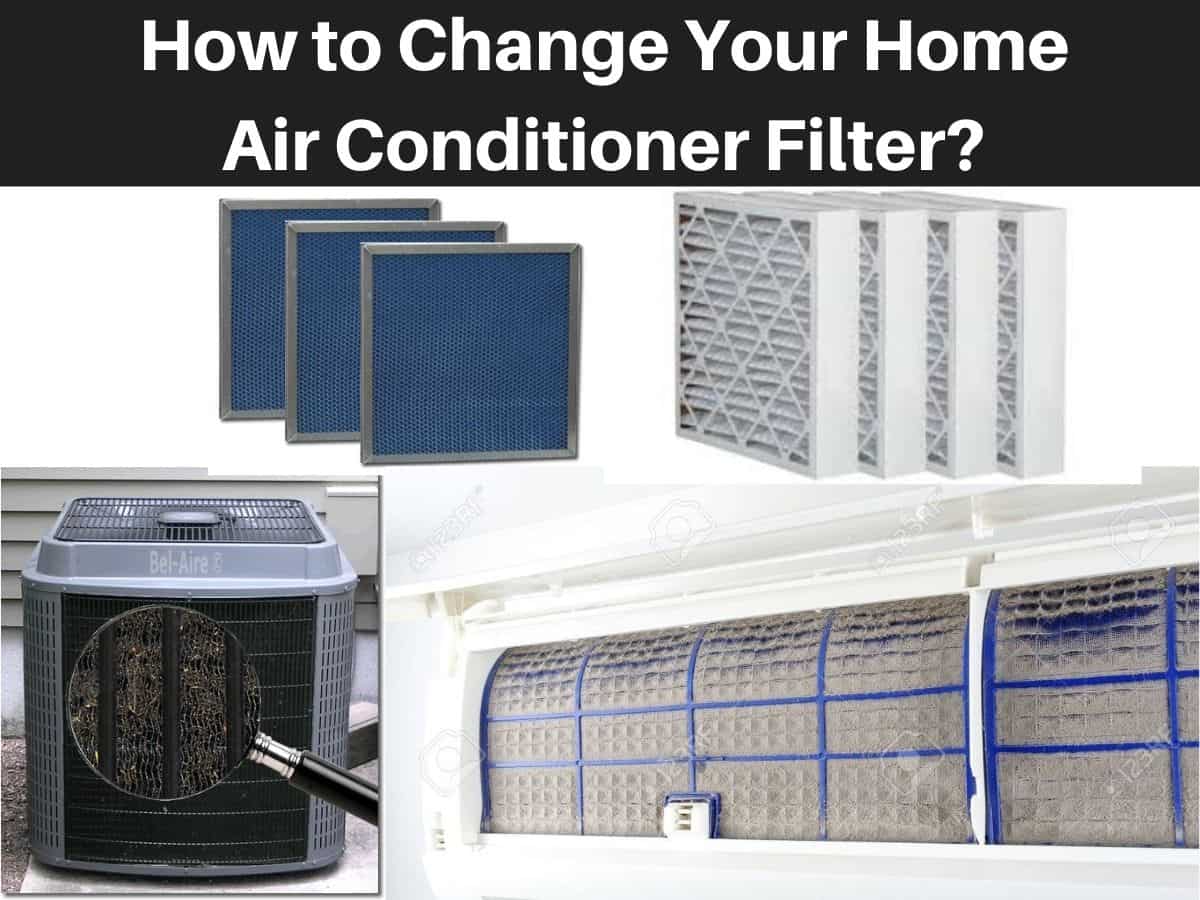
How To Replace Ac Air Filter
One of the most common problems homeowners face, especially during peak heating and cooling seasons, is inefficient HVAC system performance. You might notice your energy bills are higher than usual, your home isn't heating or cooling evenly, or your system is running constantly. While several factors can contribute to these issues, a surprisingly frequent culprit is a dirty air filter. Fortunately, this is often a simple and inexpensive fix you can handle yourself. This article will guide you through diagnosing, addressing, and understanding when a simple filter replacement isn't enough.
Is Your Air Filter the Problem? Diagnosis Time
Before you start tearing things apart, let's confirm whether a dirty air filter is likely the cause of your HVAC woes. Here are some telltale signs:
- Reduced Airflow: Place your hand near your vents. Does the airflow seem weaker than usual? A clogged filter restricts airflow.
- Increased Energy Bills: A struggling HVAC system consumes more energy to achieve the same temperature. Watch for a spike in your electricity or gas bill.
- Uneven Heating or Cooling: Some rooms might be warmer or colder than others, indicating poor air circulation.
- System Running Constantly: If your HVAC system is constantly running to try to reach the set temperature, a dirty filter could be the cause.
- Visible Dust and Debris: Take a look at your air filter. If it's visibly clogged with dust, dirt, pet dander, and other debris, it's time for a change. This is the most obvious indicator.
- Unusual Noises: A whistling or rattling sound from your HVAC unit could be a sign of restricted airflow due to a dirty filter.
If you're experiencing several of these symptoms, there's a good chance your air filter is the problem. Let's get started with the replacement process.
Replacing Your Air Filter: A Step-by-Step Guide
Replacing your air filter is a straightforward process, but it's essential to follow these steps carefully for safety and optimal results. Always turn off your HVAC system before beginning.
Step 1: Gather Your Supplies
Before you even think about touching your HVAC unit, make sure you have the following:
- A new air filter: This is the most crucial item. Know your filter size! We'll cover how to determine the correct size in the next section.
- A screwdriver (potentially): Some filter access panels are secured with screws.
- A flashlight: Helpful for illuminating the filter compartment.
- Gloves (optional): To keep your hands clean.
- A trash bag: For disposing of the old, dirty filter.
Step 2: Identify Your Filter Size
This is where many people go wrong. Using the wrong size filter is ineffective and can damage your HVAC system. There are two primary ways to determine the correct filter size:
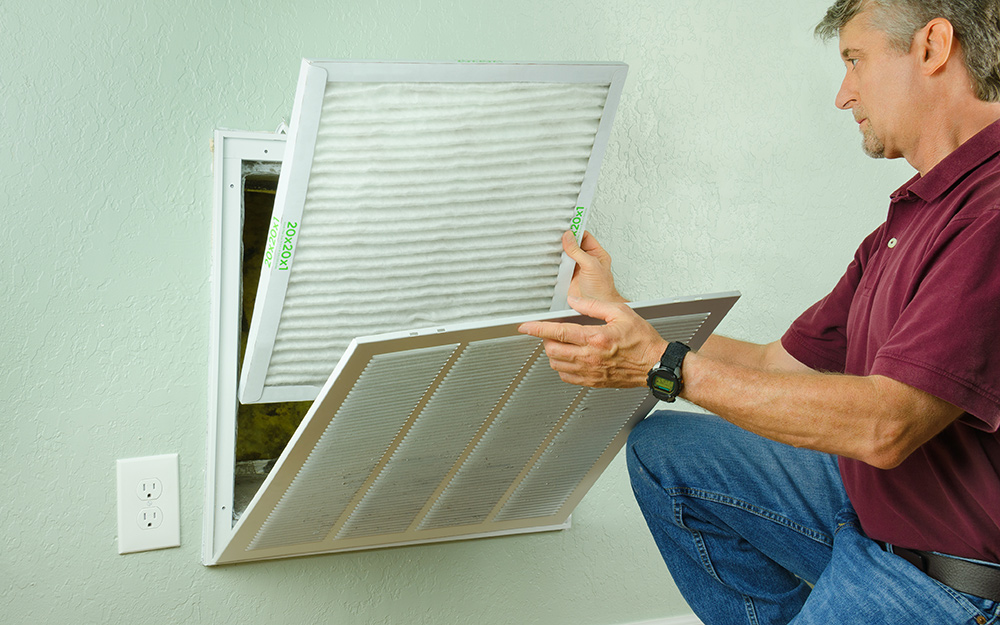
- Check the Old Filter: The dimensions (length x width x depth) are usually printed on the frame of the old filter. Look for something like "16x25x1" or "20x20x4". Record these dimensions carefully.
- Measure the Filter Compartment: If you can't find the size on the old filter (perhaps it's too dirty or faded), carefully measure the dimensions of the filter compartment within your HVAC unit. Measure the length, width, and depth to the nearest inch. Use these measurements to purchase a filter of the correct size. It's better to err on the slightly smaller side than to force a filter that's too large.
Important Note: Filters are sometimes labeled with "Nominal" and "Actual" sizes. The Nominal size is the rounded-off number, while the Actual size is the precise measurement. When purchasing, use the Nominal size to find your replacement filter. However, use the Actual size to measure your compartment if your old filter is not available.
Step 3: Locate Your Air Filter
Air filter locations vary depending on your HVAC system type. Here are the most common locations:
- Furnace: Usually located on the side or bottom of the furnace unit itself. Look for a rectangular access panel.
- Air Handler: Similar to a furnace, the filter is often located in a slot on the side or bottom of the air handler.
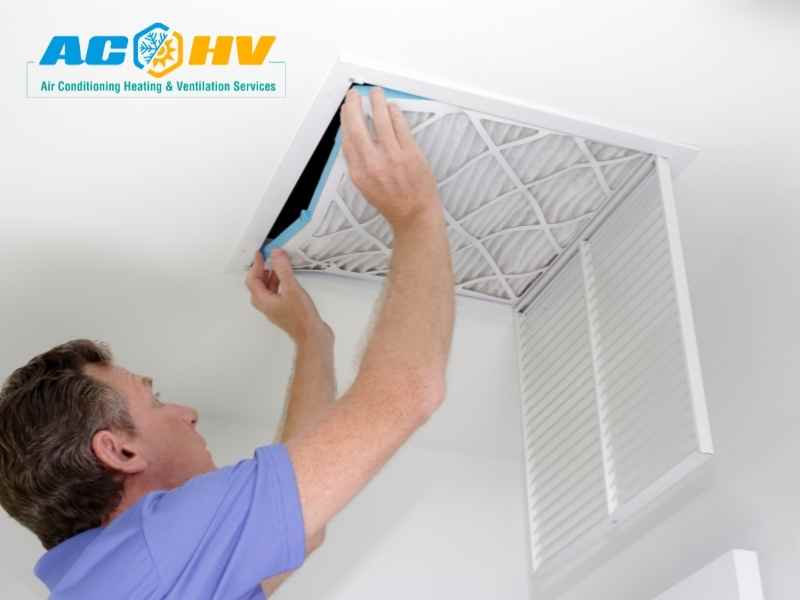
- Wall or Ceiling Return Vent: Some homes have a large return vent on a wall or ceiling that houses the air filter. The vent cover will typically have a latch or screws to remove it.
Once you've found the access point, use your screwdriver to remove any screws securing the panel. Carefully remove the panel and set it aside.
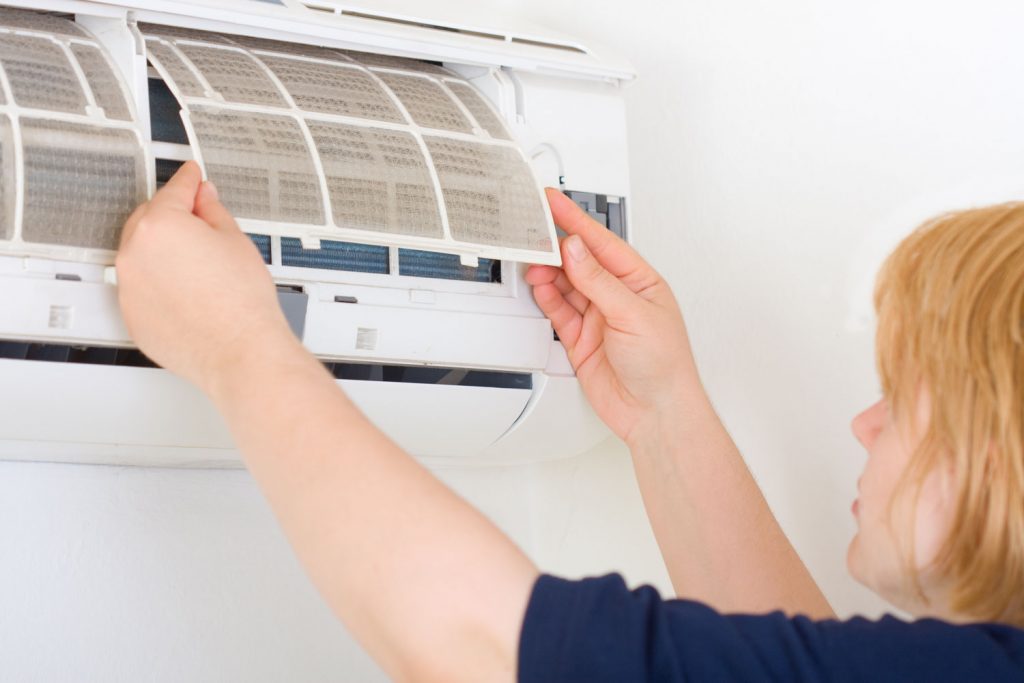
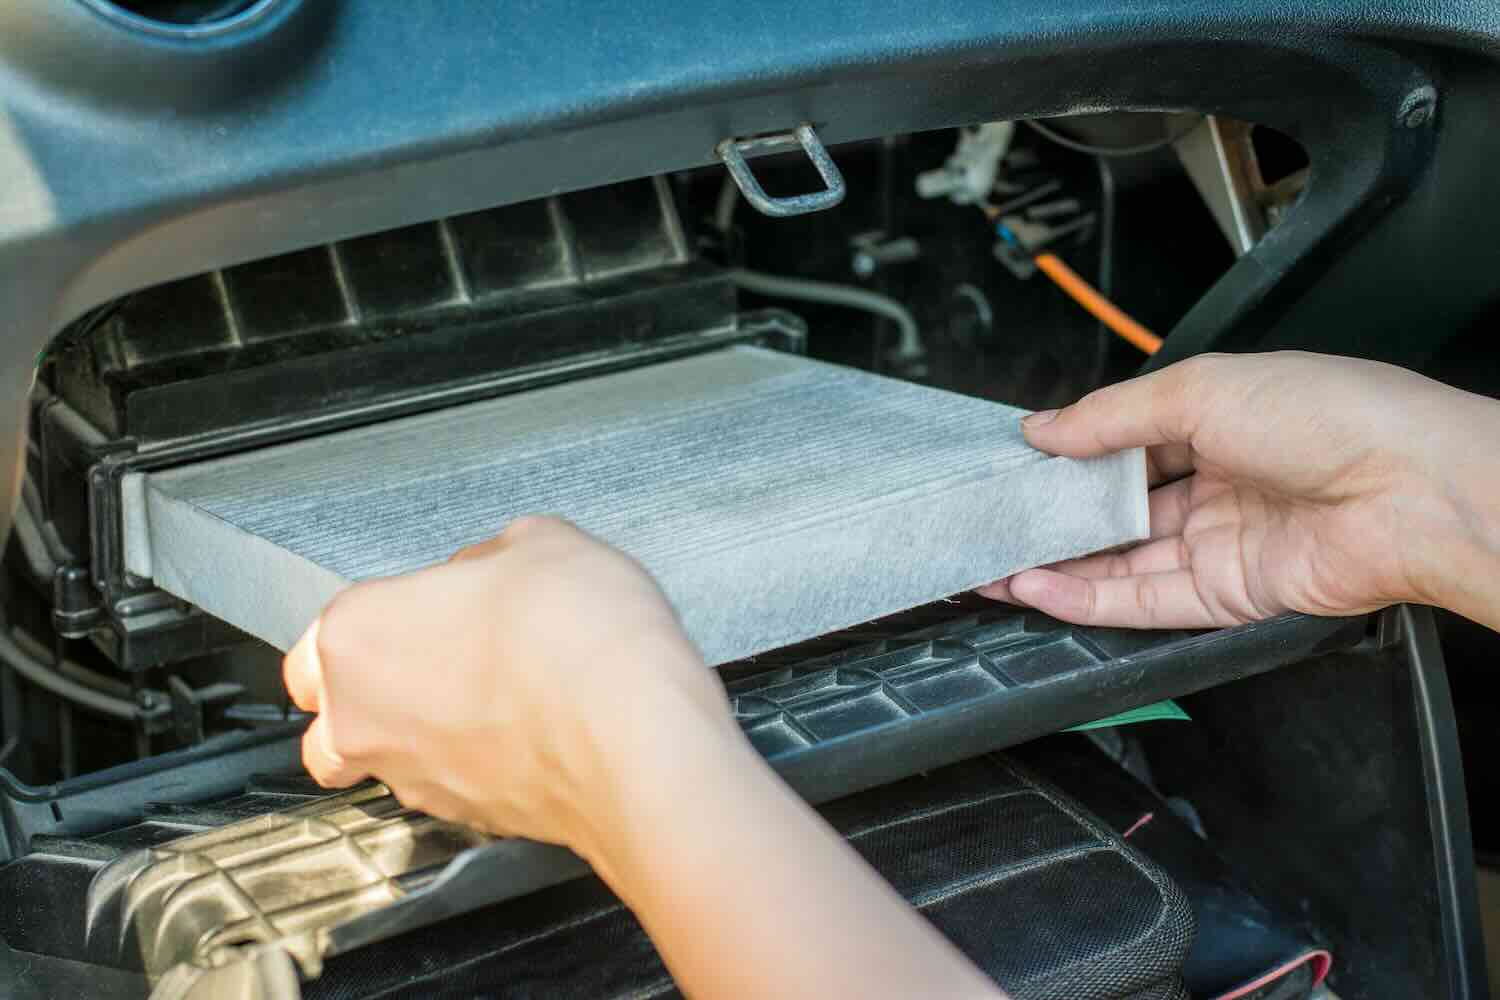
Step 4: Remove the Old Filter
With the access panel removed, you should see the old air filter. Gently slide the old filter out of its slot. Be careful to avoid knocking loose any accumulated dust and debris. Hold the filter over your trash bag as you remove it to minimize mess.
Observe the Direction of Airflow: Before you discard the old filter, pay close attention to the arrow printed on its frame. This arrow indicates the direction of airflow. You'll need to install the new filter with the arrow pointing in the same direction.
Step 5: Inspect the Filter Compartment
Before installing the new filter, take a moment to inspect the filter compartment. Use your flashlight to check for any accumulated dust, debris, or mold. If necessary, you can use a vacuum cleaner with a brush attachment to gently clean the compartment. Do not use water or cleaning solutions inside the HVAC unit.
Step 6: Install the New Filter
Now, take your new air filter and carefully slide it into the filter compartment. Make sure the arrow on the filter frame is pointing in the same direction as the airflow, as indicated on the old filter or on the unit itself. The arrow should point towards the blower motor.
The filter should fit snugly but not be forced. If it's too tight, double-check that you have the correct size.
Step 7: Replace the Access Panel
Once the new filter is securely in place, replace the access panel and secure it with the screws you removed earlier. Make sure the panel is properly sealed to prevent air leaks.
Step 8: Turn On Your HVAC System
Finally, turn your HVAC system back on and observe its performance. You should notice an improvement in airflow and a reduction in any unusual noises. Monitor your energy bills in the coming weeks to see if the filter replacement has helped to improve efficiency.
Filter Types and MERV Ratings: Choosing the Right Filter
Air filters aren't a one-size-fits-all item. They come in various materials and with different MERV ratings. Understanding these differences can help you choose the best filter for your needs.
Filter Types
- Fiberglass Filters: These are the least expensive and most basic type of filter. They offer minimal filtration and are primarily designed to protect the HVAC equipment from large particles.
- Pleated Filters: Pleated filters are made of folded paper or cloth and offer better filtration than fiberglass filters. They capture more dust, pollen, and pet dander.
- Electrostatic Filters: These filters use an electrostatic charge to attract and trap particles. They are more effective than pleated filters at capturing smaller particles.
- HEPA Filters: HEPA (High-Efficiency Particulate Air) filters are the most effective type of filter. They can capture 99.97% of particles 0.3 microns or larger, including bacteria, viruses, and mold spores. HEPA filters are typically used in hospitals and other environments where air quality is critical.
MERV Ratings
MERV (Minimum Efficiency Reporting Value) ratings indicate a filter's ability to capture particles of different sizes. The higher the MERV rating, the more effective the filter is at capturing small particles.
- MERV 1-4: Captures large particles like dust, pollen, and carpet fibers. Suitable for basic HVAC protection.
- MERV 5-8: Captures more dust, pollen, and pet dander. A good choice for general home use.
- MERV 9-12: Captures smaller particles like mold spores and smog. Suitable for people with allergies or asthma.
- MERV 13-16: Captures very small particles like bacteria and viruses. Recommended for hospitals and other environments where air quality is critical.
Choosing the Right MERV Rating: While a higher MERV rating might seem like the best option, it's important to choose a filter that is compatible with your HVAC system. High-MERV filters can restrict airflow, which can strain your system and reduce its efficiency. Consult your HVAC system's manual or a professional to determine the appropriate MERV rating for your unit. A good starting point for most homes is a MERV 8 or 11 filter.
When to Call a Professional
While replacing your air filter is a simple DIY task, there are situations where professional intervention is necessary. Here are some signs that you need to call an HVAC technician:
- You've Replaced the Filter and the Problems Persist: If you've replaced the air filter and your HVAC system is still not performing correctly (e.g., reduced airflow, high energy bills, uneven heating/cooling), there may be a more serious underlying issue.
- You Notice Leaks or Damage: If you see any signs of water leaks, refrigerant leaks, or physical damage to your HVAC unit, call a professional immediately.
- The Blower Motor is Making Unusual Noises: A noisy blower motor could indicate a problem with the motor itself or with the ductwork.
- You Suspect a Refrigerant Leak: Refrigerant leaks can be dangerous and should only be handled by a qualified technician.
- You're Uncomfortable Working with Electrical Components: HVAC systems involve electrical components, and it's essential to prioritize safety. If you're not comfortable working with electricity, leave it to the professionals.
- You Don't Know What You're Doing: It's better to be safe than sorry. If you're unsure about any aspect of HVAC maintenance or repair, call a qualified technician.
Regular HVAC Maintenance: Even if your system seems to be working fine, it's a good idea to schedule regular maintenance with an HVAC professional. They can inspect your system, clean the coils, check the refrigerant levels, and identify any potential problems before they become major issues. A well-maintained HVAC system will last longer, operate more efficiently, and provide better air quality.
Replacing your air filter is a small but important task that can significantly improve the performance and efficiency of your HVAC system. By following the steps outlined in this article, you can keep your system running smoothly and enjoy a comfortable home environment. Remember to change your filter regularly (typically every 1-3 months, depending on usage and filter type) and don't hesitate to call a professional if you encounter any problems that you can't handle yourself.