How To Replace Air Conditioner Condenser

Replacing an air conditioner condenser is a significant undertaking, but understanding the process empowers you to make informed decisions, whether you're a homeowner seeking energy savings, a business aiming for sustainability, or an HVAC professional delivering cutting-edge solutions. This guide breaks down the process, highlighting energy efficiency, cost-effectiveness, and the role of smart technology.
When is it Time to Replace Your AC Condenser?
Don't rush into replacing your AC condenser just because it's old. Here are key indicators that signal replacement might be necessary:
- Age: Most condensers last 10-15 years. If yours is older, efficiency likely has declined, even with maintenance.
- Frequent Repairs: Constant breakdowns signal a failing system. Multiple repairs in a short period can exceed the cost of a new, energy-efficient unit.
- Rising Energy Bills: A sudden spike in energy consumption during cooling season, despite consistent usage, suggests decreased efficiency.
- Refrigerant Leaks: The EPA is phasing out R-22 refrigerant due to environmental concerns. Leaks in an older system using R-22 can be expensive to repair, especially given the increasing cost of R-22, and could necessitate a complete system replacement.
- Poor Cooling Performance: Inconsistent temperatures or an inability to adequately cool your space points to a compromised condenser.
Preparing for Condenser Replacement: A Step-by-Step Guide
Replacing an AC condenser is not a simple DIY project. It requires specialized tools, knowledge of refrigerants, and adherence to safety regulations. Here's a structured approach:
1. System Evaluation and Load Calculation
Before anything else, have a qualified HVAC technician conduct a thorough assessment of your cooling needs. This involves:
- Load Calculation: Determines the correct BTU (British Thermal Units) capacity needed to efficiently cool your space. Factors include square footage, insulation levels, window type, and local climate. An oversized unit cycles on and off frequently, wasting energy and reducing dehumidification. An undersized unit struggles to maintain temperature, leading to high energy consumption.
- Ductwork Inspection: Leaky or poorly insulated ductwork can negate the benefits of a new condenser. Seal any leaks and consider insulating ducts for optimal performance.
- Energy Audit: A comprehensive energy audit identifies other areas where you can improve energy efficiency, such as insulation upgrades or window replacements.
2. Choosing the Right Condenser
Selecting the right condenser is crucial for energy savings and long-term performance. Consider these factors:
- SEER Rating: The Seasonal Energy Efficiency Ratio (SEER) measures cooling efficiency. Higher SEER ratings translate to lower energy bills. Energy Star certified units have a SEER rating of at least 15, with premium models exceeding 20. Investing in a high-SEER condenser offers a significant ROI over its lifespan.
- HSPF Rating: If you have a heat pump system, also consider the Heating Season Performance Factor (HSPF) for heating efficiency.
- Compressor Type: Variable-speed compressors offer superior efficiency compared to single-stage compressors. They adjust cooling output based on demand, providing consistent temperatures and reduced energy consumption.
- Refrigerant Type: Ensure the new condenser uses an environmentally friendly refrigerant, such as R-410A, which is being phased out in favor of even more sustainable options like R-32 and HFO blends.
- Brand Reputation and Warranty: Choose a reputable brand with a strong warranty for peace of mind.
3. Permits and Regulations
Before starting any work, check local building codes and obtain any necessary permits. This ensures compliance with safety regulations and environmental guidelines.
4. The Replacement Process: A Technician's Perspective
While you shouldn't attempt this yourself, understanding the steps involved can help you communicate effectively with your HVAC technician:
- Refrigerant Recovery: The technician will safely recover any remaining refrigerant from the old condenser using specialized equipment. Improper refrigerant handling is illegal and environmentally damaging.
- Electrical Disconnection: Power to the condenser is shut off at the breaker box. The technician will then disconnect the electrical wiring.
- Line Set Disconnection: The refrigerant lines connecting the condenser to the indoor unit (evaporator coil) are disconnected.
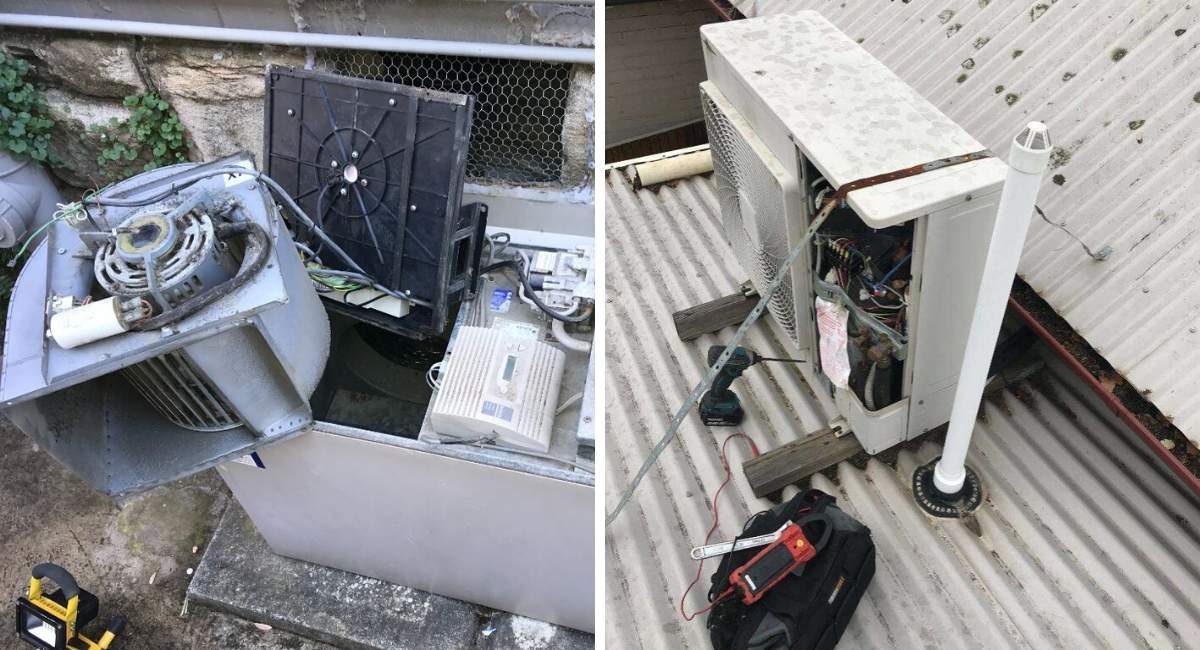
- Old Condenser Removal: The old condenser is carefully removed.
- New Condenser Installation: The new condenser is placed on a level surface, ideally a concrete pad.
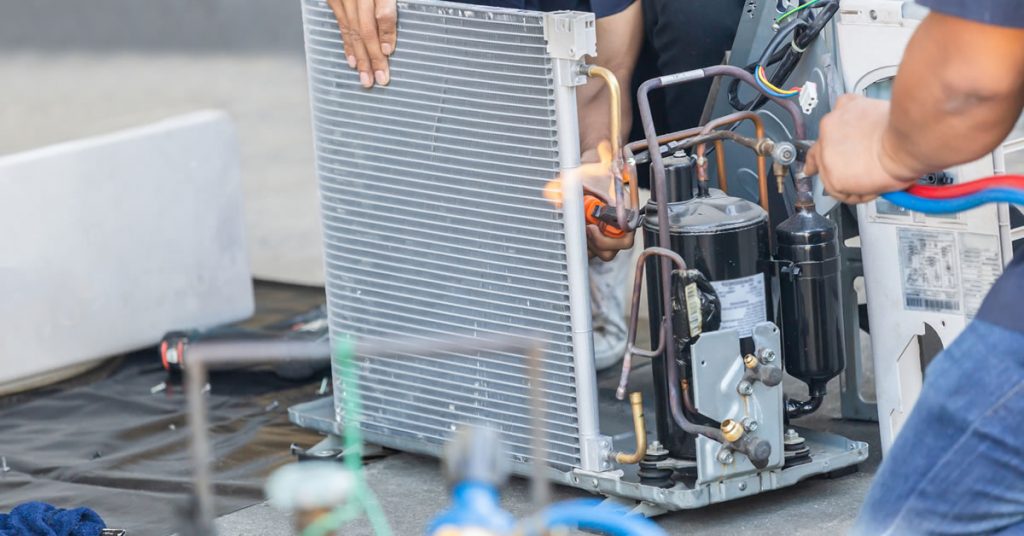
- Line Set Connection: The refrigerant lines are reconnected, ensuring proper sealing to prevent leaks.
- Electrical Connection: The electrical wiring is reconnected according to the manufacturer's specifications.
- Vacuuming and Charging: The system is evacuated to remove air and moisture. Refrigerant is then carefully charged to the correct level, according to the manufacturer's specifications.
- System Testing: The technician will test the system to ensure proper operation, including checking refrigerant pressure, airflow, and temperature differentials.
5. Smart HVAC Integration
Maximize energy savings and comfort by integrating your new condenser with smart home technology:
- Smart Thermostats: Programmable thermostats learn your schedule and automatically adjust temperature settings to optimize energy consumption. Geofencing features can detect when you're away and adjust the temperature accordingly.
- Smart Sensors: Room sensors monitor temperature and occupancy, allowing for zone-based cooling. This ensures that only occupied areas are cooled, saving energy.
- Energy Monitoring Systems: Track your energy consumption in real-time, providing valuable insights into your cooling habits and identifying areas for improvement.
- Voice Control Integration: Control your HVAC system with voice commands using smart assistants like Amazon Alexa or Google Assistant.
According to the U.S. Department of Energy, smart thermostats can save homeowners up to 15% on heating and cooling costs.
Calculating Your Return on Investment (ROI)
Upgrading to an energy-efficient AC condenser involves an upfront investment, but the long-term savings can be substantial. Here's how to estimate your ROI:
- Calculate Annual Energy Savings: Determine the difference in energy consumption between your old and new condenser, based on their SEER ratings and your local climate.
- Estimate Annual Cost Savings: Multiply the annual energy savings by your electricity rate.
- Factor in Rebates and Incentives: Check for available rebates from your utility company or government agencies. Energy Star offers a comprehensive database of available incentives.
- Calculate Payback Period: Divide the total cost of the new condenser (including installation) by the annual cost savings (minus any rebates). This provides an estimate of how long it will take for the energy savings to offset the initial investment.
Government Guidelines and Energy Star Certification
The Energy Star program is a valuable resource for identifying energy-efficient appliances. Look for the Energy Star label when choosing a new AC condenser. Energy Star certified units meet strict performance criteria and offer significant energy savings. The Energy Star website (www.energystar.gov) provides detailed information on energy-efficient HVAC systems, including product listings, rebates, and tax credits.
Maintenance for Longevity and Efficiency
Proper maintenance is essential for maximizing the lifespan and efficiency of your new AC condenser:
- Regular Filter Changes: Change your air filter every 1-3 months, or more frequently if you have pets or allergies. A dirty filter restricts airflow, reducing cooling efficiency and potentially damaging the condenser.
- Coil Cleaning: Clean the condenser coils at least once a year. Use a soft brush or fin comb to remove dirt and debris.
- Professional Inspection and Maintenance: Schedule an annual inspection and maintenance appointment with a qualified HVAC technician. This includes checking refrigerant levels, inspecting electrical connections, and lubricating moving parts.
- Clear Obstructions: Keep the area around the condenser clear of vegetation and debris to ensure proper airflow.
Conclusion
Replacing an AC condenser is a significant investment that can yield substantial energy savings and improve your comfort. By understanding the process, choosing the right equipment, and integrating smart technology, you can maximize your ROI and contribute to a more sustainable future. Always consult with a qualified HVAC technician to ensure proper installation and adherence to safety regulations. Investing in energy efficiency is not only good for your wallet but also good for the planet.