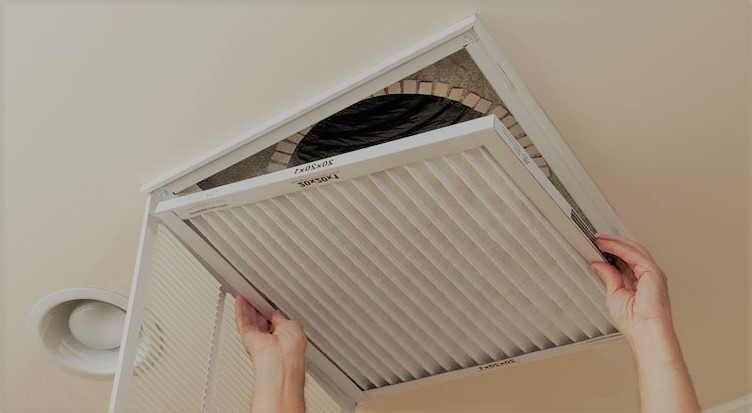
How To Replace An Air Filter In A House

One of the most common household appliance issues homeowners face is a malfunctioning HVAC (Heating, Ventilation, and Air Conditioning) system. Often, the root cause can be traced back to a seemingly simple component: the air filter. A dirty or clogged air filter can severely impact the efficiency and lifespan of your HVAC system, leading to higher energy bills and potential breakdowns. This guide provides a step-by-step approach to replacing your air filter, a task most homeowners can confidently handle.
Understanding the Importance of Air Filter Replacement
Before diving into the how-to, let's understand why replacing your air filter is crucial. A clean air filter:
- Improves Air Quality: Traps dust, pollen, pet dander, and other allergens, leading to cleaner and healthier air inside your home.
- Enhances HVAC Efficiency: Allows the HVAC system to operate more efficiently, reducing energy consumption and lowering utility bills.
- Extends HVAC Lifespan: Prevents dust and debris from accumulating on sensitive components, such as the blower motor and evaporator coil, prolonging the life of your system.
- Prevents Breakdowns: A clogged filter can cause the system to overheat and potentially fail, leading to costly repairs.
Step-by-Step Guide: Replacing Your Air Filter
1. Gather Your Supplies
Before you begin, gather the necessary supplies:
- New Air Filter: Make sure you have the correct size and type for your HVAC system. You can usually find this information on the old filter or in your HVAC system's manual. Write down the dimensions (e.g., 16x25x1 inches) and MERV rating.
- Screwdriver (if needed): Some filter compartments require a screwdriver to open.
- Vacuum Cleaner (optional): To clean the area around the filter compartment.
- Gloves (optional): To protect your hands from dust and debris.
- Marker or Pen: To note the airflow direction on the old filter.
2. Locate Your Air Filter
The location of your air filter varies depending on your HVAC system. Common locations include:
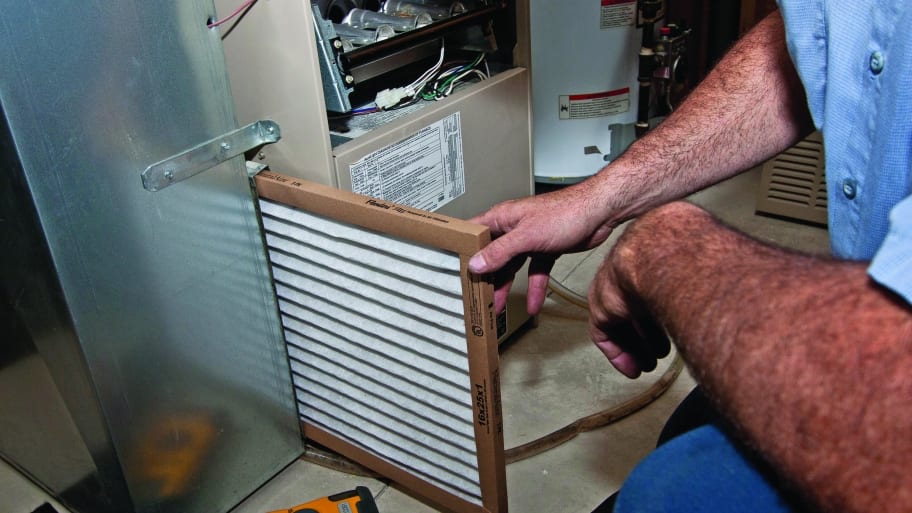
- Furnace: Often located in the furnace itself, behind a panel or door.
- Air Handler: Similar to the furnace, the filter may be housed within the air handler unit.
- Return Air Vent: Sometimes, the filter is located behind a grille in a wall or ceiling. These are typically larger filters that serve multiple return vents.
Important: If you're unsure of the location, consult your HVAC system's manual or contact a professional.
3. Turn Off the System
Safety First! Before you begin, turn off your HVAC system at the thermostat. This will prevent the system from running while you're changing the filter.
4. Open the Filter Compartment
Once you've located the filter compartment, carefully open it. Depending on the design, this may involve:
- Sliding out a panel: Some compartments have a sliding panel that you simply pull out.
- Removing a door: Others have a hinged door that may be held in place by latches or screws. If there are screws, use the screwdriver to remove them.
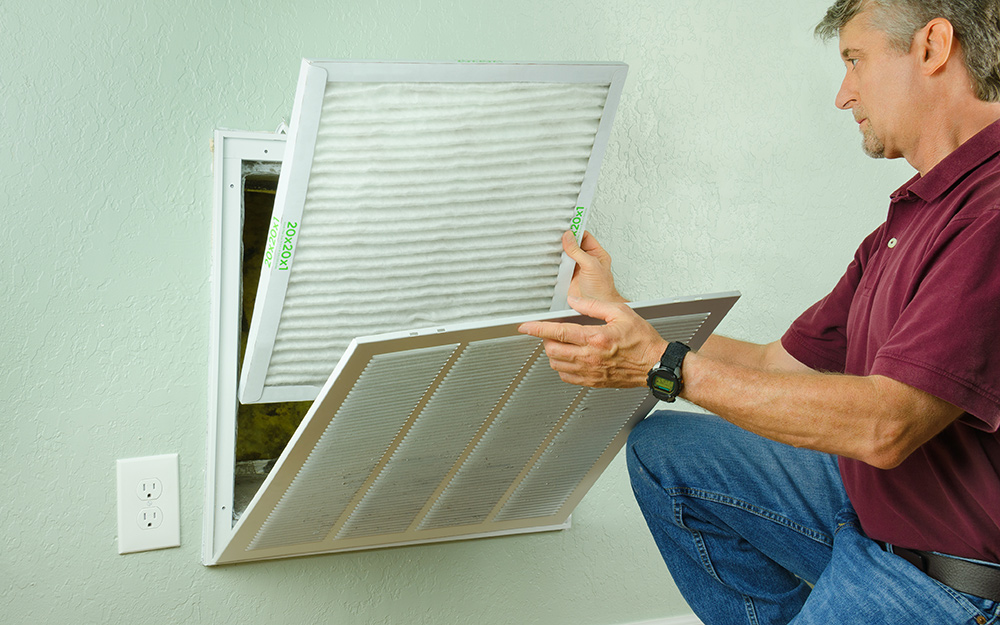
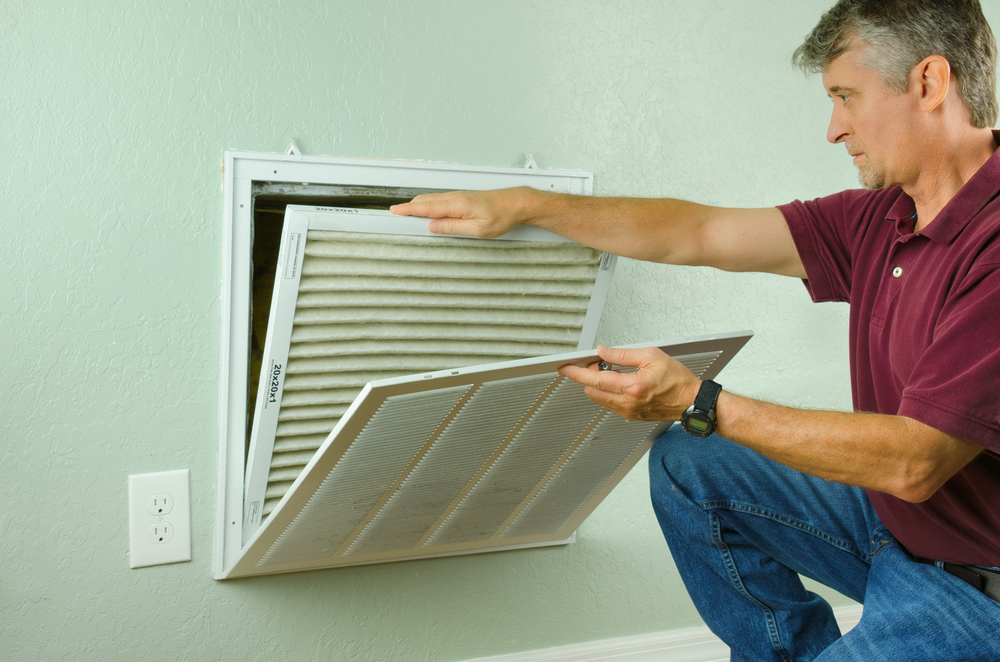
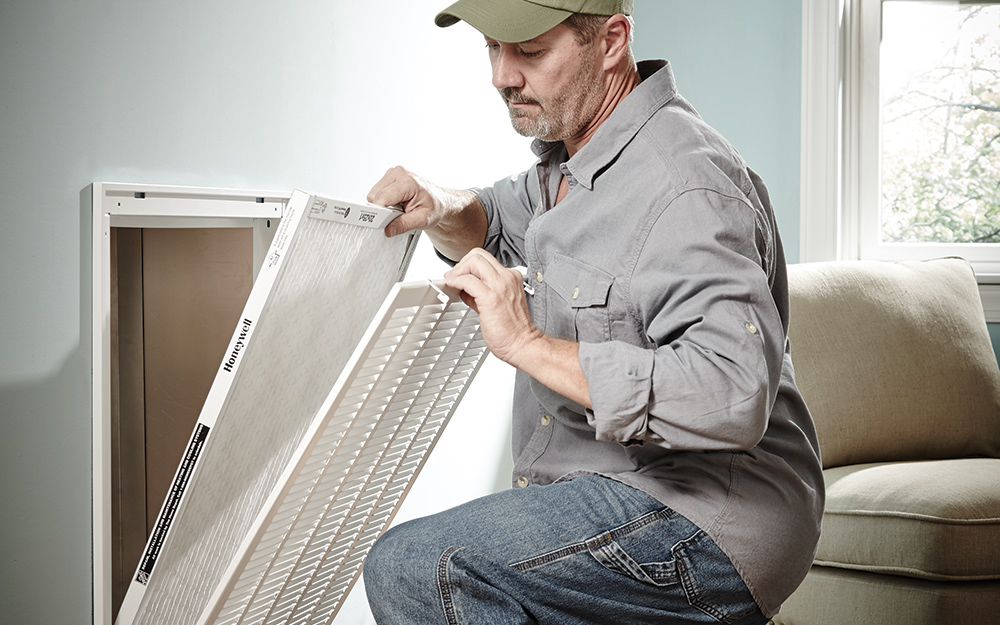
- Removing a grille: For return air vents, you may need to unscrew or unclip the grille.
5. Remove the Old Air Filter
Carefully remove the old air filter. It will likely be dirty and covered in dust and debris. Pay attention to the direction of the airflow arrow printed on the filter. This indicates the direction of airflow through the filter and must be matched when installing the new filter. Use a marker to draw an arrow on the unit indicating the direction of airflow, if needed.
Tip: Hold the dirty filter inside a plastic bag as you remove it to prevent dust and debris from spreading.
6. Clean the Filter Compartment (Optional)
Before installing the new filter, take a moment to clean the filter compartment. Use a vacuum cleaner to remove any loose dust or debris. This will help prevent the new filter from becoming contaminated prematurely.
7. Install the New Air Filter
Now, install the new air filter. Ensure that the airflow arrow on the filter is pointing in the same direction as it was on the old filter. This is crucial for proper filtration.
Tip: Some filters have a "This Side Faces Airflow" marking to further guide you.
8. Close the Filter Compartment
Once the new filter is in place, close the filter compartment. Secure the panel, door, or grille according to the original design. Ensure that all screws are tightened if applicable.
9. Turn On the System
Finally, turn your HVAC system back on at the thermostat. Monitor the system for any unusual noises or smells. If you notice anything concerning, turn the system off immediately and consult a professional.
10. Record the Date
To help you remember when to change the filter next, write the date of the replacement on the filter itself or on a calendar. Most experts recommend changing your air filter every 1-3 months, depending on factors such as the type of filter, the presence of pets, and the level of air pollution in your area.
Choosing the Right Air Filter
Selecting the correct air filter is essential for optimal performance. Here's what to consider:
- Size: The filter must be the correct size for your HVAC system. Consult your system's manual or the old filter for the dimensions.
- MERV Rating: The Minimum Efficiency Reporting Value (MERV) rating indicates the filter's ability to capture particles. Higher MERV ratings capture smaller particles but can also restrict airflow.
- Filter Type: Common filter types include fiberglass, pleated, and electrostatic. Pleated filters generally offer a good balance of filtration and airflow.
Generally, a MERV rating between 8 and 12 is suitable for most homes. Consult an HVAC professional if you have specific concerns about air quality or allergies.
When to Call a Professional
While replacing an air filter is a simple DIY task, there are situations where you should call a qualified HVAC professional:
- Unusual Noises or Smells: If you notice any unusual noises or smells coming from your HVAC system, especially after changing the filter, turn off the system and call a professional.
- System Malfunction: If your HVAC system is not working properly, even after changing the filter, it may indicate a more serious problem.
- Complex HVAC Systems: If you have a complex HVAC system with multiple zones or specialized filtration systems, it's best to consult a professional for maintenance and repairs.
- Unsure About Anything: If you're unsure about any aspect of the air filter replacement process, don't hesitate to seek professional assistance.
- If you can't locate the air filter: Don't start disassembling your HVAC unit without knowing what you are doing.
Preventative Maintenance Tips
In addition to regular air filter replacements, consider these preventative maintenance tips to keep your HVAC system running smoothly:
- Schedule Regular HVAC Maintenance: Have your HVAC system professionally inspected and maintained at least once a year.
- Keep Vents Clear: Ensure that vents are not blocked by furniture or other obstructions.
- Clean Around the Outdoor Unit: Remove any debris, such as leaves and branches, from around the outdoor unit.
- Consider Air Duct Cleaning: If you suspect that your air ducts are dirty, consider having them professionally cleaned.
Troubleshooting: Common Air Filter Related Problems
Here are some common problems that can arise from a dirty or improperly installed air filter, along with potential solutions:
- Reduced Airflow: If you notice reduced airflow from your vents, the most likely cause is a dirty air filter. Replace the filter with a new one. If the problem persists, consult a professional.
- HVAC System Runs Constantly: A clogged air filter can force your HVAC system to work harder, causing it to run constantly. Replacing the filter should resolve this issue.
- Increased Energy Bills: A dirty air filter reduces the efficiency of your HVAC system, leading to higher energy bills. Regular filter replacements can help keep your energy costs down.
- Overheating: A severely clogged air filter can cause the HVAC system to overheat, potentially damaging components. If you suspect overheating, turn off the system and call a professional.
- Icing: In some cases, a dirty air filter can contribute to icing on the evaporator coil. This is more common in air conditioning systems. Replacing the filter and allowing the ice to thaw may resolve the issue, but it's best to consult a professional to ensure there are no other underlying problems.
By following these steps and tips, you can confidently replace your air filter and keep your HVAC system running efficiently and effectively. Remember to prioritize safety and consult a professional when needed. Regular air filter replacements are a simple yet vital part of maintaining a comfortable and healthy home environment.