How To Replace Evaporator Coil In Air Conditioner
One of the most frustrating household appliance failures occurs when your air conditioner stops cooling effectively, especially during the sweltering summer months. A common culprit behind this issue is a malfunctioning evaporator coil. The evaporator coil is a crucial component within your AC system, responsible for absorbing heat from the air inside your home. When it fails, the cooling process is severely compromised. While some AC problems are best left to professionals, this guide provides a step-by-step approach to diagnosing and, in some cases, replacing the evaporator coil, with an emphasis on safety and knowing when to call for expert help.
Initial Troubleshooting: Is It Really the Evaporator Coil?
Before diving into a coil replacement, it's essential to rule out other common and simpler issues. A systematic approach can save you time, money, and unnecessary effort.
1. Check the Power Supply
- Circuit Breaker: The most basic check is the circuit breaker. Locate the breaker for your AC unit in your electrical panel. Ensure it hasn't tripped. If it has, reset it. If it trips again immediately, there's a more serious electrical problem, and you should call a qualified electrician.
- Disconnect Switch: Many AC units have a dedicated disconnect switch located near the outdoor condenser unit. Make sure this switch is in the "on" position.
- Thermostat Batteries: Don't overlook the obvious! Check the batteries in your thermostat. A dead battery can prevent the thermostat from signaling the AC to turn on.
2. Verify Thermostat Settings
It sounds simple, but ensure your thermostat is set to "Cool" mode and that the target temperature is lower than the current room temperature. A common mistake is accidentally leaving the thermostat in "Fan Only" mode, which will circulate air but not cool it.
3. Inspect the Air Filter
A clogged air filter is a very common cause of reduced AC performance. A dirty filter restricts airflow, causing the evaporator coil to become excessively cold and potentially freeze up. Replace your air filter regularly (typically every 1-3 months) to maintain optimal airflow and prevent this issue.
4. Check for Obvious Obstructions
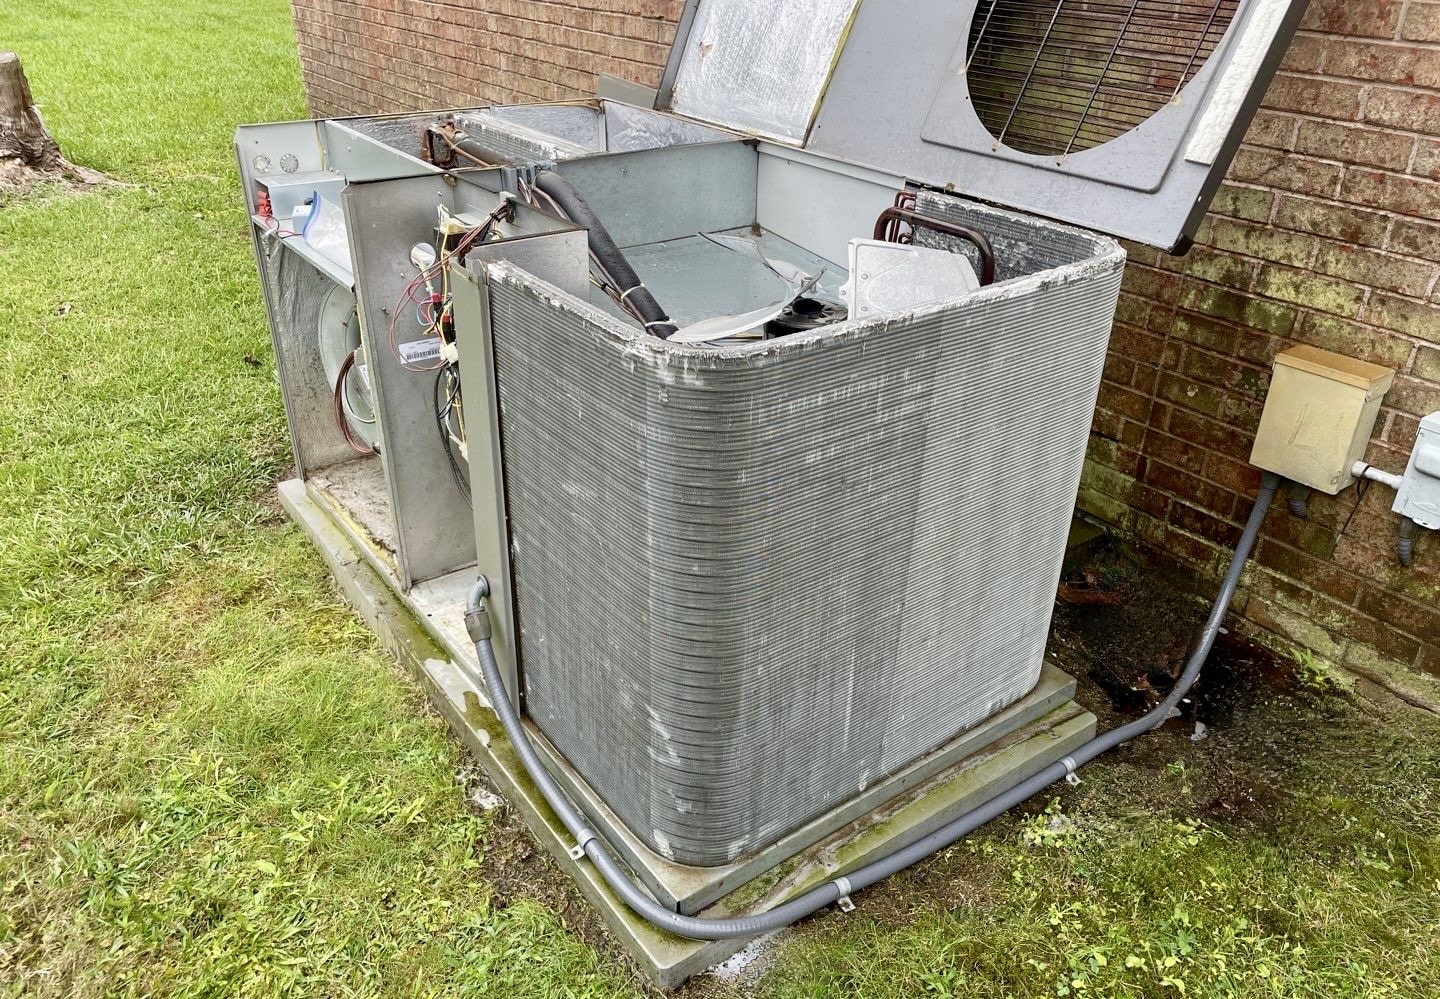
Ensure that the outdoor condenser unit is free from obstructions such as leaves, debris, or overgrown vegetation. Clear any blockage that might restrict airflow around the unit. Also, check the indoor air vents to make sure they aren't blocked by furniture or other items.
5. Look for Ice on the Evaporator Coil
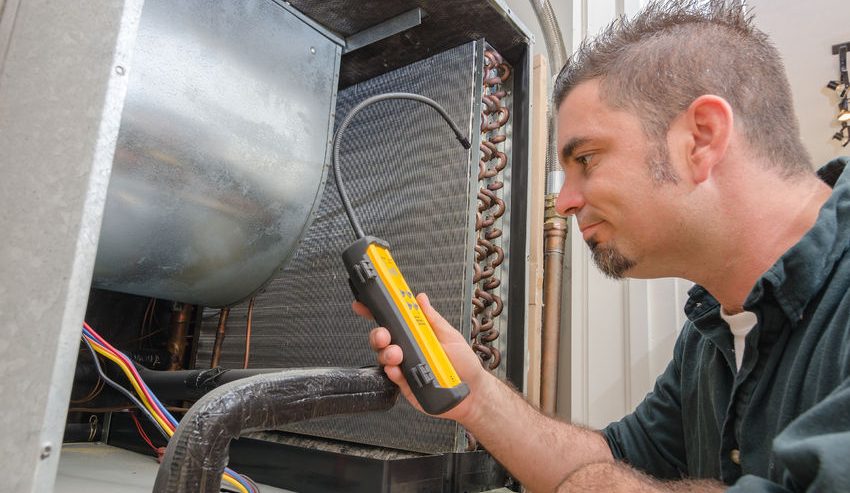
A frozen evaporator coil is a telltale sign of airflow problems or refrigerant issues. If you can access the evaporator coil (typically located inside the indoor air handler unit), carefully inspect it for ice buildup. If you see ice, turn off the AC immediately and allow the ice to thaw completely. This can take several hours. Once thawed, try running the AC again. If the coil freezes up again, it indicates a more serious underlying problem.
If you've checked all these basic troubleshooting steps and your AC still isn't cooling properly, it's time to consider the possibility of a faulty evaporator coil.
Replacing the Evaporator Coil: A Step-by-Step Guide
Warning: Replacing an evaporator coil involves working with refrigerant, which is a regulated substance. It is illegal to knowingly release refrigerant into the atmosphere. Furthermore, the process requires specialized tools and knowledge. This guide is for informational purposes only. It is strongly recommended that you hire a qualified HVAC technician to replace the evaporator coil.
If you are absolutely certain that you possess the necessary skills, tools, and understanding of HVAC systems to proceed safely, then follow these steps with extreme caution. Disconnect power to the unit before starting any work.
1. Safety First!
- Disconnect Power: Absolutely crucial. Turn off the power to the AC unit at the circuit breaker and the disconnect switch. Verify the power is off with a non-contact voltage tester.
- Safety Gear: Wear safety glasses, gloves, and appropriate clothing.
2. Access the Evaporator Coil
- Locate the Air Handler: The evaporator coil is typically located inside the indoor air handler unit, often in the attic, basement, or a closet.
- Remove Access Panels: Carefully remove the access panels to expose the evaporator coil compartment. These panels are usually held in place by screws or clips.
- Document the Setup: Before disconnecting anything, take photos or videos of the existing setup. This will be invaluable when reassembling the unit. Pay close attention to wiring connections and refrigerant line placements.
3. Recover the Refrigerant (Professional Step)
This step requires specialized equipment and expertise. A certified HVAC technician will use a refrigerant recovery machine to safely remove and store the refrigerant from the system. Do not attempt to release refrigerant into the atmosphere.
4. Disconnect Refrigerant Lines (Professional Step)
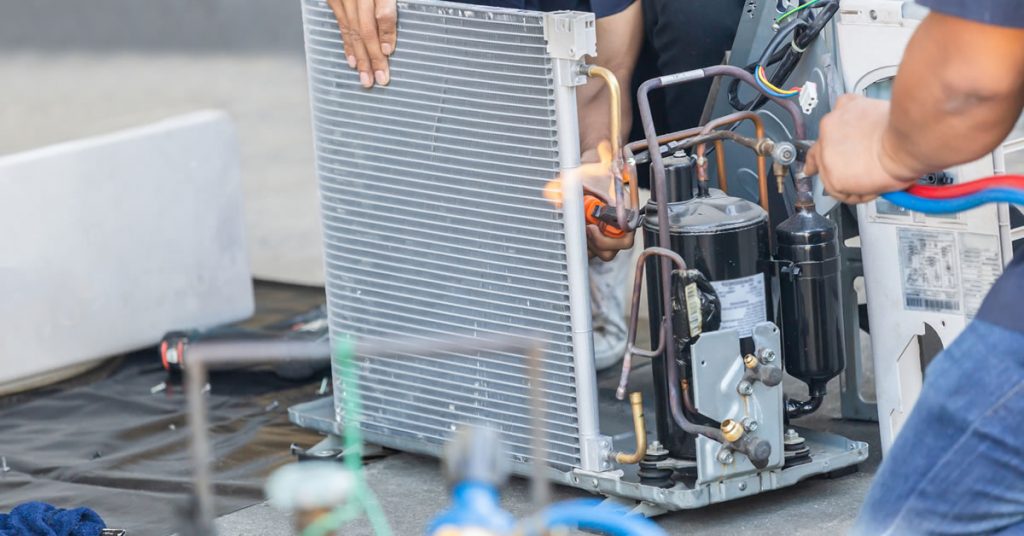
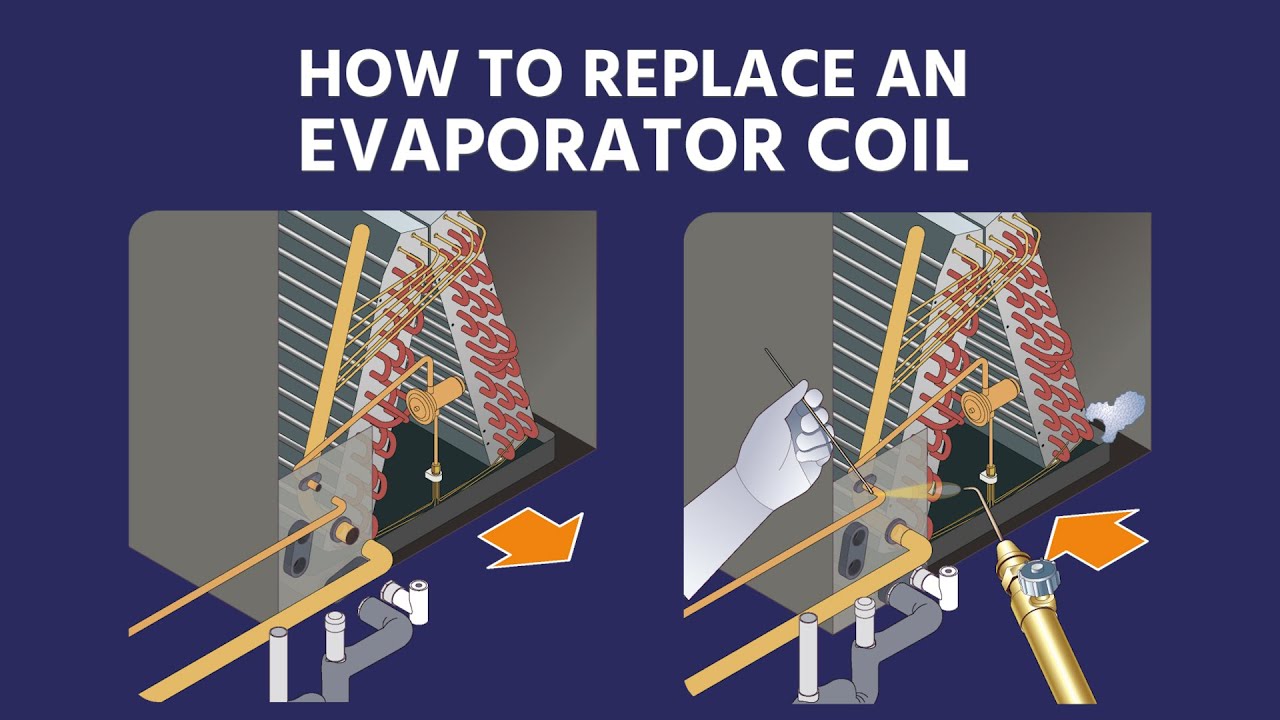
This step also requires specialized tools and knowledge. Once the refrigerant has been recovered, the technician will carefully disconnect the refrigerant lines from the evaporator coil using a torch to braze or unbraze the connections. The lines are then sealed to prevent contamination.
5. Disconnect Wiring
- Carefully Disconnect Wires: Identify and label all wires connected to the evaporator coil or its associated components (e.g., blower motor). Use wire labels to ensure proper reconnection later.
- Document Wire Locations: Take detailed photos of the wiring setup before disconnecting anything.
6. Remove the Old Evaporator Coil
- Detach Mounting Hardware: Remove any screws, brackets, or other hardware that secure the evaporator coil in place.
- Carefully Remove the Coil: Gently slide the old evaporator coil out of the air handler unit. Be careful not to damage any other components during removal.
7. Install the New Evaporator Coil
- Inspect the New Coil: Before installation, carefully inspect the new evaporator coil for any signs of damage.
- Position the New Coil: Slide the new evaporator coil into the air handler unit, aligning it with the mounting points.
- Secure the Coil: Reattach the mounting hardware (screws, brackets, etc.) to secure the new coil in place.
8. Reconnect Wiring
- Refer to Your Documentation: Use your photos and wire labels to reconnect all the wires to the correct terminals. Double-check your connections to ensure accuracy.
9. Reconnect Refrigerant Lines (Professional Step)
This step requires specialized tools and expertise, including brazing or soldering skills. A certified HVAC technician will reconnect the refrigerant lines to the new evaporator coil, ensuring leak-proof connections. They will then pressure test the system to verify the integrity of the connections.
10. Evacuate and Recharge the System (Professional Step)
This step requires specialized equipment and expertise. The HVAC technician will use a vacuum pump to evacuate the system, removing any air and moisture. They will then recharge the system with the correct amount of refrigerant, as specified by the manufacturer.
11. Reassemble the Air Handler
- Replace Access Panels: Reinstall the access panels to the air handler unit, securing them with screws or clips.
12. Restore Power
- Turn on the Power: Turn the power back on to the AC unit at the disconnect switch and the circuit breaker.
13. Test the System
- Set the Thermostat: Set the thermostat to "Cool" mode and a temperature lower than the current room temperature.
- Observe the System: Monitor the AC unit to ensure it is cooling properly. Check for any leaks or unusual noises.
When to Call a Professional
While some aspects of AC maintenance can be tackled by homeowners, replacing an evaporator coil is generally best left to the professionals. Here's when you should always call a qualified HVAC technician:
- Working with Refrigerant: Handling refrigerant requires specialized equipment and certifications. It is illegal and dangerous to vent refrigerant into the atmosphere.
- Brazing/Soldering: Connecting refrigerant lines requires brazing or soldering skills, which most homeowners lack. Improper connections can lead to leaks and system failure.
- Vacuuming and Recharging: Evacuating and recharging the system requires specialized equipment and knowledge of refrigerant pressures and temperatures.
- Complex Electrical Work: If the evaporator coil replacement involves complex electrical work, such as rewiring the blower motor, it's best to call an electrician.
- If You're Unsure: If you're not comfortable with any aspect of the replacement process, err on the side of caution and call a professional.
- Warranty Considerations: Replacing the coil yourself might void the manufacturer's warranty. Check your warranty details before proceeding.
Preventive Maintenance for Your AC System
Regular maintenance can help prevent evaporator coil problems and extend the life of your AC system. Consider these preventive measures:
- Regular Air Filter Changes: Replace your air filter every 1-3 months, depending on usage and air quality.
- Professional AC Tune-Ups: Schedule annual AC tune-ups with a qualified HVAC technician. They can inspect the system, clean the coils, check refrigerant levels, and identify potential problems before they escalate.
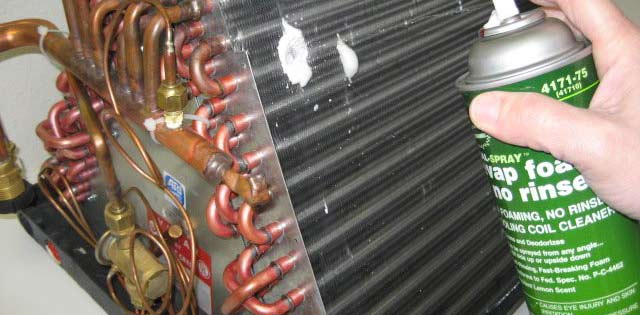
- Keep the Condenser Unit Clean: Regularly clean the outdoor condenser unit to remove debris and ensure proper airflow.
- Monitor for Leaks: Be vigilant for signs of refrigerant leaks, such as ice buildup on the evaporator coil or a decrease in cooling performance.
By following these troubleshooting steps and understanding your limitations, you can effectively diagnose and address AC problems. Remember, safety is paramount, and when in doubt, always consult a qualified HVAC professional. This approach will ensure that your AC system operates efficiently and reliably, keeping your home comfortable for years to come.