How To Replace Galvanized Pipe With Pex

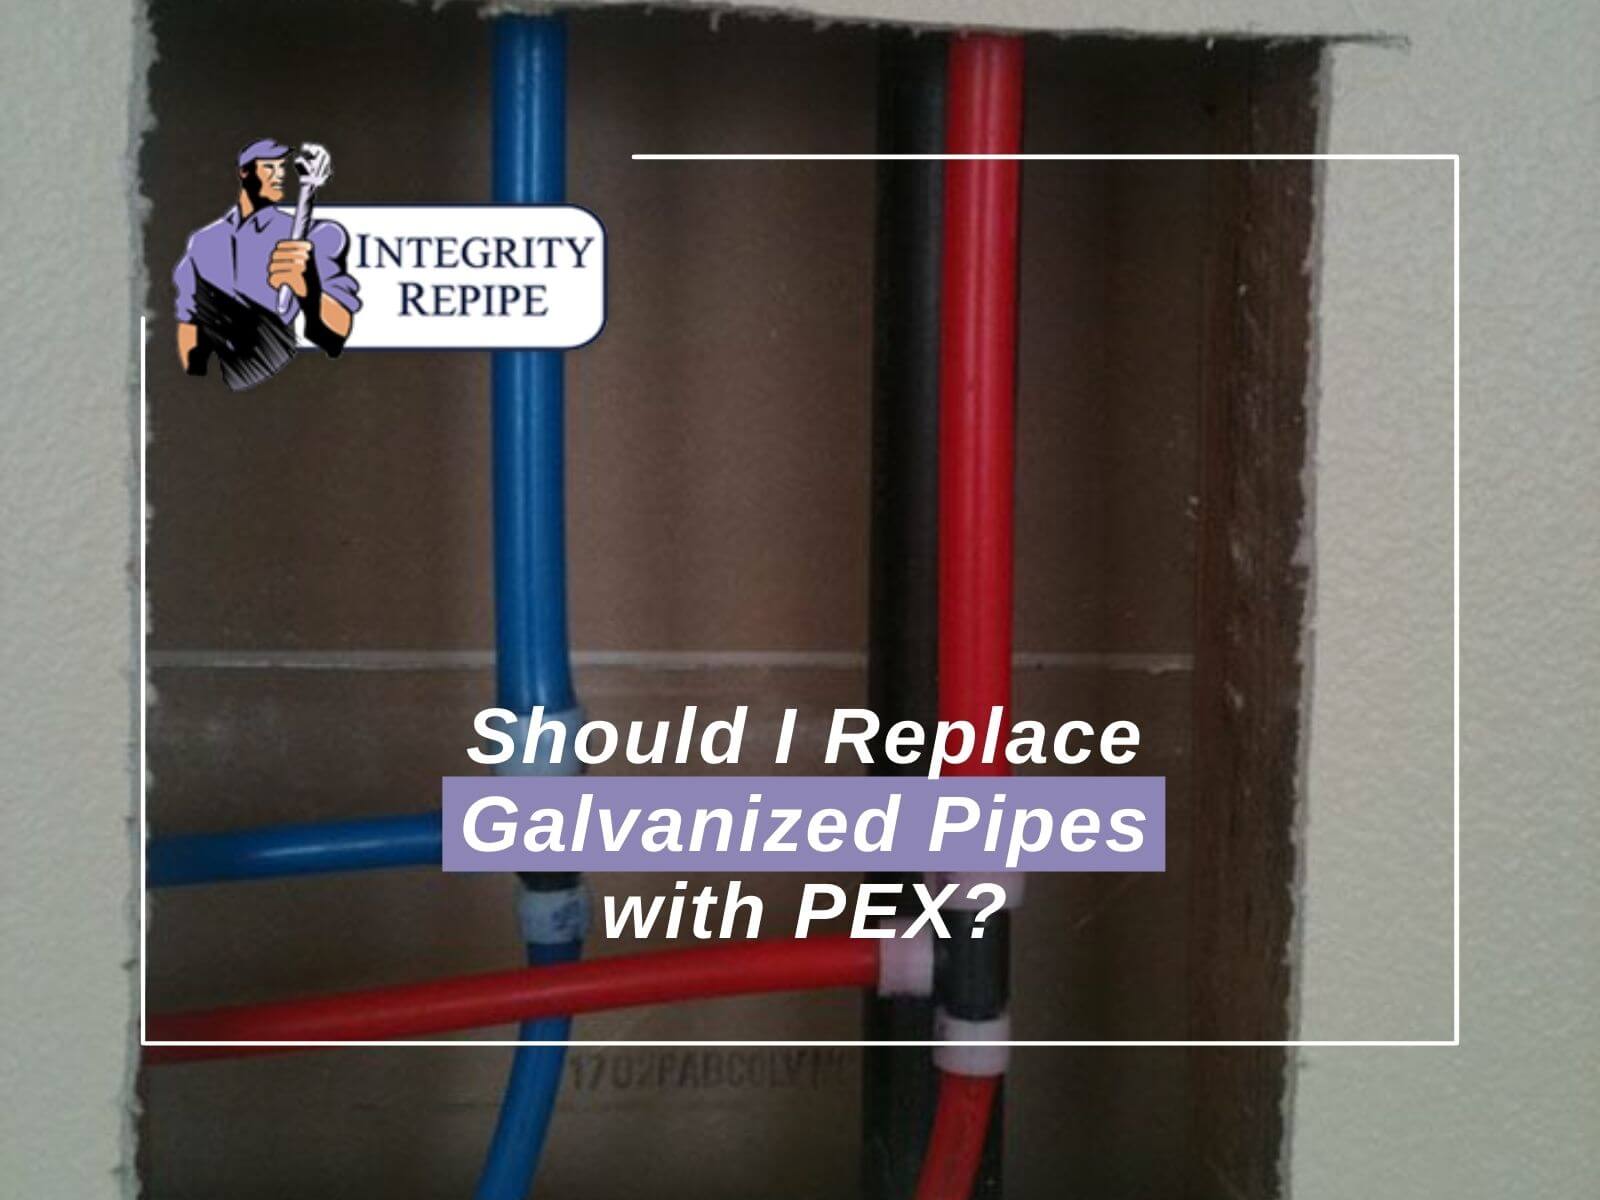
Galvanized pipes, once a mainstay in residential plumbing, are often the source of leaks, corrosion, and reduced water pressure in older homes. Replacing them with PEX (cross-linked polyethylene) tubing is a common upgrade, offering flexibility, durability, and easier installation. This guide provides a step-by-step overview of how to replace galvanized pipe with PEX, but remember: plumbing can be tricky, and mistakes can lead to water damage. Know your limits, and don't hesitate to call a licensed plumber for assistance.
Before You Begin: Is This a DIY Project?
Replacing sections of galvanized pipe with PEX is manageable for experienced DIYers with a solid understanding of plumbing principles. However, replacing an entire home's plumbing system or dealing with complex configurations should be left to the professionals. Consider the following:
- Your Skill Level: Are you comfortable soldering, cutting pipe, and working with plumbing fittings?
- Complexity of the System: A simple, straight run of pipe is far easier to replace than navigating multiple bends, tees, and connections.
- Local Codes: Plumbing codes vary. Check with your local building department to ensure your work complies.
- Hidden Problems: Opening up walls can reveal unexpected issues like mold or extensive corrosion, requiring professional remediation.
If you're unsure, start with a small, isolated section and assess your comfort level before tackling a larger project. Remember, a flooded home is far more expensive than hiring a plumber!
Tools and Materials You'll Need
Gathering the necessary tools and materials beforehand will streamline the process and minimize frustration.
Tools:
- Pipe Cutter: A wheel-style cutter works best for galvanized pipe.
- PEX Cutter: Essential for clean, square cuts on PEX tubing.
- Deburring Tool: Removes sharp edges from cut pipe.
- PEX Crimp Tool or Expansion Tool: Choose the appropriate tool based on your PEX connection method (more on this later).
- Crimp Rings or Expansion Rings: Corresponding to your chosen connection method.
- Adjustable Wrenches (2): For loosening and tightening threaded fittings.
- Pipe Wrench: For gripping and turning stubborn pipes.
- Measuring Tape: For accurate measurements.
- Marker or Pen: For marking cut lines.
- Safety Glasses: Protect your eyes from debris.
- Gloves: Protect your hands.
- Work Light: Adequate lighting is crucial.
- Basin or Bucket: To catch water.
- Towels or Rags: For cleaning up spills.
- Propane Torch (Optional): May be needed for unsoldering connections, if necessary.
Materials:
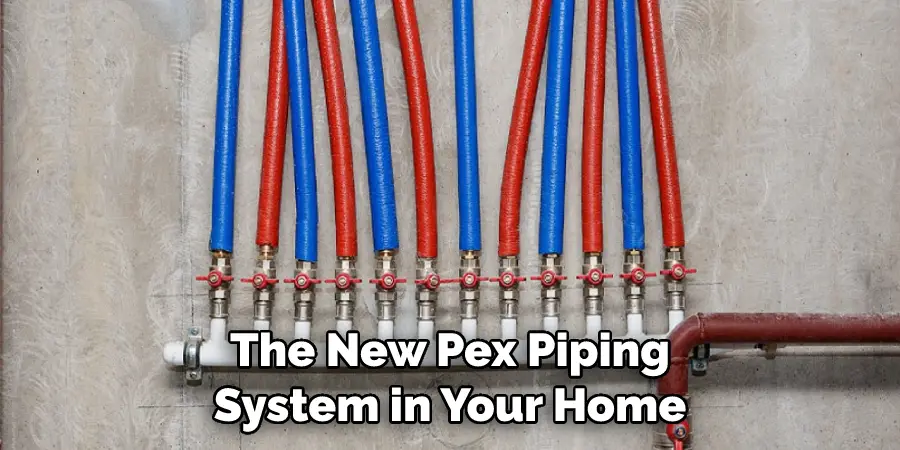
- PEX Tubing: Choose the appropriate size for your application. 1/2" and 3/4" are common sizes in residential plumbing.
- PEX Fittings: Couplings, elbows, tees, adapters (male and female). Ensure they are compatible with your chosen PEX connection method.
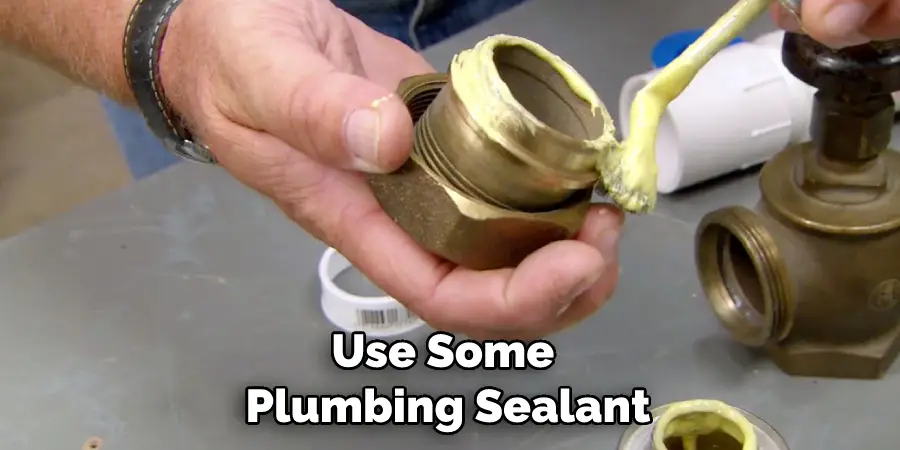
- Thread Sealant (Pipe Dope or Teflon Tape): For sealing threaded connections.
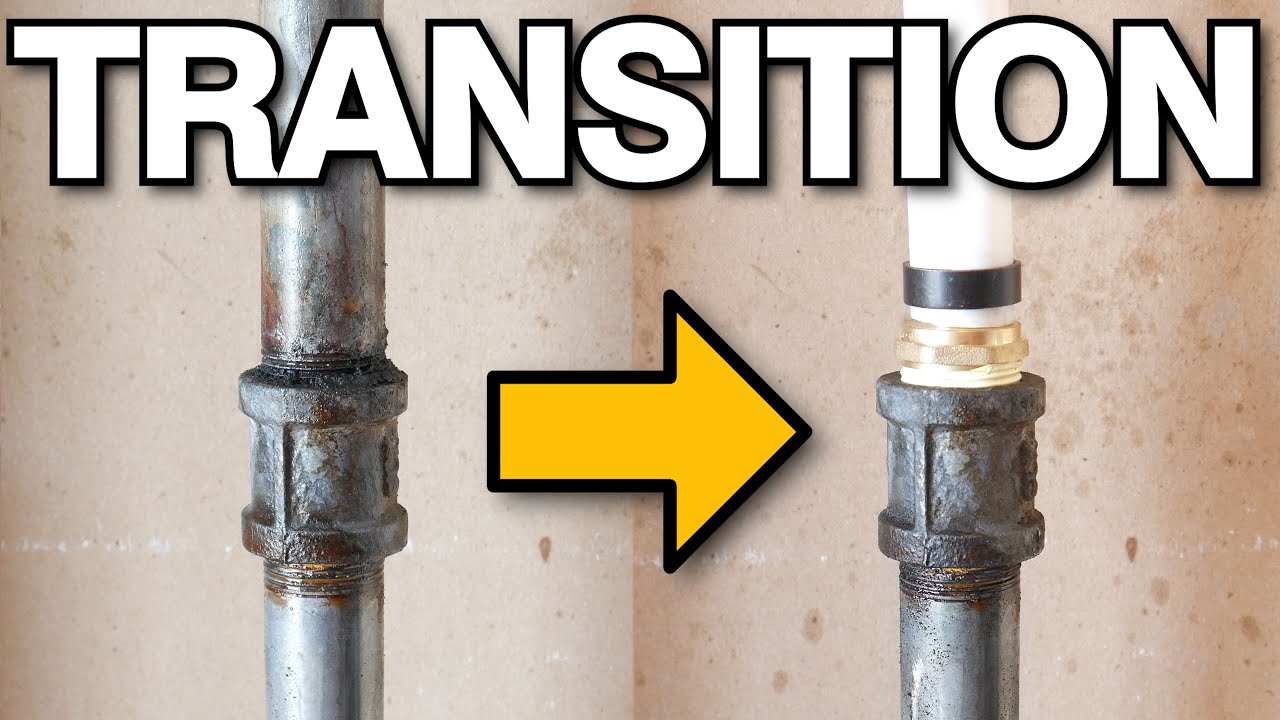
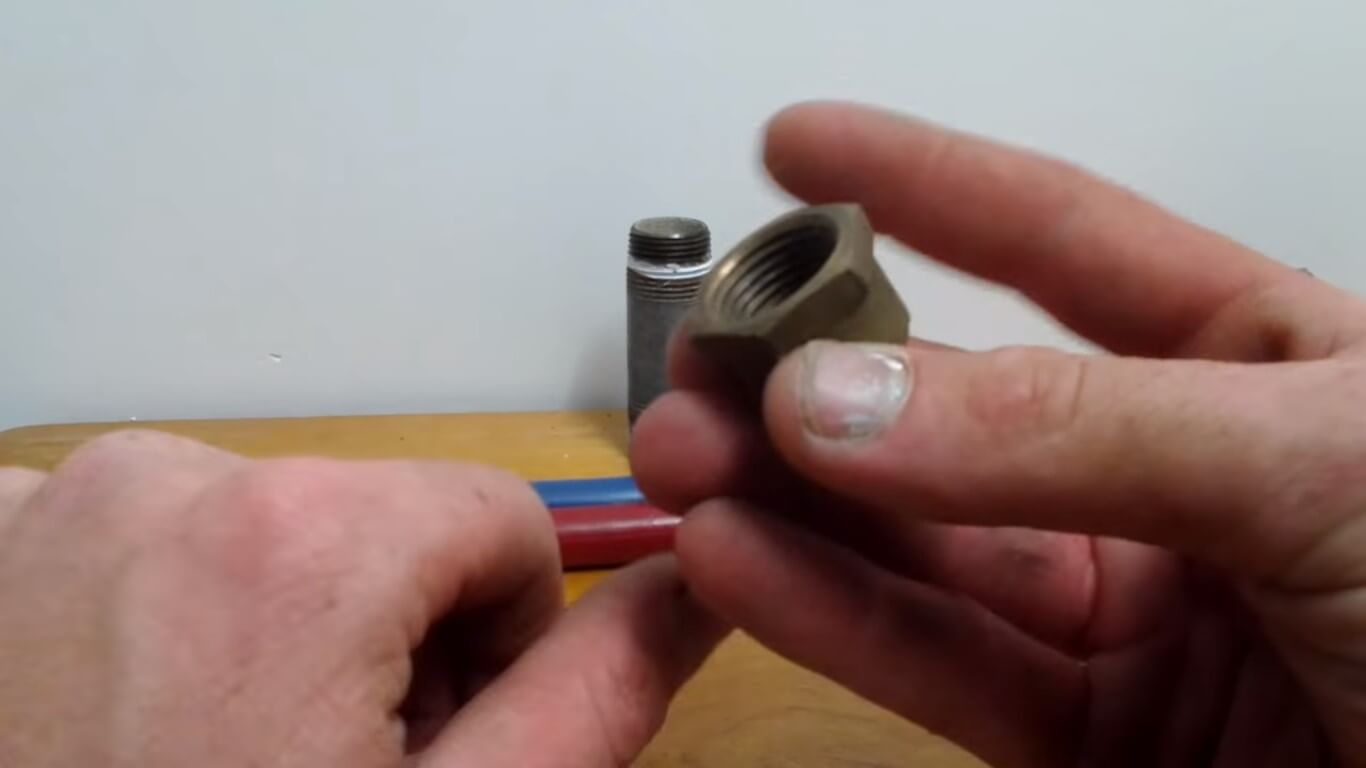
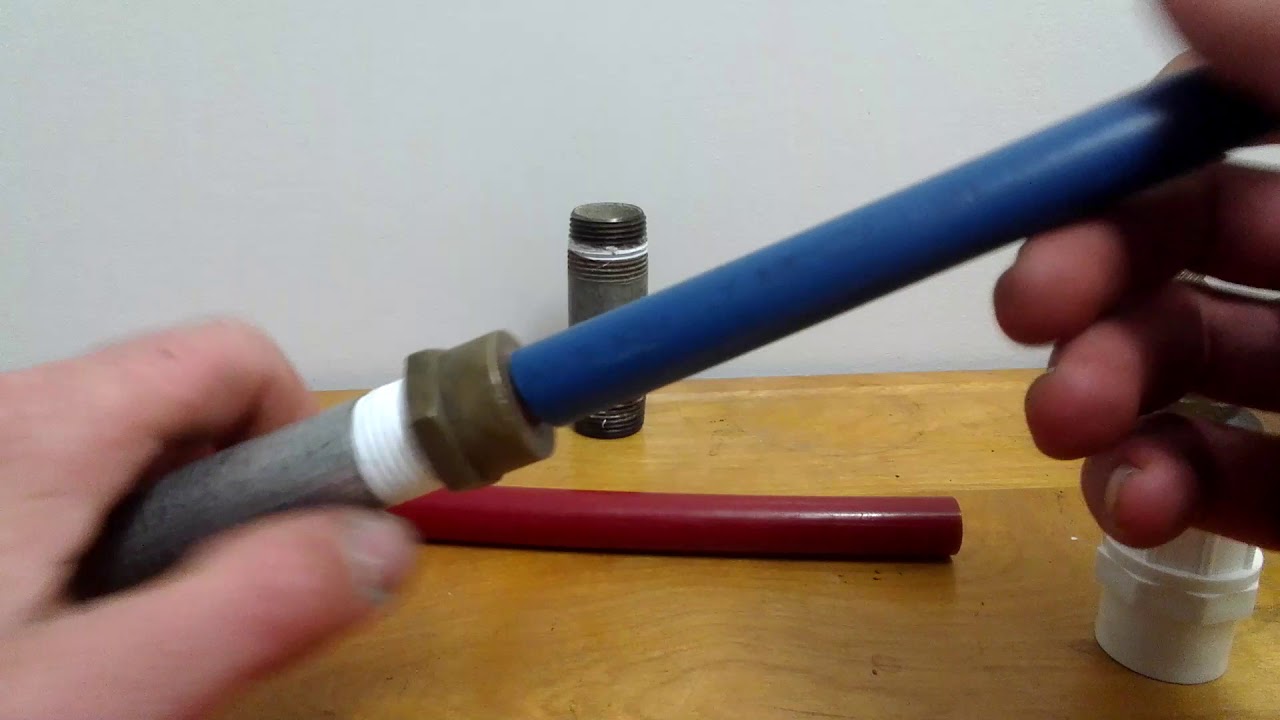
- Transition Fittings (Galvanized to PEX): To connect PEX to existing galvanized pipe.
- Shut-Off Valves (Optional): Consider adding shut-off valves for future maintenance.
- Pipe Clamps or Straps: To secure the PEX tubing.
Step-by-Step Guide: Replacing Galvanized Pipe with PEX
Safety First: Turn off the Water! Locate the main water shut-off valve for your home and turn it off completely. Open a faucet at the lowest point in your house to drain the pipes. This will minimize water spillage during the repair.
- Prepare the Work Area: Clear the area around the pipe you'll be replacing. Protect floors and surfaces from water damage.
- Cut the Galvanized Pipe: Using the pipe cutter, score the galvanized pipe at the desired cut points. Gradually tighten the cutter and rotate it around the pipe until it cuts through. Be prepared for some residual water to drain.
- Remove the Galvanized Pipe Section: Carefully remove the cut section of galvanized pipe. If the pipe is heavily corroded, you may need to use a pipe wrench to loosen it from fittings.
- Clean the Existing Threads: Use a wire brush to clean the threads of the remaining galvanized pipe where you'll be making connections. This ensures a tight, leak-proof seal.
- Install Transition Fittings: Apply thread sealant (pipe dope or Teflon tape) to the male threads of the transition fittings (galvanized to PEX). Screw the fittings onto the existing galvanized pipe, tightening them securely with adjustable wrenches.
- Measure and Cut the PEX Tubing: Accurately measure the distance between the transition fittings. Use the PEX cutter to cut the PEX tubing to the correct length. Ensure the cut is clean and square.
- Choose Your PEX Connection Method: There are two primary methods:
- Crimp Fittings: Slide a crimp ring onto the PEX tubing, insert the fitting, and then use the crimp tool to compress the ring, creating a secure connection.
- Expansion Fittings: Use an expansion tool to expand the end of the PEX tubing, insert the fitting, and then the PEX tubing will shrink back down, creating a tight seal.
- Connect the PEX Tubing: Following the instructions for your chosen connection method, connect the PEX tubing to the transition fittings. Ensure the connections are secure and properly crimped or expanded.
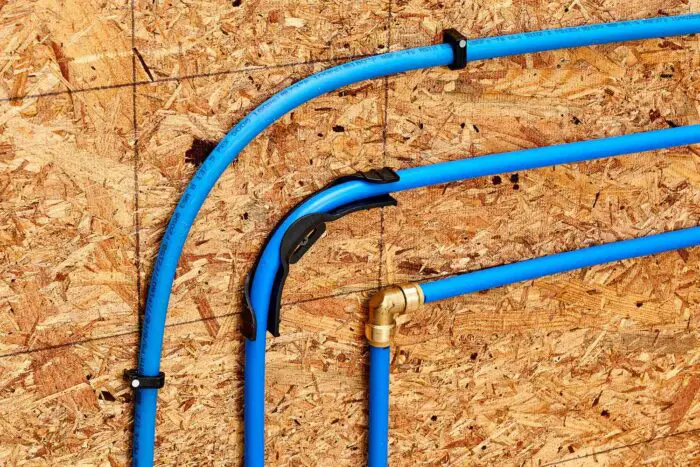
- Secure the PEX Tubing: Use pipe clamps or straps to secure the PEX tubing to walls or framing. This prevents the tubing from sagging or moving, which can stress the connections.
- Turn on the Water and Check for Leaks: Slowly turn the main water supply back on. Carefully inspect all connections for leaks. If you find a leak, turn off the water immediately and tighten the connection or redo it if necessary.
Common Issues and Troubleshooting
Even with careful planning, problems can arise during the replacement process. Here are some common issues and how to address them:
- Stripped Threads: If you strip the threads on a galvanized fitting, you may need to replace the entire fitting or section of pipe.
- Stubborn Fittings: Use penetrating oil and a pipe wrench to loosen stubborn fittings. If necessary, heat the fitting with a propane torch (exercise extreme caution and follow all safety precautions).
- Leaks: Ensure connections are properly tightened and sealed. If a leak persists, disassemble the connection and inspect for damage. Reapply thread sealant or replace the fitting if necessary.
- Incorrect PEX Size: Using the wrong size PEX tubing or fittings can lead to leaks or reduced water pressure. Double-check the size before making any connections.
- Kinked PEX Tubing: Kinking can restrict water flow. Use a PEX bender or replace the kinked section of tubing.
Cost Considerations
The cost of replacing galvanized pipe with PEX depends on several factors, including the amount of pipe being replaced, the complexity of the system, and whether you hire a plumber.
- Materials: PEX tubing, fittings, and transition fittings can range from \$50 to \$200 for a small project.
- Tools: If you don't already own them, the cost of a PEX crimp tool or expansion tool can range from \$50 to \$200.
- Labor: If you hire a plumber, expect to pay \$50 to \$150 per hour, depending on your location and the plumber's experience.
A small DIY project might cost \$100 to \$300, while a whole-house replacement by a professional could cost several thousand dollars.
When to Call a Professional
While this guide provides a comprehensive overview, there are situations where calling a licensed plumber is the best course of action:
- Extensive Corrosion: If the galvanized pipe is heavily corroded, it may be difficult to remove and replace without damaging surrounding pipes.
- Complex Plumbing Configurations: Navigating multiple bends, tees, and connections requires specialized knowledge and experience.
- Working with Gas Lines: Never attempt to work on gas lines yourself. This is extremely dangerous and requires a qualified professional.
- Code Violations: If you're unsure about local plumbing codes, it's best to consult a professional to ensure your work complies.
- You're Not Comfortable: If you're not comfortable with any aspect of the project, don't hesitate to call a plumber. It's better to be safe than sorry.
Replacing galvanized pipe with PEX can improve water quality and pressure, but it's essential to approach the project with caution and respect for the potential risks. By following these steps and knowing your limits, you can successfully upgrade your plumbing system. Remember, when in doubt, consult a licensed plumber. They have the expertise and experience to ensure the job is done safely and correctly. Consider checking the Better Business Bureau (BBB) for certified professionals in your area. Happy plumbing!