
How To Replace Gas Shut Off Valve

Replacing a gas shut-off valve is a critical task that requires careful attention to safety and precision. Whether you're a homeowner, an HVAC technician, or a facility manager, understanding the process is essential for ensuring the safe and efficient operation of your gas-powered appliances and heating systems. This guide will provide a step-by-step approach to replacing a gas shut-off valve, covering everything from preparation to testing.
Safety First: Essential Precautions
Before starting any work on a gas line, safety is paramount. Gas leaks are dangerous and can lead to explosions or carbon monoxide poisoning. Follow these precautions meticulously:
- Call Your Gas Company: Inform your local gas company that you will be working on your gas line. They may offer guidance or even shut off the gas supply to your property for you. This is always the safest option.
- Never Work Alone: Have someone nearby who can assist you in case of an emergency.
- No Smoking or Open Flames: Ensure the area is free from any potential ignition sources.
- Ventilate the Area: Open windows and doors to provide adequate ventilation.
- Wear Safety Glasses and Gloves: Protect your eyes and hands from debris and potential exposure to gas.
- Have a Gas Leak Detector Ready: A gas leak detector is crucial for verifying the integrity of your new connection.
Tools and Materials Required
Having the right tools and materials on hand will make the job smoother and safer. Here's a comprehensive list:
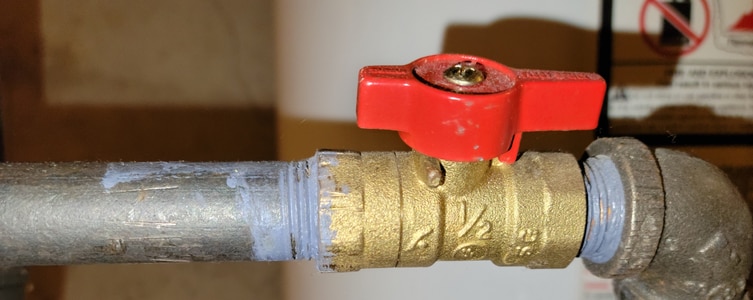
- New Gas Shut-Off Valve: Ensure the new valve is the correct size and type for your gas line. Check local codes for approved valves. A common type is a brass ball valve.
- Pipe Wrenches (Two): One to hold the existing pipe and another to loosen and tighten the valve. Choose appropriate sizes for your pipe diameter.
- Pipe Joint Compound (Gas-Rated): This sealant helps create a gas-tight seal on the threaded connections. Always use a compound specifically rated for gas lines.
- Pipe Thread Tape (Teflon Tape, Gas-Rated): As an alternative or supplement to pipe joint compound. Again, ensure it's rated for gas lines (usually yellow).
- Adjustable Wrench: For tightening fittings on the valve, if applicable.
- Gas Leak Detector (Electronic or Soap Bubbles): To test for leaks after installation. A simple solution of soapy water can also work.
- Clean Rags: For wiping up any excess pipe joint compound or moisture.
- Measuring Tape: To ensure proper pipe alignment.
- Pipe Cutter (Optional): If you need to shorten the pipe or if the existing valve is corroded to the pipe.
- Propane Torch (Optional): Only if soldering copper gas lines. Requires advanced skills and experience.
- Sand Cloth or Wire Brush: For cleaning pipe threads.
Step-by-Step Replacement Process
Now, let's proceed with the replacement. Remember to double-check your safety preparations before starting.
- Turn Off the Gas Supply: Locate the main gas shut-off valve near your gas meter and turn it off. Typically, turning the valve handle perpendicular to the pipe shuts off the gas. Double-check by testing a nearby gas appliance (like a stove burner) to ensure no gas is flowing.
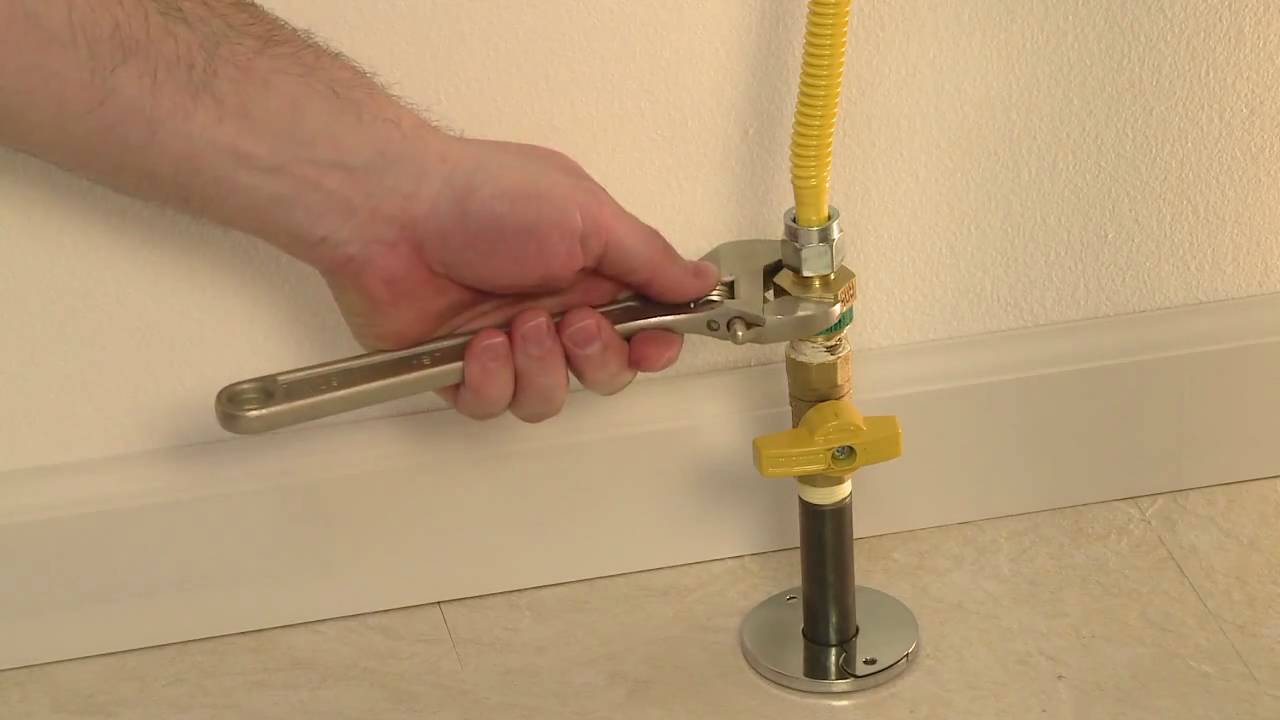
- Disconnect the Old Valve: Using two pipe wrenches, grip the pipe on either side of the valve. Apply pressure to loosen the valve. Be prepared for a small amount of residual gas to escape. If the valve is difficult to remove, apply penetrating oil and wait for a few minutes.
- Clean the Pipe Threads: Thoroughly clean the threads of the pipes with a wire brush or sand cloth to remove any old sealant or corrosion. Clean threads are essential for a good seal.
- Apply Pipe Joint Compound or Teflon Tape: Apply gas-rated pipe joint compound to the male threads of the pipe. If using Teflon tape, wrap the threads in a clockwise direction (as you face the open end of the pipe), overlapping each layer slightly. Use 2-3 layers of tape. Do not apply both compound and tape unless specifically recommended for your situation.
- Install the New Valve: Carefully align the new shut-off valve with the pipe and begin threading it on by hand. Then, use two pipe wrenches to tighten the valve. Make sure the valve is oriented correctly for easy access in the future. Tighten firmly, but avoid over-tightening, which can damage the threads or the valve.
- Inspect the Connection: Visually inspect the connection for any gaps or imperfections.
- Turn On the Gas Supply: Slowly turn the main gas shut-off valve back on.
- Test for Leaks: Apply a gas leak detector or soapy water solution to all connections. If you see bubbles forming, there is a leak. Immediately turn off the gas supply and re-tighten the connection or reapply pipe joint compound/Teflon tape.
- Verify Appliance Operation: Once you've confirmed there are no leaks, test your gas appliances to ensure they are working correctly. Relight pilot lights as needed.
Special Considerations for Different Pipe Materials
Gas lines can be made from different materials, each requiring specific techniques:
- Black Iron Pipe: The most common material for gas lines. Requires pipe wrenches and gas-rated pipe joint compound or Teflon tape.
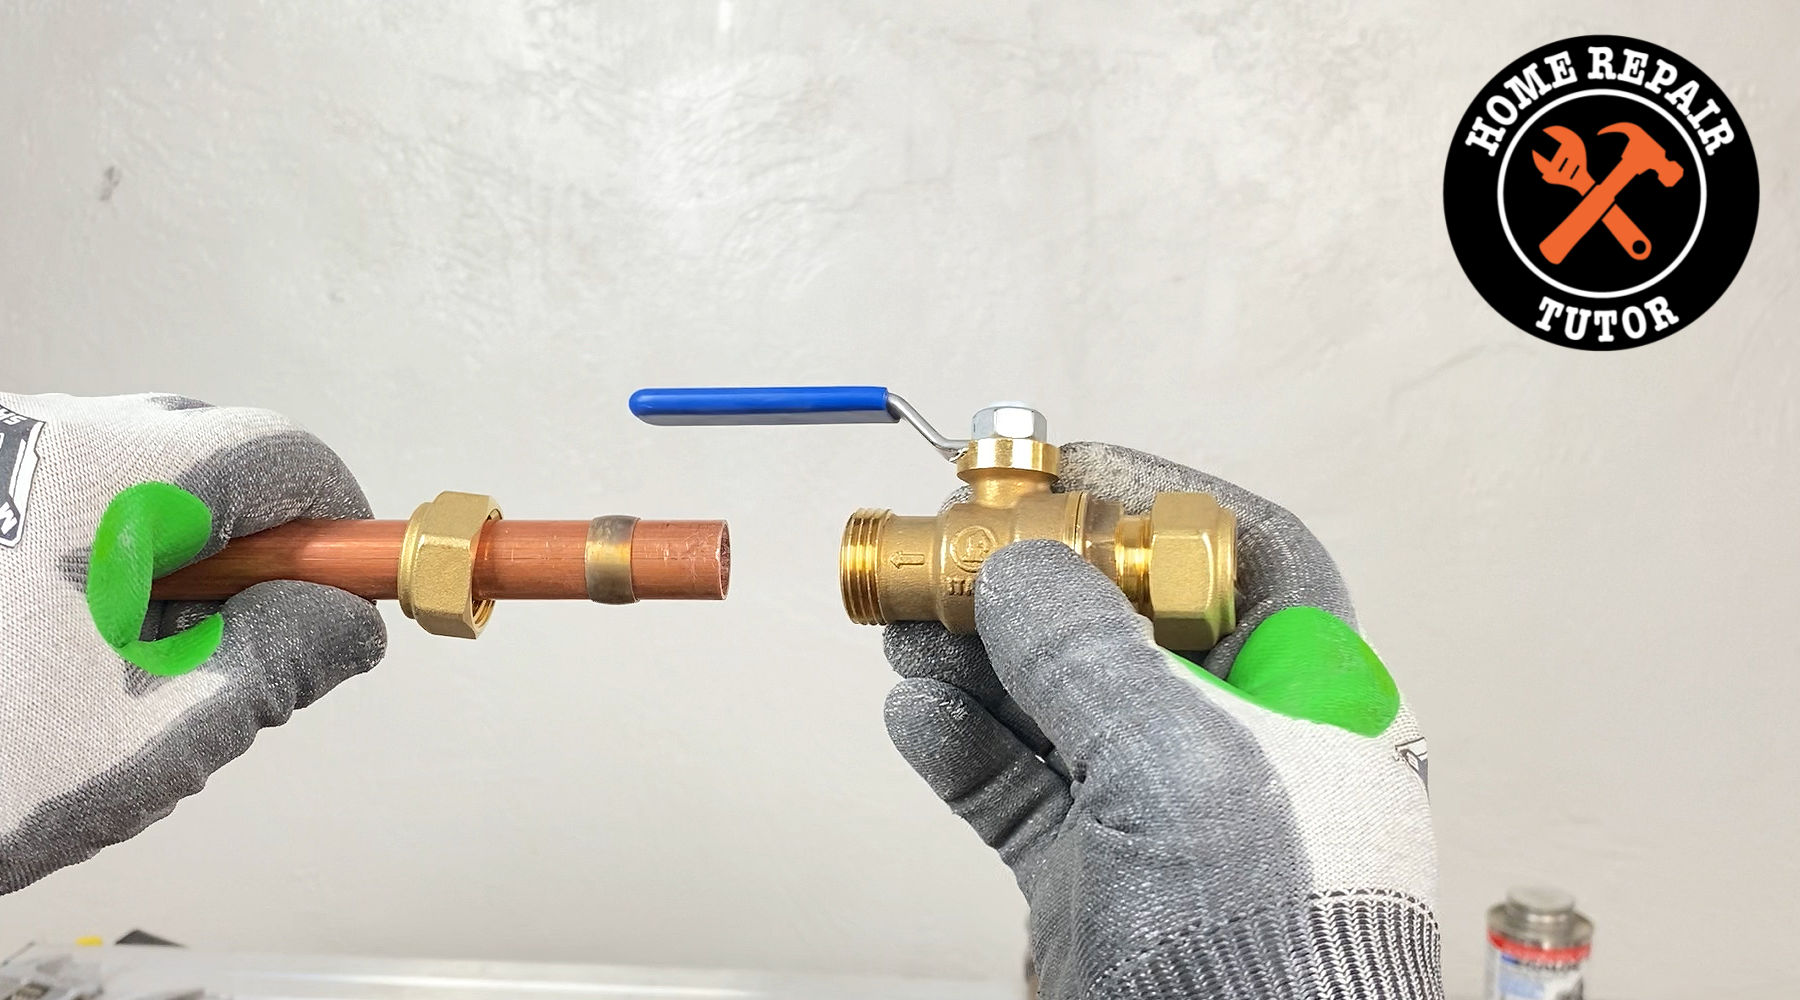
- Copper Pipe: Less common, but sometimes found in older installations. Requires soldering with a propane torch and specialized fittings. This should only be done by experienced professionals.
- Corrugated Stainless Steel Tubing (CSST): Flexible tubing with specialized fittings. Requires specific training and tools for installation.
Troubleshooting Common Issues
- Stuck Valve: If the old valve is stuck, apply penetrating oil and wait for a few minutes. You can also try gently tapping the valve with a hammer to loosen it.
- Leaking Connection: If you detect a leak after installation, turn off the gas supply and re-tighten the connection or reapply pipe joint compound/Teflon tape. Ensure the threads are clean and properly sealed.
- Cross-Threading: Avoid cross-threading by carefully aligning the valve with the pipe before tightening. If you encounter resistance, stop and re-align the threads.
When to Call a Professional
While this guide provides a detailed overview of replacing a gas shut-off valve, there are situations where it's best to call a qualified HVAC technician or plumber:
- You are not comfortable working with gas lines.
- You suspect a major gas leak.
- The gas line is severely corroded or damaged.
- You are working with copper pipe and need to solder.
- You are unsure about local codes and regulations.
Regulations and Codes
Always be aware of local codes and regulations regarding gas line work. These codes often specify the type of valves and fittings that are allowed, as well as the procedures for installation and inspection. Failure to comply with these codes can result in fines or safety hazards.
Cost Considerations
The cost of replacing a gas shut-off valve can vary depending on several factors:
- Valve Cost: Gas shut-off valves typically range from $10 to $50, depending on size and material.
- Materials: Pipe joint compound, Teflon tape, and other materials may cost an additional $10 to $20.
- Professional Labor: If you hire a professional, labor costs can range from $100 to $300 or more, depending on the complexity of the job and your location.
Preventative Maintenance
Regular inspection of your gas shut-off valves is essential for ensuring their proper function. Look for signs of corrosion, leaks, or damage. If you notice any issues, address them promptly to prevent future problems.
Replacing a gas shut-off valve requires careful preparation, attention to detail, and a commitment to safety. By following this guide and taking the necessary precautions, you can ensure the safe and efficient operation of your gas-powered appliances and heating systems. Remember, when in doubt, always consult a qualified professional.




:max_bytes(150000):strip_icc()/shutting-off-gas-to-the-stove-2718660-05-f585effcdd3b4056a0db078761648117.jpg)
