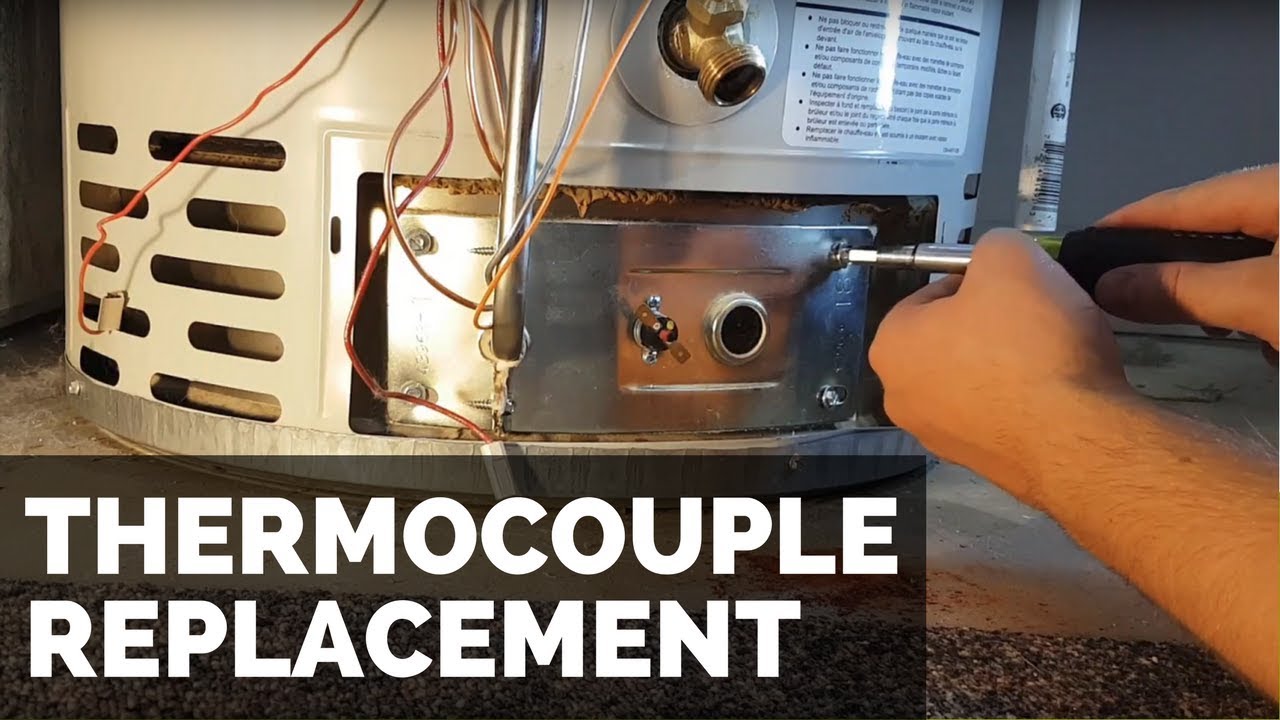
How To Replace Thermocouple In Gas Water Heater
:max_bytes(150000):strip_icc()/replacing-water-heater-thermocouple-flame-sensor-1824918-06-ce04bc96a0cb4fcd8e16b7ab32afe434.jpg)
Waking up to a cold shower is a common household frustration, and often, the culprit behind a gas water heater failing to ignite is a faulty thermocouple. This small, but crucial, component acts as a safety device, ensuring that gas only flows to the burner when the pilot light is lit. If the thermocouple fails, it will shut off the gas supply, preventing a potentially dangerous gas leak. Before calling a professional, there are a few troubleshooting steps you can safely take to determine if a thermocouple replacement is the right solution and, if so, how to handle it.
Understanding the Role of the Thermocouple
The thermocouple is a safety device that senses the heat of the pilot light. When heated, it generates a tiny electrical current (millivolts) that keeps the gas valve open, allowing the main burner to ignite. If the pilot light goes out, the thermocouple cools, the electrical current stops, and the gas valve shuts off. Think of it as the water heater's "proof-of-flame" sensor.
Troubleshooting a Gas Water Heater: A Step-by-Step Guide
Before touching anything, remember that working with gas appliances requires caution. If you smell gas at any point, immediately turn off the gas supply to the water heater and evacuate the area. Contact your local gas company or a qualified HVAC technician. If you're uncomfortable with any of these steps, do not proceed and call a professional.
Step 1: Safety First - Turn off the Gas and Power
Crucially, the first step is ensuring your safety. Locate the gas shut-off valve, usually a yellow handle near the water heater. Turn it perpendicular to the gas pipe to shut off the gas supply. For added safety, you can also turn off the electrical breaker for the water heater, although many gas water heaters don't require electrical power.
Step 2: Check the Pilot Light
Remove the access panel to the burner chamber. You should see the pilot light assembly. If the pilot light is not lit, proceed to the next step. If it is lit, but the main burner doesn't ignite, the thermocouple might still be faulty, but other issues could also be involved. A professional diagnosis is recommended in this scenario.
Step 3: Attempt to Relight the Pilot Light
Follow the manufacturer's instructions (usually printed on a label on the water heater) for relighting the pilot light. This typically involves:
- Turning the gas control knob to the "Pilot" setting.
- Pressing and holding the reset button (usually near the gas control knob).
- While holding the reset button, use a long lighter or match to light the pilot light.
- Continue holding the reset button for about 30-60 seconds after the pilot light ignites. This allows the thermocouple to heat up and generate enough current to keep the gas valve open.
- Release the reset button. The pilot light should remain lit.
If the pilot light goes out immediately after releasing the reset button, the thermocouple is likely faulty and needs replacement.
Step 4: Inspect the Thermocouple
With the gas supply off, visually inspect the thermocouple. It's a thin copper rod that sits directly in the pilot light flame. Look for:
- Corrosion: A buildup of white or green residue can impede its ability to generate electricity.
- Damage: Cracks, bends, or breaks in the thermocouple.
- Loose Connections: Check the connection points at both ends of the thermocouple. Make sure they are securely tightened.
If you see any of these issues, the thermocouple likely needs replacing.
Step 5: Cleaning the Thermocouple (Proceed with Caution)
If the thermocouple appears only slightly corroded, you can try cleaning it. Ensure the gas is turned off before attempting this. Use a fine-grit sandpaper or steel wool to gently clean the tip of the thermocouple that sits in the flame. Wipe away any residue with a clean cloth. After cleaning, try relighting the pilot light as described in Step 3. If it still doesn't stay lit, replacement is the best course of action.
Replacing the Thermocouple: A DIY Guide (With Caveats)
Replacing a thermocouple is a relatively straightforward DIY task, but it requires caution and attention to detail. If you are not comfortable working with gas lines or have any doubts about your abilities, hire a qualified technician. Improper installation can lead to dangerous gas leaks.
Tools You'll Need:
- New Thermocouple (Make sure it's the correct type for your water heater model)
- Adjustable Wrench
- Pipe Dope or Teflon Tape (Specifically for gas lines)
- Screwdrivers (Possibly, depending on your water heater model)
- Small Wire Brush (For cleaning threads)
- Leak Detector Solution (Soap and water mixture in a spray bottle)
Step 1: Shut off the Gas and Power (Again!)
Double-check that the gas supply to the water heater is completely shut off. Also, turn off the electrical breaker for the water heater, even if it doesn't seem to require power. Safety is paramount.
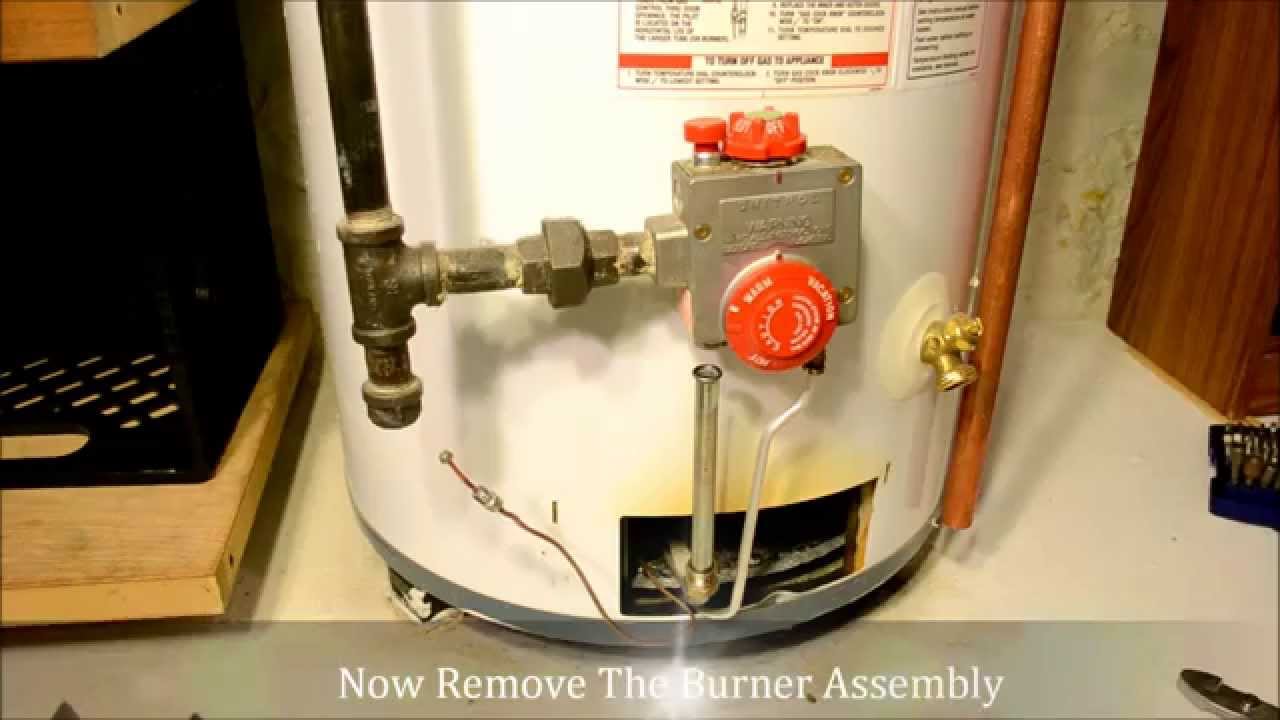
Step 2: Remove the Old Thermocouple
- Locate where the thermocouple connects to the gas control valve. This is usually a threaded fitting.
- Use an adjustable wrench to carefully loosen the fitting. Be gentle; avoid stripping the threads.
- Once loosened, unscrew the fitting completely and detach the thermocouple from the gas control valve.
- The other end of the thermocouple is typically held in place by a clip or bracket near the pilot light assembly. Remove the clip or bracket and detach the thermocouple.
Step 3: Clean the Threads
Use a small wire brush to clean the threads on the gas control valve where the thermocouple connects. This will ensure a good seal with the new thermocouple.
Step 4: Install the New Thermocouple
- Wrap the threads of the new thermocouple fitting with Teflon tape (specifically designed for gas lines) or apply a thin layer of pipe dope. Follow the manufacturer's instructions for the sealant you choose.
- Carefully screw the new thermocouple into the gas control valve fitting. Tighten it snugly with an adjustable wrench, but do not overtighten. Overtightening can damage the valve.
- Attach the other end of the thermocouple to the pilot light assembly, securing it with the clip or bracket. Ensure the thermocouple is positioned directly in the pilot light flame.
Step 5: Turn on the Gas and Check for Leaks
- Slowly turn the gas shut-off valve back on.
- Mix a solution of soap and water in a spray bottle.
- Spray the solution onto the thermocouple fitting at the gas control valve.
- Watch for bubbles. If you see bubbles, it indicates a gas leak. Immediately turn off the gas supply and tighten the fitting further. If the leak persists, call a qualified technician.
- If there are no leaks, proceed to the next step.
Step 6: Relight the Pilot Light
Follow the manufacturer's instructions for relighting the pilot light (as described in Step 3 of the troubleshooting section). This typically involves:
- Turning the gas control knob to the "Pilot" setting.
- Pressing and holding the reset button.
- Lighting the pilot light.
- Holding the reset button for 30-60 seconds after the pilot light ignites.
- Releasing the reset button.
If the pilot light stays lit, the thermocouple replacement was successful. Turn the gas control knob to the "On" position. The main burner should ignite when hot water is needed.
Step 7: Monitor and Test
Monitor the water heater for a few hours to ensure it's functioning properly. Check the water temperature to make sure it's reaching the desired level. Listen for any unusual noises or smells. If you notice anything concerning, turn off the gas supply and call a professional.
When to Call a Professional
While replacing a thermocouple can be a DIY project, there are situations where it's best left to a qualified technician:
- You smell gas at any time.
- You are uncomfortable working with gas lines.
- You are unsure about any of the steps involved.
- The pilot light still doesn't stay lit after replacing the thermocouple. This could indicate a more complex problem with the gas control valve or other components.
- The water heater is old or has other problems. It might be more cost-effective to replace the entire unit.
- You have a power-vent or tankless water heater. These models often have more complex systems that require specialized knowledge.
Remember, your safety and the proper functioning of your gas appliances are the top priorities. When in doubt, always consult a qualified professional.
Preventative Maintenance
To extend the life of your water heater and prevent thermocouple issues, consider these preventative measures:
- Flush the water heater annually to remove sediment buildup.
- Inspect the burner chamber and pilot light assembly periodically for debris or corrosion.
- Have a professional inspect your water heater every few years to identify potential problems before they become major issues.
By following these guidelines, you can confidently troubleshoot a faulty thermocouple and potentially save yourself the cost of a service call. However, always prioritize safety and seek professional help when needed. A little knowledge and caution can go a long way in maintaining your gas water heater and ensuring a steady supply of hot water.
:max_bytes(150000):strip_icc()/replacing-water-heater-thermocouple-flame-sensor-1824918-05-6d1e35fb0ecc46c3a10200f4f166a9c6.jpg)
:max_bytes(150000):strip_icc()/replacing-water-heater-thermocouple-flame-sensor-1824918-01-5fa3905d42384c7abb3812897af7c9c1.jpg)
:max_bytes(150000):strip_icc()/replacing-water-heater-thermocouple-flame-sensor-1824918-hero-7ee1bb61d2a84355b3884424297996b4.jpg)

:max_bytes(150000):strip_icc()/replacing-water-heater-thermocouple-flame-sensor-1824918-11-b6fd79104db7456890f8cc5e2590d215.jpg)
:max_bytes(150000):strip_icc()/replacing-water-heater-thermocouple-flame-sensor-1824918-08-105e4a3a48a3478f860647df6bd83f5d.jpg)