How To Replace Water Heater Expansion Tank

One of the most frustrating experiences for a homeowner is dealing with irregular water pressure. You might notice a sudden drop in pressure while showering, or perhaps a loud banging noise coming from your pipes. While numerous factors can cause these issues, a frequently overlooked culprit is a malfunctioning water heater expansion tank.
Understanding the Role of the Expansion Tank
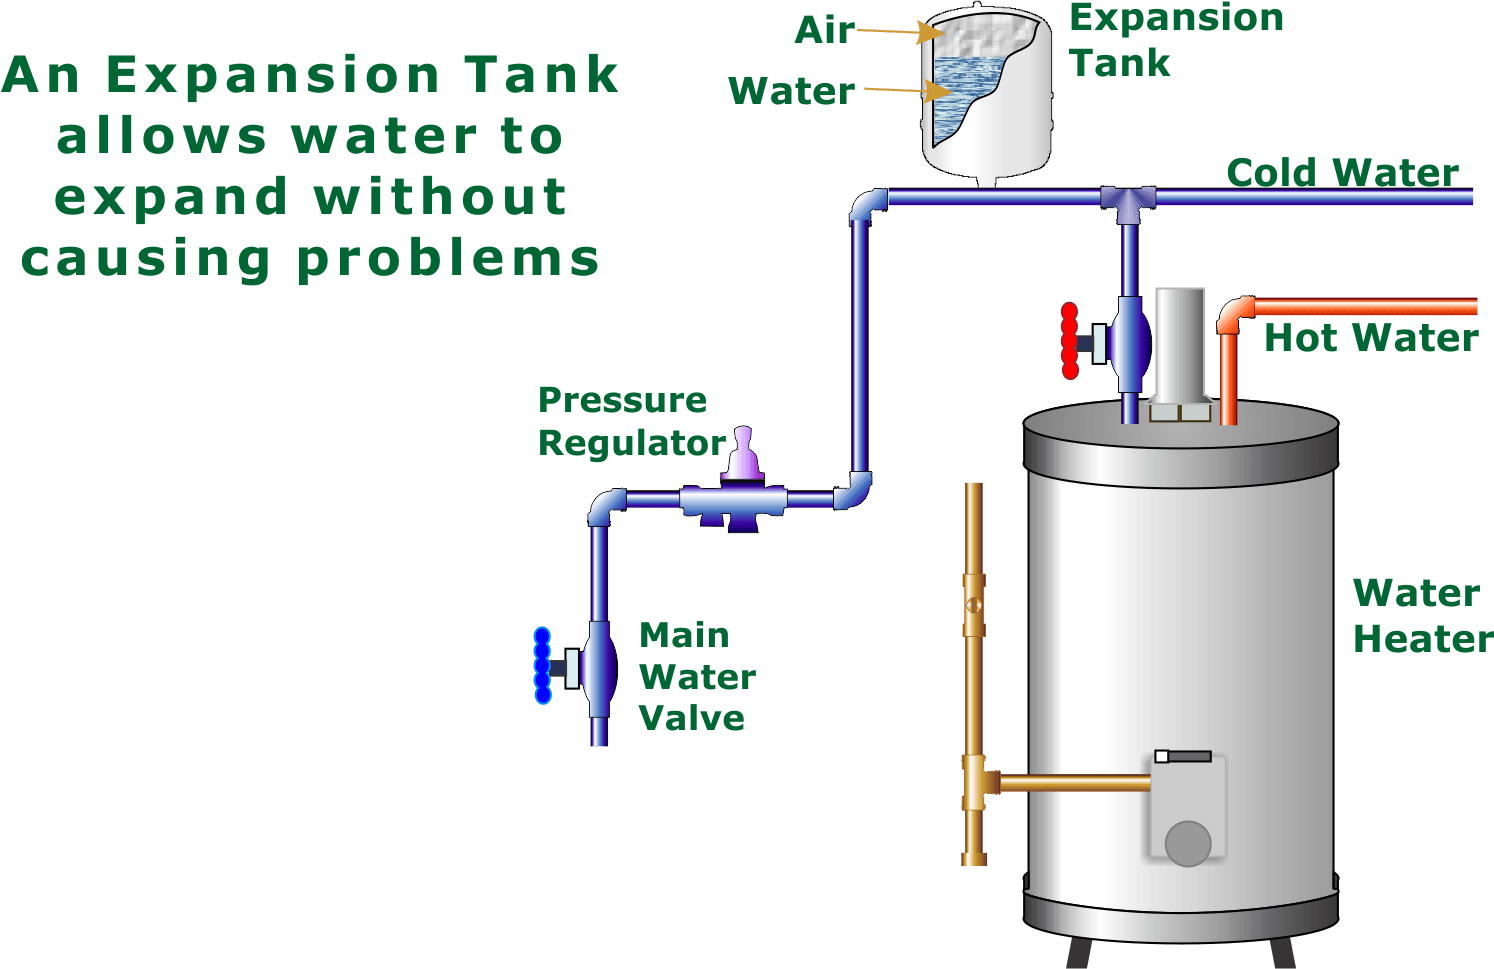
Your water heater expands water as it heats it. Because water is essentially incompressible, this expansion creates increased pressure within your plumbing system. Without a way to accommodate this expansion, the pressure can rise to dangerous levels, potentially damaging pipes, fixtures, and even the water heater itself. This is where the expansion tank comes in.
The expansion tank is designed to absorb this excess water volume. It typically contains a bladder filled with air that compresses as water expands into the tank, maintaining a stable pressure within the system. If the tank fails, the system is exposed to the full force of the water expansion, leading to pressure fluctuations, noisy pipes (water hammer), and potential damage.
Is it the Expansion Tank? Diagnosing the Problem
Before you jump into replacing the expansion tank, it's crucial to accurately diagnose the problem. Here's a methodical approach:
Step 1: Initial Observation (No Tools Required)
Begin by observing the symptoms carefully. Ask yourself:
- Is the water pressure fluctuating noticeably? Does it drop suddenly, or change drastically between different faucets?
- Do you hear banging or hammering noises in your pipes, especially after using hot water? This is a classic sign of water hammer, often caused by excessive pressure.
- Is the water heater relief valve (usually a brass valve with a discharge pipe near the top or side of the heater) dripping or leaking? This valve is designed to release excess pressure, and consistent dripping indicates a pressure problem. Note: a single drip after a heating cycle can be normal.
Step 2: Visual Inspection (No Tools Required)
Visually inspect the expansion tank itself:
- Is the tank rusted, dented, or showing signs of corrosion? External damage can indicate internal problems.
- Is the tank leaking? Look for signs of water around the tank, particularly at the connections.
- Is the tank waterlogged? Carefully lift or try to move the tank. If it feels unusually heavy, it may be full of water instead of air, indicating a bladder failure.
Step 3: Pressure Test (Basic Tools Required: Tire Pressure Gauge)
This is a critical step to determine if the bladder inside the expansion tank is intact.
- Locate the Schrader valve (similar to a tire valve) on the top or side of the expansion tank.
- Remove the valve cap.
- Use a tire pressure gauge to check the air pressure in the tank.
- Compare the reading to the water pressure in your home's plumbing system. You can typically find the water pressure reading on your pressure reducing valve (PRV), usually located near your water meter. Alternatively, you can buy a pressure gauge at a hardware store to connect to a hose bib.
Interpreting the Results:
- If the air pressure in the tank is zero or significantly lower than the water pressure, the bladder has likely failed, and the tank needs to be replaced.
- If water comes out of the Schrader valve when you press the gauge onto it, the bladder is definitely ruptured.
- If the air pressure is higher than the incoming water pressure, it might indicate a problem with the pressure reducing valve rather than the expansion tank. Further investigation or professional assistance might be needed.
Step 4: Bouncing Test (Basic Tools Required: None)
Another way to check the tank: try to lightly shake or bounce the tank. If it feels completely full of water and doesn't have any 'give' or air space inside, the bladder is likely ruptured.
DIY Replacement: Step-by-Step Guide
If your diagnosis points to a faulty expansion tank, and you're comfortable with basic plumbing tasks, you can often replace it yourself. However, if you're unsure about any step, or if your plumbing system is complex, it's always best to call a licensed plumber.
Safety First! Before starting any plumbing work, turn off the power to your water heater at the circuit breaker. For gas water heaters, turn the gas valve to the "off" position.
Tools and Materials You'll Need:
- New expansion tank (matching the size and connection type of your old one)
- Pipe wrench or adjustable wrench
- Thread sealant (Teflon tape or pipe dope)
- Bucket
- Screwdriver (may be needed to loosen clamps)
- Optional: Pipe cutter (if you need to shorten the pipe)
- Optional: New fittings (if your old ones are corroded)
- Isolate the Water Heater:
- Turn off the cold water supply to the water heater. This is usually a valve located on the cold water inlet pipe above the water heater.
- Relieve the Water Pressure:
- Open a hot water faucet somewhere in the house to relieve any remaining pressure in the system.
- Open the drain valve at the bottom of the water heater and drain a few gallons of water into a bucket to further reduce pressure. Be careful, as the water may be hot. Close the drain valve after draining the water.
- Disconnect the Old Expansion Tank:
- Place a bucket under the expansion tank to catch any remaining water.
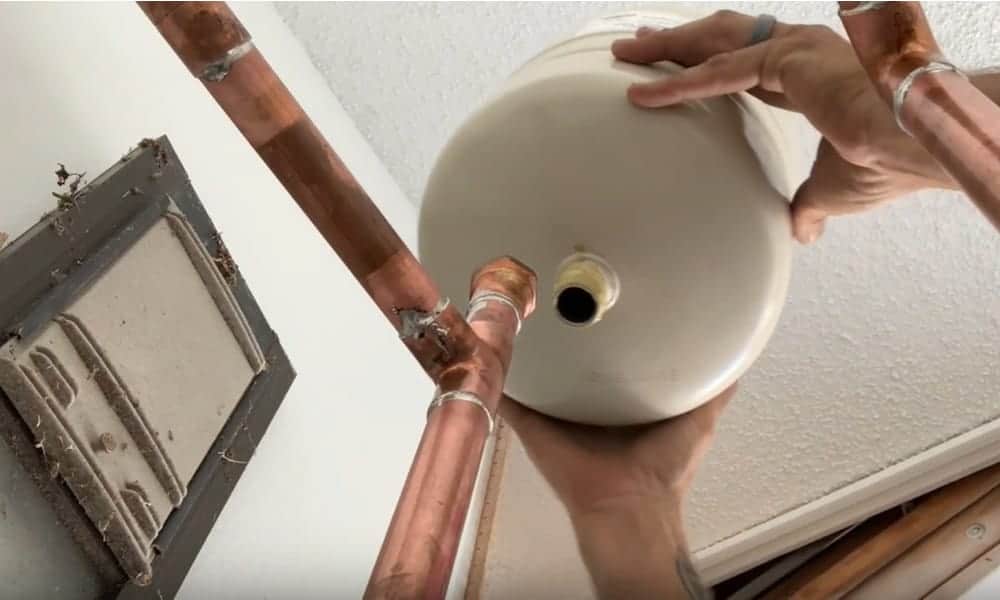
- Using a pipe wrench or adjustable wrench, carefully loosen the connection between the expansion tank and the water pipe. Be prepared for some water to spill out.
- Completely unscrew the old tank.
- Prepare the New Expansion Tank:
- Check the pre-charge pressure of the new expansion tank using a tire pressure gauge. It should match the incoming water pressure. Adjust it accordingly by adding or releasing air through the Schrader valve. This is a critical step to ensure proper function.
- Apply thread sealant (Teflon tape or pipe dope) to the threads of the new expansion tank's connection. Wrap Teflon tape clockwise around the threads several times, or apply pipe dope evenly.
- Install the New Expansion Tank:
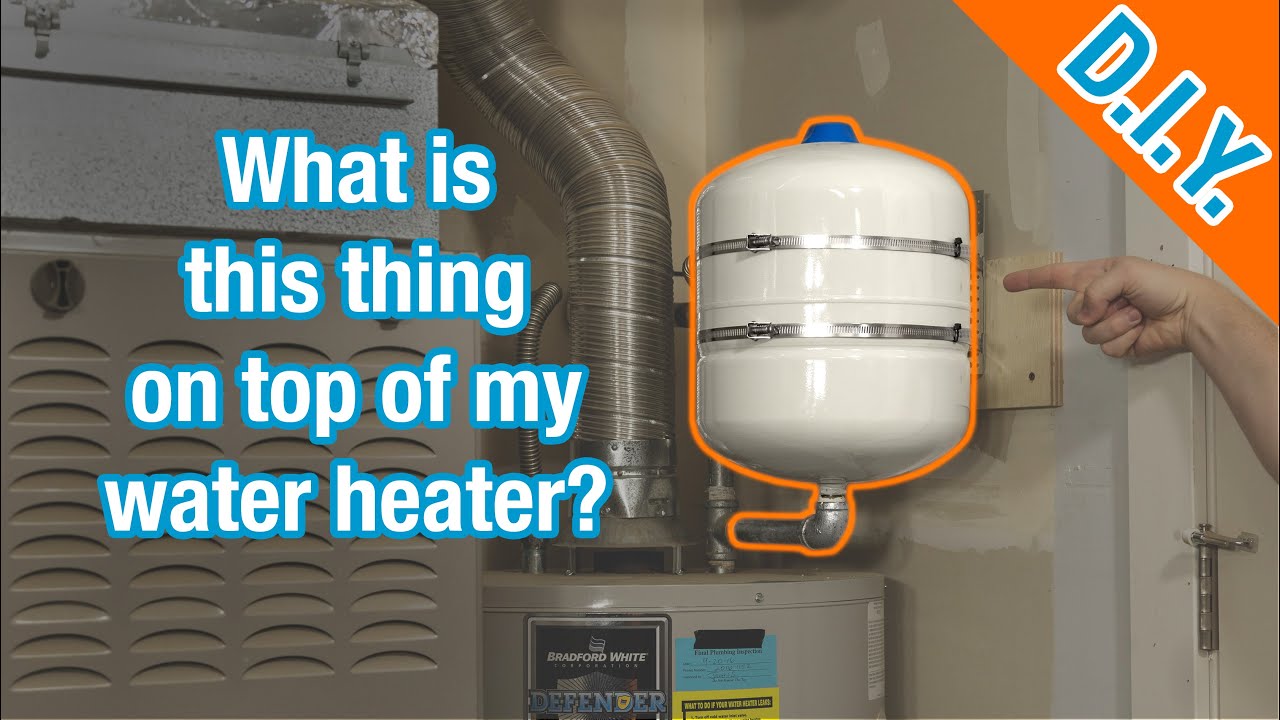
- Carefully screw the new expansion tank onto the water pipe connection. Tighten it securely with a pipe wrench or adjustable wrench, but avoid overtightening, which can damage the threads.
- If the old fittings are corroded, consider replacing them with new ones for a better seal. This might require cutting the pipe and using a coupling.
- Restore Water and Power:
- Slowly open the cold water supply valve to the water heater.
- Check for leaks at the expansion tank connection. If you find any leaks, tighten the connection slightly. If the leak persists, turn off the water supply and re-apply thread sealant.
- Close all hot water faucets you opened to relieve pressure.
- Turn the power back on to the water heater at the circuit breaker. For gas water heaters, turn the gas valve back to the "on" position.
- Monitor and Test:
- Monitor the system for a few hours, checking for any leaks or unusual noises.
- Run hot water from various faucets to ensure the water pressure is stable and the banging noises are gone.
When to Call a Professional
While replacing a water heater expansion tank can be a DIY project, there are situations where calling a professional plumber is the best course of action:
- If you are uncomfortable working with plumbing or electrical systems.
- If you encounter difficulty disconnecting the old tank or connecting the new one. For example, seized or corroded pipes.
- If your plumbing system is complex, or if you have any doubts about your ability to complete the job safely and correctly.
- If the problem persists after replacing the expansion tank. This could indicate a more serious issue with your plumbing system, such as a faulty pressure reducing valve or a clogged pipe.
- If you live in an area with strict plumbing codes, you may need a licensed plumber to perform the work to ensure compliance.
- If the water heater is under warranty, DIY repairs might void the warranty.
Replacing a water heater expansion tank can be a straightforward DIY project that resolves common water pressure issues. By following these steps carefully and prioritizing safety, you can often save money and restore your plumbing system to optimal performance. Remember to accurately diagnose the problem first, and don't hesitate to call a professional if you're unsure about any aspect of the repair.

:max_bytes(150000):strip_icc()/installing-an-expansion-tank-2719066-02-fccffdd4d8ab4e268d98558e161c0465.jpg)
/expansion-tank-5a36e71c5b6e240037f08f2b.jpg)
:max_bytes(150000):strip_icc()/installing-an-expansion-tank-2719066-03-203789d114d14de09eadae1ba44deddd.jpg)
:max_bytes(150000):strip_icc()/installing-an-expansion-tank-2719066-hero-375405ad9eaa426a880e3ed978ba00f5.jpg)