How To Reset Ac Pressure Switch

Imagine this: It's a sweltering summer day, and you're counting on your central air conditioning to provide much-needed relief. But instead of cool, refreshing air, you're met with…nothing. The fan might be running, but the air is warm. This scenario is all too common, and while there can be many reasons for AC failure, a malfunctioning AC pressure switch is a frequent culprit. This article will guide you through safely troubleshooting and potentially resetting your AC pressure switch, empowering you to tackle simple fixes while recognizing when it's time to call in a professional.
Understanding the AC Pressure Switch
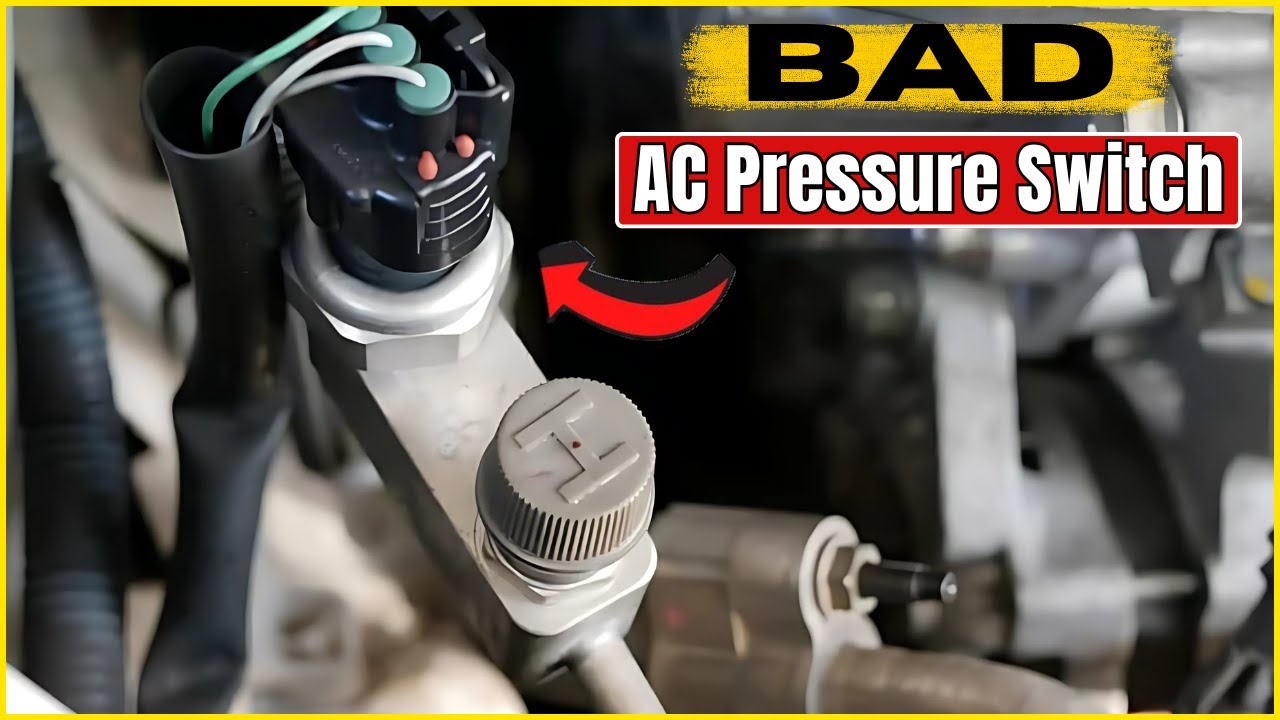
The AC pressure switch is a critical safety component in your air conditioning system. Its primary function is to monitor the refrigerant pressure within the system. If the pressure is too high or too low, the switch will prevent the compressor from running, thereby protecting it from damage. Think of it as a safeguard that prevents your AC unit from self-destructing.
There are generally two types of pressure switches:
- High-Pressure Switch: This switch detects excessive pressure, which could be caused by a blocked condenser coil, overcharging of refrigerant, or a failing compressor.
- Low-Pressure Switch: This switch detects insufficient pressure, potentially due to refrigerant leaks, a frozen evaporator coil, or a malfunctioning compressor.
When either of these switches trips, it cuts power to the compressor, halting the cooling process.
Troubleshooting: A Step-by-Step Guide
Before we begin, safety first! Always disconnect power to your outdoor AC unit at the breaker box before attempting any troubleshooting. This is crucial to prevent electrical shock. Also, be aware that working with refrigerant requires specialized equipment and knowledge. Do not attempt to handle refrigerant yourself.
Step 1: Checking the Power Supply
The first, and often simplest, step is to ensure that your AC unit is receiving power.
- Check the Breaker: Go to your breaker box and locate the breaker for your outdoor AC unit. Make sure it's in the "ON" position. If it's tripped (in the middle or "OFF" position), flip it all the way to "OFF" and then back to "ON".
- Inspect the Disconnect Switch: Near your outdoor AC unit, there should be a disconnect switch (it might look like a pull-out handle or a small circuit breaker). Ensure it's properly engaged. If it's a pull-out handle, make sure it's fully inserted. If it's a breaker, ensure it's "ON."
- Test with a Multimeter (Optional, Requires Electrical Knowledge): If you're comfortable and knowledgeable about using a multimeter, you can test the voltage at the disconnect switch to ensure that power is reaching the unit. If you're not comfortable with electrical testing, skip this step and consult an electrician.
Step 2: Inspecting the Unit for Obvious Issues
A visual inspection can sometimes reveal obvious problems.
- Check the Condenser Coil: The condenser coil (the finned part of the outdoor unit) should be clean and free of debris like leaves, grass clippings, or dirt. A blocked coil can cause high pressure. Use a garden hose (with a gentle spray) to clean the coil, spraying from the inside out. Never use a pressure washer!
- Look for Ice: Inspect the copper lines and the evaporator coil (usually inside the indoor air handler) for ice buildup. Ice can indicate low refrigerant or airflow problems. If you find ice, turn off the AC unit and allow the ice to melt completely before proceeding.
- Listen for Unusual Noises: Strange noises coming from the compressor or fan motor can indicate mechanical problems that could be triggering the pressure switch. Note any unusual sounds.
Step 3: Locating and Identifying the Pressure Switch
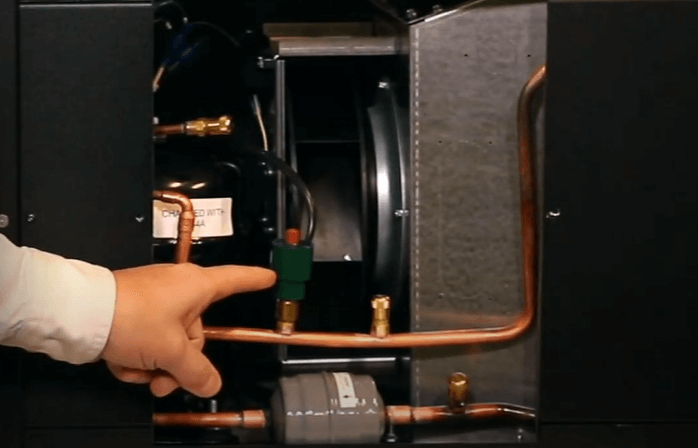
Finding the pressure switch requires a bit of detective work. It's typically a small, cylindrical device with wires connected to it, located on or near the refrigerant lines.
- Consult Your Unit's Diagram: The most reliable way to locate the pressure switch is to consult the wiring diagram for your AC unit. This diagram is usually located on the inside of the access panel.
- General Location: Look for the switch on the high-pressure (small diameter) and low-pressure (larger diameter) refrigerant lines near the compressor. There may be one or two switches.
- Identification: The switch will have wires connected to it, and it may be labeled as a "high-pressure switch" or "low-pressure switch."
Step 4: Attempting a Reset (If Applicable and Safe)
Some pressure switches have a manual reset button. However, not all pressure switches have this feature. Do not attempt to reset a switch that doesn't have a reset button.
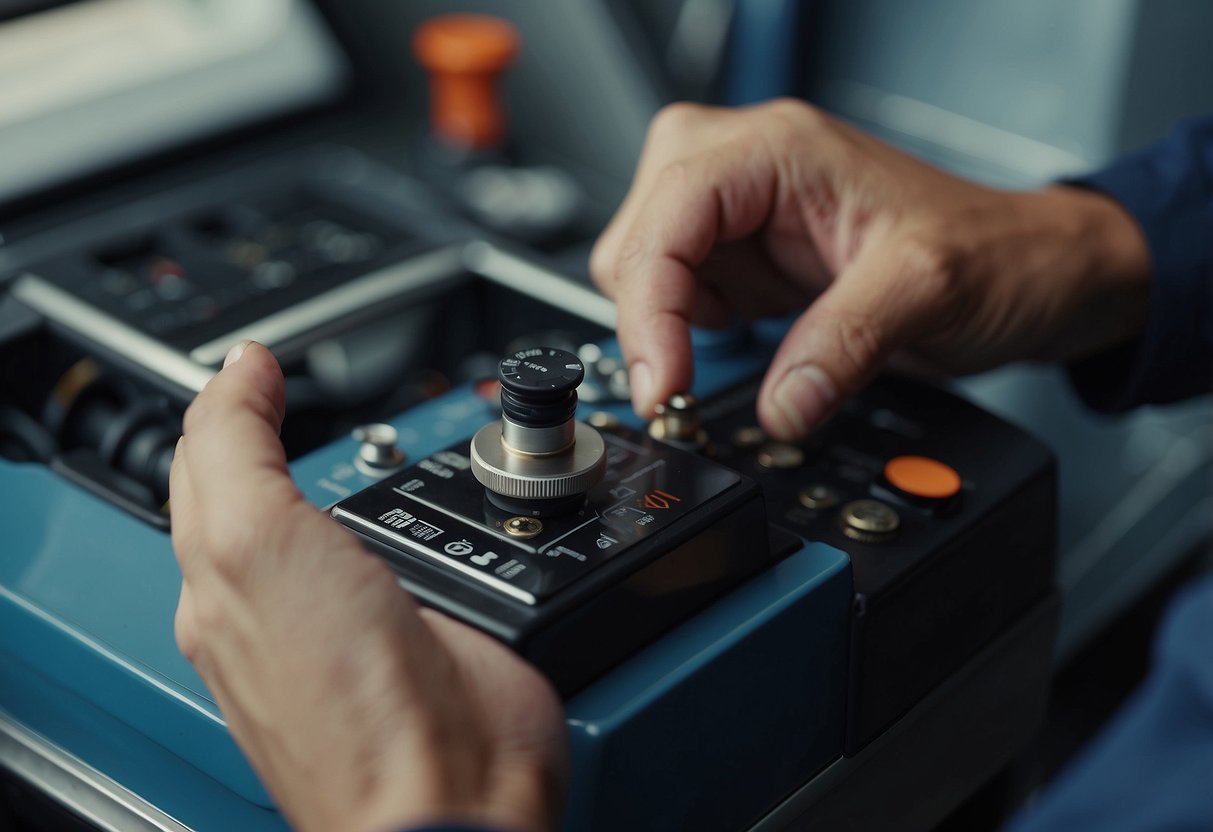
- Look for a Reset Button: Carefully examine the pressure switch for a small button, often red or black. It might be recessed or slightly hidden.
- Press the Reset Button (If Present): With the power OFF, gently press the reset button. You might feel a click.
- Restore Power: Turn the power back on at the breaker.
- Monitor the Unit: Observe the AC unit to see if the compressor starts and the unit begins to cool. If it does, the switch may have been temporarily tripped. However, if the switch trips again shortly after, it indicates a more serious underlying problem.
Important Note: Resetting a pressure switch without addressing the underlying cause of the pressure issue is only a temporary fix. The switch will likely trip again, and repeated resets can damage the compressor.
Step 5: Checking the Wiring and Connections
Loose or corroded wiring can sometimes cause the pressure switch to malfunction.
- Visually Inspect Wires: Check the wires connected to the pressure switch for any signs of damage, such as fraying, cracks, or corrosion.
- Ensure Secure Connections: Make sure the wires are securely connected to the switch terminals. If they appear loose, gently tighten them with a screwdriver (with the power OFF).
- Clean Corroded Connections: If you find corrosion on the terminals, use a wire brush or sandpaper to clean them before reconnecting the wires.
Step 6: Testing the Pressure Switch (Requires a Multimeter and Knowledge)
This step involves testing the continuity of the pressure switch using a multimeter. This should only be attempted by individuals comfortable and knowledgeable about using a multimeter and working with electrical circuits. If you're not comfortable, consult an HVAC technician.
- Disconnect Power: Turn off the power to the AC unit at the breaker.
- Disconnect the Wires: Disconnect the wires from the pressure switch.
- Set the Multimeter: Set your multimeter to the continuity setting (often indicated by a diode symbol or an audible beep).
- Test for Continuity: Place the multimeter probes on the switch terminals.
- Normally Open Switch: If the switch is normally open, the multimeter should not show continuity (no beep). When the correct pressure is present, the switch should close, and the multimeter should show continuity (beep).
- Normally Closed Switch: If the switch is normally closed, the multimeter should show continuity (beep). When the pressure exceeds the setpoint, the switch should open, and the multimeter should not show continuity (no beep).
- Compare to Specifications: Consult the AC unit's service manual or the pressure switch's specifications to determine the correct continuity readings for the switch in its normal state.
- Replace if Faulty: If the switch doesn't test according to its specifications, it likely needs to be replaced.
Step 7: Replacing the Pressure Switch (Advanced DIY - Proceed with Caution)
Replacing the pressure switch is a more advanced repair that requires caution. It involves disconnecting and reconnecting refrigerant lines, which can be dangerous if not done properly. If you're not comfortable with this, consult a qualified HVAC technician.
- Purchase the Correct Replacement: Obtain a new pressure switch that is an exact replacement for the old one. Make sure it has the same voltage and pressure ratings.
- Recover Refrigerant (Professional Only): Before disconnecting any refrigerant lines, a qualified HVAC technician must recover the refrigerant from the system using specialized equipment. This is essential to prevent the release of harmful refrigerants into the atmosphere and to ensure safe working conditions. Do not attempt this yourself.
- Disconnect the Old Switch: Once the refrigerant has been recovered, carefully disconnect the electrical wires and unscrew the old pressure switch. Note the orientation of the switch before removing it.
- Install the New Switch: Apply a small amount of refrigerant oil to the threads of the new switch and screw it into place. Ensure it's properly tightened.
- Reconnect the Wires: Reconnect the electrical wires to the new switch, ensuring they are securely attached.
- Evacuate and Recharge the System (Professional Only): After replacing the switch, a qualified HVAC technician must evacuate the system to remove any air and moisture, and then recharge it with the correct amount of refrigerant. This requires specialized equipment and knowledge. Do not attempt this yourself.
When to Call a Professional
While this guide provides steps for troubleshooting and potentially resetting your AC pressure switch, there are situations where it's crucial to call a qualified HVAC technician.
- Refrigerant Leaks: If you suspect a refrigerant leak (e.g., hissing noises, oily residue), do not attempt any repairs yourself. Refrigerant is harmful to the environment, and only a licensed technician can properly handle it.
- Compressor Issues: If you suspect the compressor is failing (e.g., loud noises, not running), it's best to consult a professional. Compressor repairs are complex and often require specialized equipment.
- Electrical Problems: If you're not comfortable working with electricity, leave any electrical troubleshooting to a qualified electrician or HVAC technician.
- Repeated Tripping: If the pressure switch trips repeatedly after being reset, it indicates a serious underlying problem that requires professional diagnosis and repair.
- You're Unsure: If at any point you feel uncomfortable or unsure about proceeding with a repair, it's always best to err on the side of caution and call a professional.
Prevention is Key
Preventive maintenance can help reduce the likelihood of pressure switch problems.
- Regular Coil Cleaning: Clean the condenser coil (outdoor unit) and evaporator coil (indoor unit) regularly to ensure proper airflow.
- Air Filter Replacement: Replace your air filter regularly (every 1-3 months) to prevent the evaporator coil from freezing up.
- Annual Maintenance: Schedule an annual maintenance checkup with a qualified HVAC technician. They can inspect your system for potential problems and perform necessary maintenance tasks, such as checking refrigerant levels and cleaning components.
By following these troubleshooting steps and knowing when to call a professional, you can keep your AC system running smoothly and efficiently, ensuring a cool and comfortable home all summer long.