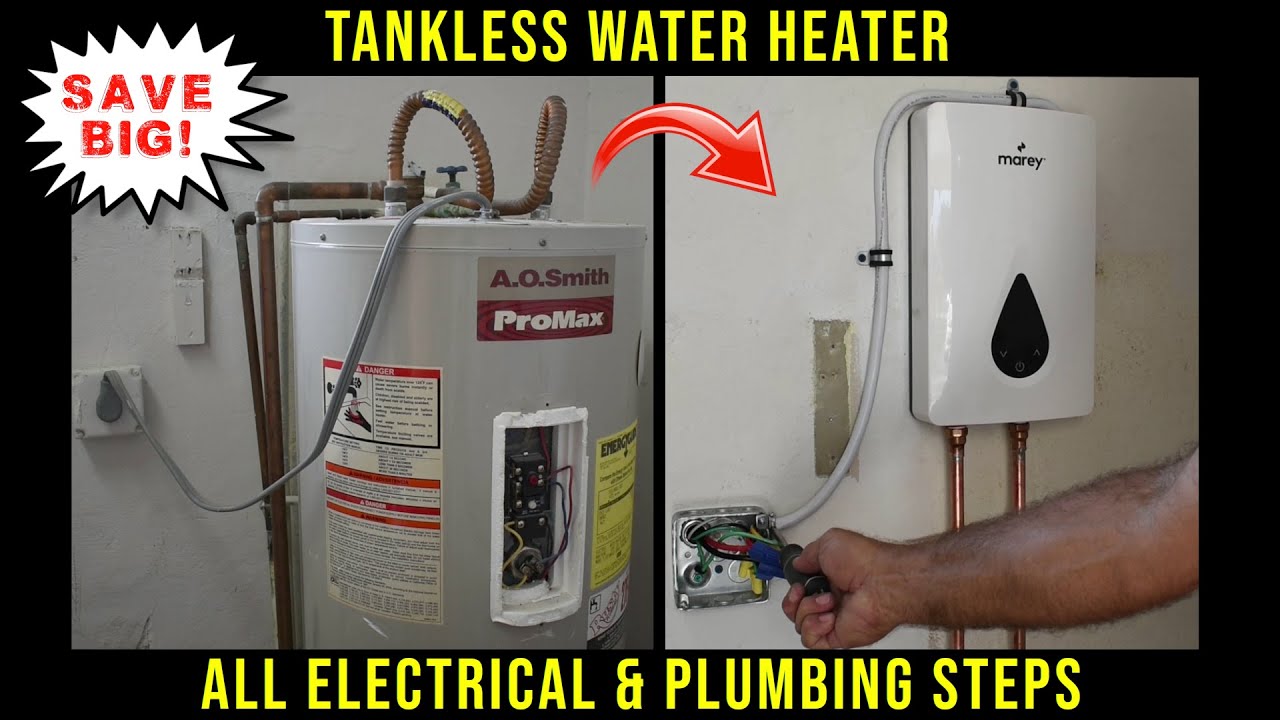
How To Service A Tankless Hot Water Heater

Tankless water heaters, also known as on-demand water heaters, offer a continuous supply of hot water and can be more energy-efficient than traditional tank-style heaters. However, like any appliance, they require regular maintenance to ensure optimal performance and longevity. This guide provides a comprehensive overview of how to service a tankless hot water heater, covering essential maintenance tasks and troubleshooting tips.
Understanding Your Tankless Water Heater
Before diving into the servicing process, it's crucial to understand the basics of how a tankless water heater operates. These units heat water only when needed, eliminating the standby heat loss associated with traditional tanks. This process involves a sophisticated system of sensors, burners, and electronic controls.
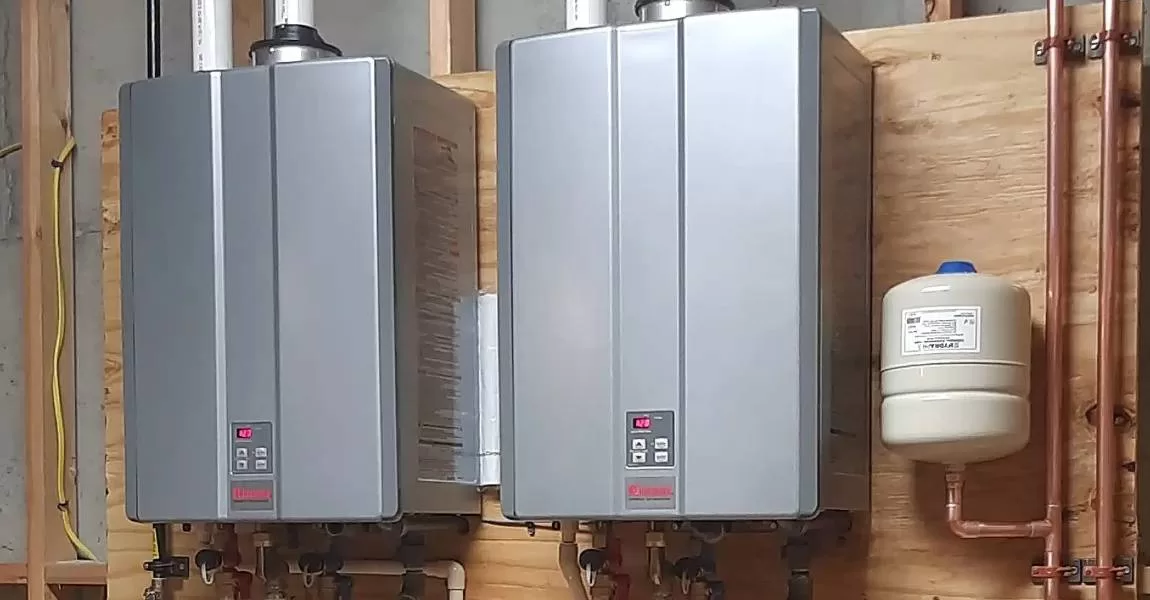
Types of Tankless Water Heaters
- Gas Tankless Water Heaters: These models use natural gas or propane to heat water and require proper ventilation.
- Electric Tankless Water Heaters: Electric models use high-powered electric elements to heat water.
Essential Tools and Materials
Gathering the necessary tools and materials beforehand will streamline the servicing process.
- White Vinegar
- Submersible Pump
- Bucket
- Hoses (compatible with your unit's service ports)
- Adjustable Wrench
- Screwdrivers (Phillips and flathead)
- Multimeter (for electric units)
- Safety Glasses
- Gloves
- Manufacturer's Manual
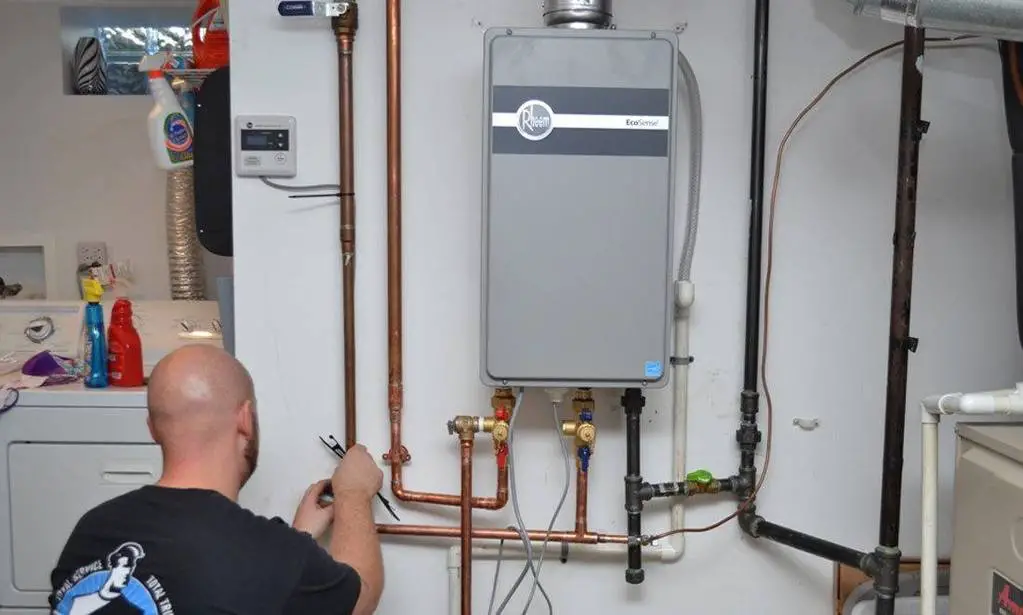
Step-by-Step Tankless Water Heater Servicing
Follow these steps to properly service your tankless water heater.
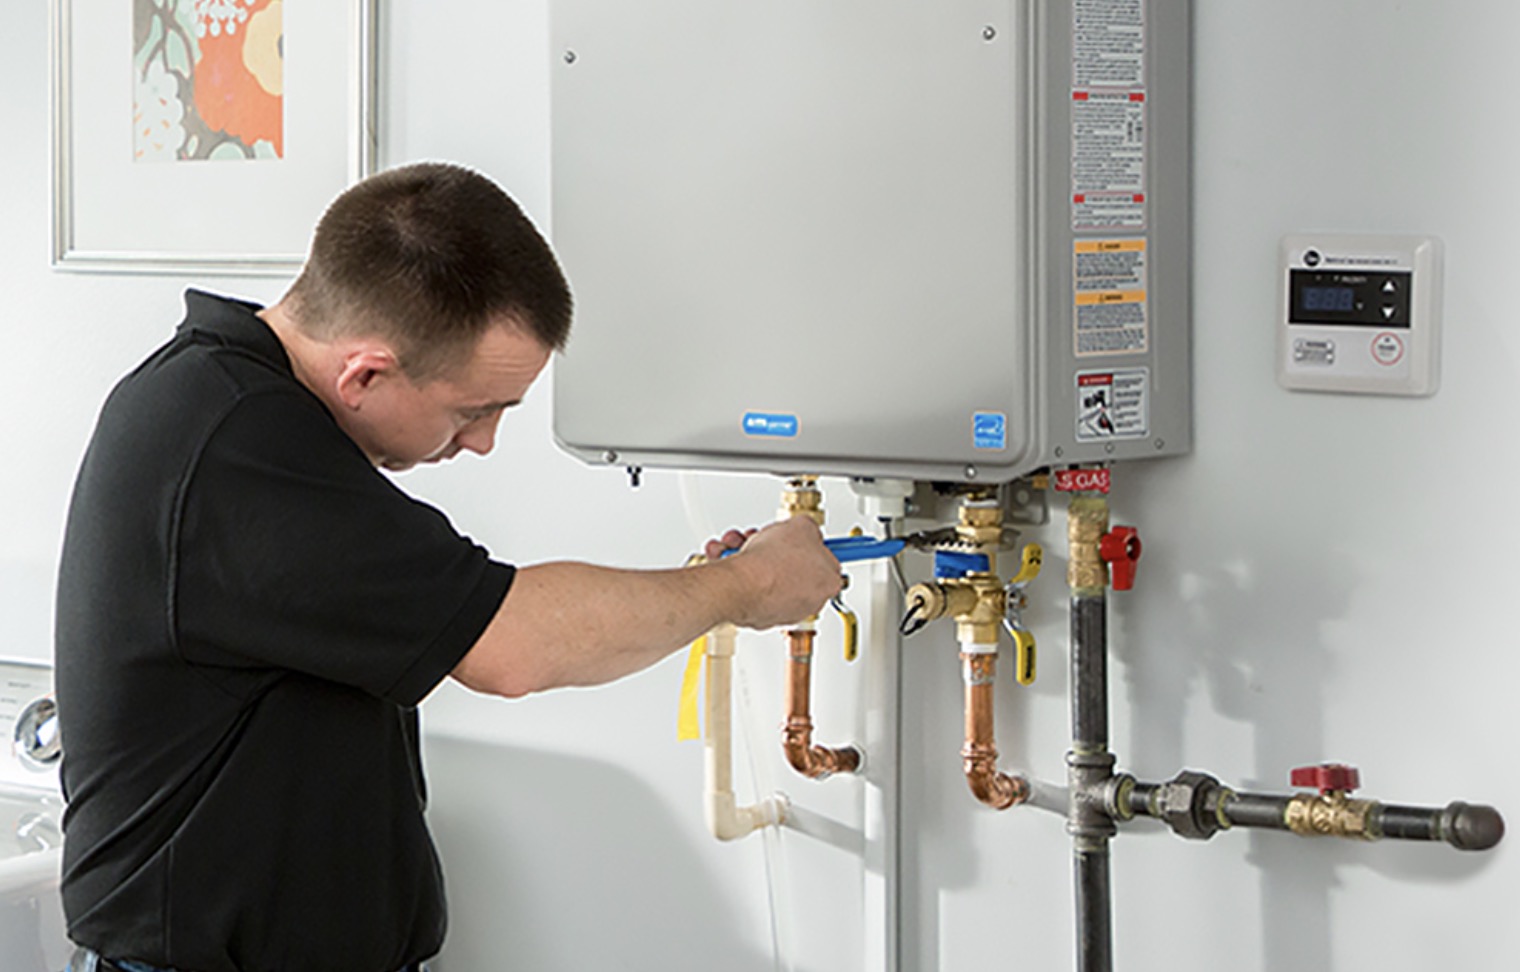
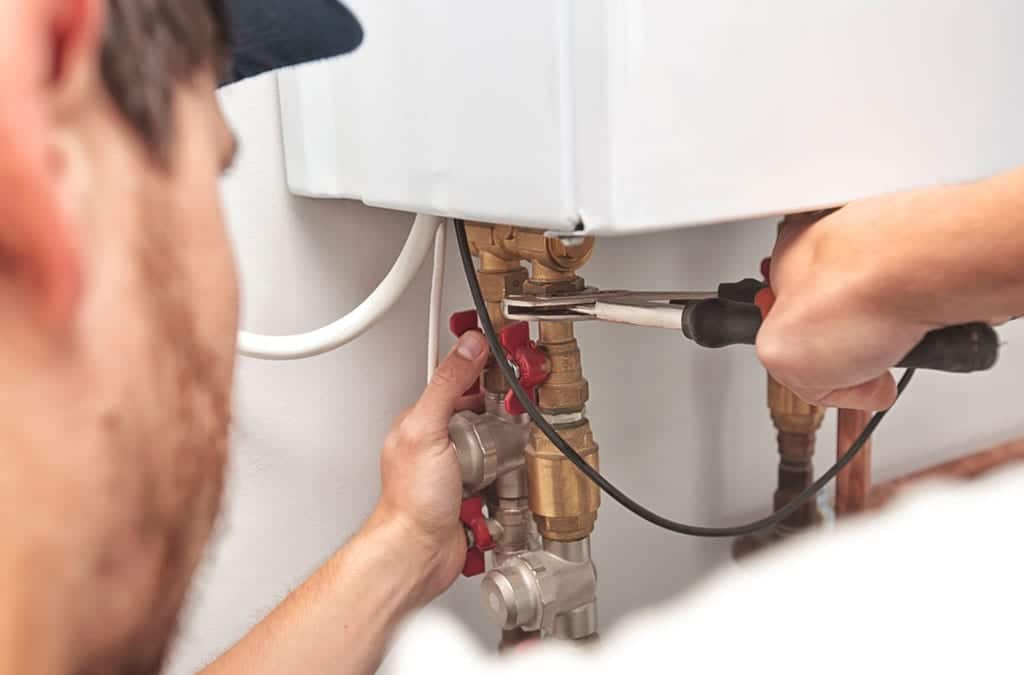
1. Safety First
Prioritize safety by taking the following precautions:
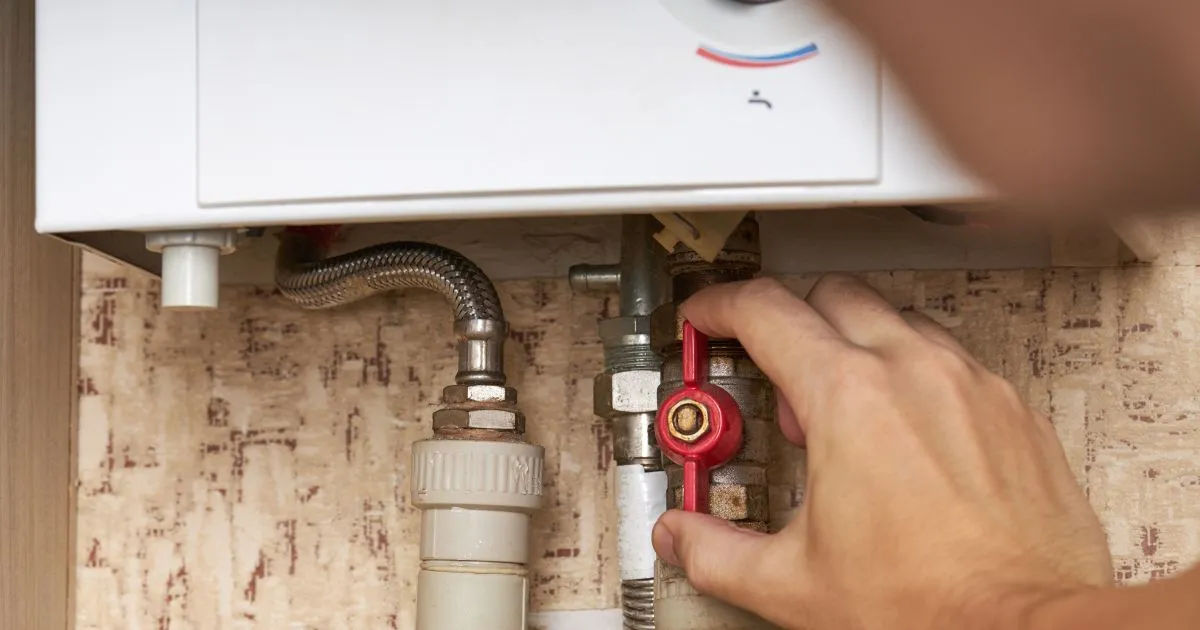
- Turn off the Power: For electric units, switch off the breaker at the main electrical panel. For gas units, turn off the gas supply valve to the heater.
- Turn off the Water Supply: Locate and close the cold-water supply valve leading to the unit.
- Allow to Cool: Let the unit cool down completely before starting any work.
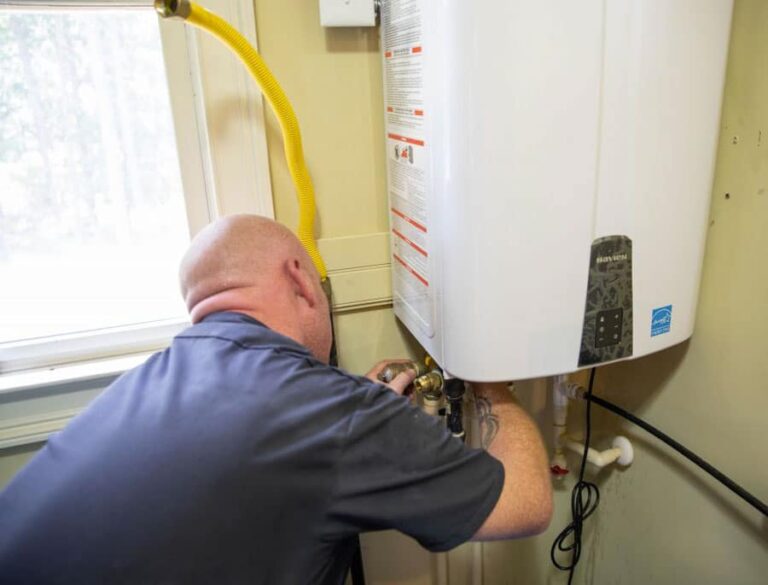
2. Flushing the System
Flushing is the most crucial maintenance task for tankless water heaters. Mineral buildup (scale) can significantly reduce efficiency and lifespan.
- Connect the Pump: Attach hoses to the service ports (usually located on the bottom of the unit). Connect one hose to the inlet and the other to the outlet.
- Prepare the Solution: Fill a bucket with several gallons of white vinegar. White vinegar acts as a descaling agent.
- Circulate the Vinegar: Submerge the pump in the vinegar solution and turn it on. Allow the vinegar to circulate through the unit for at least one hour. Refer to the manufacturer's manual for specific flushing time recommendations.
- Flush with Clean Water: After flushing with vinegar, disconnect the hoses and flush the unit with clean water until all traces of vinegar are gone.
3. Cleaning the Air Filter (Gas Units)
A dirty air filter restricts airflow and can cause incomplete combustion. Gas units need regular air filter cleaning.
- Locate the Air Filter: Refer to your manual for its location. It’s typically near the bottom of the unit.
- Remove and Clean: Remove the air filter and clean it with a vacuum cleaner or wash it with mild soap and water. Allow it to dry completely before reinstalling.
4. Inspecting and Cleaning the Burner (Gas Units)
This step requires more caution and is generally recommended for experienced DIYers. If you are uncomfortable, contact a qualified technician.
- Access the Burner: Remove the front panel of the unit (refer to your manual).
- Inspect the Burner: Look for any signs of corrosion, debris, or damage.
- Clean the Burner: Use a soft brush or vacuum cleaner to remove any debris from the burner. Be careful not to damage the burner components.
5. Checking the Venting (Gas Units)
Proper venting is crucial for gas units to prevent carbon monoxide buildup.
- Inspect the Vent Pipe: Look for any signs of damage, corrosion, or blockage.
- Ensure Proper Slope: The vent pipe should slope upwards away from the unit to allow condensation to drain properly.
- Check for Obstructions: Ensure that the vent is free from any obstructions, such as nests or debris.
6. Inspecting the Electrical Connections (Electric Units)
For electric tankless water heaters, inspect the electrical connections to ensure they are tight and free from corrosion.
- Check Wiring: With the power off, inspect the wiring connections inside the unit for any signs of loose connections, corrosion, or damage.
- Test with Multimeter: Use a multimeter to check the voltage and continuity of the electrical components. Consult your manual for proper testing procedures.
7. Reassembling and Testing
- Reassemble the Unit: Carefully reassemble all components, ensuring that all screws and panels are properly secured.
- Turn on the Water Supply: Slowly turn on the cold-water supply valve and check for any leaks.
- Turn on the Power: For electric units, switch on the breaker at the main electrical panel. For gas units, turn on the gas supply valve.
- Test the Unit: Run hot water and ensure that the unit is heating water properly. Monitor the unit for any unusual noises or error codes.
Troubleshooting Common Issues
Here are some common problems you might encounter with your tankless water heater and possible solutions.
- No Hot Water: Check the power supply (electric) or gas supply (gas). Ensure the unit is not in standby mode. Check for error codes.
- Cold Water Sandwich: This occurs when there's a brief burst of cold water before the hot water arrives. This is sometimes normal, but excessive cold water could indicate a problem with the flow sensor or heat exchanger.
- Error Codes: Consult your manual for specific error code meanings and troubleshooting steps.
- Insufficient Hot Water: This could be due to an undersized unit, low gas pressure (gas), or sediment buildup.
- Fluctuating Water Temperature: This may indicate a problem with the flow sensor or gas valve.
When to Call a Professional
While some maintenance tasks can be performed by homeowners, certain issues require the expertise of a qualified HVAC technician or plumber. Call a professional if you experience any of the following:
- Gas Leaks: If you suspect a gas leak, immediately turn off the gas supply and call your gas company or a qualified technician.
- Complex Electrical Issues: Do not attempt to repair complex electrical issues yourself.
- Internal Component Failure: Issues with the burner, heat exchanger, or electronic control board should be addressed by a professional.
- Persistent Error Codes: If you cannot resolve an error code after following the troubleshooting steps in your manual, contact a technician.
- You are Uncomfortable: If any part of the servicing process makes you feel uncomfortable, it is best to call a professional.
Cost of Professional Service
The cost of professional tankless water heater service can vary depending on the issue, the technician's hourly rate, and the cost of parts. Here's a general estimate:
- Routine Maintenance (Flushing): $150 - $300
- Burner Cleaning: $200 - $400
- Part Replacement (e.g., flow sensor, gas valve): $300 - $800+ (depending on the part)
Always obtain quotes from multiple technicians before proceeding with any repairs. Preventative maintenance is key to avoiding costly repairs down the line.
Extending the Life of Your Tankless Water Heater
Regular maintenance is the key to extending the lifespan of your tankless water heater. Here are some additional tips:
- Schedule Regular Flushing: Flush your unit at least once a year, or more frequently if you have hard water.
- Monitor Water Quality: Consider installing a water softener if you have hard water.
- Keep the Area Clean: Keep the area around the unit free from dust and debris.
- Follow Manufacturer's Recommendations: Adhere to the manufacturer's recommendations for maintenance and operation.
Servicing a tankless hot water heater requires careful attention to detail and a commitment to safety. By following these steps and tips, you can keep your unit running efficiently and reliably for years to come. Remember to always prioritize safety and consult a professional when needed. By properly maintaining your tankless water heater, you’ll enjoy a continuous supply of hot water and potentially lower energy bills.