How To Set The Thermostat On A Honeywell

Mastering Your Honeywell Thermostat: A Comprehensive Guide
Honeywell thermostats are ubiquitous in homes and businesses across the country, known for their reliability and user-friendly interfaces. Whether you're a homeowner looking to optimize energy savings, a real estate investor evaluating a property's HVAC system, or a contractor advising clients, understanding how to properly set a Honeywell thermostat is crucial. This guide will walk you through the common features, programming options, and troubleshooting tips for maximizing your Honeywell thermostat's performance.
Understanding Thermostat Basics: SEER, AFUE, and HSPF
Before diving into the specifics of setting your Honeywell thermostat, it's important to understand the key performance metrics for HVAC systems. These ratings will impact your energy bills and overall comfort.
- SEER (Seasonal Energy Efficiency Ratio): This measures the cooling efficiency of an air conditioner. A higher SEER rating indicates greater energy efficiency. Modern air conditioners typically range from 13 SEER to over 20 SEER.
- AFUE (Annual Fuel Utilization Efficiency): This measures the heating efficiency of a furnace. It represents the percentage of fuel that is converted into usable heat. A higher AFUE rating means less wasted energy. Modern furnaces generally have AFUE ratings between 80% and 98%.
- HSPF (Heating Seasonal Performance Factor): This measures the heating efficiency of a heat pump. Similar to SEER, a higher HSPF rating indicates better energy efficiency. Heat pumps typically have HSPF ratings between 8 and 10.
When choosing a new HVAC system, consider these ratings carefully to balance upfront costs with long-term energy savings. Honeywell thermostats can often be integrated with advanced HVAC systems with high SEER, AFUE, and HSPF ratings to further optimize performance.
Honeywell Thermostat Models: A Quick Overview
Honeywell offers a wide range of thermostats, from basic non-programmable models to advanced smart thermostats. Here's a brief overview of some popular models:
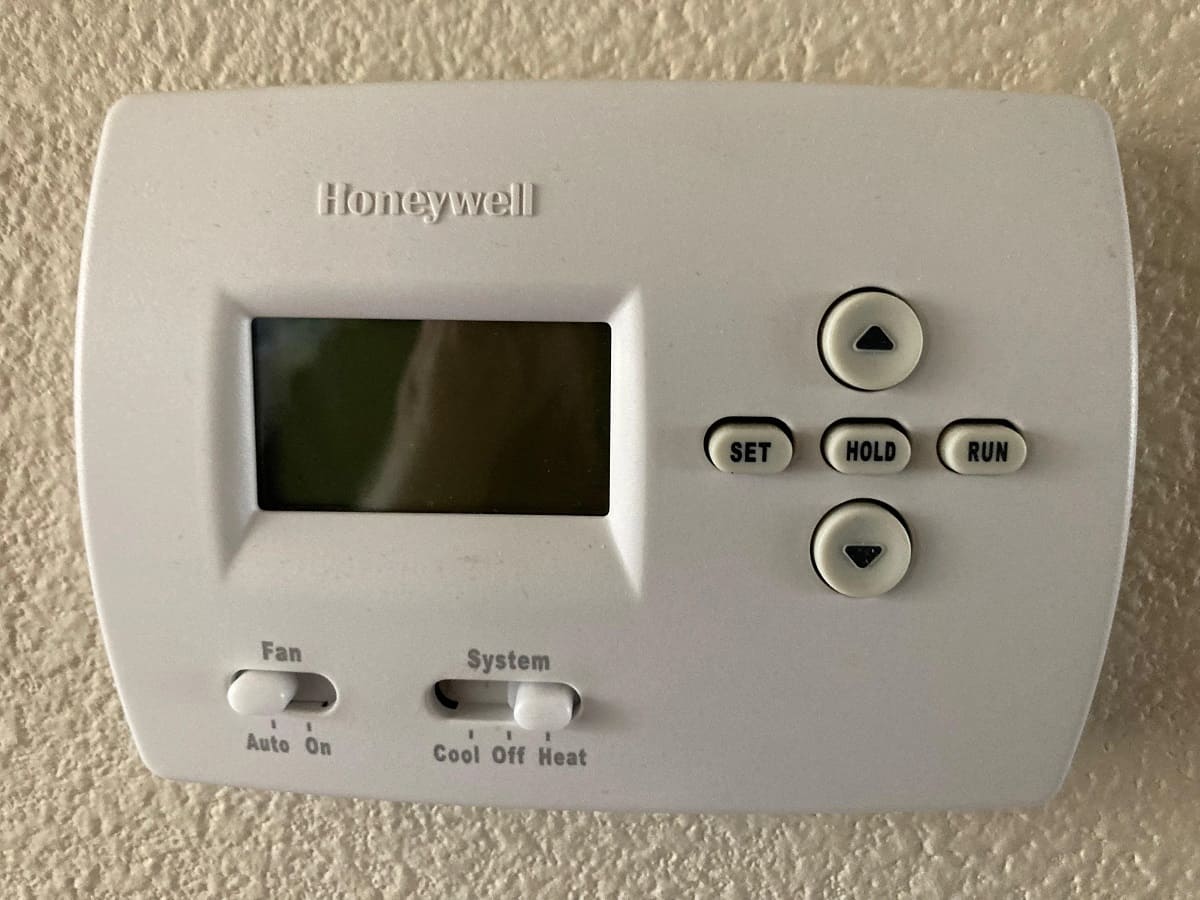
- Honeywell T4 Pro: A basic programmable thermostat that offers simple scheduling and temperature control.
- Honeywell T6 Pro: A more advanced programmable thermostat with 7-day scheduling, smart features, and compatibility with various HVAC systems.
- Honeywell T9 Smart Thermostat: A smart thermostat with room sensor support, allowing you to control the temperature in different areas of your home. It learns your heating and cooling patterns to optimize energy usage.
- Honeywell Home Smart Color Thermostat: A Wi-Fi enabled smart thermostat with a customizable color display and advanced features like geofencing and voice control.
Setting the Temperature: Basic Operation
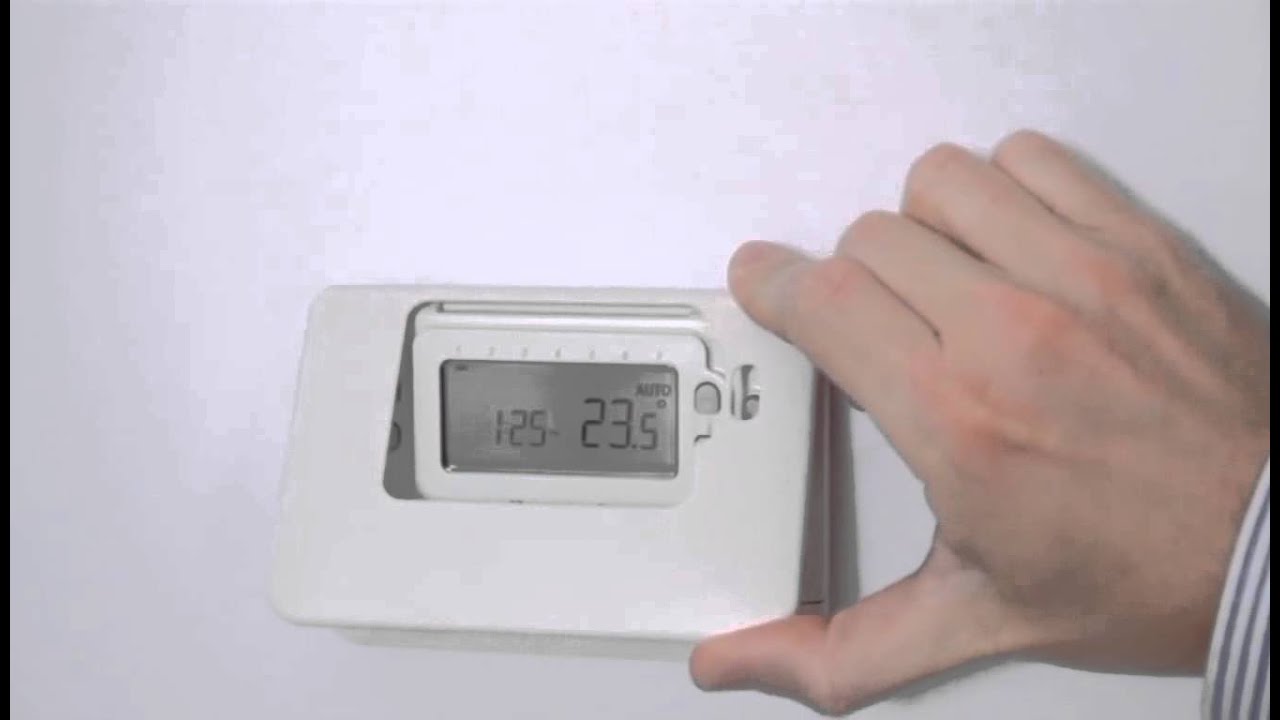
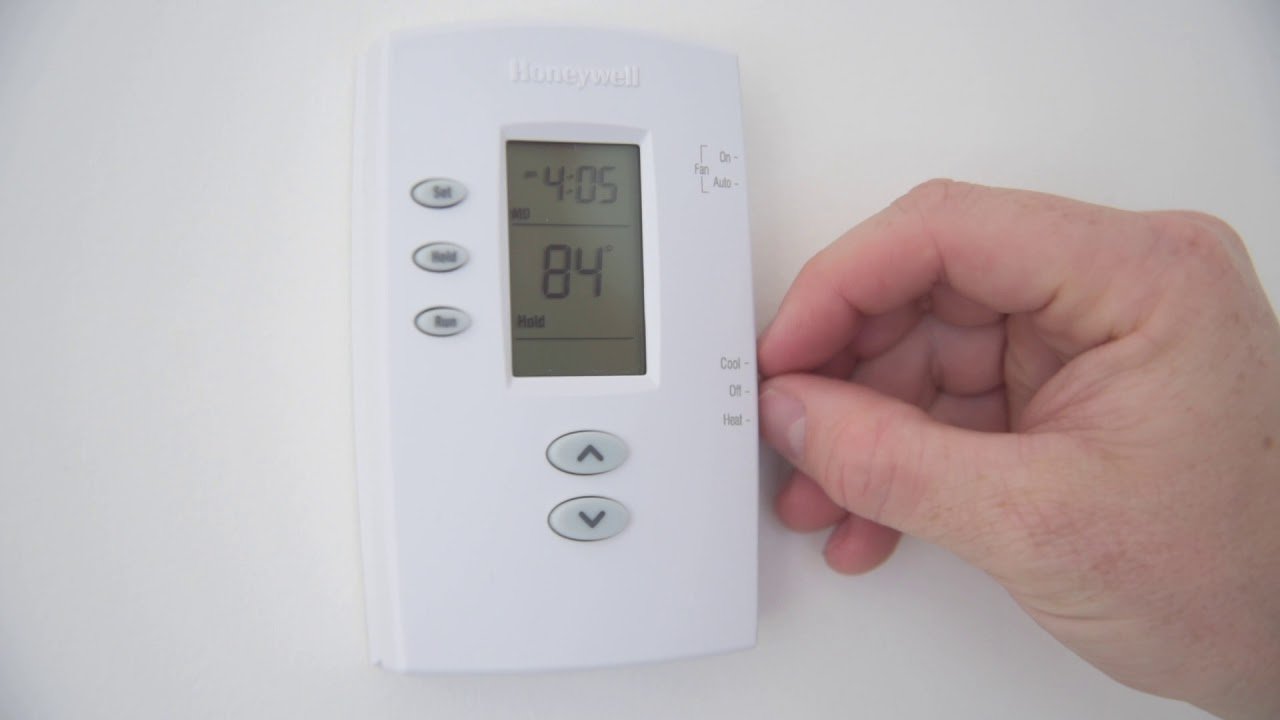
Regardless of the model, the core function of any thermostat is to control the temperature. Here's how to set the temperature on most Honeywell thermostats:
- Identify the Display: Locate the digital display or dial on your thermostat.
- Select Heat or Cool Mode: Use the mode switch or button to select either "Heat," "Cool," or "Auto." In "Auto" mode, the thermostat will automatically switch between heating and cooling to maintain the desired temperature.
- Adjust the Temperature: Use the up and down arrow buttons or the dial to set the desired temperature.
- Wait for the System to Respond: The thermostat will send a signal to your HVAC system to turn on or off based on the set temperature and the current room temperature.
Pro Tip: Setting the temperature a few degrees higher in the summer and a few degrees lower in the winter can significantly reduce your energy consumption without sacrificing comfort.
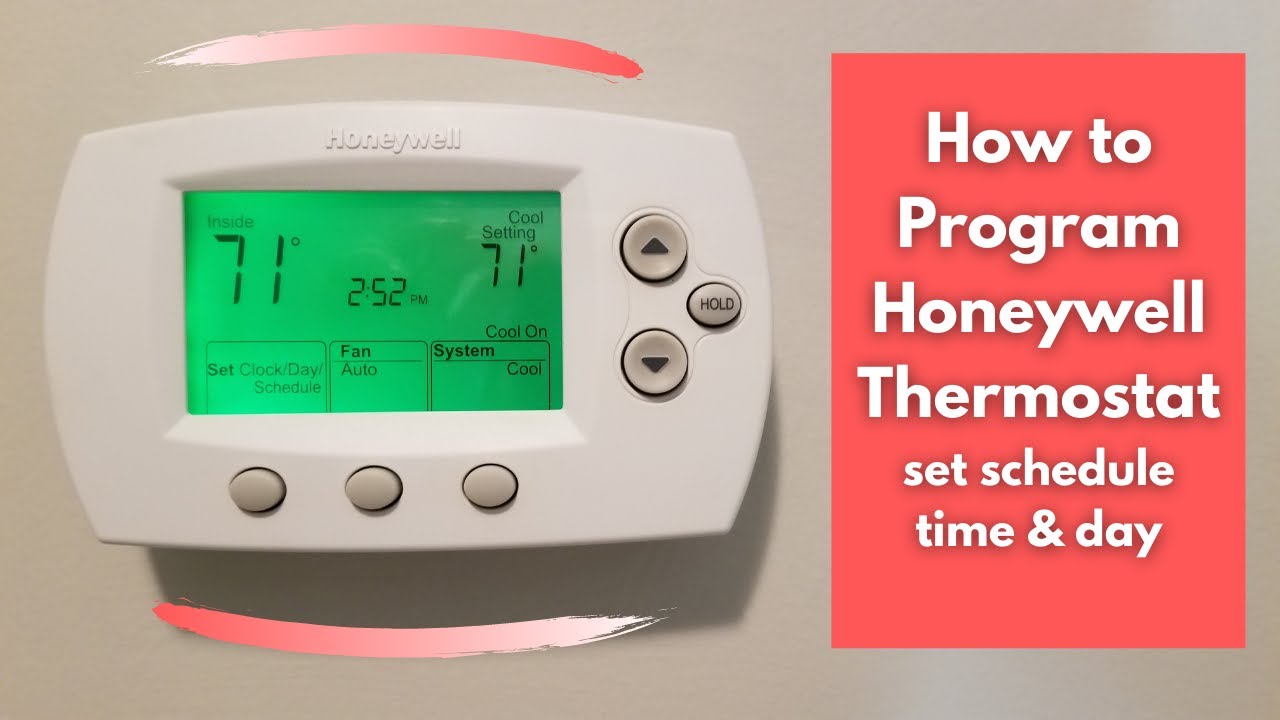
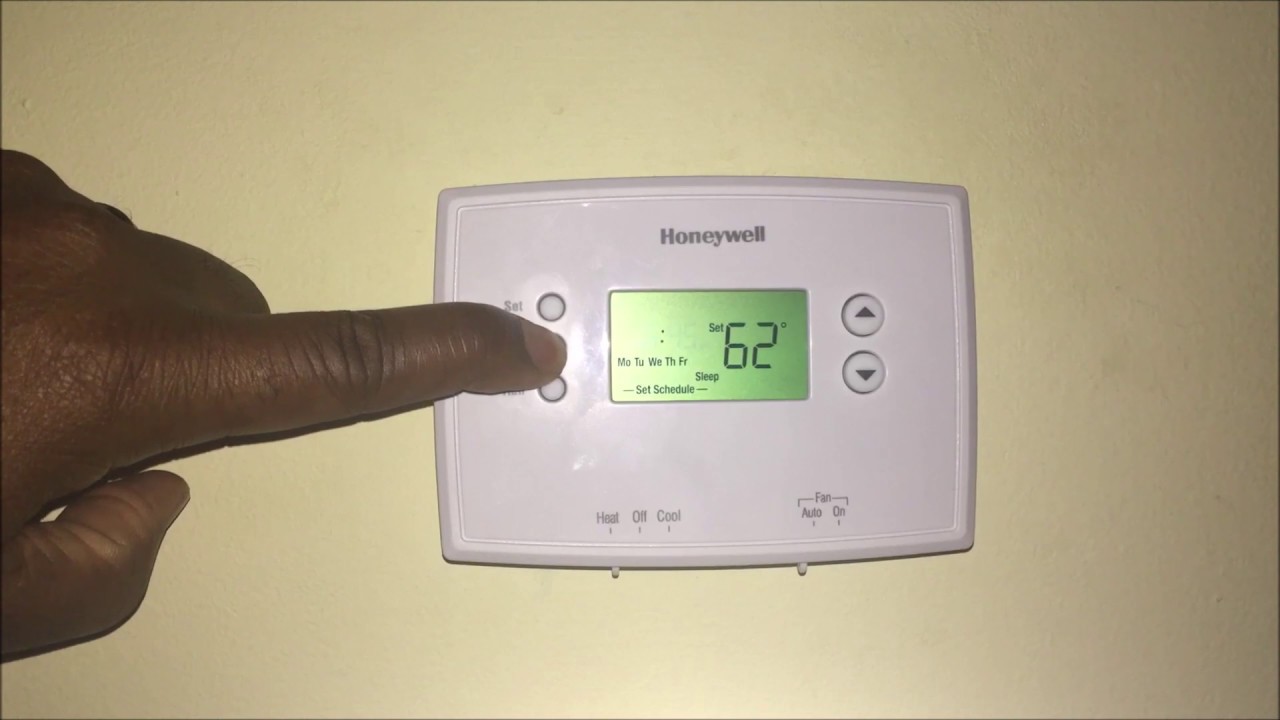
Programming Your Honeywell Thermostat for Efficiency
Programmable thermostats allow you to set different temperatures for different times of the day, optimizing energy savings based on your schedule. Here's how to program a typical Honeywell programmable thermostat:
- Enter Programming Mode: Press the "Program" or "Set Schedule" button on your thermostat. The specific button may vary depending on the model.
- Select the Day(s) to Program: Choose the day(s) you want to program (e.g., Monday-Friday, Saturday-Sunday, or individual days).
- Set the Time and Temperature for Each Period: Most programmable thermostats offer multiple periods per day (e.g., Wake, Leave, Return, Sleep). For each period, set the desired time and temperature.
- Repeat for All Days: Repeat steps 2 and 3 for all the days you want to program.
- Exit Programming Mode: Press the "Run" or "Exit" button to return to normal operation.
Popular Programming Strategies for Energy Savings
Here are some common programming strategies to maximize energy savings:
- Weekday Schedule: Set a lower temperature in the winter or a higher temperature in the summer when you're away at work or school.
- Weekend Schedule: Adjust the temperature settings based on your weekend activities.
- Sleep Schedule: Set a lower temperature in the winter or a higher temperature in the summer while you're sleeping.
By implementing a well-designed programming schedule, you can significantly reduce your energy bills without sacrificing comfort. Consider using the "Auto" feature (if available) to automatically switch between heating and cooling based on the season.
Smart Thermostats: Advanced Features and Connectivity
Honeywell smart thermostats offer advanced features like Wi-Fi connectivity, remote control, and learning capabilities. These thermostats can be controlled from your smartphone or tablet, allowing you to adjust the temperature from anywhere.
Key Features of Honeywell Smart Thermostats:
- Remote Control: Adjust the temperature from your smartphone or tablet.
- Geofencing: Automatically adjust the temperature based on your location.
- Learning Capabilities: Learn your heating and cooling patterns to optimize energy usage.
- Voice Control: Control the thermostat with voice commands using Alexa, Google Assistant, or other smart home devices.
- Energy Reports: Track your energy consumption and identify areas for improvement.
Connecting Your Honeywell Smart Thermostat to Wi-Fi
To take advantage of the smart features, you'll need to connect your thermostat to your home Wi-Fi network. The process typically involves:
- Downloading the Honeywell Home App: Download the Honeywell Home app from the App Store or Google Play.
- Creating an Account: Create a Honeywell Home account.
- Adding Your Thermostat: Follow the instructions in the app to add your thermostat to your account. This typically involves entering your Wi-Fi password and pressing a button on the thermostat.
Once connected to Wi-Fi, you can control your thermostat from the Honeywell Home app and access all the smart features.
Troubleshooting Common Honeywell Thermostat Issues
Even the most reliable thermostats can experience occasional issues. Here are some common problems and troubleshooting tips:
- Thermostat Not Turning On: Check the batteries (if applicable) and the circuit breaker.
- Incorrect Temperature Readings: Ensure the thermostat is not exposed to direct sunlight or drafts. Recalibrate the thermostat if necessary.
- HVAC System Not Responding: Check the wiring connections and the HVAC system's power supply.
- Error Codes: Consult the thermostat's manual or the Honeywell website for information on specific error codes.
If you're unable to resolve the issue yourself, contact a qualified HVAC technician.
Warranty Information and Maintenance
Honeywell thermostats typically come with a limited warranty. The duration of the warranty varies depending on the model. Refer to the product documentation for specific warranty details.
To ensure optimal performance and longevity, regular maintenance is recommended. This includes:
- Cleaning the Thermostat: Dust the thermostat regularly with a soft cloth.
- Replacing Batteries (if applicable): Replace the batteries annually or when the low battery indicator appears.
- Checking Wiring Connections: Periodically inspect the wiring connections for any signs of damage or corrosion.
By following these maintenance tips, you can keep your Honeywell thermostat running smoothly for years to come.
Comparing Honeywell to Other Brands
While Honeywell is a leading thermostat brand, it's essential to consider other options. Nest, ecobee, and Emerson Sensi are popular alternatives, each offering unique features and benefits. Nest, known for its sleek design and learning capabilities, excels in user experience. Ecobee stands out with its room sensor technology, enabling zoned temperature control. Emerson Sensi is a budget-friendly smart thermostat praised for its ease of installation. When deciding between Honeywell and alternatives, consider factors such as desired features, budget, and integration with your existing smart home ecosystem.
Making the Right Choice for Your Needs
Choosing the right thermostat involves careful consideration. Evaluate the size of your home, your budget, and desired features. For basic temperature control, a non-programmable or simple programmable thermostat might suffice. If you seek energy savings and remote access, a smart thermostat is a worthwhile investment. Understand your HVAC system's capabilities and ensure compatibility with the thermostat you choose. Consult with an HVAC professional for personalized recommendations based on your specific needs.
By understanding the features, programming options, and troubleshooting tips outlined in this guide, you can confidently set and maintain your Honeywell thermostat for optimal comfort and energy savings. Remember to prioritize regular maintenance and consult with a qualified technician when needed to ensure the longevity and efficiency of your HVAC system.