How To Stop Condensation On Ac Pipes
Ah, condensation. That unwelcome guest appearing on your AC pipes, turning a functional necessity into a potential source of water damage and worry. It's a common problem, but understanding why it happens and how to address it can save you time, money, and a lot of frustration. This guide will walk you through diagnosing the issue and implementing some simple, safe DIY fixes, and importantly, will tell you when it's time to call in the professionals.
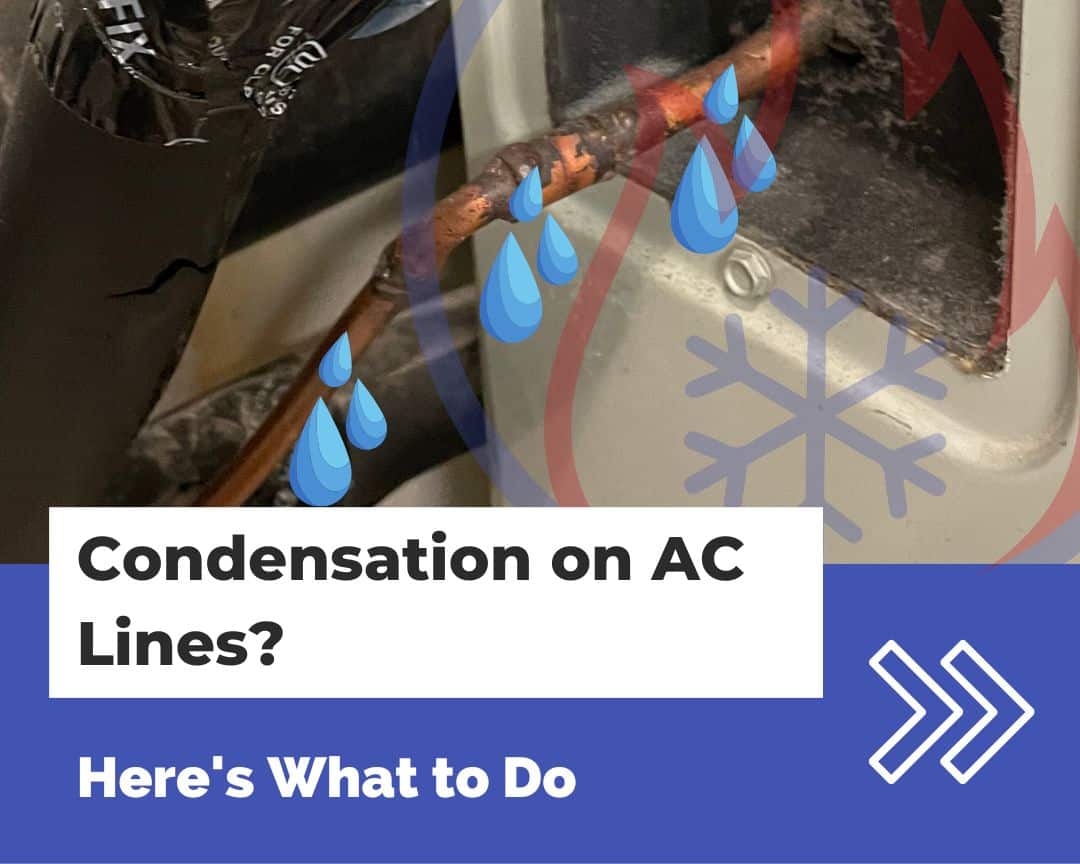
Understanding the Enemy: Why is my AC pipe sweating?
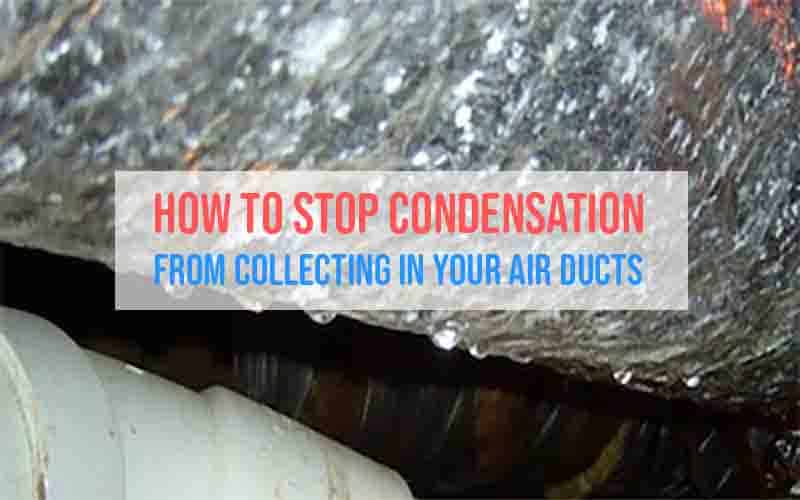
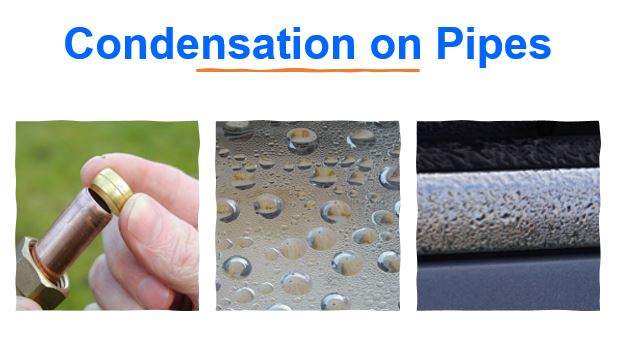
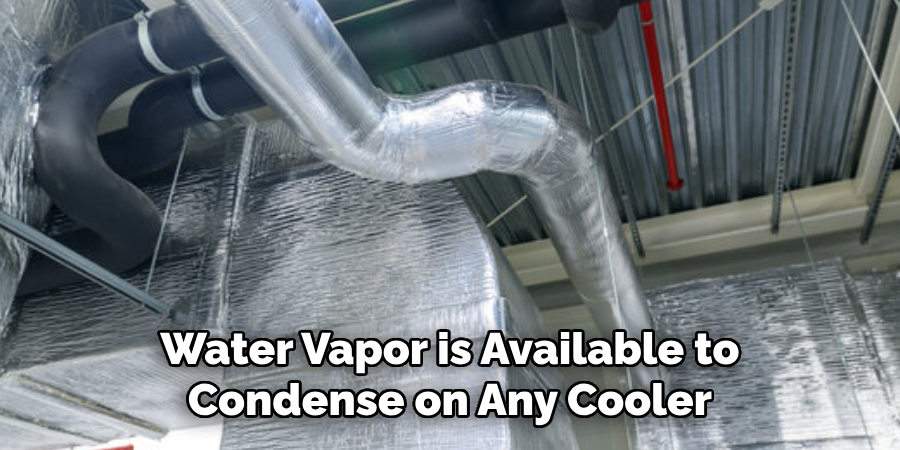
Condensation forms when warm, humid air comes into contact with a cold surface – in this case, your AC pipes. The air cools, and the moisture it holds transforms into liquid water, leaving you with that dreaded "sweating" pipe. Think of it like a cold glass of iced tea on a summer day. While a little bit of condensation is sometimes normal, *excessive* condensation is a sign of a problem that needs addressing.
Potential Problems Leading to Condensation:
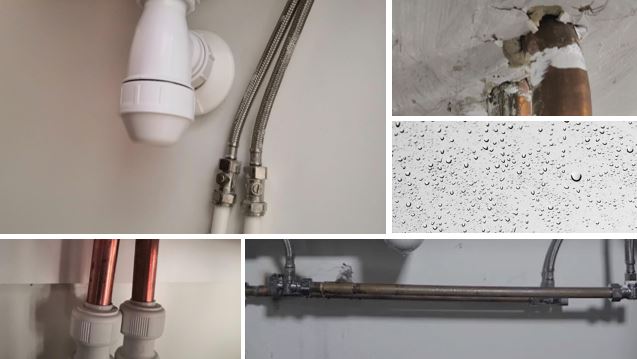
- Inadequate Insulation: This is often the primary culprit. The insulation around the pipes is designed to prevent the cold pipe from meeting the warm air. If it's damaged, missing, or simply insufficient, condensation will occur.
- Air Leaks: Gaps or cracks in the insulation allow warm, humid air to reach the cold pipe surface.
- High Humidity: Exceptionally humid conditions, especially in areas like basements or attics, exacerbate the problem.
- Refrigerant Leaks: While less common, a refrigerant leak can cause the pipes to become *extremely* cold, leading to excessive condensation and even ice formation. This is a serious issue requiring immediate professional attention.
- Clogged Drain Line: A blocked drain line can cause water to back up, leading to condensation and potential water damage around the unit.
- Dirty Air Filter: A clogged air filter restricts airflow, causing the system to work harder and potentially leading to colder pipes and increased condensation.
Step-by-Step Diagnosis: Pinpointing the Cause
Before you start tackling the problem, it's important to properly diagnose the cause. Here's a systematic approach:
- Visual Inspection: Carefully examine the AC pipes, paying close attention to the insulation. Look for:
- Damage: Tears, cracks, or sections that are missing entirely.
- Gaps: Areas where the insulation isn't properly sealed.
- Water Damage: Stains, discoloration, or signs of mold or mildew.
- Ice Formation: This is a red flag indicating a potentially serious problem like a refrigerant leak. Turn off your AC immediately and call a professional.
- Feel the Insulation: Gently touch the insulation. Does it feel damp or saturated? This suggests that the insulation is compromised and needs replacement.
- Check the Air Filter: Locate your AC unit's air filter and inspect it. Is it dirty and clogged with dust and debris? Replace it immediately. A dirty air filter restricts airflow and can contribute to condensation.
- Assess the Humidity: Consider the humidity levels in your home, especially in the area where the AC pipes are located. A dehumidifier can help reduce humidity levels and minimize condensation.
- Inspect the Drain Line: Locate the condensate drain line (usually a PVC pipe) and check for any clogs or blockages. You may see water dripping slowly or not at all.
- Listen to the Unit: Are there any unusual noises coming from your AC unit, such as hissing or gurgling sounds? These could indicate a refrigerant leak or other mechanical problems.
DIY Fixes: Simple Solutions You Can Try
Once you've identified the likely cause of the condensation, you can try these simple DIY fixes:
1. Replace or Repair Damaged Insulation:
This is often the most effective solution for condensation on AC pipes.
- What You'll Need: Pipe insulation sleeves (available at most hardware stores), utility knife, duct tape (or specialized insulation tape).
- Procedure:
- Measure: Measure the circumference of the pipe and cut the insulation sleeve to the correct length.
- Install: Carefully wrap the insulation sleeve around the pipe, ensuring a snug fit.
- Seal: Secure the seam of the insulation sleeve with duct tape or specialized insulation tape. Overlap the tape slightly to create a watertight seal.
- Address Gaps: If there are any gaps between sections of insulation, fill them with additional insulation or wrap them tightly with tape.
- Remove Old Insulation: If the old insulation is damaged or waterlogged, carefully remove it before installing the new insulation. Wear gloves and eye protection when handling old insulation.
- Important Note: When choosing insulation, consider the diameter of your pipes and the R-value (thermal resistance) of the insulation. A higher R-value provides better insulation.
2. Seal Air Leaks:
Even small air leaks can contribute to condensation. Seal any gaps or cracks in the insulation with duct tape or specialized insulation tape.
- What You'll Need: Duct tape (or specialized insulation tape), caulk (for larger gaps).
- Procedure:
- Identify Leaks: Carefully inspect the insulation for any gaps or cracks.
- Seal with Tape: For small gaps, apply duct tape or specialized insulation tape, overlapping the edges to create a tight seal.
- Seal with Caulk: For larger gaps, apply caulk to the gap and allow it to dry completely before covering it with tape.
3. Replace the Air Filter:
A dirty air filter restricts airflow and can cause the system to work harder, leading to colder pipes and increased condensation. Replacing the air filter is a simple and inexpensive way to improve your AC's efficiency and reduce condensation.
- What You'll Need: A new air filter of the correct size.
- Procedure:
- Locate the Filter: Find the air filter compartment in your AC unit (usually located in the return air duct).
- Remove the Old Filter: Remove the old filter and discard it.
- Insert the New Filter: Insert the new filter, making sure the arrow on the filter points in the direction of airflow.
4. Clear a Clogged Drain Line:
A clogged drain line can cause water to back up, leading to condensation and potential water damage around the unit.
- What You'll Need: Wet/dry vacuum, stiff wire or pipe cleaner, bleach (optional).
- Procedure:
- Locate the Drain Line: Find the condensate drain line (usually a PVC pipe) that exits your AC unit.
- Disconnect the Drain Line: Disconnect the drain line from the AC unit (if possible).
- Vacuum the Drain Line: Use a wet/dry vacuum to suck out any clogs or debris from the drain line.
- Use a Wire or Pipe Cleaner: If the vacuum doesn't remove the clog, use a stiff wire or pipe cleaner to break it up.
- Flush with Bleach: (Optional) Pour a cup of diluted bleach into the drain line to kill any algae or bacteria that may be causing the clog.
- Reconnect the Drain Line: Reconnect the drain line to the AC unit.
- Test the Drain Line: Pour a cup of water into the drain line to make sure it's draining properly.
- Important Note: Be careful when using bleach, as it can damage some surfaces. Wear gloves and eye protection when handling bleach.
5. Reduce Humidity:
High humidity levels exacerbate condensation problems. Consider using a dehumidifier, especially in areas like basements or attics.
- What You'll Need: A dehumidifier.
- Procedure:
- Choose a Dehumidifier: Select a dehumidifier that is appropriately sized for the area you want to dehumidify.
- Place the Dehumidifier: Place the dehumidifier in the area where the AC pipes are located.
- Set the Humidity Level: Set the dehumidifier to a comfortable humidity level (typically between 40% and 50%).
- Empty the Water Tank: Empty the dehumidifier's water tank regularly.
When to Call a Professional: Don't Go It Alone
While these DIY fixes can address many condensation problems, there are situations where professional help is essential. Do not hesitate to call a qualified HVAC technician if:
- You suspect a refrigerant leak: Refrigerant is harmful to the environment and can cause health problems. A refrigerant leak is a serious issue that requires immediate professional attention. Signs include ice formation on the pipes, hissing or gurgling noises, and a decrease in cooling performance.
- The condensation persists after trying the DIY fixes: If you've tried the DIY fixes and the condensation is still present, there may be a more complex underlying problem.
- You notice signs of mold or mildew: Mold and mildew can cause health problems and can damage your home. If you notice signs of mold or mildew, it's important to have it removed by a professional.
- You are uncomfortable working with electrical or plumbing systems: HVAC systems involve electrical and plumbing components. If you are not comfortable working with these systems, it's best to leave the repairs to a professional.
- You are unsure of the cause of the condensation: If you are not sure what is causing the condensation, it's best to have a professional diagnose the problem.
Specifically, if you notice any of the following, immediately call a professional:
- Ice forming on the AC pipes.
- A strong, chemical smell near the AC unit.
- Unusual noises coming from the AC unit, especially hissing or gurgling.
- A significant decrease in the AC's cooling performance.
Prevention is Key: Maintaining a Condensation-Free System
Preventing condensation is always better than treating it. Here are some tips to help keep your AC pipes dry and your system running efficiently:
- Regularly inspect your AC pipes for damage or leaks.
- Replace your air filter regularly (every 1-3 months).
- Keep your AC unit clean and free of debris.
- Maintain a comfortable humidity level in your home.
- Schedule regular maintenance with a qualified HVAC technician.
By taking these simple steps, you can help prevent condensation on your AC pipes and keep your system running smoothly for years to come. Remember, a little bit of prevention can save you a lot of headaches (and money) in the long run!