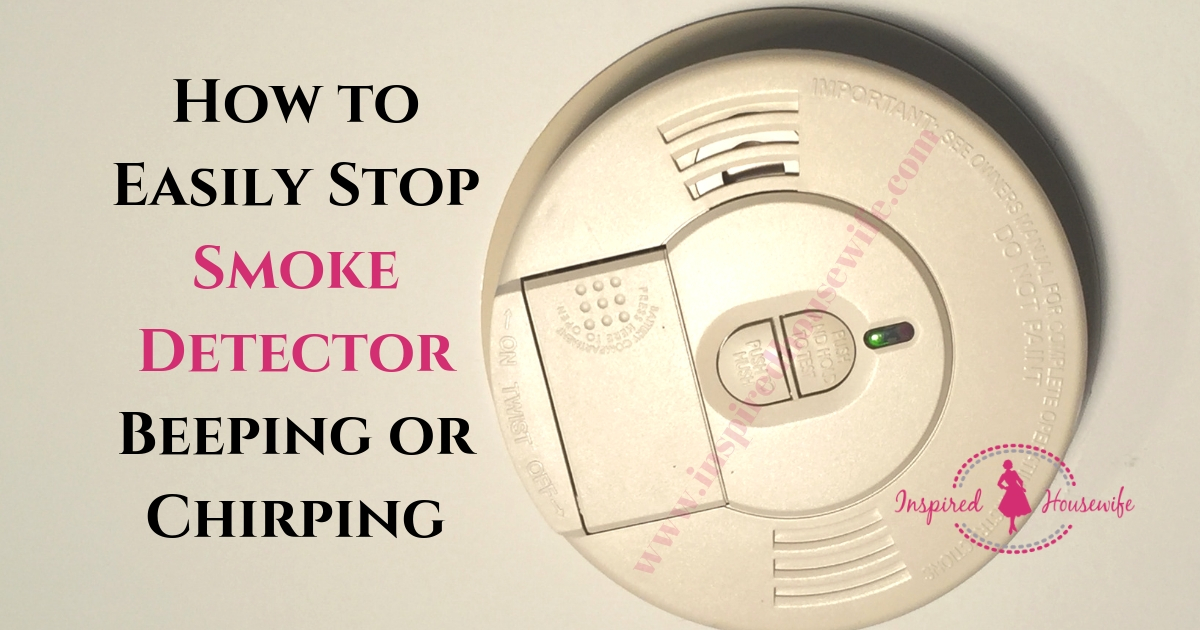
How To Stop Smoke Alarm Going Off
A smoke alarm chirping or blaring unexpectedly is a common and often frustrating experience for homeowners. It's disruptive, potentially frightening, and often happens at the most inconvenient times. But before you reach for a broom handle to silence it permanently (don't!), let's walk through some simple steps to diagnose the problem and hopefully resolve it yourself. This guide will provide you with actionable steps to stop the nuisance alarms, safely and effectively. Remember, your safety is paramount, so always prioritize caution.
Step 1: Identify the Culprit
The first, and arguably most crucial, step is pinpointing which smoke alarm is triggering the alarm. If you have multiple alarms interconnected, as is common, only one will be the source, while the others will simply echo the signal. Listen carefully.
How to Identify the Source:
- Listen closely: The alarm that initiated the signal will usually have a slightly different, often more intense, sound. If your alarms are interconnected and speak, it will identify itself.
- Check the lights: Some alarms have a red LED light that flashes rapidly on the initiating unit during an alarm event.
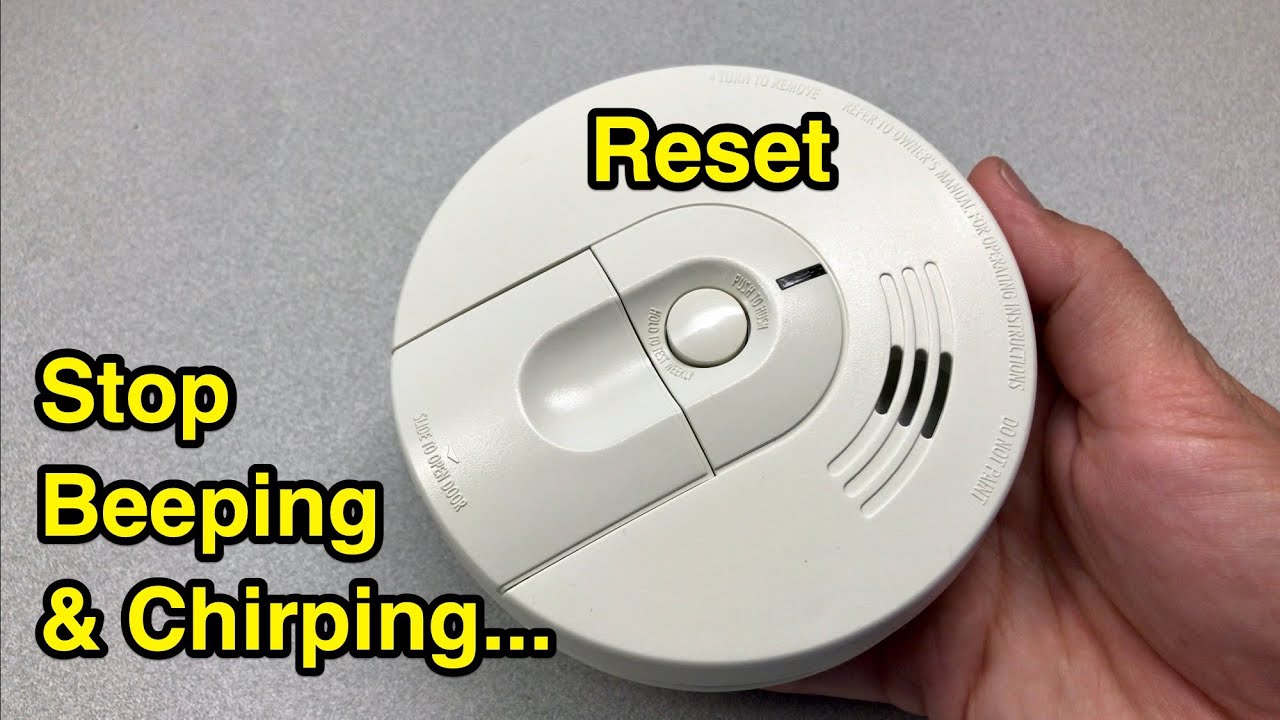
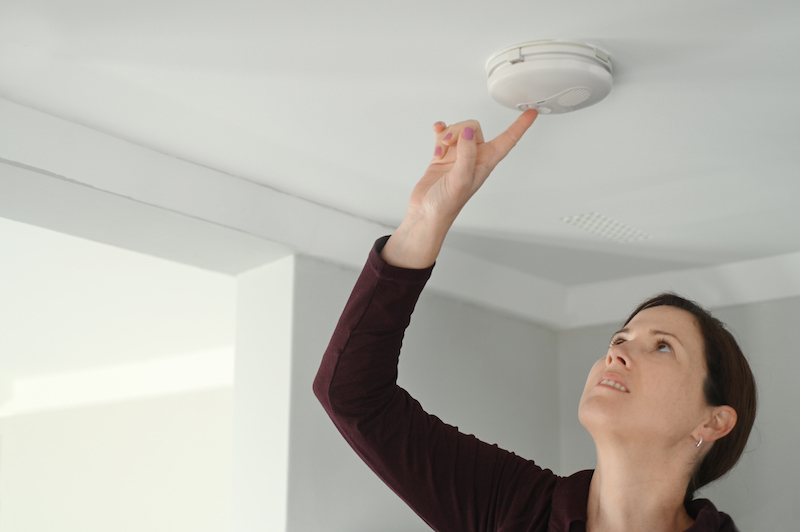
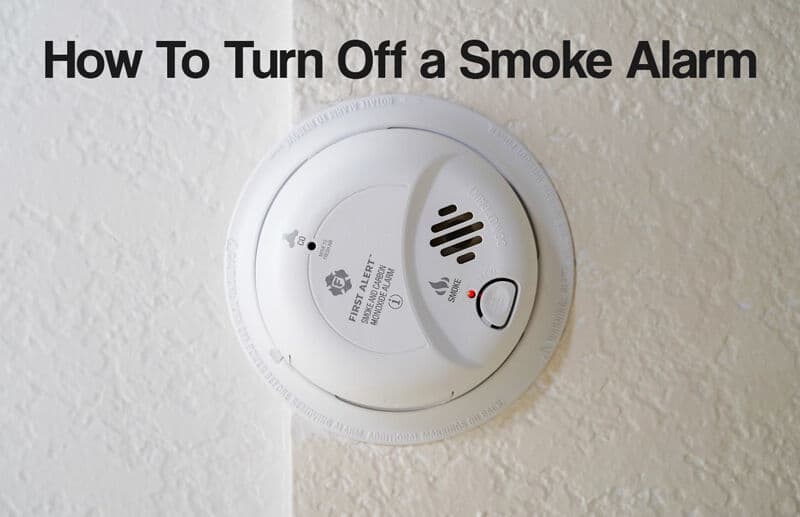
- Manually silence each alarm: If all else fails, carefully press the test/silence button on each alarm, one at a time, until the beeping stops. The last alarm you pressed is likely the culprit. Be mindful of heights and use a sturdy step stool or ladder if needed.
Important: Once you've identified the offending alarm, note its location. This information can be helpful if the issue persists.
Step 2: Common Causes and DIY Fixes
Now that you know which alarm is causing the problem, let's explore the most common reasons for false alarms and how to address them.
A. Low Battery
This is, by far, the most frequent culprit. Many smoke alarms will emit a short "chirp" every 30-60 seconds to indicate a low battery. This is your alarm's way of saying, "I need power!"
Solution:
- Replace the battery: Open the battery compartment and replace the old battery with a new alkaline battery of the correct type (usually 9V or AA, depending on the model). Do not use rechargeable batteries unless the manufacturer specifically states that they are compatible.
- Wait and listen: After replacing the battery, wait a few minutes to see if the chirping stops. It can sometimes take a short while for the alarm to reset.
- Test the alarm: Press the test button to ensure the alarm is functioning correctly.
Pro Tip: Even if only one alarm is chirping, it's a good practice to replace the batteries in all your smoke alarms at the same time. This ensures they all have fresh power and reduces the likelihood of future low-battery chirps. Mark your calendar to remind you to do this regularly (e.g., when you change your clocks for daylight saving time).
B. Dust and Debris
Dust, cobwebs, and small insects can accumulate inside the smoke alarm chamber, triggering false alarms. This is especially common in kitchens and bathrooms where there are cooking fumes and humidity.
Solution:
- Turn off the power: If your alarm is hardwired, turn off the circuit breaker that controls it before proceeding.
- Remove the alarm: Carefully detach the alarm from its mounting bracket.
- Clean the alarm: Use a vacuum cleaner with a brush attachment to gently vacuum the outside of the alarm, paying particular attention to the vents. Then, use a can of compressed air (the kind used for cleaning electronics) to blow out any dust or debris inside the alarm chamber. Hold the can a few inches away and use short bursts.
- Reinstall and test: Reattach the alarm to its mounting bracket and turn the power back on (if applicable). Press the test button to ensure the alarm is functioning correctly.
Important: Never use water or cleaning solutions to clean a smoke alarm, as this can damage the sensitive electronics inside.
C. Steam and Humidity
Steam from showers or cooking can trigger false alarms, particularly in bathrooms and kitchens. Smoke alarms are designed to detect particles in the air, and steam can sometimes mimic the characteristics of smoke.
Solution:
- Improve ventilation: Ensure adequate ventilation in bathrooms and kitchens by using exhaust fans during showers and cooking.
- Relocate the alarm (if possible): If false alarms due to steam are a recurring problem, consider relocating the smoke alarm to a location further away from the source of steam. Make sure it still meets building code requirements for smoke alarm placement.
- Consider a photoelectric alarm: Photoelectric smoke alarms are generally less sensitive to steam and humidity than ionization alarms. If you're consistently experiencing false alarms due to steam, consider replacing your ionization alarms with photoelectric alarms in affected areas.
D. Cooking Fumes
Even with good ventilation, cooking fumes, especially from frying or burning food, can sometimes trigger smoke alarms.
Solution:
- Increase ventilation: Open windows and doors, and use your range hood while cooking.
- Keep a close eye on your cooking: Be attentive while cooking, especially when frying or using high heat.
- Move the alarm (with caution): As with steam, if frequent cooking fumes are the cause, consider *carefully* moving the alarm further away. However, be sure it still provides adequate coverage for fire detection. Do not disable or remove the alarm permanently to avoid cooking fumes.
E. Insects
Small insects, such as spiders and ants, can sometimes crawl inside smoke alarms and trigger false alarms. Their presence can disrupt the sensor and cause it to malfunction.
Solution:
- Turn off the power: If your alarm is hardwired, turn off the circuit breaker.
- Remove the alarm: Carefully detach the alarm from its mounting bracket.
- Inspect for insects: Look closely inside the alarm chamber for any signs of insects or their nests.
- Clean the alarm: Use a vacuum cleaner with a brush attachment to gently remove any insects or debris. You can also use compressed air to blow out the inside of the alarm.
- Reinstall and test: Reattach the alarm to its mounting bracket and turn the power back on (if applicable). Press the test button to ensure the alarm is functioning correctly.
- Consider insect repellent: You can place insect repellent strips near the alarm (but not inside) to deter insects. Be sure to use a repellent that is safe for use around electronics and follow the manufacturer's instructions carefully.
F. Expired Alarm
Smoke alarms don't last forever. Most have a lifespan of 8-10 years. After that time, their sensors become less reliable and they are more prone to false alarms. Many alarms will chirp, or have other alerts, indicating the end of their service life.
Solution:
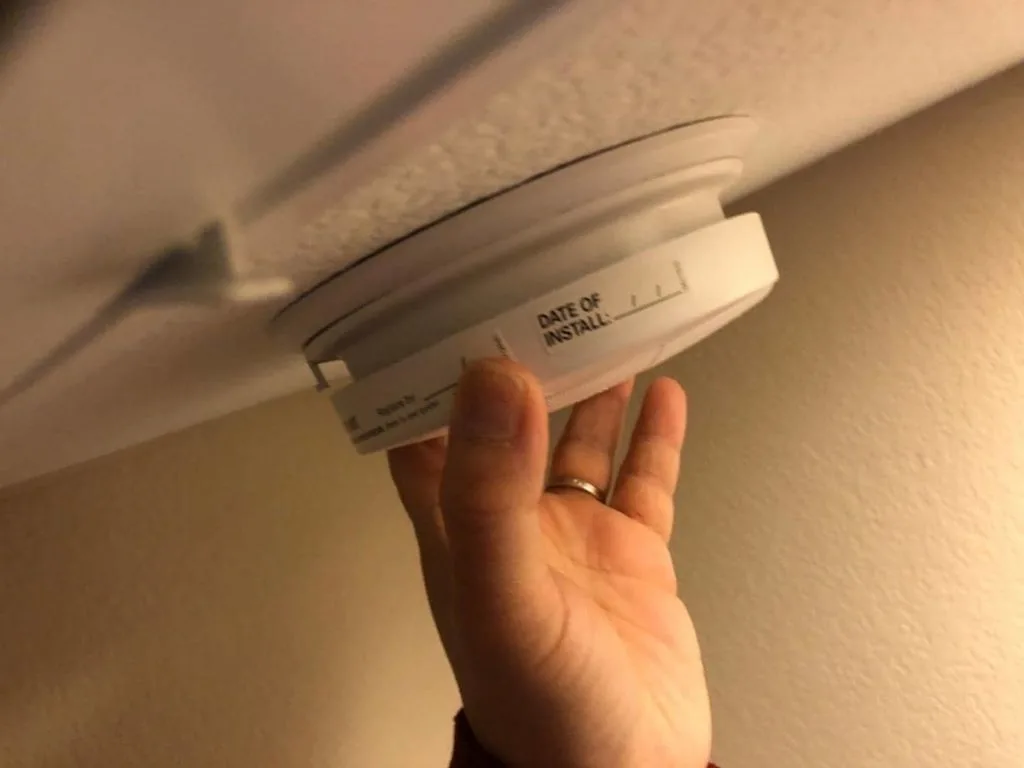
- Check the manufacturing date: Locate the manufacturing date on the back or side of the alarm. If it's more than 10 years old, it's time to replace it.
- Replace the alarm: Purchase a new smoke alarm that meets current safety standards and install it in the same location. When choosing a new alarm, consider the type of alarm (ionization or photoelectric) and whether you want a hardwired or battery-powered model.
- Dispose of the old alarm properly: Follow local regulations for disposing of electronic waste.
Step 3: When to Call a Professional
While many smoke alarm problems can be resolved with simple DIY fixes, there are certain situations where it's best to call a qualified electrician or fire safety professional.
Call a professional if:
- The alarm continues to go off after trying all the DIY fixes: If you've replaced the battery, cleaned the alarm, addressed potential sources of steam or fumes, and the alarm is still going off, there may be a more serious underlying problem.
- The alarm is hardwired and you're uncomfortable working with electricity: Working with electrical wiring can be dangerous if you're not properly trained. If you're not comfortable turning off the circuit breaker and handling the wires, it's best to leave it to a professional.
- You suspect a wiring problem: If you notice any signs of damaged or frayed wiring, or if the alarm is behaving erratically, there may be a wiring issue that needs to be addressed by a qualified electrician.
- You're not sure what's causing the problem: If you've tried all the troubleshooting steps and you're still stumped, a professional can help diagnose the issue and recommend the appropriate solution.
- You are concerned about the integrity of your electrical system: The smoke alarm may be behaving erratically due to issues with your electrical system and a professional electrician will be able to test this.
Important: Never disable or remove a smoke alarm permanently unless you are replacing it with a new one. Smoke alarms are essential for fire safety, and disabling them can put your life and the lives of your family at risk.
Step 4: Prevention is Key
Once you've resolved the immediate problem, take steps to prevent future false alarms.
Prevention Tips:
- Test your smoke alarms regularly: Press the test button on each alarm at least once a month to ensure they are functioning correctly.
- Replace batteries regularly: Change the batteries in all your smoke alarms at least once a year, or whenever the low-battery chirp sounds.
- Clean your smoke alarms regularly: Vacuum your smoke alarms every six months to remove dust and debris.
- Position smoke alarms correctly: Install smoke alarms in accordance with manufacturer's instructions and local building codes. Generally, this means placing them on every level of your home, inside bedrooms, and outside sleeping areas.
- Replace smoke alarms every 10 years: Smoke alarms have a limited lifespan and should be replaced every 10 years, even if they seem to be working fine.
By following these simple steps, you can troubleshoot and resolve most common smoke alarm problems, keeping your home safe and sound. Remember to always prioritize safety and call a professional when needed. Regular maintenance and a proactive approach will help ensure your smoke alarms are always ready to protect you and your family.