How To Take Auger Out Of Traeger

Removing the auger from your Traeger grill is a task that might seem daunting, but with the right tools, understanding, and a bit of patience, it's a manageable DIY project. This guide will walk you through the process step-by-step, ensuring you can safely and effectively remove your Traeger's auger for cleaning, maintenance, or replacement. Before we begin, it's crucial to disconnect your Traeger from the power source for safety.
Why Remove the Auger?
The auger is the heart of your Traeger grill's pellet delivery system. It's a spiral-shaped screw that pushes wood pellets from the hopper into the fire pot. Over time, several factors can necessitate auger removal:
- Pellet Buildup: Sawdust and pellet dust can accumulate inside the auger tube, causing the auger to seize or function poorly. This is particularly common with lower-quality pellets.
- Foreign Objects: Occasionally, foreign objects (like small rocks or pieces of plastic from pellet bags) can find their way into the hopper and jam the auger.
- Rust and Corrosion: In humid environments, rust can form inside the auger tube, hindering the auger's rotation.
- Motor Issues: While less common, if your auger motor fails, removing the auger might be necessary to diagnose or replace the motor.
- Auger Replacement: If the auger itself is damaged (bent, cracked, or excessively worn), it will need to be replaced.
- Deep Cleaning: A thorough cleaning of the auger tube and auger itself can improve performance and prevent future problems.
Tools You'll Need
Gathering the right tools before you start will make the process much smoother. Here's a list of essentials:
- Socket Set or Wrenches: You'll need these to remove the hopper and access the auger motor. The specific size will vary depending on your Traeger model, but a standard set should cover most needs.
- Screwdrivers (Phillips and Flathead): These are necessary for removing screws that hold the hopper, access panels, and sometimes the auger motor in place.
- Pliers: Pliers can be helpful for gripping and manipulating small parts, especially if they're stuck.
- Hammer or Mallet (Optional): A rubber mallet can be used to gently tap the auger loose if it's seized. Avoid using a metal hammer directly on the auger, as this can damage it.
- Penetrating Oil (e.g., WD-40): If the auger is stuck, penetrating oil can help loosen rust and debris.
- Shop Towels or Rags: This will help you keep your work area clean and wipe up any grease or oil.
- Work Gloves: Protect your hands from grease, sharp edges, and potential injury.
- Vacuum or Shop-Vac: Essential for cleaning out the hopper and auger tube.
- Digital Camera or Phone: Take pictures as you disassemble. This helps immensely when reassembling!
Step-by-Step Guide to Auger Removal
Follow these steps carefully to safely and effectively remove the auger from your Traeger grill.
Step 1: Safety First - Disconnect the Power
This is the most important step. Ensure your Traeger is completely disconnected from the power outlet. This prevents any accidental activation of the auger motor while you're working on it.
Step 2: Empty the Hopper
Remove all the wood pellets from the hopper. You can scoop them out by hand or use a vacuum. It's best to store them in an airtight container to prevent them from absorbing moisture.
Step 3: Remove the Hopper
The hopper is typically attached to the grill body with screws or bolts. Locate these fasteners and use the appropriate screwdriver or socket wrench to remove them. Be careful not to strip the screw heads. Once the fasteners are removed, carefully lift the hopper away from the grill body. There might be wiring connected to the hopper (for the pellet sensor, if equipped). If so, disconnect these wires, noting their original positions for reassembly. Taking a picture with your phone is very helpful here.
Step 4: Access the Auger Motor
With the hopper removed, you'll now have access to the auger motor. The motor is usually housed in a metal casing. Remove the screws or bolts that secure the motor casing to the grill body. Again, take pictures of the wiring and motor orientation before disconnecting anything.
Step 5: Disconnect the Auger Motor
Disconnect the wires connected to the auger motor. Note the color and position of each wire to ensure correct reassembly. You may need to use pliers to gently remove connectors. Sometimes there is a small set screw holding the auger to the motor shaft. Loosen it if present.
Step 6: Removing the Auger
This is where things can get a little tricky. The auger might be stuck due to pellet buildup or rust. Here's how to proceed:
- Visual Inspection: Look inside the auger tube for any visible obstructions. Try to remove any large pieces of debris with pliers or a screwdriver.
- Penetrating Oil: Spray penetrating oil (like WD-40) into both ends of the auger tube, especially around the auger itself. Let it sit for 15-30 minutes to allow the oil to loosen any rust or debris.
- Gentle Rotation: Try to rotate the auger back and forth using pliers or a wrench on the exposed end. If it moves even slightly, continue rotating it to loosen it further.
- Tapping (If Necessary): If the auger is still stuck, use a rubber mallet to gently tap the end of the auger. Tap lightly and evenly around the circumference of the auger. Avoid using excessive force, as you could damage the auger or the auger tube.
- Pushing from the Motor End: You can try gently pushing the auger from the motor end (where it connects to the motor shaft). Use a wooden dowel or a similar object to avoid damaging the auger.
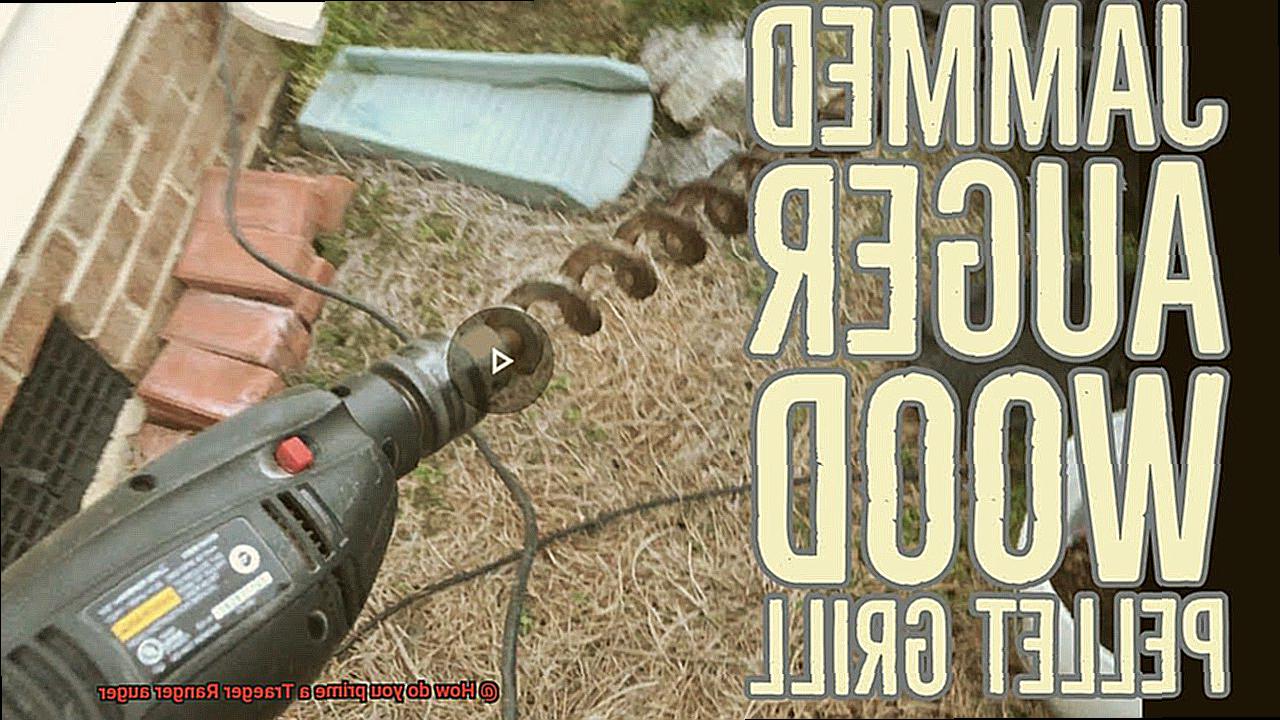
- The "Slide Hammer" Method (Advanced): If all else fails, some people use a makeshift "slide hammer." This involves threading a bolt into the end of the auger (if possible) and attaching a weight to the bolt. By sliding the weight against a stop on the bolt, you can create a controlled pulling force to help dislodge the auger. Use extreme caution with this method, as it can easily damage the auger or auger tube if not done carefully.
Once the auger is loose, carefully pull it out of the auger tube. It might require some wiggling and persistence.
Step 7: Clean the Auger and Auger Tube
Now that the auger is removed, thoroughly clean both the auger and the auger tube. Use a wire brush to remove any rust or debris from the auger. For the auger tube, use a vacuum to suck out any loose pellets, sawdust, or debris. You can also use a long brush or a rag wrapped around a stick to clean the inside of the tube. Compressed air can also be helpful to blow out remaining debris.
Reassembly
Reassembly is essentially the reverse of disassembly. Follow these steps carefully:
- Lubricate the Auger: Apply a light coat of food-grade lubricant to the auger before reinserting it into the auger tube. This will help it turn smoothly.
- Insert the Auger: Carefully slide the auger back into the auger tube.
- Reconnect the Auger Motor: Reattach the auger motor to the grill body and reconnect the wiring. Make sure to match the wire colors and positions to the way they were originally connected. Secure the auger to the motor shaft with the set screw, if applicable.
- Reinstall the Hopper: Reattach the hopper to the grill body and reconnect any wiring (for the pellet sensor).
- Test the Auger: Before putting everything back together completely, plug the Traeger in and briefly test the auger to make sure it's turning properly.
- Reassemble Remaining Parts: Reattach any access panels or other parts that you removed during the disassembly process.
Troubleshooting
Here are some common problems you might encounter and how to address them:
- Auger Won't Budge: Make sure you've thoroughly saturated the auger tube with penetrating oil and allowed it to sit for enough time. Try gently rotating the auger back and forth while tapping it with a rubber mallet.
- Stripped Screw Heads: If you strip the head of a screw, try using a rubber band or steel wool between the screwdriver and the screw head to provide extra grip. As a last resort, you can use a screw extractor.
- Wiring Confusion: If you forgot to take pictures of the wiring before disconnecting it, consult your Traeger's owner's manual or search online for wiring diagrams specific to your model.
- Auger Motor Not Working After Reassembly: Double-check that all wiring connections are secure and that the motor is receiving power. If the motor still doesn't work, it might be faulty and need to be replaced.
Preventive Maintenance
To prevent future auger problems, follow these tips:
- Use High-Quality Pellets: Low-quality pellets produce more dust and can contribute to pellet buildup.
- Store Pellets Properly: Keep your wood pellets in an airtight container to prevent them from absorbing moisture.
- Regular Cleaning: Periodically vacuum out the hopper and auger tube to remove pellet dust and debris.
- Avoid Overfilling the Hopper: Overfilling the hopper can put extra strain on the auger motor.
When to Call a Professional
If you're uncomfortable performing any of these steps or if you encounter a problem that you can't resolve yourself, it's best to call a qualified appliance repair technician. They have the expertise and tools to diagnose and repair your Traeger grill safely and efficiently.
By following these instructions carefully, you can successfully remove and clean your Traeger's auger, ensuring optimal performance and extending the life of your grill. Remember to always prioritize safety and take your time. Good luck!