How To Tell If Thermocouple Is Bad
One of the most frustrating problems a homeowner can face, especially during the colder months, is a pilot light that refuses to stay lit on their furnace, water heater, or gas fireplace. You go through the lighting procedure, hold the button down patiently, and as soon as you release it, poof, the pilot light goes out. More often than not, the culprit is a faulty thermocouple.
But before you call a repair technician, let's explore how to determine if the thermocouple is indeed the issue and if there are any simple fixes you can attempt yourself. This guide will walk you through a step-by-step diagnosis.
Understanding the Thermocouple
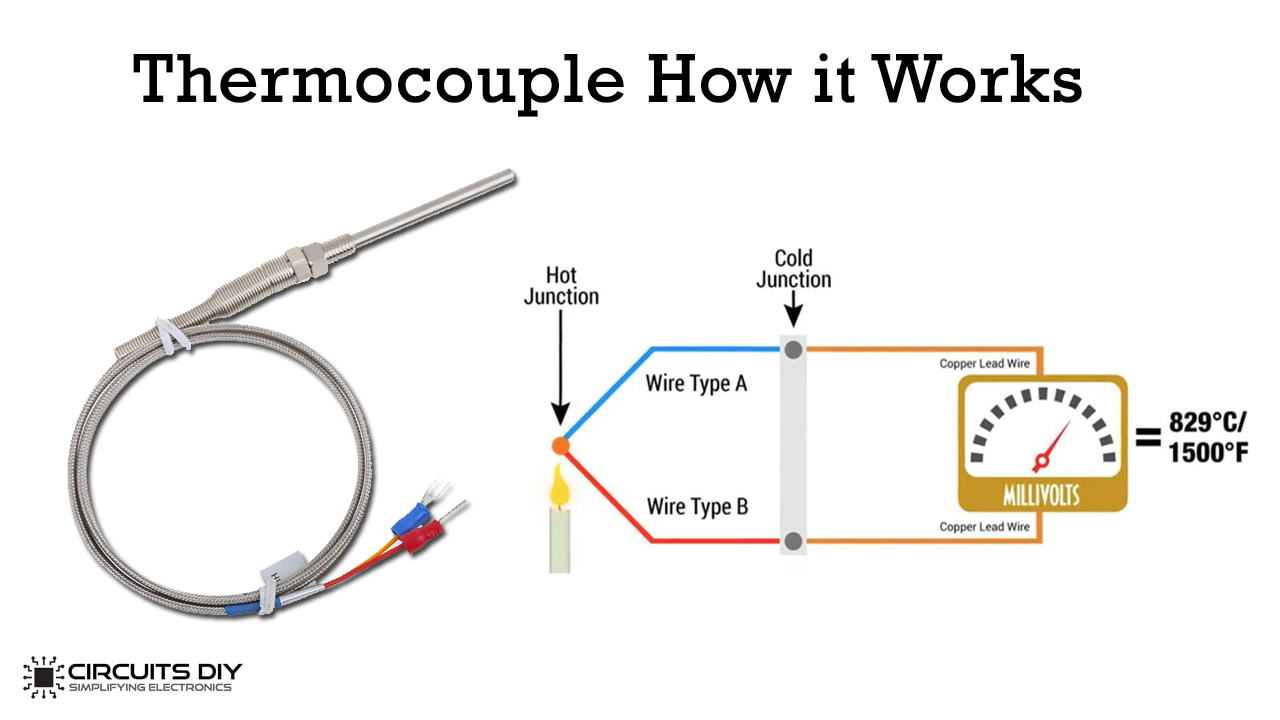
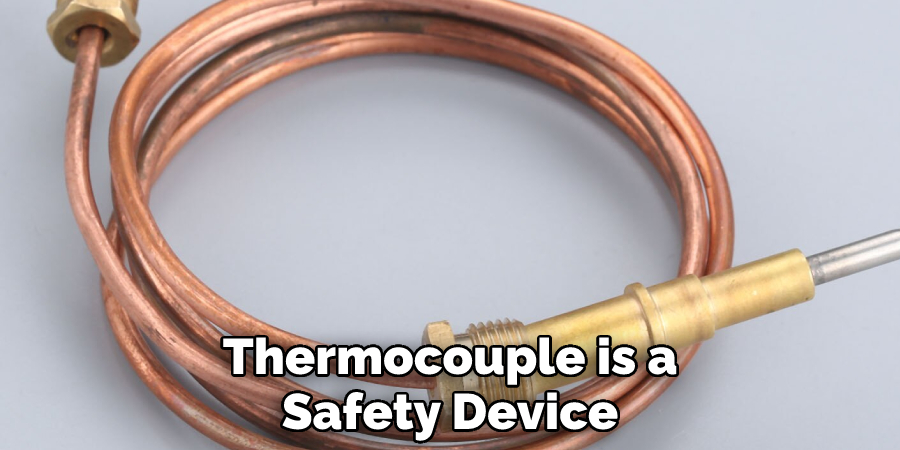
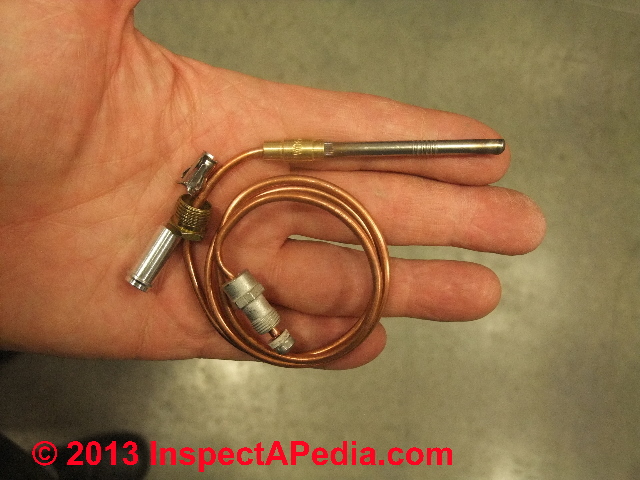
First, let's clarify what a thermocouple does. It's a small, safety device responsible for ensuring that gas only flows to the main burner when the pilot light is actively burning. It works on a simple principle: when heated by the pilot light flame, the thermocouple generates a tiny electrical current. This current opens a valve, allowing gas to flow to the main burner. If the pilot light goes out, the thermocouple cools down, the current stops, and the gas valve closes, preventing a dangerous buildup of unburned gas. Think of it as a silent guardian against gas leaks.
Tools You'll Need
Before you begin, gather these essential tools:
- Screwdriver (typically flathead or Phillips, depending on your appliance)
- Wrench (usually small, for tightening the thermocouple connection)
- Multimeter (optional, but highly recommended for accurate testing)
- Wire brush or fine sandpaper
- Safety glasses
- Gloves
Safety First! Always turn off the gas supply to the appliance before starting any work. Locate the gas shut-off valve (usually near the appliance) and turn it to the "off" position. This is a crucial step to prevent gas leaks and potential explosions.
Step-by-Step Diagnosis
1. Visual Inspection
Begin with a careful visual inspection of the thermocouple. Look for:
- Corrosion: Check for any signs of rust, white or green buildup, or other corrosion on the thermocouple itself, particularly at the tip and where it connects to the gas valve.
- Damage: Inspect for any bends, kinks, or cracks in the thermocouple tubing. Even a small crack can prevent it from functioning properly.
- Loose Connection: Ensure the thermocouple is securely connected to the gas valve. A loose connection can interrupt the electrical current.
- Flame Impingement: Verify that the pilot light flame is directly hitting the top 1/2 inch of the thermocouple. If the flame is too small or misdirected, it won't generate enough heat.
DIY Fix: If you find corrosion, gently clean the thermocouple with a wire brush or fine sandpaper. Be careful not to damage the tubing. If you find a loose connection, tighten it with a wrench, but don't overtighten it, as this could damage the threads.
2. Check the Pilot Light Flame
A healthy pilot light flame should be blue and steady. A yellow, flickering flame indicates a problem, often related to a dirty pilot orifice or insufficient gas pressure.
DIY Fix: Sometimes, blowing gently on the pilot light assembly can dislodge debris that might be obstructing the gas flow. If that doesn't work, you might need to clean the pilot orifice. However, cleaning the pilot orifice is best left to a qualified technician as it involves disassembling the gas valve assembly and carries the risk of damaging the valve or creating a gas leak.
3. The "Hold-Down" Test
This is the classic test for a failing thermocouple. Follow these steps:
- Turn the gas supply back on.
- Follow the manufacturer's instructions for lighting the pilot light. This usually involves pressing and holding a button while simultaneously igniting the pilot light with a lighter or igniter.
- Continue holding the button down for a full 60 seconds after the pilot light is lit. This allows the thermocouple to heat up and generate sufficient current.
- After 60 seconds, slowly release the button.
- Observe: If the pilot light stays lit, the thermocouple is likely functioning correctly. If the pilot light goes out immediately or within a few seconds of releasing the button, the thermocouple is likely bad.
Note: Sometimes, a weak thermocouple will keep the pilot light lit for a slightly longer period, perhaps 10-20 seconds, before extinguishing. This also indicates a failing thermocouple.
4. Voltage Testing with a Multimeter (Advanced)
If you have a multimeter and are comfortable using it, you can perform a more precise test to measure the voltage generated by the thermocouple.
- Turn off the gas supply.
- Disconnect the thermocouple from the gas valve.
- Set your multimeter to the millivolt (mV) setting.
- Connect the multimeter probes to the thermocouple terminals. It doesn't matter which probe goes to which terminal.
- Light the pilot light and allow it to heat the thermocouple for a few minutes.
- Observe the multimeter reading. A healthy thermocouple should generate a voltage of at least 20-30 mV. A reading significantly below this indicates a failing thermocouple. Some experts prefer a reading closer to 30mV.
Important: If you're not familiar with using a multimeter, it's best to skip this step or seek guidance from a qualified technician.
5. Continuity Testing with a Multimeter (Advanced)
Another test you can perform with a multimeter is a continuity test. This checks for breaks in the internal wiring of the thermocouple.
- Turn off the gas supply.
- Disconnect the thermocouple from the gas valve.
- Set your multimeter to the continuity setting (usually indicated by a diode symbol or a speaker symbol).
- Connect the multimeter probes to the thermocouple terminals.
- Observe the multimeter reading. If the multimeter beeps or shows a reading of near zero ohms, the thermocouple has continuity and the wiring is intact. If the multimeter shows an open circuit (no beep or a very high resistance reading), the thermocouple has a break in the wiring and needs to be replaced.
Important: Again, if you're not comfortable using a multimeter, it's best to skip this step or seek guidance from a qualified technician.
DIY Fixes (With Caution)
Before replacing the thermocouple, consider these simple DIY fixes:
- Cleaning: As mentioned earlier, clean the thermocouple with a wire brush or fine sandpaper to remove any corrosion or buildup.
- Tightening Connections: Ensure all connections are tight, but not overtightened.
- Flame Adjustment: If possible, adjust the pilot light flame to ensure it's directly hitting the thermocouple. Some pilot light assemblies have an adjustment screw. Consult your appliance's manual for specific instructions.
Replacing the Thermocouple: If none of the above fixes work, and you've confirmed that the thermocouple is faulty, you can attempt to replace it yourself. However, proceed with caution and only if you are comfortable working with gas appliances.
- Turn off the gas supply.
- Disconnect the old thermocouple from the gas valve and the pilot light assembly. Note how it's routed so you can install the new one correctly.
- Install the new thermocouple, ensuring it's securely connected to both the gas valve and the pilot light assembly.
- Turn the gas supply back on.
- Light the pilot light and test the new thermocouple to ensure it's working properly.
When to Call a Professional
While replacing a thermocouple can be a relatively straightforward task, there are situations where it's best to call a qualified technician:
- You're uncomfortable working with gas appliances: Gas leaks are dangerous and can lead to explosions or carbon monoxide poisoning. If you're not confident in your ability to work safely with gas, don't attempt any repairs yourself.
- You suspect a gas leak: If you smell gas, even a faint odor, evacuate the area immediately and call your gas company or the fire department.
- The pilot orifice is clogged: Cleaning the pilot orifice requires disassembling the gas valve assembly, which is a complex and potentially dangerous task.
- You've replaced the thermocouple, and the pilot light still won't stay lit: This could indicate a more serious problem with the gas valve or other components of the appliance.
- You're unsure of the correct replacement thermocouple: Using the wrong type of thermocouple can be dangerous. Consult your appliance's manual or a qualified technician to ensure you're using the correct replacement part.
- If your multimeter voltage readings are erratic or unexpected even with a new thermocouple: This could indicate a more complex issue with the gas valve or appliance's electrical system.
In summary, diagnosing a bad thermocouple involves a combination of visual inspection, flame observation, and testing with a multimeter. While simple cleaning and tightening of connections can sometimes resolve the issue, replacing the thermocouple yourself should only be attempted if you're comfortable working with gas appliances and understand the risks involved. When in doubt, always err on the side of caution and call a qualified technician.
By following these steps, you can confidently determine if your thermocouple is the problem and take appropriate action, saving you time and money while ensuring the safety of your home.