How To Tell The Temperature Of A Room

Ever walked into a room and felt immediately uncomfortable, only to realize you have no idea what the actual temperature is? This is a common problem! Maybe your thermostat is malfunctioning, you’re trying to optimize energy usage, or you simply want to ensure a comfortable environment for yourself or your family. Accurately gauging room temperature is essential for efficient heating and cooling, preventing health issues, and maximizing comfort. This article provides a practical, step-by-step guide to troubleshooting how to tell the temperature of a room, helping you pinpoint problems and implement simple DIY solutions.
Step 1: Initial Assessment - Is it Just You?
Before diving into technical solutions, start with a simple personal assessment. Consider your current state. Are you coming in from extreme weather outside? Have you been exercising? These factors can significantly influence your perception of temperature.
- Check other rooms: Do you feel the same temperature discomfort in other areas of the house? If not, the problem is likely localized to the specific room.
- Consider your clothing: Are you dressed appropriately for the season? Layering clothing can make a big difference.
- Account for personal factors: Are you feeling unwell? Fever or chills can distort your perception of temperature.
If the discomfort persists after considering these factors, it's time to move on to more objective measurements.
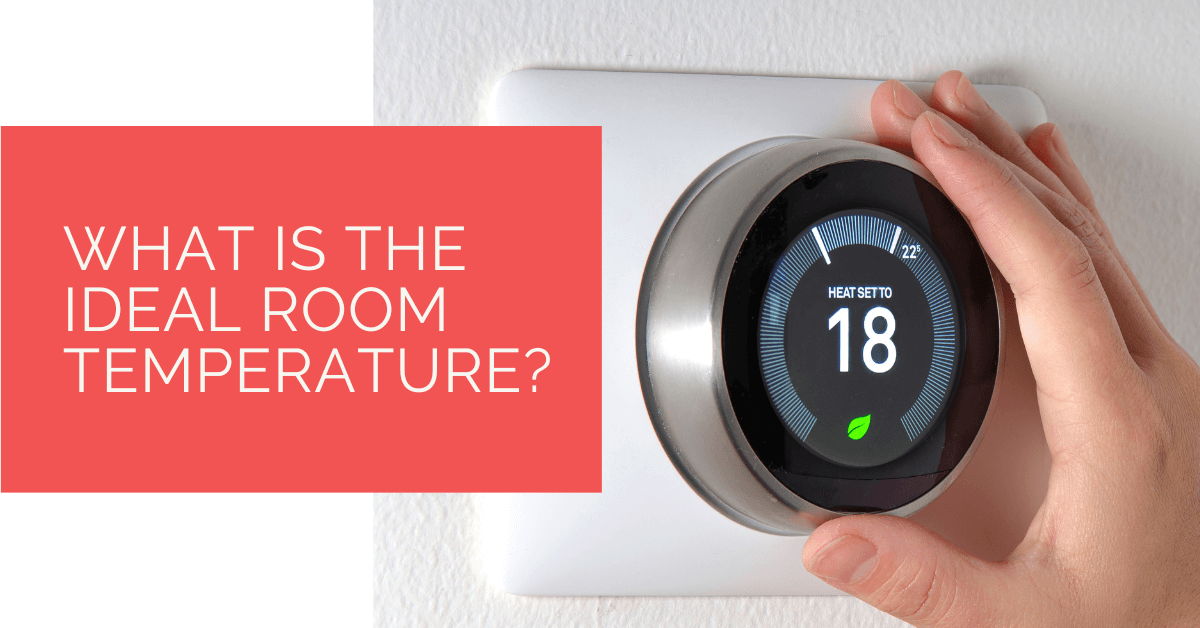
Step 2: The Obvious Suspect - Checking Your Thermostat
The thermostat is the primary control for your home's temperature, so it's the logical first place to investigate. However, a thermostat displaying a set temperature doesn't always mean the room is actually at that temperature.
Diagnosing Thermostat Issues:
- Read the Display: Ensure the thermostat is set to the correct mode (Heat, Cool, Auto, or Off) and that the set temperature is appropriate for your preferences.
- Verify the Thermostat's Accuracy: This is crucial. Use a reliable thermometer (see Step 3) and place it near the thermostat for about 15-20 minutes. Compare the readings. If there's a significant discrepancy (more than 2-3 degrees Fahrenheit), the thermostat might be inaccurate.
- Check the Thermostat's Batteries: Many digital thermostats run on batteries. Low batteries can cause inaccurate readings or malfunctions. Replace the batteries with fresh ones and see if the issue resolves.
- Inspect the Thermostat's Location: Is the thermostat located in a drafty area, near a window, or in direct sunlight? These locations can skew the temperature readings. Relocating the thermostat might be necessary (consult a professional for this).
- Look for Dust and Debris: Dust and debris can accumulate inside the thermostat, interfering with its sensors. Gently clean the thermostat's internal components using a soft brush or compressed air. Always turn off the power to the thermostat before cleaning.
DIY Fixes for Thermostat Issues:
- Replace Batteries: A straightforward solution that often resolves accuracy problems.
- Clean the Thermostat: Remove dust and debris carefully.
- Calibrate the Thermostat (If Applicable): Some thermostats allow for manual calibration. Consult your thermostat's manual for instructions. This involves adjusting the thermostat's internal settings to match a known accurate temperature reading.
When to Call a Professional: If you've tried these DIY fixes and the thermostat still reads incorrectly or malfunctions, it's time to call a qualified HVAC technician. The thermostat may be faulty and require replacement, or there may be a more complex issue with your heating and cooling system.
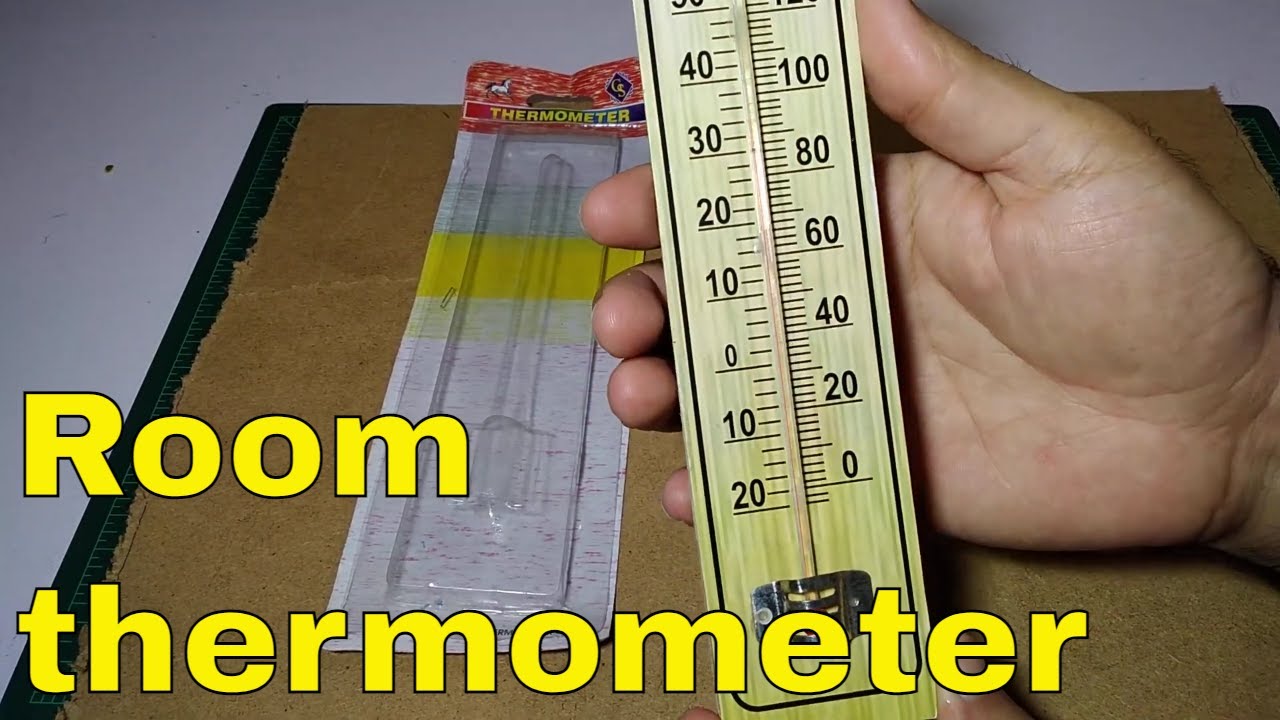
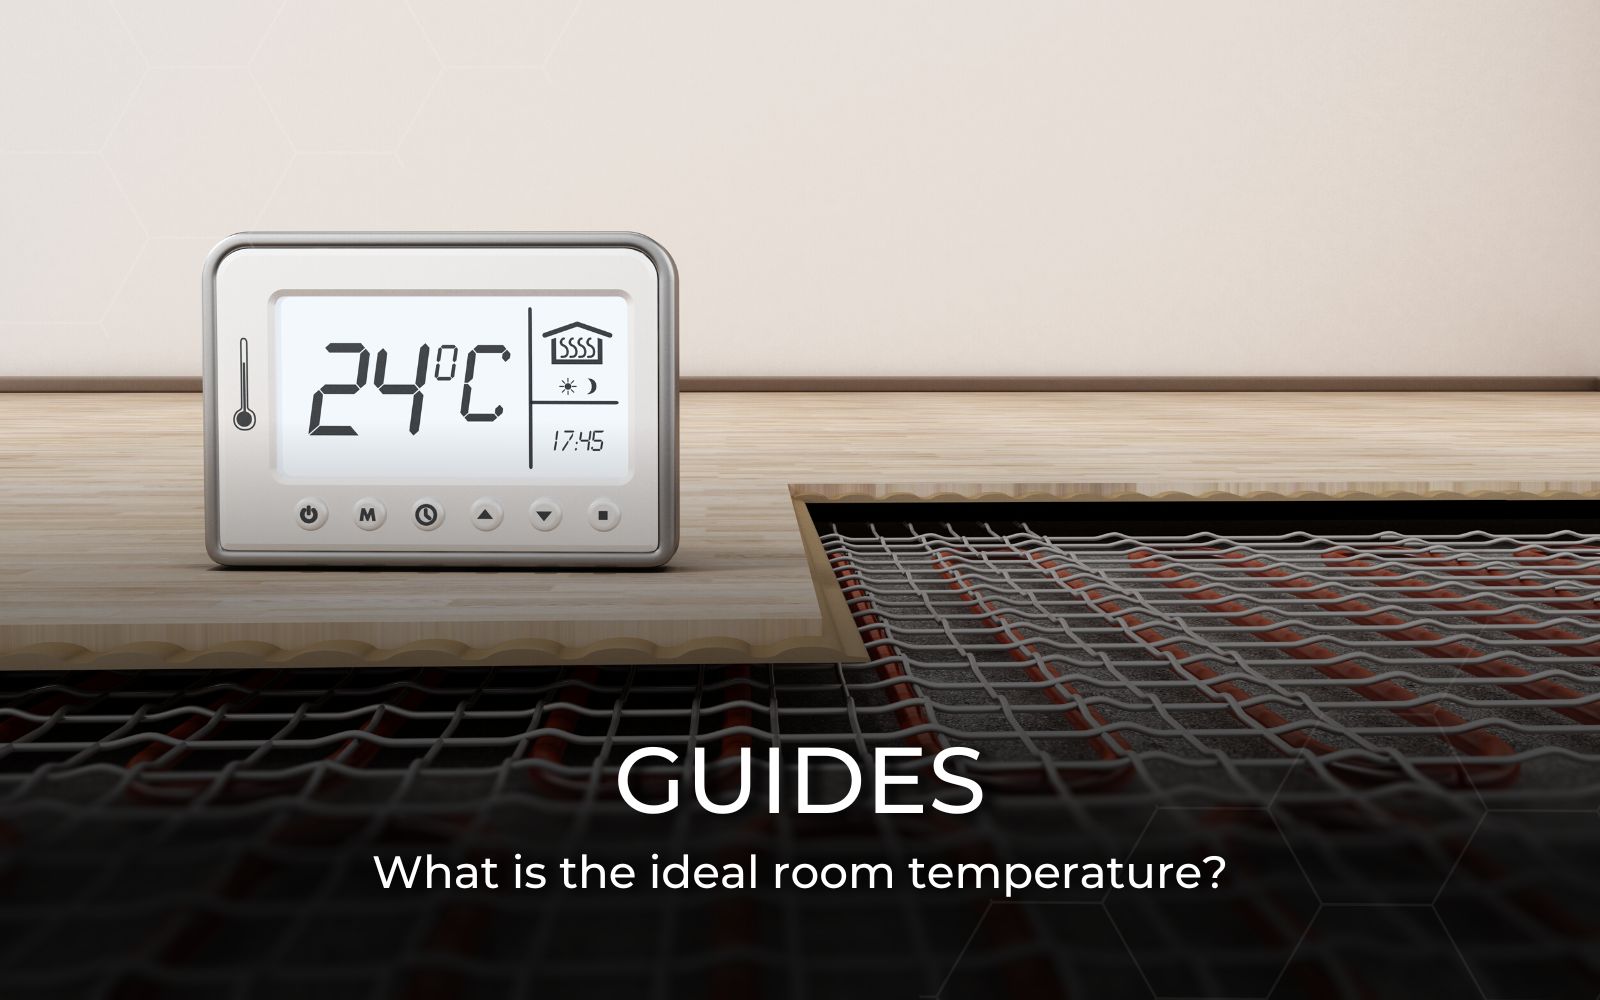
Step 3: Using a Reliable Thermometer for Accurate Readings
To accurately assess the room temperature and verify your thermostat's readings, you'll need a reliable thermometer. There are several types available:
- Digital Thermometers: These are generally the most accurate and easy to read. Look for thermometers with a clear display and good reviews.
- Analog Thermometers (Liquid-in-Glass): These are less common but can be accurate if properly calibrated. Ensure the liquid column is intact and the thermometer is placed in a stable location.
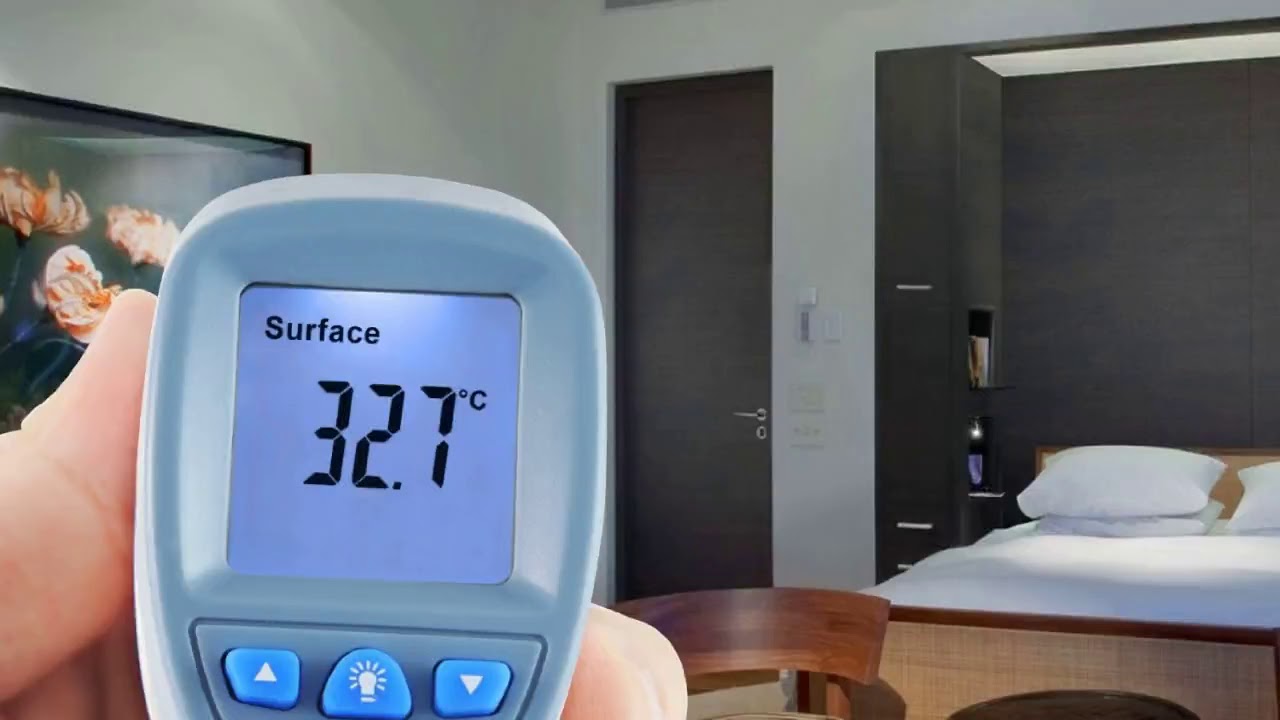
- Infrared Thermometers (Non-Contact): These are useful for quickly measuring the surface temperature of objects, but they are not as accurate for measuring overall room temperature. They can be helpful for identifying drafts or cold spots on walls and ceilings.
Taking Accurate Temperature Readings:
- Choose the Right Location: Place the thermometer in the center of the room, away from windows, doors, and direct sunlight. The ideal height is about 5 feet from the floor, as this represents the average temperature at breathing level.
- Allow Time to Stabilize: Leave the thermometer in place for at least 15-20 minutes to allow it to reach equilibrium with the room temperature.
- Take Multiple Readings: Take several readings over a period of time to ensure consistency and accuracy.
- Compare Readings: If you're using multiple thermometers, compare their readings to identify any discrepancies. If one thermometer consistently deviates from the others, it may be faulty.
Step 4: Identifying and Addressing Drafts
Drafts can significantly impact the perceived temperature of a room, making it feel colder or hotter than it actually is. Identifying and addressing drafts is a crucial step in maintaining a comfortable and consistent room temperature.
Finding Drafts:
- The Hand Test: Simply move your hand slowly around windows, doors, walls, and ceilings, feeling for any air movement.
- The Candle or Incense Test: Light a candle or incense stick and move it around the perimeter of windows and doors. If the flame flickers or the smoke wafts, there's a draft. Use caution when working with open flames.
- The Tissue Test: Hold a thin piece of tissue paper near windows and doors. If the tissue moves, there's a draft.
Common Sources of Drafts:
- Windows and Doors: Gaps around frames, cracks in glass, and worn weather stripping are common sources of drafts.
- Walls: Cracks in walls, gaps around electrical outlets and light switches, and inadequate insulation can contribute to drafts.
- Ceilings: Gaps around ceiling fixtures, cracks in the ceiling, and inadequate insulation in the attic can cause drafts.
- Floors: Gaps between floorboards and cracks in the foundation can allow cold air to enter the room.
DIY Fixes for Drafts:
- Weather Stripping: Replace worn or damaged weather stripping around windows and doors. This is a relatively inexpensive and easy DIY fix.
- Caulking: Caulk cracks and gaps around windows, doors, and walls. Use a paintable caulk for a seamless finish.
- Window Film: Apply window film to add an extra layer of insulation and reduce heat loss through windows.
- Door Draft Stoppers: Place door draft stoppers along the bottom of doors to block drafts.
- Outlet and Switch Plate Insulators: Install foam insulators behind electrical outlets and light switch plates to prevent drafts.
When to Call a Professional: If you're unable to locate or address the source of drafts, or if you suspect more significant insulation problems, it's best to consult a qualified contractor. They can perform a professional energy audit and recommend solutions such as adding insulation to walls, ceilings, or floors.
Step 5: Checking Airflow and Ventilation
Proper airflow and ventilation are essential for maintaining a consistent room temperature. Stagnant air can trap heat or cold, leading to uncomfortable temperature imbalances.
Assessing Airflow:
- Check Vents and Registers: Ensure that all heating and cooling vents and registers are open and unobstructed. Make sure furniture or other objects are not blocking the airflow.
- Inspect Air Filters: Dirty air filters can restrict airflow and reduce the efficiency of your heating and cooling system. Replace air filters regularly, typically every 1-3 months.
- Listen for Unusual Noises: Listen for any unusual noises coming from your heating or cooling system, such as rattling, squealing, or banging. These noises could indicate a problem with the system's airflow.
DIY Fixes for Airflow Issues:
- Open Vents and Registers: Ensure that all vents and registers are fully open.
- Clean or Replace Air Filters: Clean or replace dirty air filters regularly.
- Adjust Ceiling Fan Direction: In the winter, set your ceiling fan to rotate clockwise to push warm air down from the ceiling. In the summer, set it to rotate counterclockwise to create a cooling breeze.
When to Call a Professional: If you suspect a problem with your heating or cooling system's airflow, such as a malfunctioning blower motor or blocked ductwork, it's best to consult a qualified HVAC technician. They can diagnose the problem and recommend appropriate repairs.
Step 6: Considering External Factors
External factors, such as the weather and the time of day, can significantly impact the temperature of a room. It's important to consider these factors when assessing room temperature and troubleshooting problems.
- Weather Conditions: Extreme weather conditions, such as heat waves or cold snaps, can make it difficult to maintain a comfortable room temperature, even with a properly functioning heating and cooling system.
- Sunlight: Direct sunlight can heat up a room quickly, especially if it has large windows. Use blinds, curtains, or shades to block sunlight during the hottest part of the day.
- Time of Day: The temperature of a room can fluctuate throughout the day, depending on the amount of sunlight and the outside temperature.
Adjusting to External Factors:
- Use Blinds and Curtains: Close blinds and curtains during the hottest part of the day to block sunlight and reduce heat gain. Open them during cooler periods to allow natural light and warmth to enter the room.
- Adjust Thermostat Settings: Adjust your thermostat settings to compensate for changes in the outside temperature. In the summer, set the thermostat a few degrees higher during the day and lower at night. In the winter, do the opposite.
- Use Fans: Use fans to circulate air and create a cooling breeze.
Final Thoughts: Prioritize Safety
While troubleshooting room temperature issues, always prioritize safety. Turn off power to electrical components before cleaning or performing repairs. Use caution when working with open flames. If you're unsure about any aspect of the troubleshooting process, it's best to consult a qualified professional.
By following these steps, you can effectively troubleshoot room temperature issues, identify the source of the problem, and implement simple DIY solutions. Remember to prioritize safety and consult a professional when necessary. Maintaining a comfortable room temperature is essential for your health, well-being, and overall quality of life.