How To Test A Blower Motor Relay
Blower motors are the unsung heroes of your HVAC system, quietly ensuring comfortable temperatures throughout your home or business. When your blower motor stops working, it can lead to uncomfortable temperatures, increased energy bills, and potential damage to your HVAC system. Often, the culprit is a faulty blower motor relay. Knowing how to test a blower motor relay can save you money on unnecessary service calls and identify the problem early on. This article provides a detailed guide on how to test a blower motor relay, helping you diagnose HVAC issues and make informed decisions about repairs or replacements.
Understanding the Blower Motor Relay
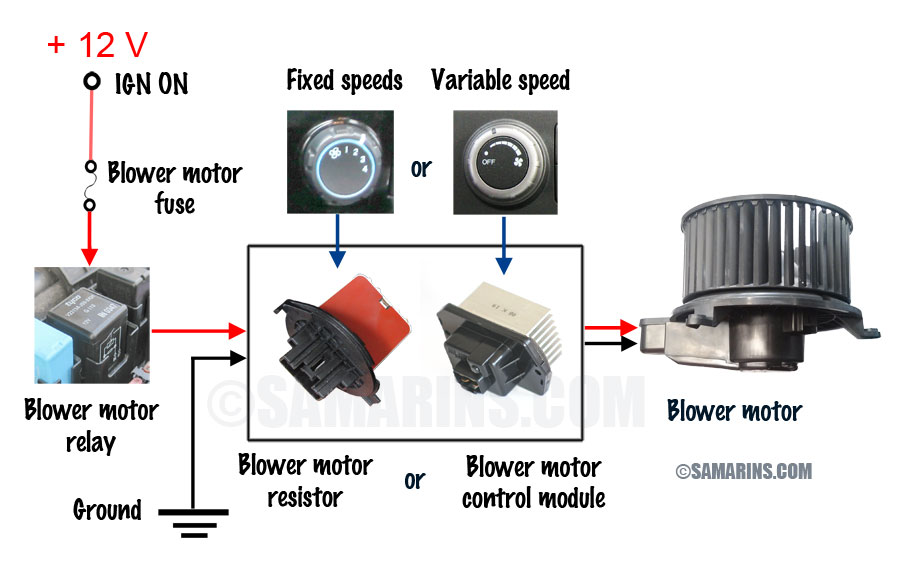
The blower motor relay acts as a switch, controlling the power supply to the blower motor. It receives a signal from the thermostat or control board, which then activates the relay, allowing electricity to flow to the blower motor. A faulty relay can prevent the blower motor from turning on, leading to a lack of airflow. By testing the relay, you can determine if it's the source of the problem and take appropriate action.
Tools and Materials Needed
Before you begin, gather the necessary tools and materials:
- Multimeter: A digital multimeter is essential for measuring voltage and continuity.
- Screwdrivers: Both flathead and Phillips head screwdrivers may be needed to access the relay.
- Wire Strippers/Crimpers: For safely handling and connecting wires if necessary.
- Safety Glasses: To protect your eyes from any debris or electrical sparks.
- Work Gloves: To insulate and protect your hands.
- HVAC Wiring Diagram: This diagram is useful to understand the circuit.
Safety First: Disconnecting Power
Safety should always be your top priority when working with electrical components. Before testing the blower motor relay, disconnect the power to your HVAC system at the circuit breaker. This will prevent electrical shock and ensure your safety throughout the testing process. Verify that the power is off using your multimeter before proceeding.
Step-by-Step Testing Procedure
Follow these steps to test your blower motor relay using a multimeter:
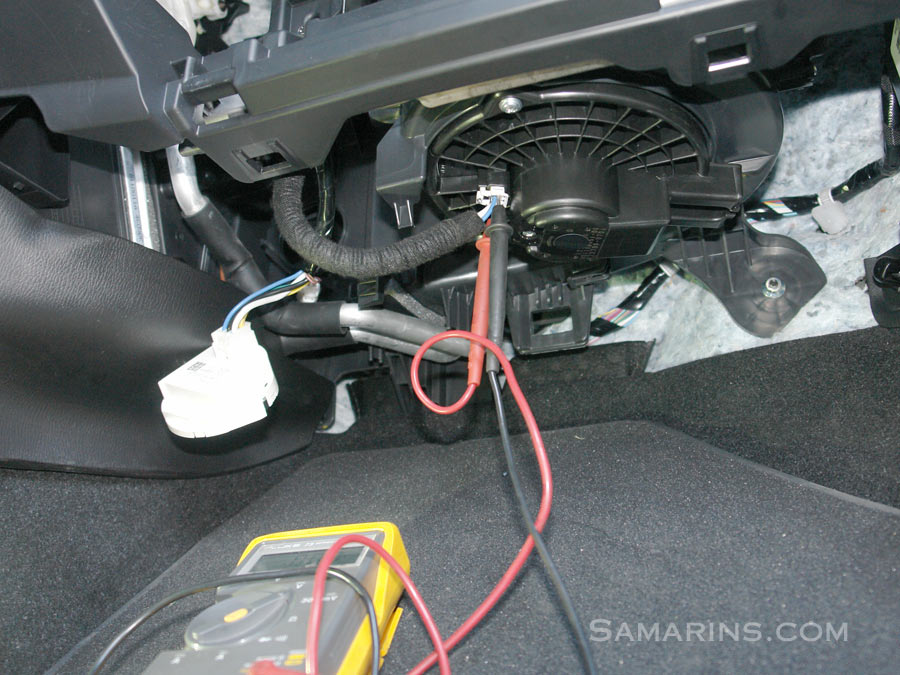
Step 1: Locating the Blower Motor Relay
The blower motor relay is typically located inside the HVAC unit's control panel. Refer to your HVAC system's wiring diagram or owner's manual to pinpoint its exact location. The relay is usually a small, rectangular component with multiple terminals.
Step 2: Visual Inspection
Before testing with a multimeter, visually inspect the relay for any signs of damage, such as:
- Burn Marks: Discoloration or charring on the relay or surrounding components.
- Cracks: Visible cracks in the relay casing.
- Corrosion: Rust or corrosion on the terminals.
If you notice any of these signs, the relay is likely faulty and needs to be replaced, but still continue the testing. Don't skip it.
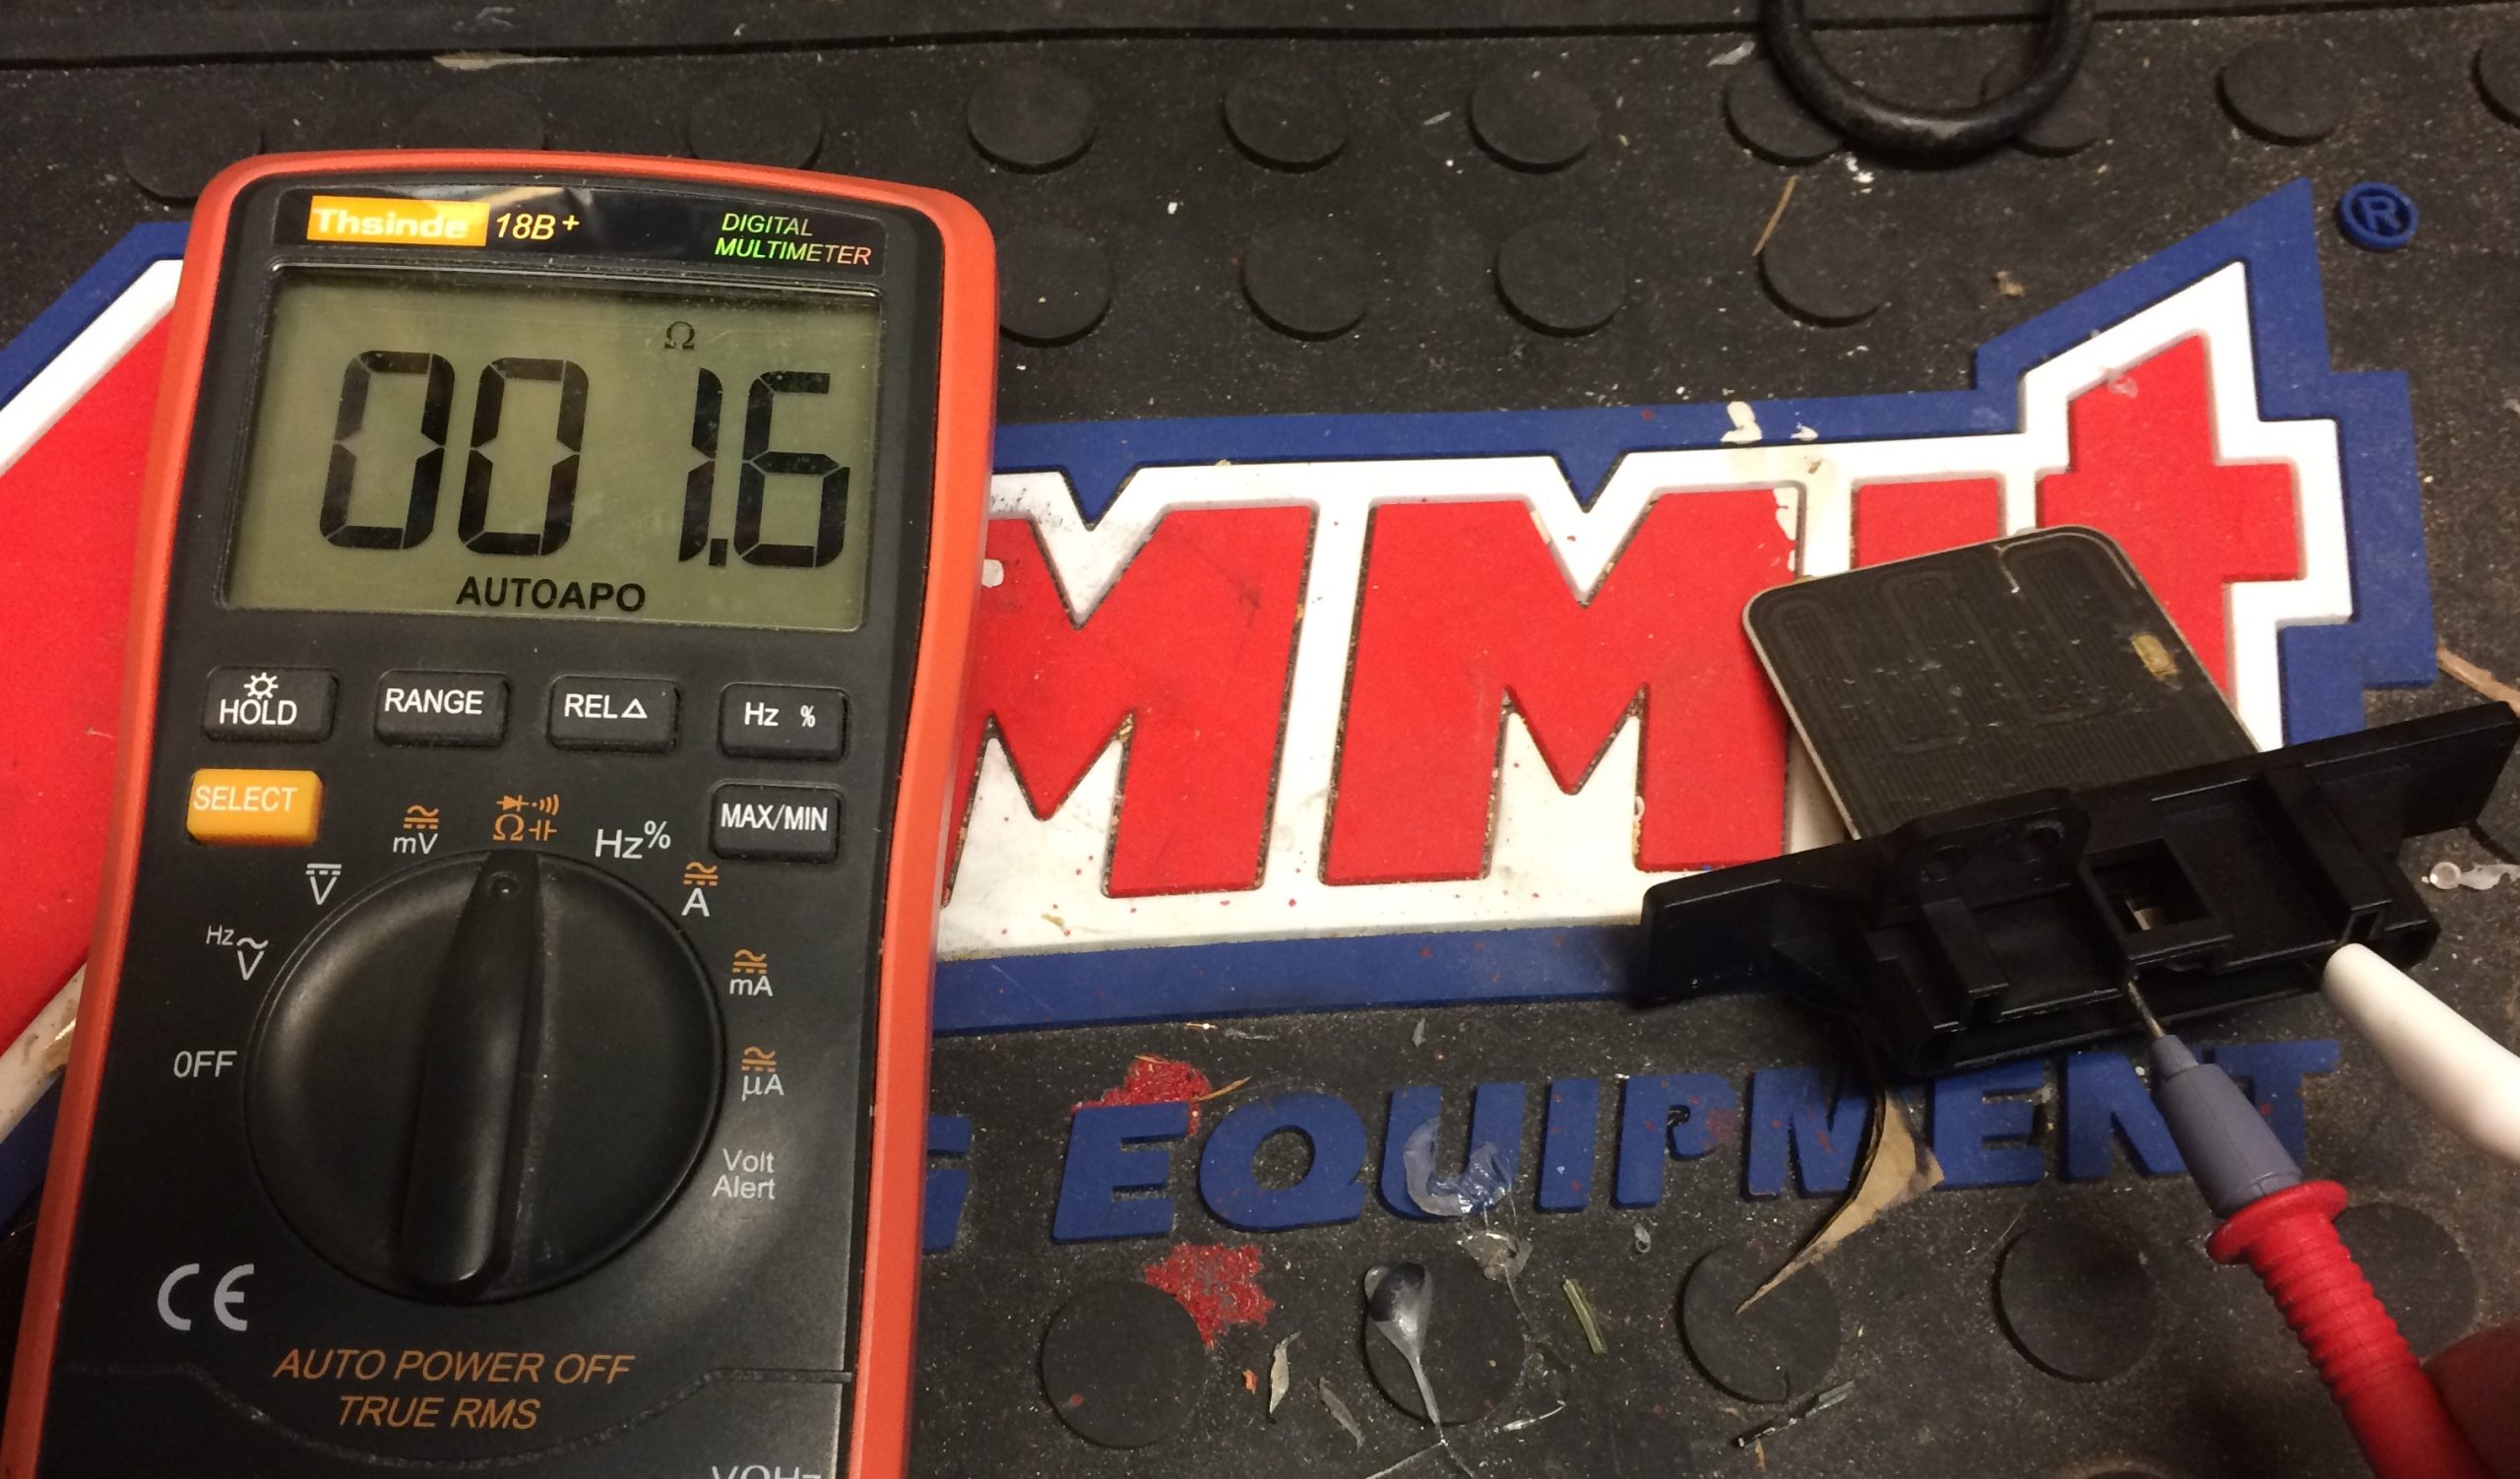
Step 3: Testing for Continuity
Continuity testing checks if there's a complete electrical path through the relay's coil. Here's how to perform a continuity test:
- Set your multimeter to the continuity testing mode (indicated by a diode symbol or an audible beep).
- Identify the coil terminals on the relay. These are usually marked on the relay itself or in the wiring diagram.
- Place the multimeter probes on the coil terminals.
- Observe the multimeter reading. If the multimeter shows a reading close to zero ohms or emits a beep, there is continuity, indicating the coil is intact. If the multimeter shows an open circuit (OL) or a very high resistance, the coil is likely broken, and the relay needs replacement.
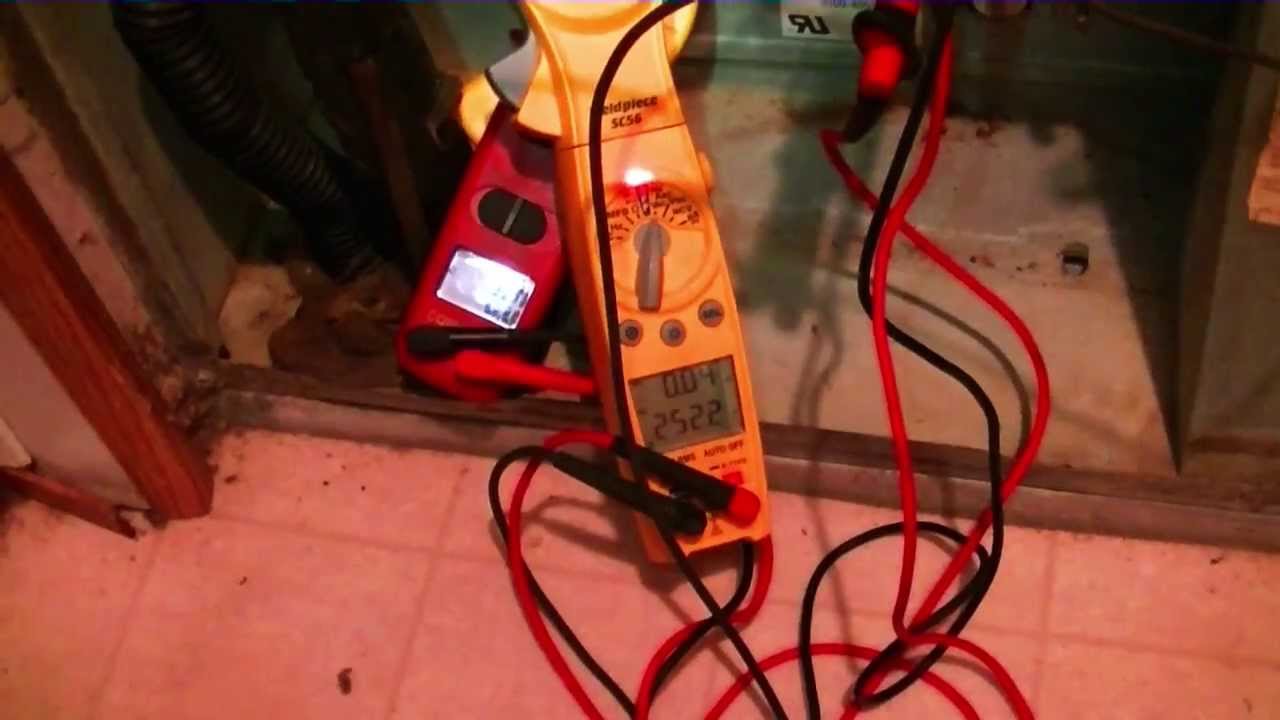
Step 4: Testing the Switch Contacts (Voltage Test)
This test verifies if the relay is switching the power to the blower motor when activated. You will need to carefully apply power to the HVAC system for this test, so **proceed with extreme caution**. If you are uncomfortable working with live electricity, contact a qualified HVAC technician.
- Reapply power to the HVAC system at the circuit breaker.
- Set your multimeter to the appropriate voltage setting (AC or DC) based on your HVAC system's voltage.
- Locate the input and output terminals of the relay switch. The input terminal receives power from the source, and the output terminal sends power to the blower motor.
- Place the multimeter probes on the input terminal. You should read the system's voltage (e.g., 120V or 240V for AC systems, or 24V for some DC systems).
- Activate the blower motor. This can usually be done by setting the thermostat to "cool" or "heat" and setting the fan to "auto" or "on".
- Place the multimeter probes on the output terminal. If the relay is functioning correctly, you should read the same voltage as the input terminal. If you read zero volts or a significantly lower voltage, the relay is not switching the power, indicating a fault.
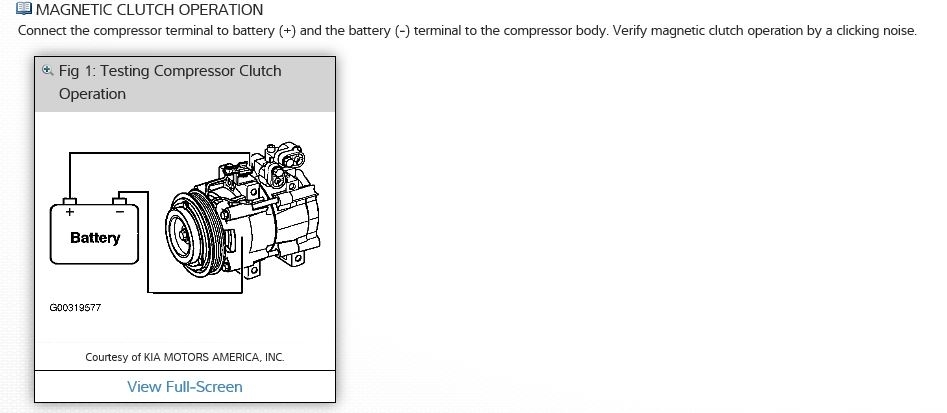
Step 5: Inspect the Relay for Proper Function
Observe the relay as the blower motor is activated by the thermostat. You should hear a clear “click” sound when the relay engages and disengages. If the relay does not click or makes unusual sounds, it may be defective.
Interpreting the Results
Here's how to interpret the results of your tests:
- Continuity Test Failure: If the coil shows no continuity, the relay is definitely faulty and needs to be replaced.
- Voltage Test Failure: If the relay doesn't switch the voltage to the output terminal when activated, the relay is faulty.
- Visual Damage: Obvious signs of burning, cracks, or corrosion indicate a need for replacement.
- Audible Cues: A relay should make a distinct click when engaged. If you don’t hear a click, the relay may be failing.
Replacement and Repair
If the blower motor relay is faulty, you'll need to replace it. Ensure you purchase a relay with the exact same specifications (voltage, amperage, and terminal configuration) as the original. Before replacing the relay, take a picture of the wiring connections to ensure you reconnect everything correctly. Disconnect the power again before removing and replacing the relay. In some cases, a qualified HVAC technician may be able to repair a damaged relay, but this is typically less cost-effective than replacing the entire component. For a typical homeowner, replacement is generally recommended.
The ROI of Energy-Efficient HVAC Systems and Smart Home Integration
Investing in energy-efficient HVAC systems and integrating them with smart home technology can significantly lower your energy bills and improve comfort. Energy Star certified HVAC systems, for example, can save up to 15% on heating and cooling costs compared to standard models. The initial investment in these systems can be offset by long-term energy savings and government rebates. Smart thermostats, like Nest and Ecobee, allow you to remotely control your HVAC system, set custom schedules, and monitor energy usage. These devices can optimize your system's performance and reduce energy waste.
Government Rebates and Incentives
Many governments and utility companies offer rebates and incentives for upgrading to energy-efficient HVAC systems and installing smart home devices. Check your local and federal programs to take advantage of these opportunities and reduce your upfront costs. The Inflation Reduction Act of 2022, for instance, provides significant tax credits and rebates for energy-efficient home improvements.
Integration with Smart Home Systems
Integrating your HVAC system with a smart home platform can provide additional benefits, such as:
- Remote Monitoring and Control: Adjust your thermostat from anywhere using your smartphone or tablet.
- Automated Scheduling: Create custom schedules to optimize energy usage based on your lifestyle.
- Energy Usage Tracking: Monitor your energy consumption and identify areas for improvement.
- Smart Sensors: Use temperature and humidity sensors to automatically adjust your HVAC system for optimal comfort and efficiency.
By combining energy-efficient HVAC systems with smart home technology, you can create a comfortable and cost-effective living environment.
When to Call a Professional
While this guide provides a detailed procedure for testing a blower motor relay, some situations may require the expertise of a qualified HVAC technician. Call a professional if:
- You are uncomfortable working with electricity.
- You are unable to locate the blower motor relay.
- You suspect other components in the HVAC system are faulty.
- You are unsure about the test results.
A professional HVAC technician can accurately diagnose the problem and provide the necessary repairs or replacements.
Conclusion
Testing a blower motor relay is a valuable skill for homeowners and businesses looking to maintain their HVAC systems and reduce energy costs. By following the steps outlined in this guide, you can identify a faulty relay and take appropriate action. Remember to prioritize safety and seek professional help when needed. Investing in energy-efficient HVAC systems and integrating them with smart home technology can further enhance your comfort, lower your energy bills, and contribute to a more sustainable future.