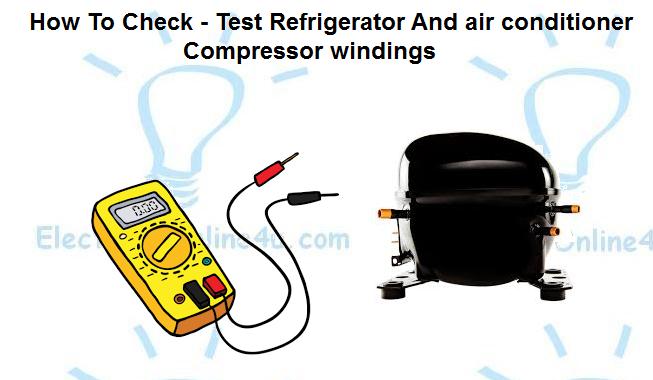
How To Test A Refrigerator Compressor With A Multimeter

Understanding Your Refrigerator Compressor and Why Testing Matters
The refrigerator compressor is the heart of your cooling system. It's a crucial component responsible for circulating refrigerant, the substance that absorbs heat from inside the refrigerator and releases it outside. A malfunctioning compressor can lead to a warm refrigerator, spoiled food, and ultimately, the need for expensive repairs or replacement. Regular testing can identify problems early, potentially saving you significant costs and inconvenience.
This guide provides a step-by-step approach on how to test a refrigerator compressor using a multimeter. Whether you're a homeowner troubleshooting a potential issue, an HVAC technician diagnosing a refrigerator problem, or a facility manager overseeing multiple appliances, this information will prove valuable.
Essential Tools and Safety Precautions
Before you begin, gather the necessary tools and prioritize safety. You will need:
- A reliable multimeter capable of measuring resistance (ohms) and voltage.
- Screwdrivers (Phillips and flathead) to access the compressor.
- Pliers or wire strippers for handling wires.
- Safety glasses to protect your eyes.
- Work gloves to protect your hands.
- A camera or smartphone to document wiring configurations before disconnection.
Safety First! Always disconnect the refrigerator from its power source (unplug it) before commencing any electrical testing or repairs. This prevents electric shock. Treat all electrical components with caution, even when the appliance is unplugged, as capacitors can store energy.
Locating the Refrigerator Compressor
The compressor is typically located at the back of the refrigerator, near the bottom. It's a black, cylindrical or oval-shaped component with electrical connections and refrigerant lines attached. You may need to remove a rear access panel to gain clear visibility of the compressor and its wiring.
Document the wiring configuration before you disconnect any wires. Taking a picture or drawing a diagram will help you reconnect everything correctly later. Incorrect wiring can damage the compressor or other refrigerator components.
Testing the Compressor Windings for Continuity
The first test involves checking the continuity of the compressor windings. Windings are coils of wire inside the compressor motor. A break in these windings will prevent the compressor from running. Here's how to test for continuity:
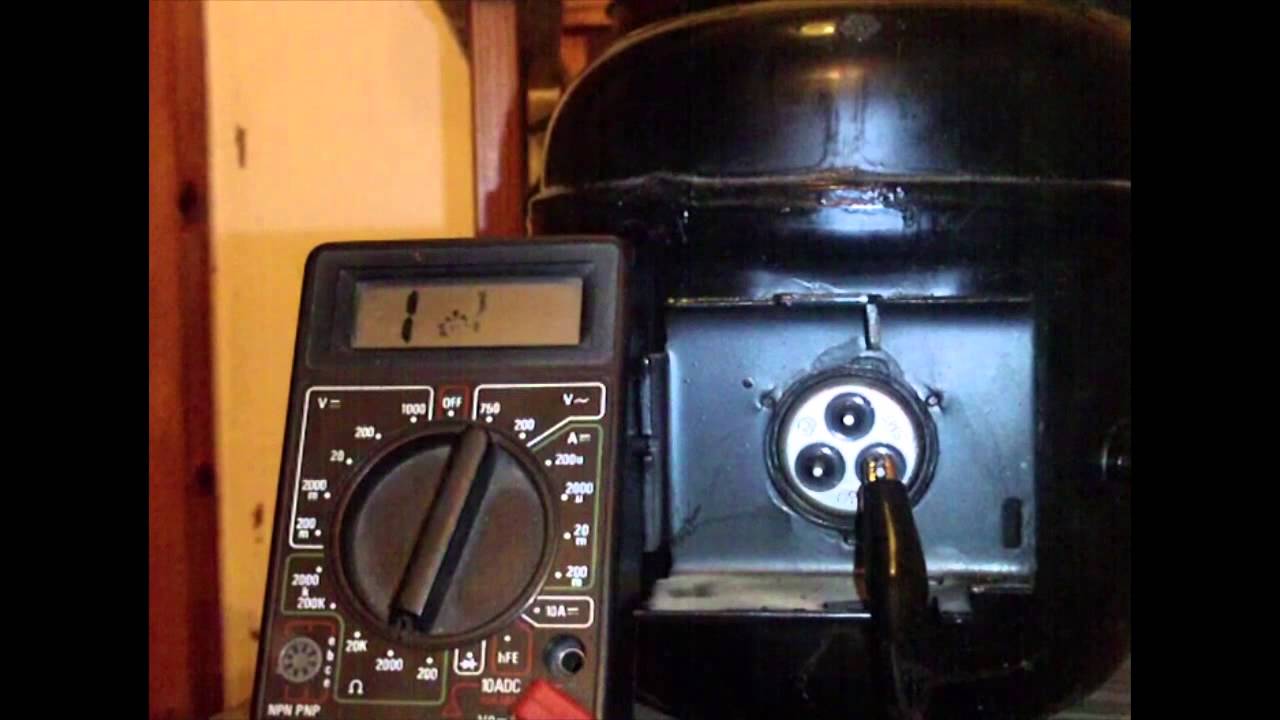
- Identify the Compressor Terminals: The compressor typically has three terminals: Common (C), Start (S), and Run (R). These terminals may be labeled, or you can refer to the refrigerator's wiring diagram (often found inside the access panel). If you cannot find a diagram, it may be necessary to research the specific refrigerator model online to find this information.
- Set the Multimeter: Set your multimeter to the ohms (Ω) setting. This setting measures resistance. Select the lowest ohm range available (e.g., 200 Ω).
- Test Between Terminals:
- Touch one multimeter probe to the Common (C) terminal and the other probe to the Start (S) terminal. Record the resistance reading.
- Touch one probe to the Common (C) terminal and the other probe to the Run (R) terminal. Record the resistance reading.
- Touch one probe to the Start (S) terminal and the other probe to the Run (R) terminal. Record the resistance reading.
- Interpret the Readings:
- A reading of 0 ohms or very close to 0 ohms (e.g., 0.1 - 10 ohms) indicates good continuity. This means the winding is intact. Typical resistance values will vary depending on the compressor, but they should be relatively low.
- A reading of infinite resistance (OL or a very high number displayed on the multimeter) indicates an open circuit, meaning the winding is broken. This signifies a faulty compressor.
- There should be no significant variations between tests.
Example: Let's say you measure 5 ohms between Common and Start, 3 ohms between Common and Run, and 8 ohms between Start and Run. These are reasonable readings, suggesting the windings are likely in good condition.
Testing for a Short to Ground
A short to ground occurs when the compressor windings come into contact with the compressor housing (ground). This can cause electrical shocks and prevent the compressor from starting. Here's how to test for a short to ground:
- Set the Multimeter: Keep the multimeter set to the ohms (Ω) setting. Again, use the lowest ohm range.
- Test to Ground:
- Touch one multimeter probe to any of the compressor terminals (Common, Start, or Run).
- Touch the other probe to the compressor housing (the metal body of the compressor). You may need to scrape away some paint to ensure a good connection.
- Interpret the Readings:
- A reading of infinite resistance (OL or a very high number) is desirable. This indicates there is no short to ground.
- A reading of 0 ohms or close to 0 ohms indicates a short to ground. This means the windings are in contact with the compressor housing and the compressor is faulty.
Important Note: Any reading other than infinite resistance during the short-to-ground test indicates a serious problem. Do not attempt to run the compressor if it has a short to ground.
Voltage Testing (Requires Extreme Caution!)
Warning: Voltage testing involves working with live electricity and carries a risk of electric shock. If you are not comfortable working with electricity, consult a qualified HVAC technician.
This test verifies that the compressor is receiving the correct voltage when it attempts to start. You'll need to reconnect the refrigerator to its power source *briefly* to perform this test. Be extremely careful and follow all safety precautions.
- Set the Multimeter: Set your multimeter to the AC voltage (VAC) setting. Select a voltage range appropriate for your local voltage (e.g., 250 VAC for a 120V system).
- Identify Wires: Locate the wires that supply power to the compressor. These are typically connected to a relay or overload protector mounted on or near the compressor.
- Connect Multimeter: Carefully connect the multimeter probes to the power supply wires. Ensure the probes are securely connected and do not touch any other components.
- Start the Refrigerator: Briefly turn on the refrigerator (you may need an assistant for this). Observe the voltage reading on the multimeter as the compressor attempts to start.
- Interpret the Readings:
- The voltage reading should be close to your local voltage (e.g., 120V or 240V). A significant drop in voltage (e.g., below 100V in a 120V system) may indicate a problem with the power supply or a failing compressor.
- If there is no voltage reading, there is a problem with the power supply to the compressor. Check the wiring, relay, and overload protector.
- Immediately Disconnect: As soon as you have a voltage reading, turn off the refrigerator and disconnect it from the power source.
Important Considerations: The compressor may only attempt to start for a few seconds. Be prepared to read the voltage quickly. This test can be hazardous and should only be performed by individuals with appropriate knowledge and experience.
Interpreting the Results and Next Steps
After completing these tests, you should have a better understanding of the condition of your refrigerator compressor.
- Good Continuity, No Short to Ground, Proper Voltage: The compressor is likely in good working order. Other components in the refrigerator (e.g., the relay, overload protector, or control board) may be the cause of the problem.
- Open Circuit (No Continuity): The compressor is faulty and needs to be replaced.
- Short to Ground: The compressor is faulty and needs to be replaced. Running a compressor with a short to ground is dangerous.
- Low or No Voltage: Investigate the power supply to the compressor. Check the wiring, relay, and overload protector.
Professional Assistance: If you are unsure about any of these tests or the results, consult a qualified HVAC technician or appliance repair professional. They have the expertise and specialized equipment to accurately diagnose and repair refrigerator problems.
Cost Considerations
Replacing a refrigerator compressor can be a significant expense. The cost will vary depending on the size and type of compressor, as well as labor costs. Expect to pay several hundred dollars for the repair. In some cases, it may be more cost-effective to replace the entire refrigerator, especially if it is an older model. A new, energy-efficient refrigerator can offer significant savings on electricity bills over time.
Preventative Maintenance
Regular maintenance can help extend the life of your refrigerator and prevent compressor failures. Keep the refrigerator coils clean by vacuuming them regularly. Ensure proper ventilation around the refrigerator to allow for efficient heat dissipation. Avoid overloading the refrigerator, as this can put extra strain on the compressor.
By understanding how to test a refrigerator compressor and performing basic maintenance, you can keep your refrigerator running efficiently and reliably for years to come.