How To Test An Air Conditioner Capacitor

Is Your Air Conditioner Acting Up? How To Test An Air Conditioner Capacitor Like a Pro
When your air conditioner sputters to a stop on a sweltering summer day, it's easy to panic. But before you call for expensive professional help, there's one relatively simple component you can check: the air conditioner capacitor. This small, cylindrical device stores electrical energy and provides the extra jolt needed to start your AC's motors. A faulty capacitor is a common cause of AC problems and can often be diagnosed and, in some cases, even replaced by a handy homeowner. However, safety is paramount when dealing with electricity, so proceed with caution.
Understanding Air Conditioner Capacitors
Capacitors are basically batteries for your AC unit, except they release their energy in a quick burst rather than over a longer period. There are generally two types of capacitors found in an AC unit:
- Start Capacitor: Gives the compressor motor a boost to start.
- Run Capacitor: Provides continuous power to the motor, ensuring smooth operation.
Often, you'll find a single "dual run capacitor" that handles both the fan motor and the compressor motor. Knowing this distinction can help you narrow down potential issues.
Symptoms of a Failing Air Conditioner Capacitor
Recognizing the symptoms of a failing capacitor is the first step in diagnosing the problem. Here are some common signs:
- The air conditioner hums but the fan or compressor doesn't start.
- The air conditioner starts and runs, but then shuts off quickly.
- The fan motor spins slowly.
- Increased energy bills due to inefficient operation.
- Clicking noises coming from the AC unit.
- The air conditioner takes a long time to start.
Safety First! Essential Precautions Before Testing
Working with electrical components can be dangerous, so safety is your top priority. Before you even think about touching anything, follow these steps:
- Turn off the power: Locate the circuit breaker for your air conditioner and switch it to the "off" position. Double-check to ensure no power is flowing to the unit. A non-contact voltage tester can confirm this.
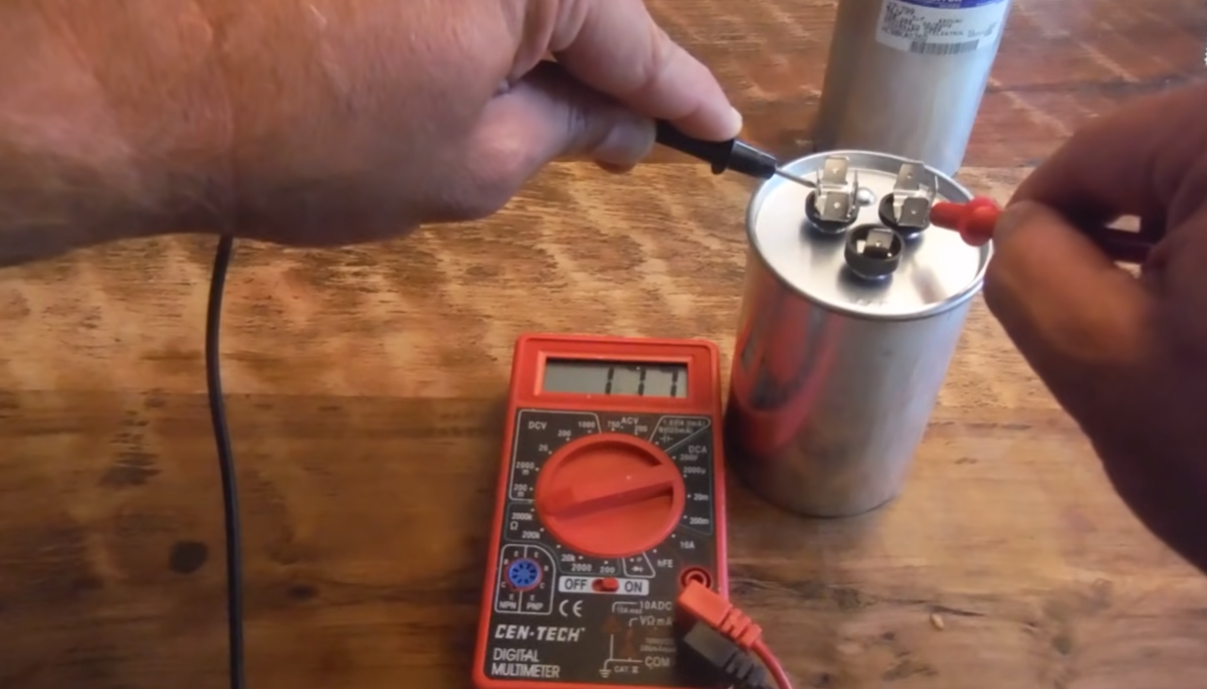
- Discharge the capacitor: Even with the power off, the capacitor can hold a dangerous electrical charge. You'll need to discharge it. This is done by using a screwdriver with an insulated handle to short the terminals. Be extremely careful and use appropriate personal protective equipment (PPE) such as safety glasses and insulated gloves.
- Wait: After discharging, wait at least 5 minutes to ensure any residual charge dissipates.
Warning: If you are uncomfortable with any of these steps or unsure about your abilities, call a qualified HVAC technician. Working with electricity can be fatal.
Tools You'll Need
To properly test an air conditioner capacitor, you'll need the following tools:
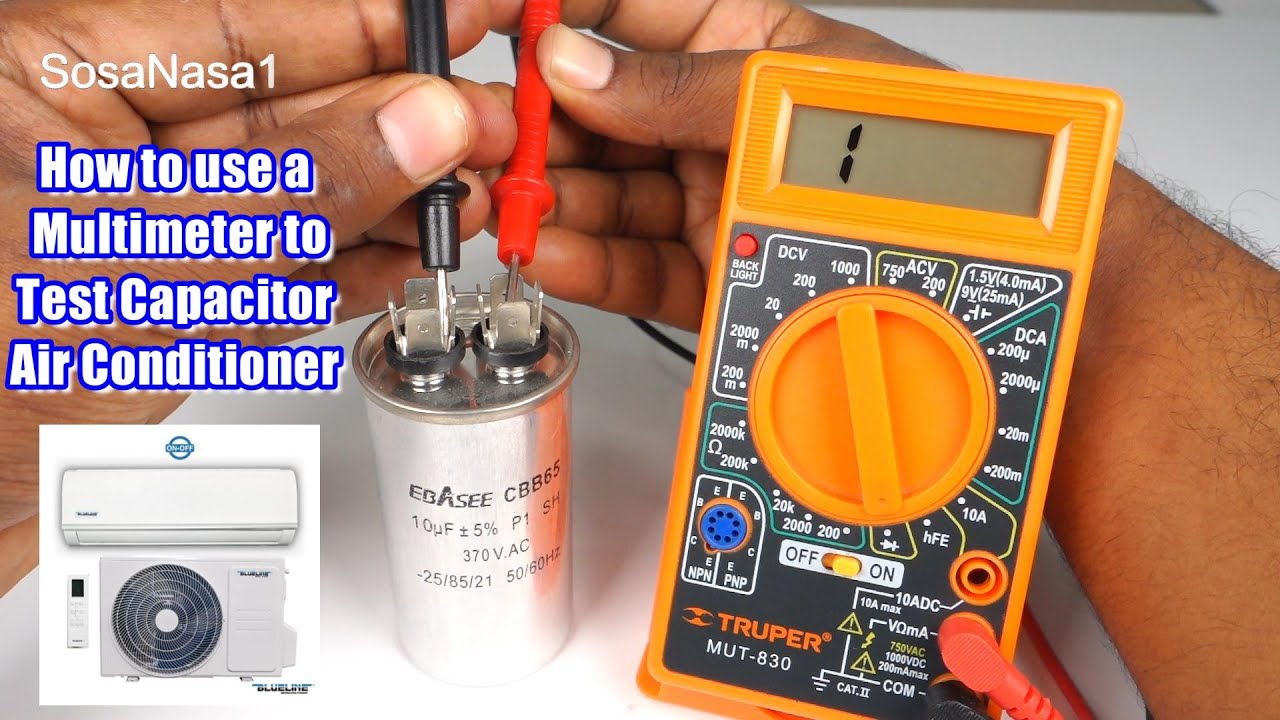
- Multimeter: Capable of measuring capacitance (in microfarads or µF).
- Screwdriver with insulated handle: For discharging the capacitor.
- Non-contact voltage tester: To verify the power is off.
- Safety glasses: To protect your eyes.
- Insulated gloves: To protect your hands from electrical shock.
- Camera or smartphone: To take pictures of wiring before disconnecting anything.
- Pliers or wire strippers: May be needed for disconnecting wires.
Step-by-Step Guide: Testing the Capacitor
Now that you've gathered your tools and taken the necessary safety precautions, you can begin testing the capacitor.
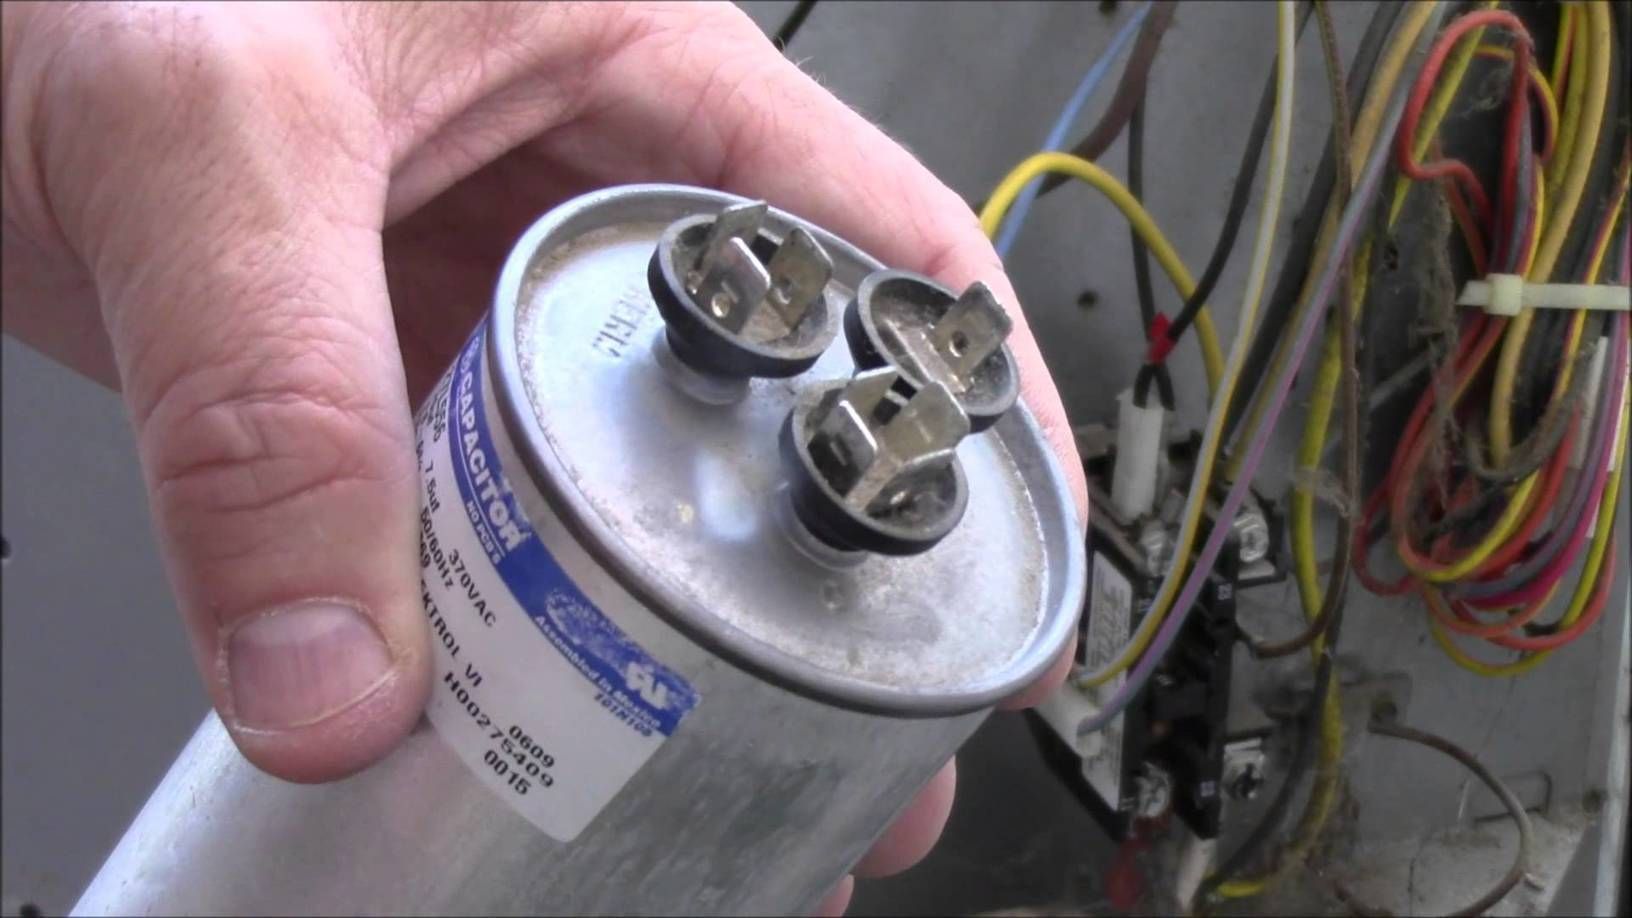
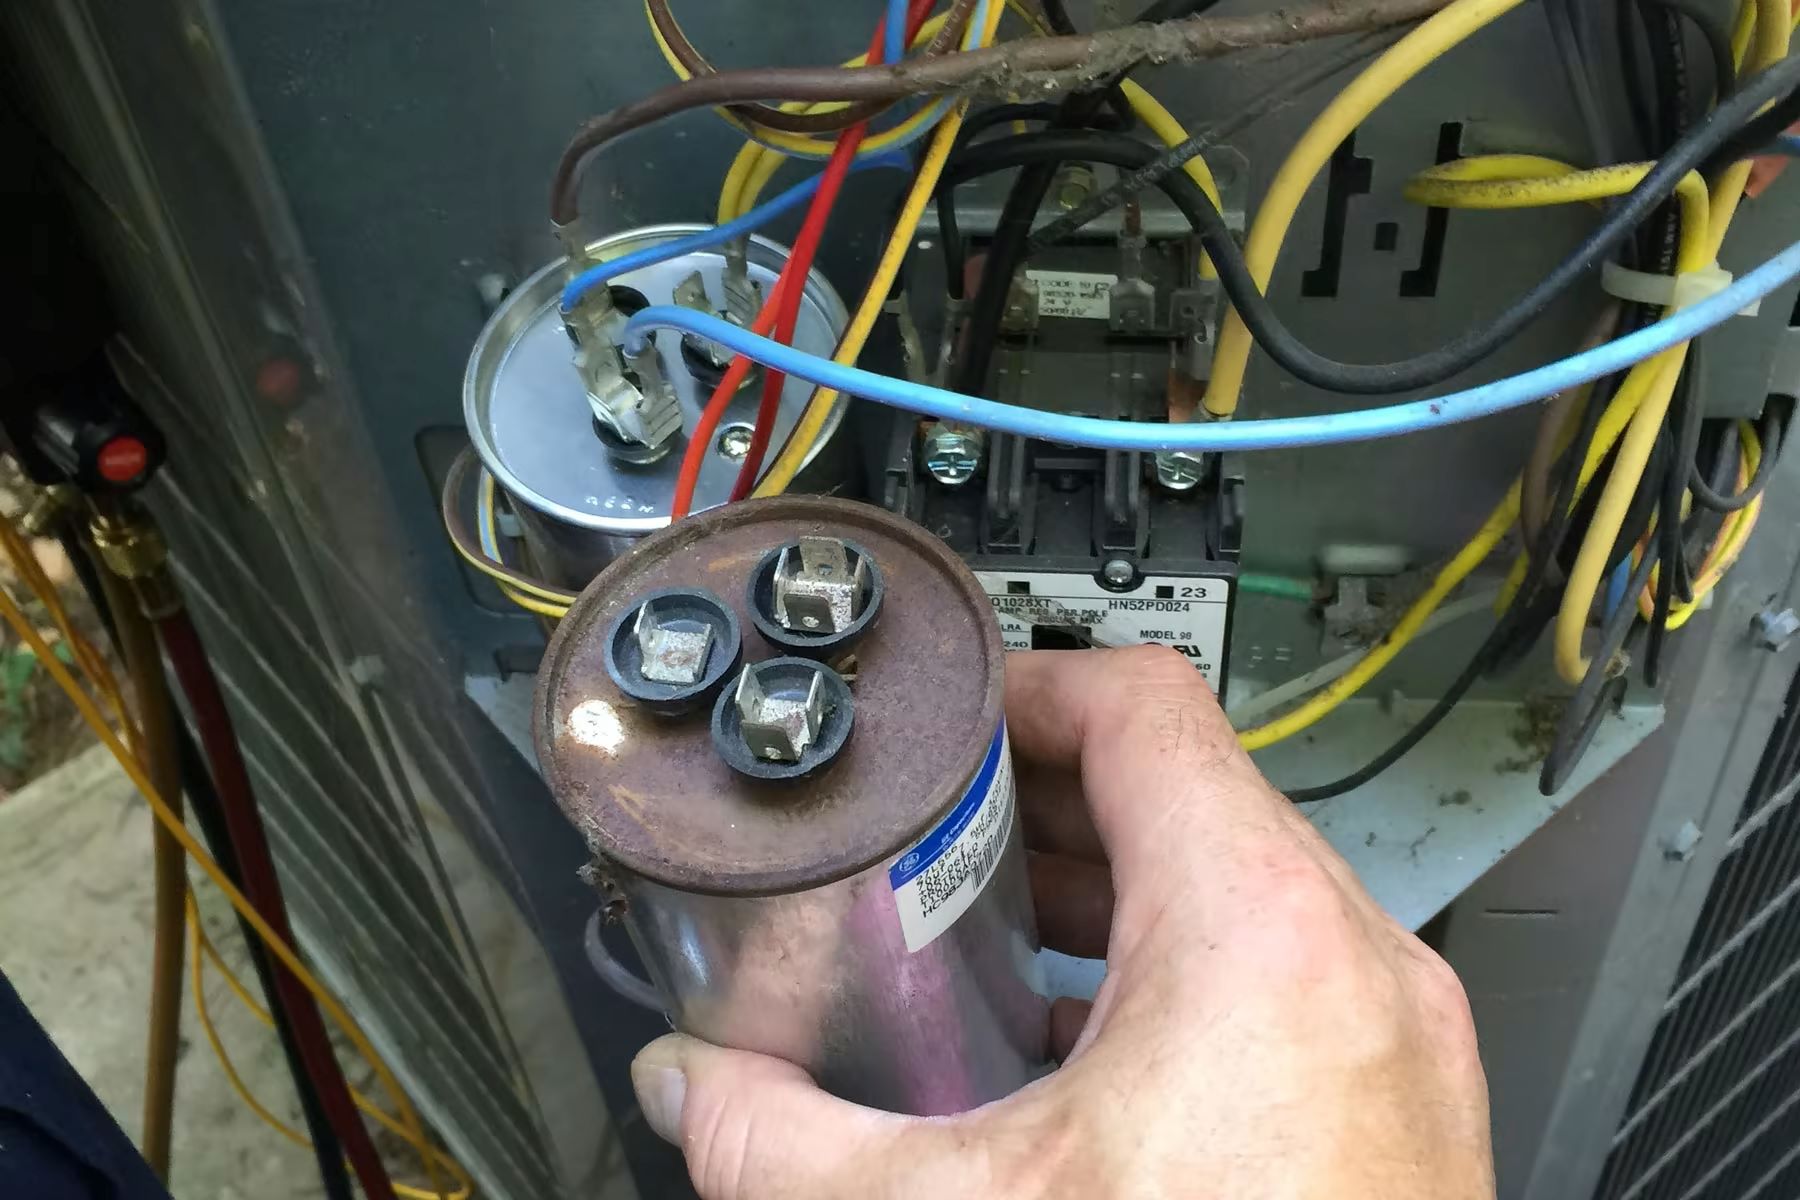
- Access the Capacitor: Locate the capacitor inside the outdoor unit of your air conditioner. You'll usually find it within an electrical control box. Remove the access panel, being mindful of any sharp edges.
- Take a Picture: Before disconnecting any wires, take a clear picture of the capacitor and the wiring connected to it. This will be invaluable when you need to reconnect everything later.
- Disconnect the Wires: Carefully disconnect the wires from the capacitor terminals. The terminals are usually labeled with letters like "C" (common), "FAN," and "HERM" (compressor). Use pliers if needed to gently remove the connectors.
- Set Your Multimeter: Turn on your multimeter and set it to the capacitance (µF) setting. The symbol usually looks like "µF" or a capacitor symbol.
- Test the Capacitor: Connect the multimeter probes to the capacitor terminals. It doesn't matter which probe goes to which terminal.
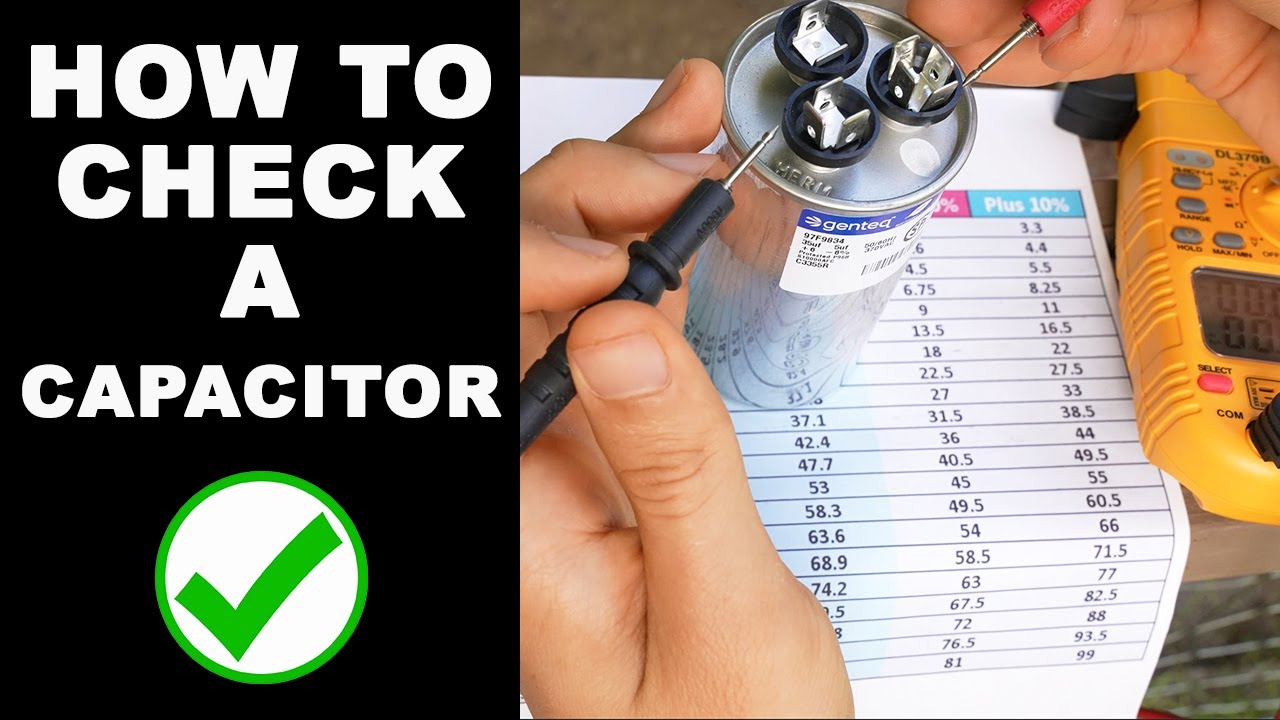
- Read the Measurement: Observe the reading on the multimeter. Compare this reading to the capacitor's rated capacitance, which is printed on the capacitor label. Capacitors usually have a tolerance of +/- 5% to 10%.
- Interpret the Results:
- If the measured capacitance is within the acceptable tolerance range of the rated capacitance, the capacitor is likely good.
- If the measured capacitance is significantly lower than the rated capacitance (more than 10% below), the capacitor is likely failing and needs to be replaced.
- If the multimeter reads zero or shows no reading, the capacitor is likely completely dead and needs to be replaced.
- Visual Inspection: Look for physical signs of damage on the capacitor. Bulging, leaking, or rust are indicators that the capacitor needs to be replaced, regardless of the multimeter reading.
What to Do After Testing
Once you've tested the capacitor, you have a few possible scenarios:
- Capacitor is Good: If the capacitor tests within the acceptable range and shows no signs of physical damage, the problem likely lies elsewhere in your AC system. You may need to consult with an HVAC professional to diagnose the issue.
- Capacitor is Bad: If the capacitor tests bad or shows signs of physical damage, you'll need to replace it.
Replacing a Bad Air Conditioner Capacitor
Replacing a capacitor is a relatively straightforward repair, but it's crucial to do it correctly and safely.
- Purchase a Replacement: Buy a new capacitor with the exact same capacitance (µF) and voltage rating as the old one. Using the wrong capacitor can damage your AC unit. Take the old capacitor with you to the store to ensure you get the correct replacement.
- Discharge the New Capacitor: Although unlikely, new capacitors can hold a charge. Discharge the new capacitor using the same method as before.
- Reconnect the Wires: Carefully reconnect the wires to the new capacitor, matching the wiring configuration you photographed earlier. Ensure the connections are secure.
- Secure the Capacitor: Place the new capacitor securely in its mounting bracket.
- Replace the Access Panel: Reattach the electrical control box access panel.
- Turn on the Power: Switch the circuit breaker back to the "on" position.
- Test Your AC: Turn on your air conditioner and observe its operation. It should start smoothly and run normally.
When to Call a Professional
While replacing a capacitor is a manageable task for many homeowners, there are situations where it's best to call a professional HVAC technician:
- You are uncomfortable working with electricity.
- You are unsure about any of the steps involved.
- You suspect there may be other problems with your AC system.
- You are experiencing complex wiring issues.
- Your AC unit is still not working after replacing the capacitor.
Estimated Repair Costs
The cost of repairing or replacing an air conditioner capacitor can vary depending on several factors, including:
- The type of capacitor: Dual run capacitors are generally more expensive than single capacitors.
- The brand of the capacitor: Some brands are more expensive than others.
- Whether you DIY or hire a professional: DIY replacement will only cost the price of the capacitor itself.
- Labor costs: If you hire a professional, labor costs will vary depending on your location and the technician's hourly rate.
Here's a rough estimate:
- DIY Capacitor Replacement: $20 - $100 (for the capacitor itself)
- Professional Capacitor Replacement: $150 - $400 (including parts and labor)
Preventative Maintenance Tips
Regular maintenance can help prevent capacitor failure and extend the life of your air conditioner:
- Clean the outdoor unit: Remove leaves, debris, and other obstructions that can restrict airflow.
- Replace air filters regularly: Clogged air filters can strain the AC system, leading to capacitor failure.
- Schedule annual professional maintenance: A qualified HVAC technician can inspect your AC system and identify potential problems before they become major issues.
By understanding the function of the air conditioner capacitor, recognizing the symptoms of failure, and following proper testing and replacement procedures, you can potentially save yourself a costly service call. Remember to always prioritize safety and when in doubt, call a professional.