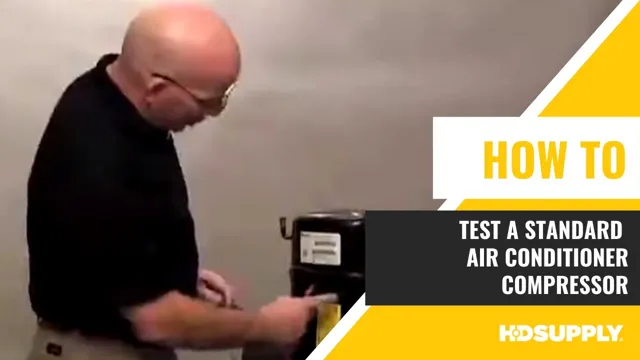
How To Test An Air Conditioner Compressor

One of the most frustrating things a homeowner can experience is a malfunctioning air conditioner, especially during the peak of summer. Imagine coming home after a long day, only to be greeted by stifling heat and an AC unit that's blowing warm air. Often, the culprit behind this uncomfortable scenario is a faulty air conditioner compressor. But before you panic and call a technician, there are several troubleshooting steps you can take to diagnose the issue yourself. This guide will walk you through a step-by-step process to test your AC compressor, helping you determine if it's a simple fix or a job for a professional.
Safety First!
Before you even think about tinkering with your air conditioner, safety is paramount. Turn off the power to your AC unit at the breaker box. This is non-negotiable. Working with electrical components can be extremely dangerous, and even fatal, if you're not careful. Double-check that the power is off by trying to turn on the AC after you've flipped the breaker. Wear appropriate safety gear, including insulated gloves and eye protection. If you're not comfortable working with electricity, stop now and call a qualified HVAC technician.
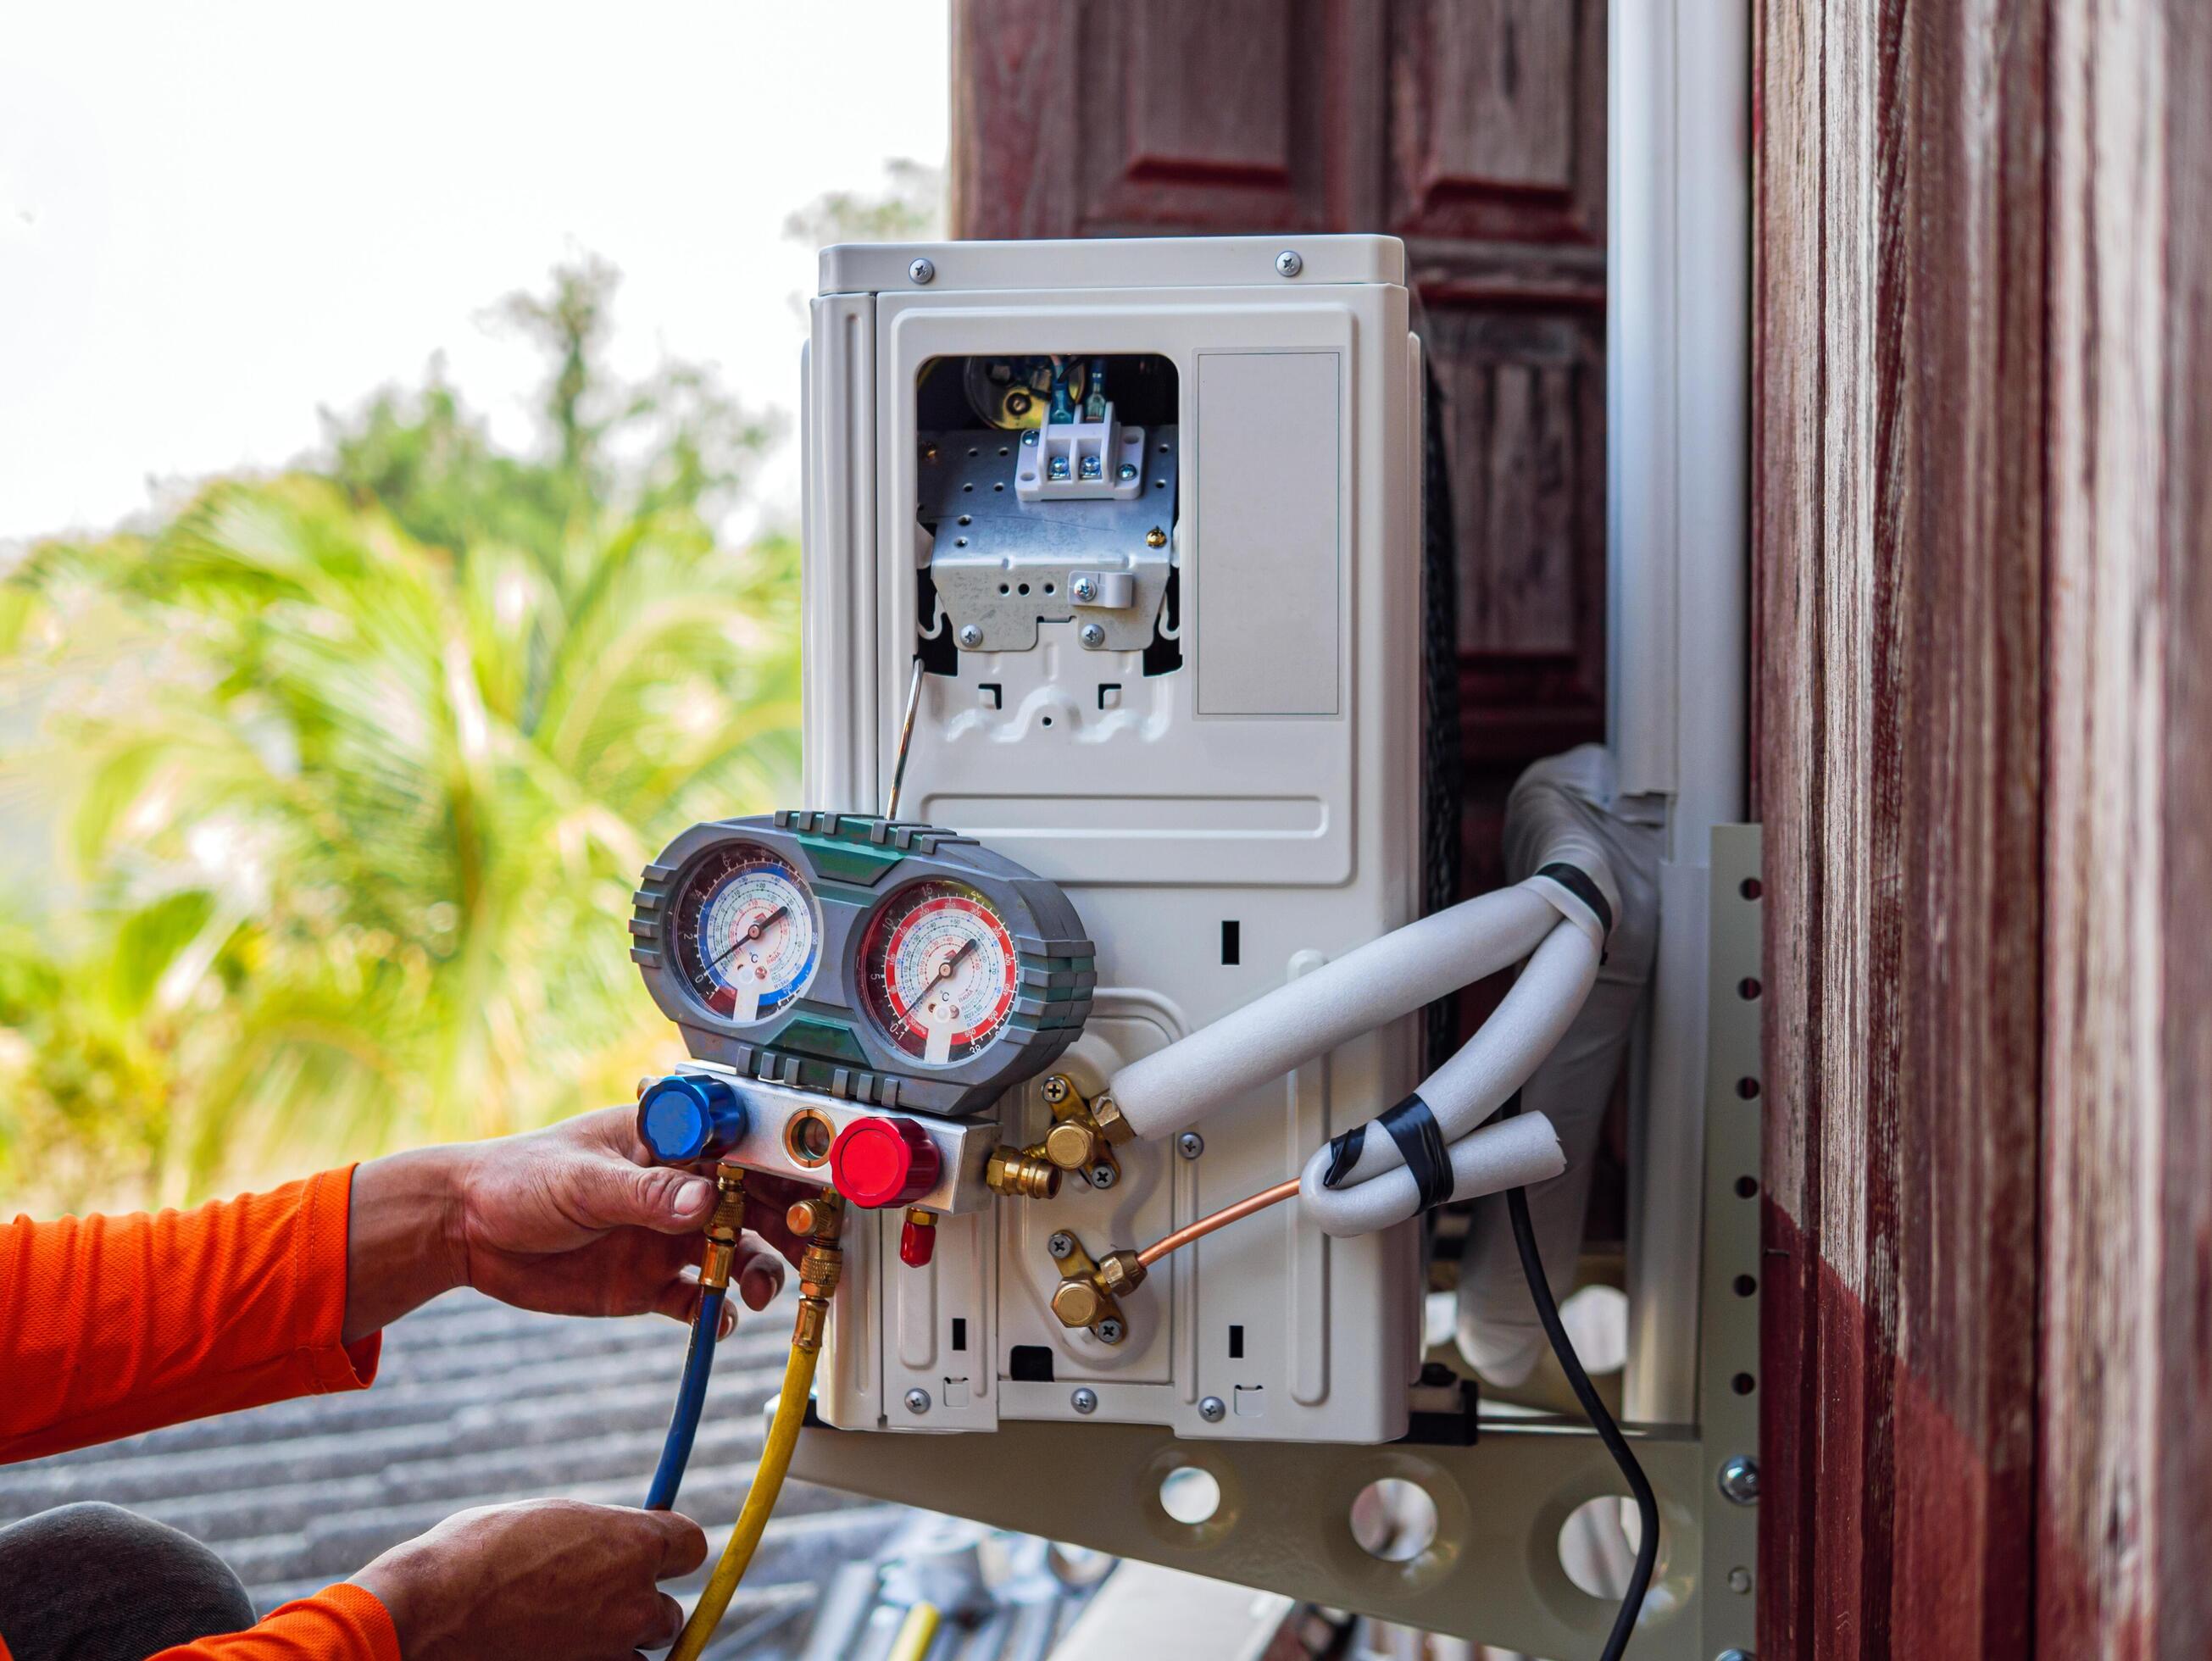
Identifying the Compressor
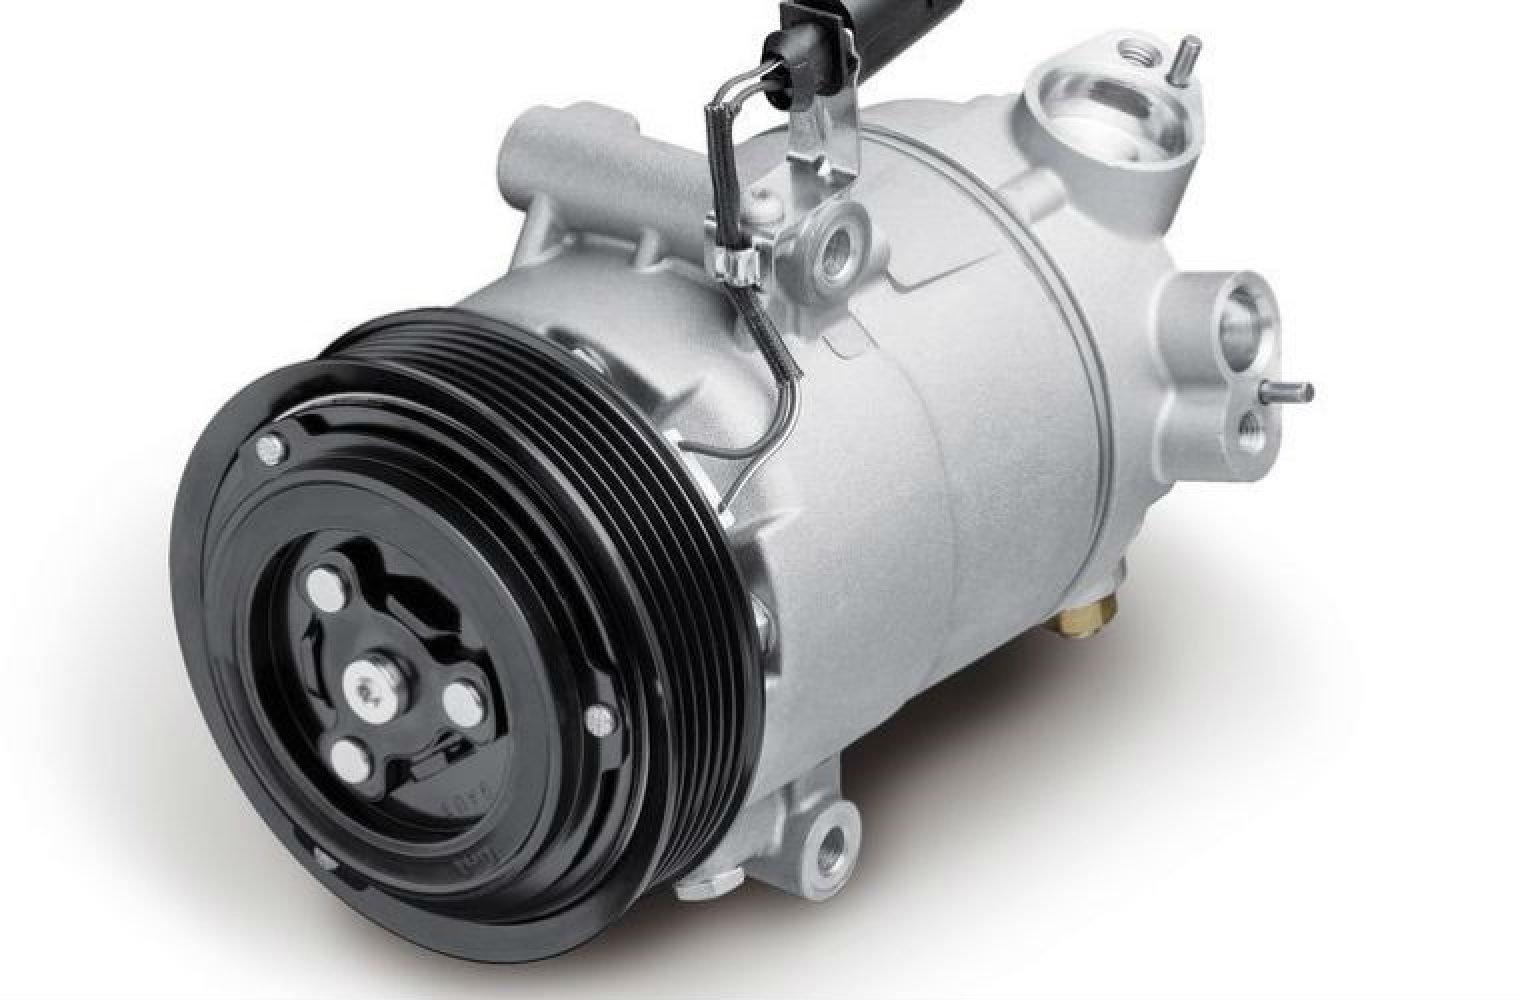
The compressor is a vital part of your AC system; it's the heart of the cooling process. It's a large, cylindrical or rectangular metal unit, usually located within the outdoor portion of your air conditioning system. It's often near the other main components like the capacitor and the fan motor. If you're unsure which component is the compressor, consult your AC unit's manual. It will contain a diagram to help you locate the parts. Be sure to differentiate it from the condenser fan motor, which is responsible for cooling the compressor itself.
Gathering Your Tools
To properly test your AC compressor, you'll need a few essential tools:
- Multimeter: A digital multimeter is crucial for measuring voltage, current, and resistance. Make sure yours is functioning correctly.
- Screwdrivers: You'll likely need both flathead and Phillips head screwdrivers to open access panels and disconnect wires.
- Pliers: Pliers are useful for gripping and manipulating wires. Use insulated pliers for added safety.
- Wire Strippers: Essential for stripping insulation from wires if needed for testing.
- Voltage Tester: Use this to confirm the power is off before touching any wires.
- Capacitor Discharge Tool (optional but highly recommended): Capacitors store electricity, even when the unit is off. This tool safely discharges them.
- Safety Glasses: Protect your eyes from debris and potential electrical arcs.
- Insulated Gloves: Protect your hands from electrical shock.
- AC Unit's Wiring Diagram: This diagram is invaluable for understanding the electrical connections within your unit. It’s usually found inside the access panel.
Step-by-Step Compressor Testing
Follow these steps carefully to diagnose your AC compressor:
1. Visual Inspection
Begin with a thorough visual inspection. Look for any obvious signs of damage, such as:
- Burn Marks: These could indicate electrical issues or overheating.
- Oil Leaks: A significant oil leak is a strong indicator of compressor failure.
- Corrosion: Corrosion on terminals or wiring can disrupt electrical connections.
- Damaged Wiring: Look for frayed, cracked, or broken wires.
- Debris: Make sure nothing is obstructing the compressor or its components.
If you find any of these issues, document them and proceed cautiously. A severe oil leak, for instance, likely means the compressor has failed and needs replacement.
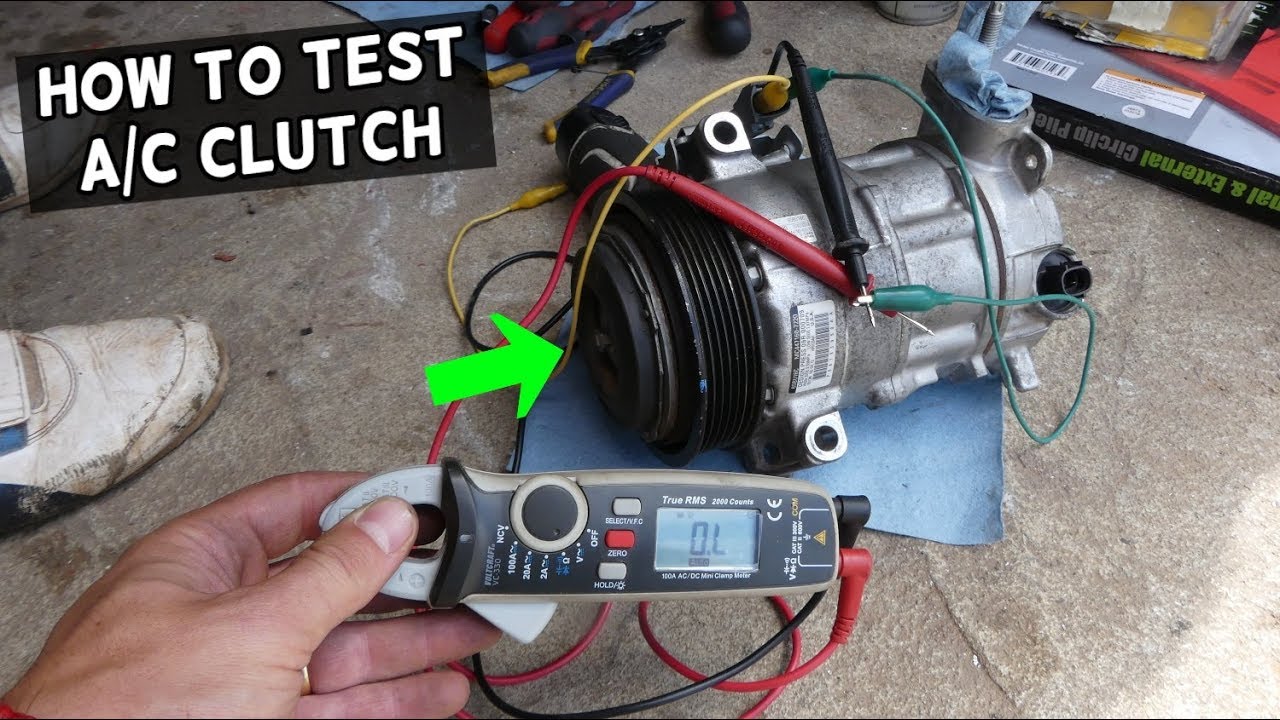
2. Capacitor Check
The capacitor provides the initial jolt of electricity to start the compressor motor. A faulty capacitor is a common cause of compressor problems. Before testing the capacitor, always discharge it using a capacitor discharge tool. This is extremely important for your safety!
To test the capacitor:
- Disconnect the Power: Ensure the power to the AC unit is off at the breaker.
- Discharge the Capacitor: Use a capacitor discharge tool or a screwdriver with an insulated handle to short the terminals. Be extremely careful if using a screwdriver.
- Disconnect the Wires: Remove the wires connected to the capacitor, noting their positions for reconnection.
- Set Your Multimeter: Set your multimeter to measure capacitance (µF or microfarads).
- Measure Capacitance: Connect the multimeter probes to the capacitor terminals.
- Compare Readings: Compare the measured capacitance to the rating printed on the capacitor. A reading that is significantly lower (more than 10% off) indicates a faulty capacitor.
If the capacitor is faulty, replacing it is a relatively simple and inexpensive fix. However, if the capacitor tests fine, the problem lies elsewhere.
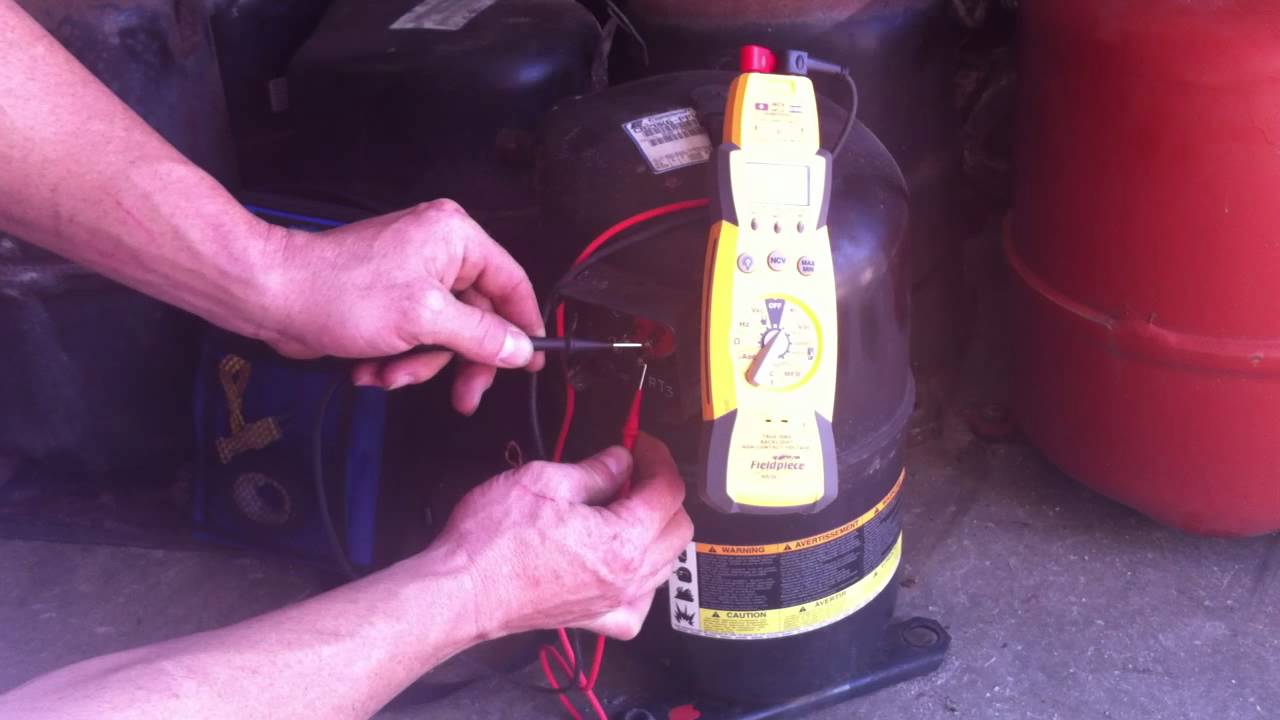
3. Testing for Continuity
Continuity testing verifies whether an electrical circuit is complete, meaning electricity can flow through it. In the context of the compressor, we want to check the continuity of the compressor motor windings.
- Disconnect the Power: Ensure the power to the AC unit is off at the breaker.
- Locate the Compressor Terminals: The compressor usually has three terminals labeled C (Common), S (Start), and R (Run). Consult the wiring diagram to identify them correctly.
- Disconnect the Wires: Disconnect the wires from the compressor terminals.
- Set Your Multimeter: Set your multimeter to measure resistance (Ohms).
- Test Between Terminals: Measure the resistance between each pair of terminals (C-S, C-R, and S-R).
- Interpret the Readings:
- Low Resistance (e.g., a few Ohms): This is generally a good sign, indicating that the windings are intact. The specific values will vary depending on the compressor model, but they should be relatively low and consistent.
- Very High Resistance or Open Circuit (OL): This indicates a broken winding, meaning the compressor motor is likely faulty and needs replacement.
- Very Low Resistance (Close to Zero Ohms): This indicates a short circuit within the windings, which also means the compressor is likely faulty.
Always refer to your AC unit’s service manual for the expected resistance values for your specific compressor model.
4. Testing for a Short to Ground
A "short to ground" occurs when electrical current leaks from the motor windings to the metal casing of the compressor. This is a dangerous condition and indicates a serious problem.
- Disconnect the Power: Ensure the power to the AC unit is off at the breaker.
- Locate the Compressor Terminals: Identify the compressor terminals (C, S, and R).
- Disconnect the Wires: Disconnect the wires from the compressor terminals.
- Set Your Multimeter: Set your multimeter to measure resistance (Ohms) on the highest setting.
- Test Between Terminals and the Compressor Body: Place one multimeter probe on one of the compressor terminals (C, S, or R) and the other probe on a clean, unpainted metal part of the compressor casing. Repeat this test for each of the three terminals.
- Interpret the Readings:
- Very High Resistance (OL): This is a good sign, indicating that there is no short to ground.
- Low Resistance (Anything other than OL): This indicates a short to ground, meaning current is leaking from the windings to the compressor casing. This is a serious issue, and the compressor needs to be replaced.
A short to ground is a clear indication that the compressor has failed and poses a safety hazard.
5. Voltage Check at the Contactor
The contactor is an electrical switch that controls the power supply to the compressor. Checking the voltage at the contactor helps determine if the compressor is receiving the necessary power.
- Carefully Restore Power: Turn the power back on at the breaker. Be extremely cautious during this step.
- Locate the Contactor: The contactor is typically located near the compressor within the outdoor unit.
- Set Your Multimeter: Set your multimeter to measure AC voltage.
- Test the Voltage:
- Line Side: Measure the voltage between the two terminals on the line side of the contactor (the side where the power comes *from* the breaker). You should read the incoming voltage, typically 220-240 volts.
- Load Side: Measure the voltage between the two terminals on the load side of the contactor (the side that connects *to* the compressor). When the contactor is engaged (i.e., the AC unit is calling for cooling), you should read the same voltage as the line side. If you read zero volts on the load side when the contactor is engaged, the contactor itself may be faulty.
- Turn Off the Power: Turn the power back off at the breaker before proceeding with any further work.
If you're uncomfortable working with live voltage, skip this step and consult a qualified HVAC technician.
Simple DIY Fixes
Based on your testing, here are a couple of simple fixes you might be able to handle yourself:
- Replacing the Capacitor: If the capacitor is faulty, you can replace it with a new one of the same rating. Be sure to discharge the old capacitor before removing it, and carefully note the wire connections before disconnecting them.
- Replacing the Contactor: If the contactor is faulty and you are comfortable working with electricity, you can replace it with a new one of the same type. Again, note the wire connections before disconnecting them.
When to Call a Professional
While some compressor issues can be addressed with simple DIY fixes, certain situations require the expertise of a qualified HVAC technician:
- Compressor Failure: If your testing reveals a short to ground, a broken winding, or significant oil leaks, the compressor has likely failed and needs to be replaced. Replacing a compressor requires specialized tools, knowledge of refrigerant handling, and EPA certification.
- Refrigerant Leaks: If you suspect a refrigerant leak, do not attempt to repair it yourself. Refrigerant is a controlled substance, and handling it requires proper training and equipment.
- Complex Electrical Problems: If you're uncomfortable working with electricity or if you're unsure about the wiring, it's best to call a professional.
- System Overload: Repeated compressor failures or frequent tripping of the breaker could indicate a larger system problem that requires professional diagnosis.
- You're Not Comfortable: If at any point you feel uncomfortable or unsure about what you're doing, stop and call a professional. Your safety is the top priority.
Reassembling and Testing
If you've successfully replaced a component (like the capacitor or contactor), carefully reassemble the AC unit, ensuring that all wires are properly connected and all panels are securely fastened. Turn the power back on at the breaker and test the AC unit to see if it's working properly. Monitor the unit for any unusual noises or behavior.
Preventative Maintenance
To help prevent compressor problems in the future, consider these preventative maintenance tips:
- Regular Filter Changes: A dirty air filter restricts airflow, which can cause the compressor to overheat. Change your air filter every 1-3 months, or more often if you have pets or allergies.
- Clean the Condenser Coils: The condenser coils (located on the outdoor unit) can become dirty and clogged with debris, reducing their ability to dissipate heat. Clean the coils annually with a garden hose or a fin comb.
- Schedule Regular Maintenance: Have your AC unit professionally inspected and maintained annually. A technician can identify and address potential problems before they become major issues.
Troubleshooting an AC compressor can seem daunting, but by following these steps, you can gain a better understanding of your system and potentially save money on costly repairs. Remember to prioritize safety and don't hesitate to call a professional when needed. By taking a proactive approach to maintenance, you can keep your AC running efficiently and reliably for years to come.