How To Test Blower Motor With Multimeter
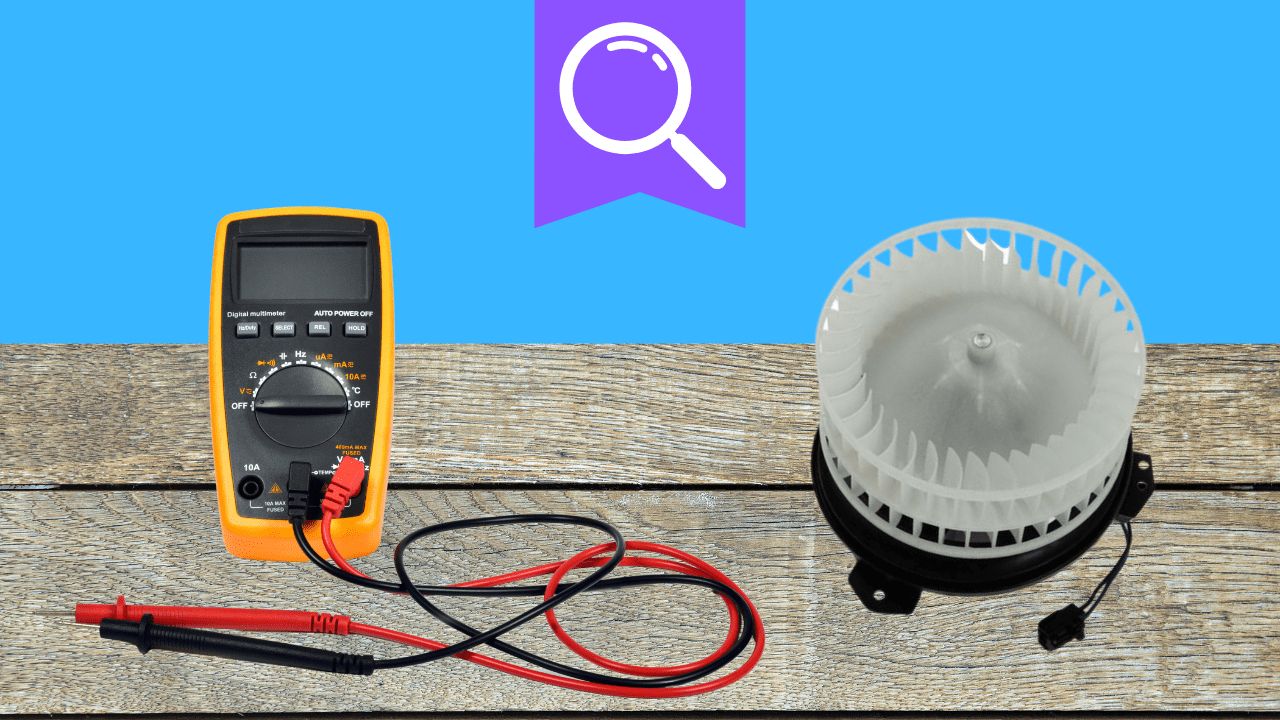
The heart of any forced-air heating or cooling system is the blower motor. This critical component circulates conditioned air throughout a building, ensuring consistent temperature and comfort. Understanding how to diagnose a faulty blower motor is an essential skill for any HVAC technician. This article details the process of testing a blower motor with a multimeter, a fundamental diagnostic procedure for both aspiring and experienced HVAC professionals. We'll cover the steps involved, safety precautions, and the importance of this skill in the HVAC industry.
Understanding the Importance of Blower Motor Testing
A malfunctioning blower motor can lead to a variety of issues, from reduced heating or cooling efficiency to complete system failure. Early detection and accurate diagnosis are crucial for preventing costly repairs and ensuring customer satisfaction. Using a multimeter to test the blower motor allows technicians to identify electrical problems such as shorts, open circuits, or winding issues, quickly and efficiently. The Bureau of Labor Statistics projects a 5% growth in HVAC employment from 2022 to 2032, which is about average for all occupations. This steady growth underscores the increasing demand for skilled technicians capable of performing tasks like blower motor testing.
Essential Tools and Safety Precautions
Before you begin, gather the necessary tools and prioritize safety. You will need:
- A digital multimeter
- Appropriate personal protective equipment (PPE), including safety glasses and gloves
- Screwdrivers and other basic hand tools to access the blower motor
- The HVAC unit's wiring diagram
Safety is paramount. Always disconnect the power supply to the HVAC unit at the breaker before starting any electrical work. Use a non-contact voltage tester to verify that the power is off. Work in a well-lit area and follow all relevant safety guidelines.
Step-by-Step Guide: Testing the Blower Motor
Step 1: Accessing the Blower Motor
The first step is to gain access to the blower motor. This usually involves removing access panels on the HVAC unit. Consult the unit's service manual for specific instructions, as the location and configuration can vary depending on the make and model.
Step 2: Visual Inspection
Before using the multimeter, perform a visual inspection of the blower motor and its wiring. Look for any signs of damage, such as burnt wires, loose connections, or physical deformities on the motor itself. Address any visible issues before proceeding with electrical testing.
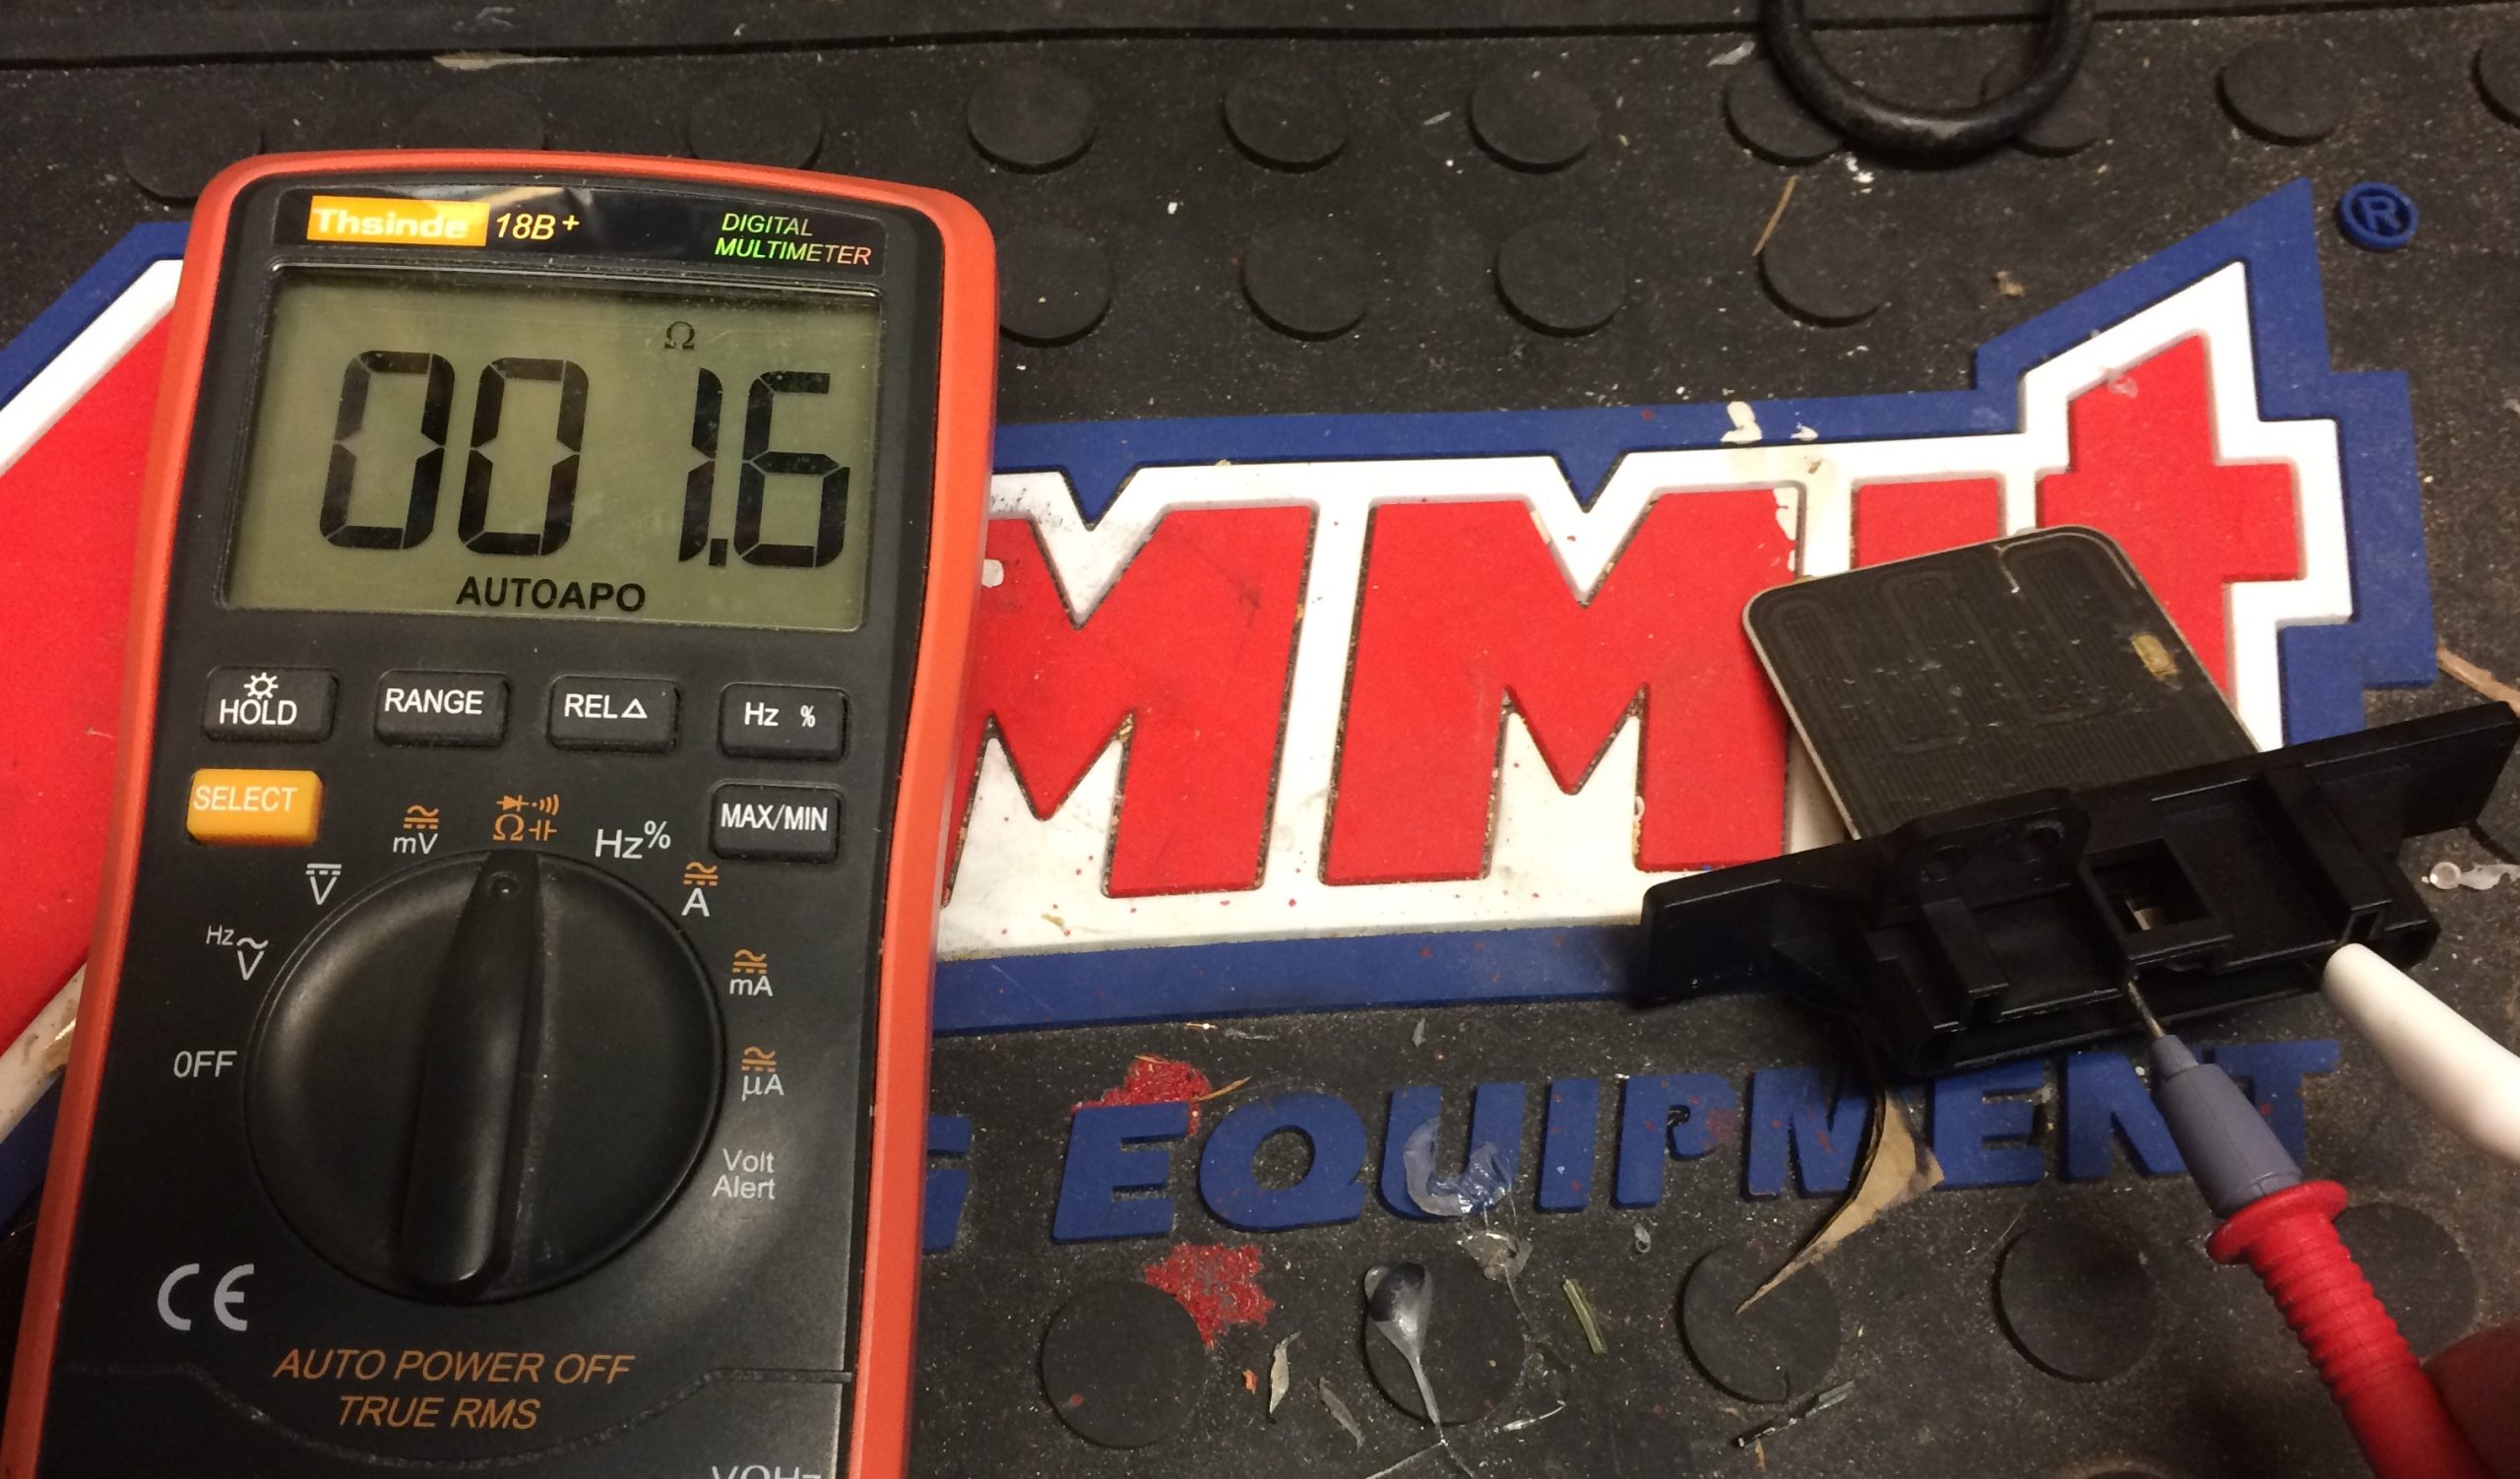
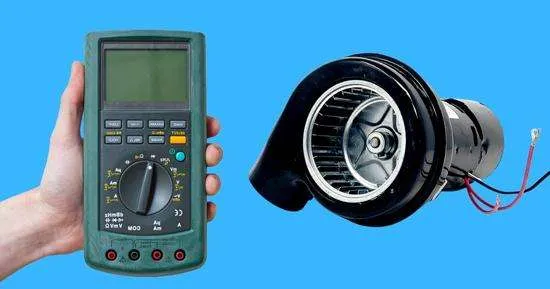
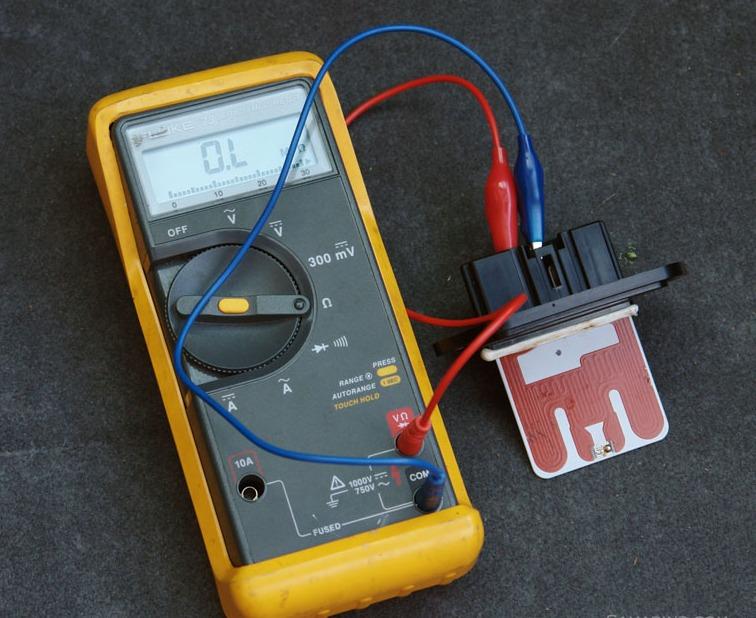
Step 3: Testing for Continuity
Continuity testing verifies that a complete electrical path exists. Set your multimeter to the continuity setting (often indicated by a diode symbol or an audible beep).
- Test the motor windings: Place one probe on one motor lead and the other probe on another motor lead. You should hear a beep or see a low resistance reading (typically a few ohms), indicating continuity. A lack of continuity suggests an open winding, a serious fault requiring motor replacement.
- Test for shorts to ground: Place one probe on a motor lead and the other on the motor housing (ground). There should be no continuity (no beep or infinite resistance). Continuity here indicates a short circuit to ground, which is a hazardous condition.
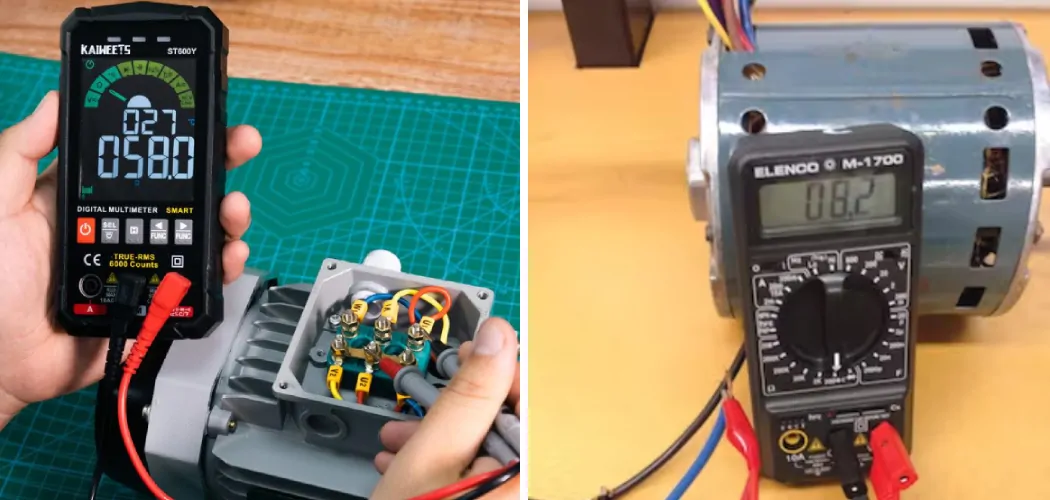
Step 4: Measuring Resistance
Measuring resistance provides a more detailed assessment of the motor windings. Set your multimeter to the ohms (Ω) setting. Consult the HVAC unit's wiring diagram or the motor's specifications for the expected resistance values for each winding.
- Measure each winding: Place the probes on the appropriate motor leads. Compare the measured resistance to the specified value. Significant deviations may indicate damaged windings.
Understanding the expected resistance range is critical. A reading that's significantly higher than expected suggests a partial open winding, while a reading that's lower than expected suggests shorted windings.
Step 5: Testing the Capacitor (If Applicable)
Many blower motors use a capacitor to help with starting and running. A faulty capacitor can cause the motor to fail or run inefficiently.
- Disconnect the capacitor: Disconnect the capacitor from the circuit before testing.
- Discharge the capacitor: Use a resistor (typically a 20,000-ohm, 2-watt resistor) to discharge the capacitor by connecting it across the capacitor terminals for a few seconds. This is a crucial safety step.
- Test with a multimeter: Some multimeters have a capacitance testing function. If yours does, set it to the appropriate range and connect the probes to the capacitor terminals. Compare the measured capacitance to the capacitor's rated value (usually printed on the capacitor). If your multimeter doesn't have a capacitance function, you can use an analog multimeter set to a high resistance range (e.g., R x 100k). Connect the probes to the capacitor terminals. The needle should deflect and then slowly return to infinity. If the needle doesn't move, the capacitor is likely open. If the needle deflects and stays at a low resistance value, the capacitor is likely shorted.
Interpreting the Results and Next Steps
The multimeter readings provide valuable insights into the condition of the blower motor. Here's a summary of how to interpret the results:
- No continuity between windings: Indicates an open winding, requiring motor replacement.
- Continuity between a winding and the motor housing: Indicates a short to ground, requiring immediate motor replacement due to safety concerns.
- Resistance values significantly outside the specified range: Suggests damaged windings, potentially requiring motor replacement.
- Faulty capacitor: Can cause motor starting problems or inefficient operation; the capacitor should be replaced.
If the blower motor fails any of these tests, it typically indicates the need for replacement. Ensure you select a replacement motor that matches the original specifications, including voltage, horsepower, and RPM.
The Value of Certifications and Continued Learning
In the HVAC industry, certifications demonstrate competency and enhance career prospects. Some key certifications include:
- NATE (North American Technician Excellence): NATE certification is widely recognized and demonstrates a technician's knowledge and skills in specific areas, such as air conditioning, heating, or refrigeration.
- EPA 608 Certification: Required for technicians who handle refrigerants. There are different levels of certification depending on the type of equipment serviced.
- HVAC Excellence: Another respected certification body that offers a range of certifications for HVAC technicians and educators.
The median annual wage for HVAC mechanics and installers was $59,690 in May 2023. The top 10 percent earned more than $84,910. Salary can vary based on experience, location, and certifications. Continuous learning and professional development are crucial for staying up-to-date with the latest technologies and industry best practices.
Real-World Career Paths in HVAC
The HVAC field offers diverse career paths. Many technicians start as apprentices, gaining hands-on experience under the guidance of experienced professionals. With experience and certifications, technicians can advance to roles such as:
- Lead Technician: Supervises and mentors other technicians.
- HVAC Service Manager: Oversees the service department, manages technicians, and ensures customer satisfaction.
- HVAC Estimator: Prepares cost estimates for HVAC projects.
- HVAC Sales Engineer: Sells HVAC systems and solutions to commercial and industrial clients.
- HVAC Business Owner: Operates their own HVAC business.
Example: Consider Sarah, who started as an HVAC apprentice after completing a vocational program. She obtained her EPA 608 certification and then pursued NATE certification in air conditioning. Over several years, she gained experience working on various HVAC systems and eventually became a lead technician. Sarah's dedication to continuous learning and professional development allowed her to advance her career and increase her earning potential.
Conclusion
Testing a blower motor with a multimeter is a fundamental skill for HVAC technicians. By following the steps outlined in this article and prioritizing safety, technicians can accurately diagnose blower motor issues and ensure the efficient operation of HVAC systems. The HVAC industry offers a rewarding career path with ample opportunities for advancement, especially for those who invest in certifications and continued learning. Mastering essential diagnostic skills like blower motor testing is a key ingredient for success in this growing field.