How To Test Condenser With Multimeter

Testing Your HVAC Condenser with a Multimeter: A Step-by-Step Guide
Is your air conditioner blowing warm air? A faulty condenser could be the culprit. Before calling a professional, a little DIY troubleshooting using a multimeter can help you diagnose the problem. This guide will walk you through how to safely and effectively test your condenser with a multimeter. Understanding this process can potentially save you time and money. This is especially helpful for homeowners considering new HVAC systems or real estate investors evaluating properties.
Understanding the Condenser
The condenser is the outdoor unit of your air conditioning system. Its primary function is to release heat from the refrigerant, allowing it to cool down before returning to the evaporator coil inside your home. A malfunctioning condenser can significantly impact your system's efficiency and ability to cool your home effectively.
Safety First!
Warning: Working with electrical components can be dangerous. Always turn off the power to the condenser at the breaker box before beginning any testing or repairs. If you are uncomfortable working with electricity, consult a qualified HVAC technician. Ensure the breaker is properly labelled and tested to be off before proceeding. Wear appropriate safety gear, including insulated gloves and eye protection.
Tools You'll Need
- A digital multimeter (a reliable one is key)
- Screwdrivers (various sizes)
- Insulated pliers
- Voltage tester
- Safety glasses
- Work gloves
- The wiring diagram for your specific unit (usually found inside the service panel)
Steps to Test Your Condenser
This process outlines how to test several key components within the condenser unit using a multimeter. Follow each step carefully, referring to your unit's wiring diagram as needed.
1. Disconnect the Power
Locate the breaker that controls your condenser unit in your electrical panel. Turn the breaker to the "OFF" position. Double-check that the power is off by using a voltage tester on the wires inside the condenser service panel.
2. Access the Condenser Components
Remove the access panels on the condenser unit. You may need a screwdriver for this. The main service panel will reveal the electrical components, including the capacitor, contactor, and wiring. Consult the wiring diagram to identify the components.
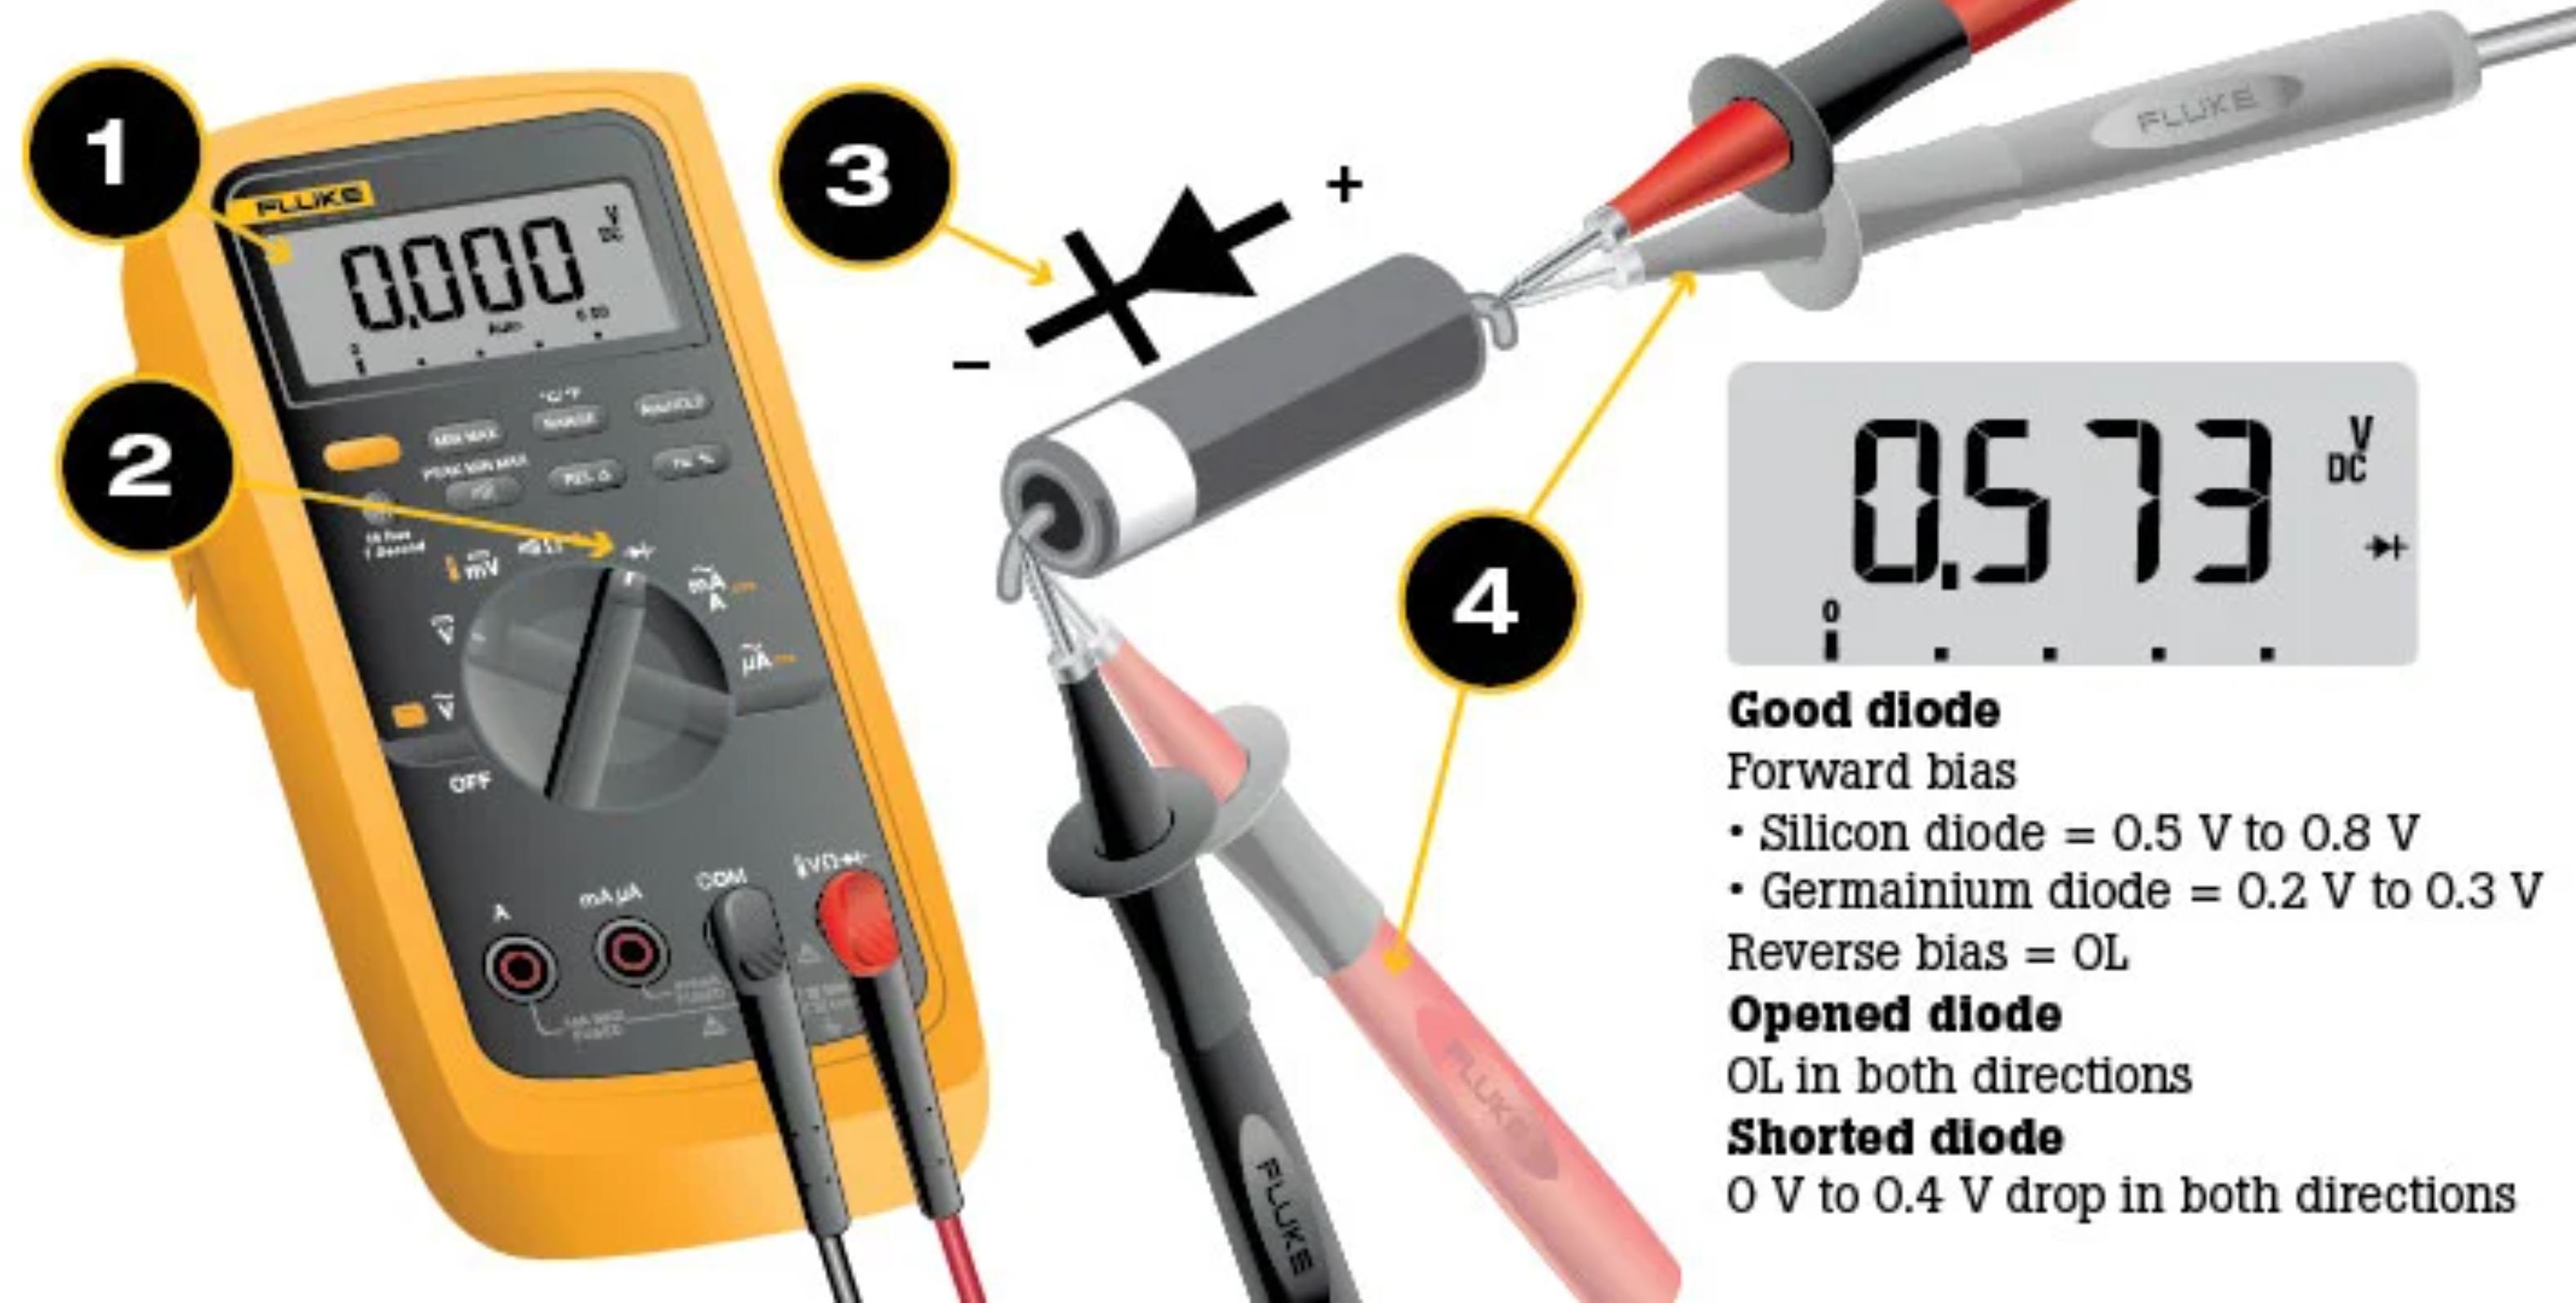
3. Testing the Contactor
The contactor is an electromagnetic switch that controls the flow of electricity to the compressor and fan motor. Here's how to test it:
- Visually inspect the contactor for any signs of damage, such as burned or corroded terminals.
- Set your multimeter to the continuity setting (Ω or diode symbol).
- With the power OFF, place one probe on each of the line side terminals of the contactor. The multimeter should show an open circuit (OL).
- Now, place one probe on each of the load side terminals of the contactor. The multimeter should also show an open circuit (OL).
- If you get a reading of continuity (a number close to zero), the contactor is likely stuck closed and needs to be replaced.
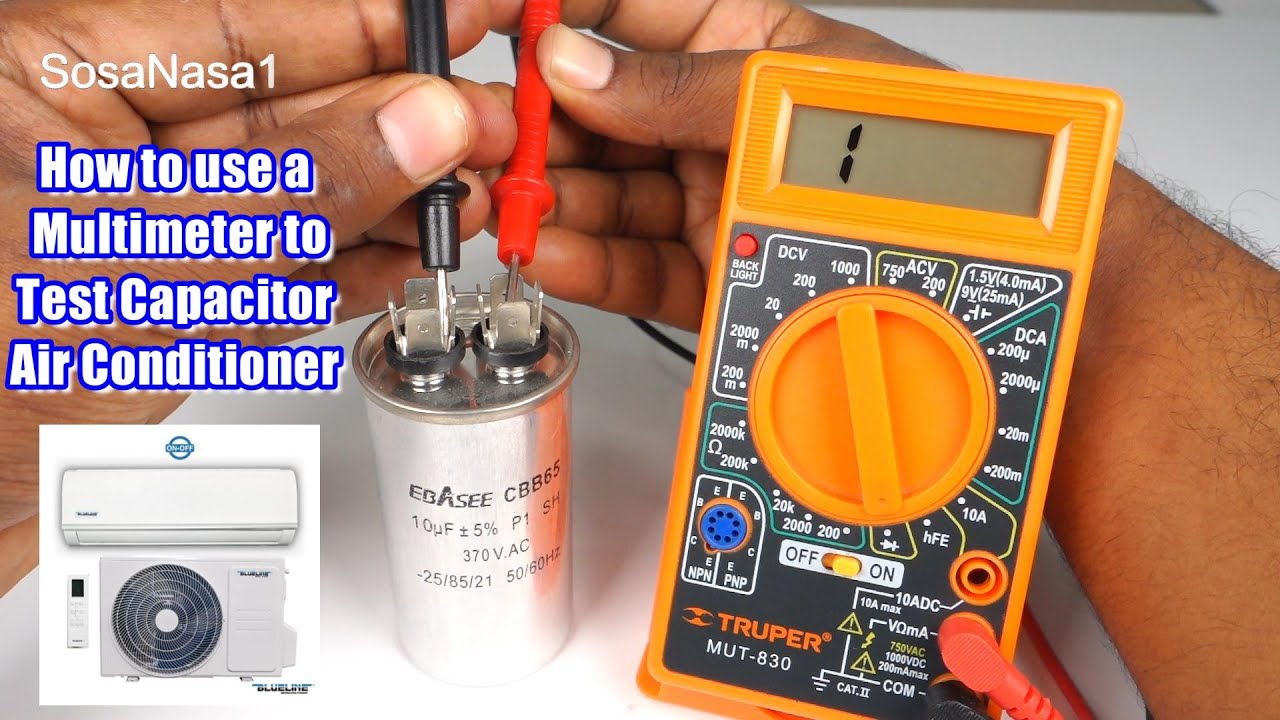
4. Testing the Capacitor
The capacitor stores electrical energy and provides the extra boost needed to start the compressor and fan motor. Capacitors can fail over time, leading to starting problems. There are two types to test - the run capacitor and start capacitor. Typically HVAC units use a run capacitor. This procedure applies to a run capacitor. Capacitors store a charge, even after the power is off. You must discharge the capacitor before testing to avoid electric shock. Use a screwdriver with an insulated handle to carefully short the terminals of the capacitor. Be cautious!
- Discharge the capacitor! (As described above).
- Visually inspect the capacitor for any signs of bulging, leaking, or damage.
- Set your multimeter to capacitance mode (µF). If your multimeter doesn't have a capacitance setting, you can use an analog multimeter to check for a short circuit.
- Disconnect the wires from the capacitor terminals.
- Place one probe on the "C" (Common) terminal and the other probe on the "HERM" (Hermetic compressor) terminal. Read the capacitance value.
- Repeat the process, placing one probe on the "C" terminal and the other on the "FAN" terminal. Read the capacitance value.
- Compare the readings to the rated capacitance values printed on the capacitor label. If the readings are significantly lower (more than 10-20% off), the capacitor is likely bad and needs to be replaced.
- If your multimeter doesn't have a capacitance setting and you are using an analog multimeter, and you get a reading of continuity (a number close to zero), the capacitor is likely shorted and needs to be replaced.
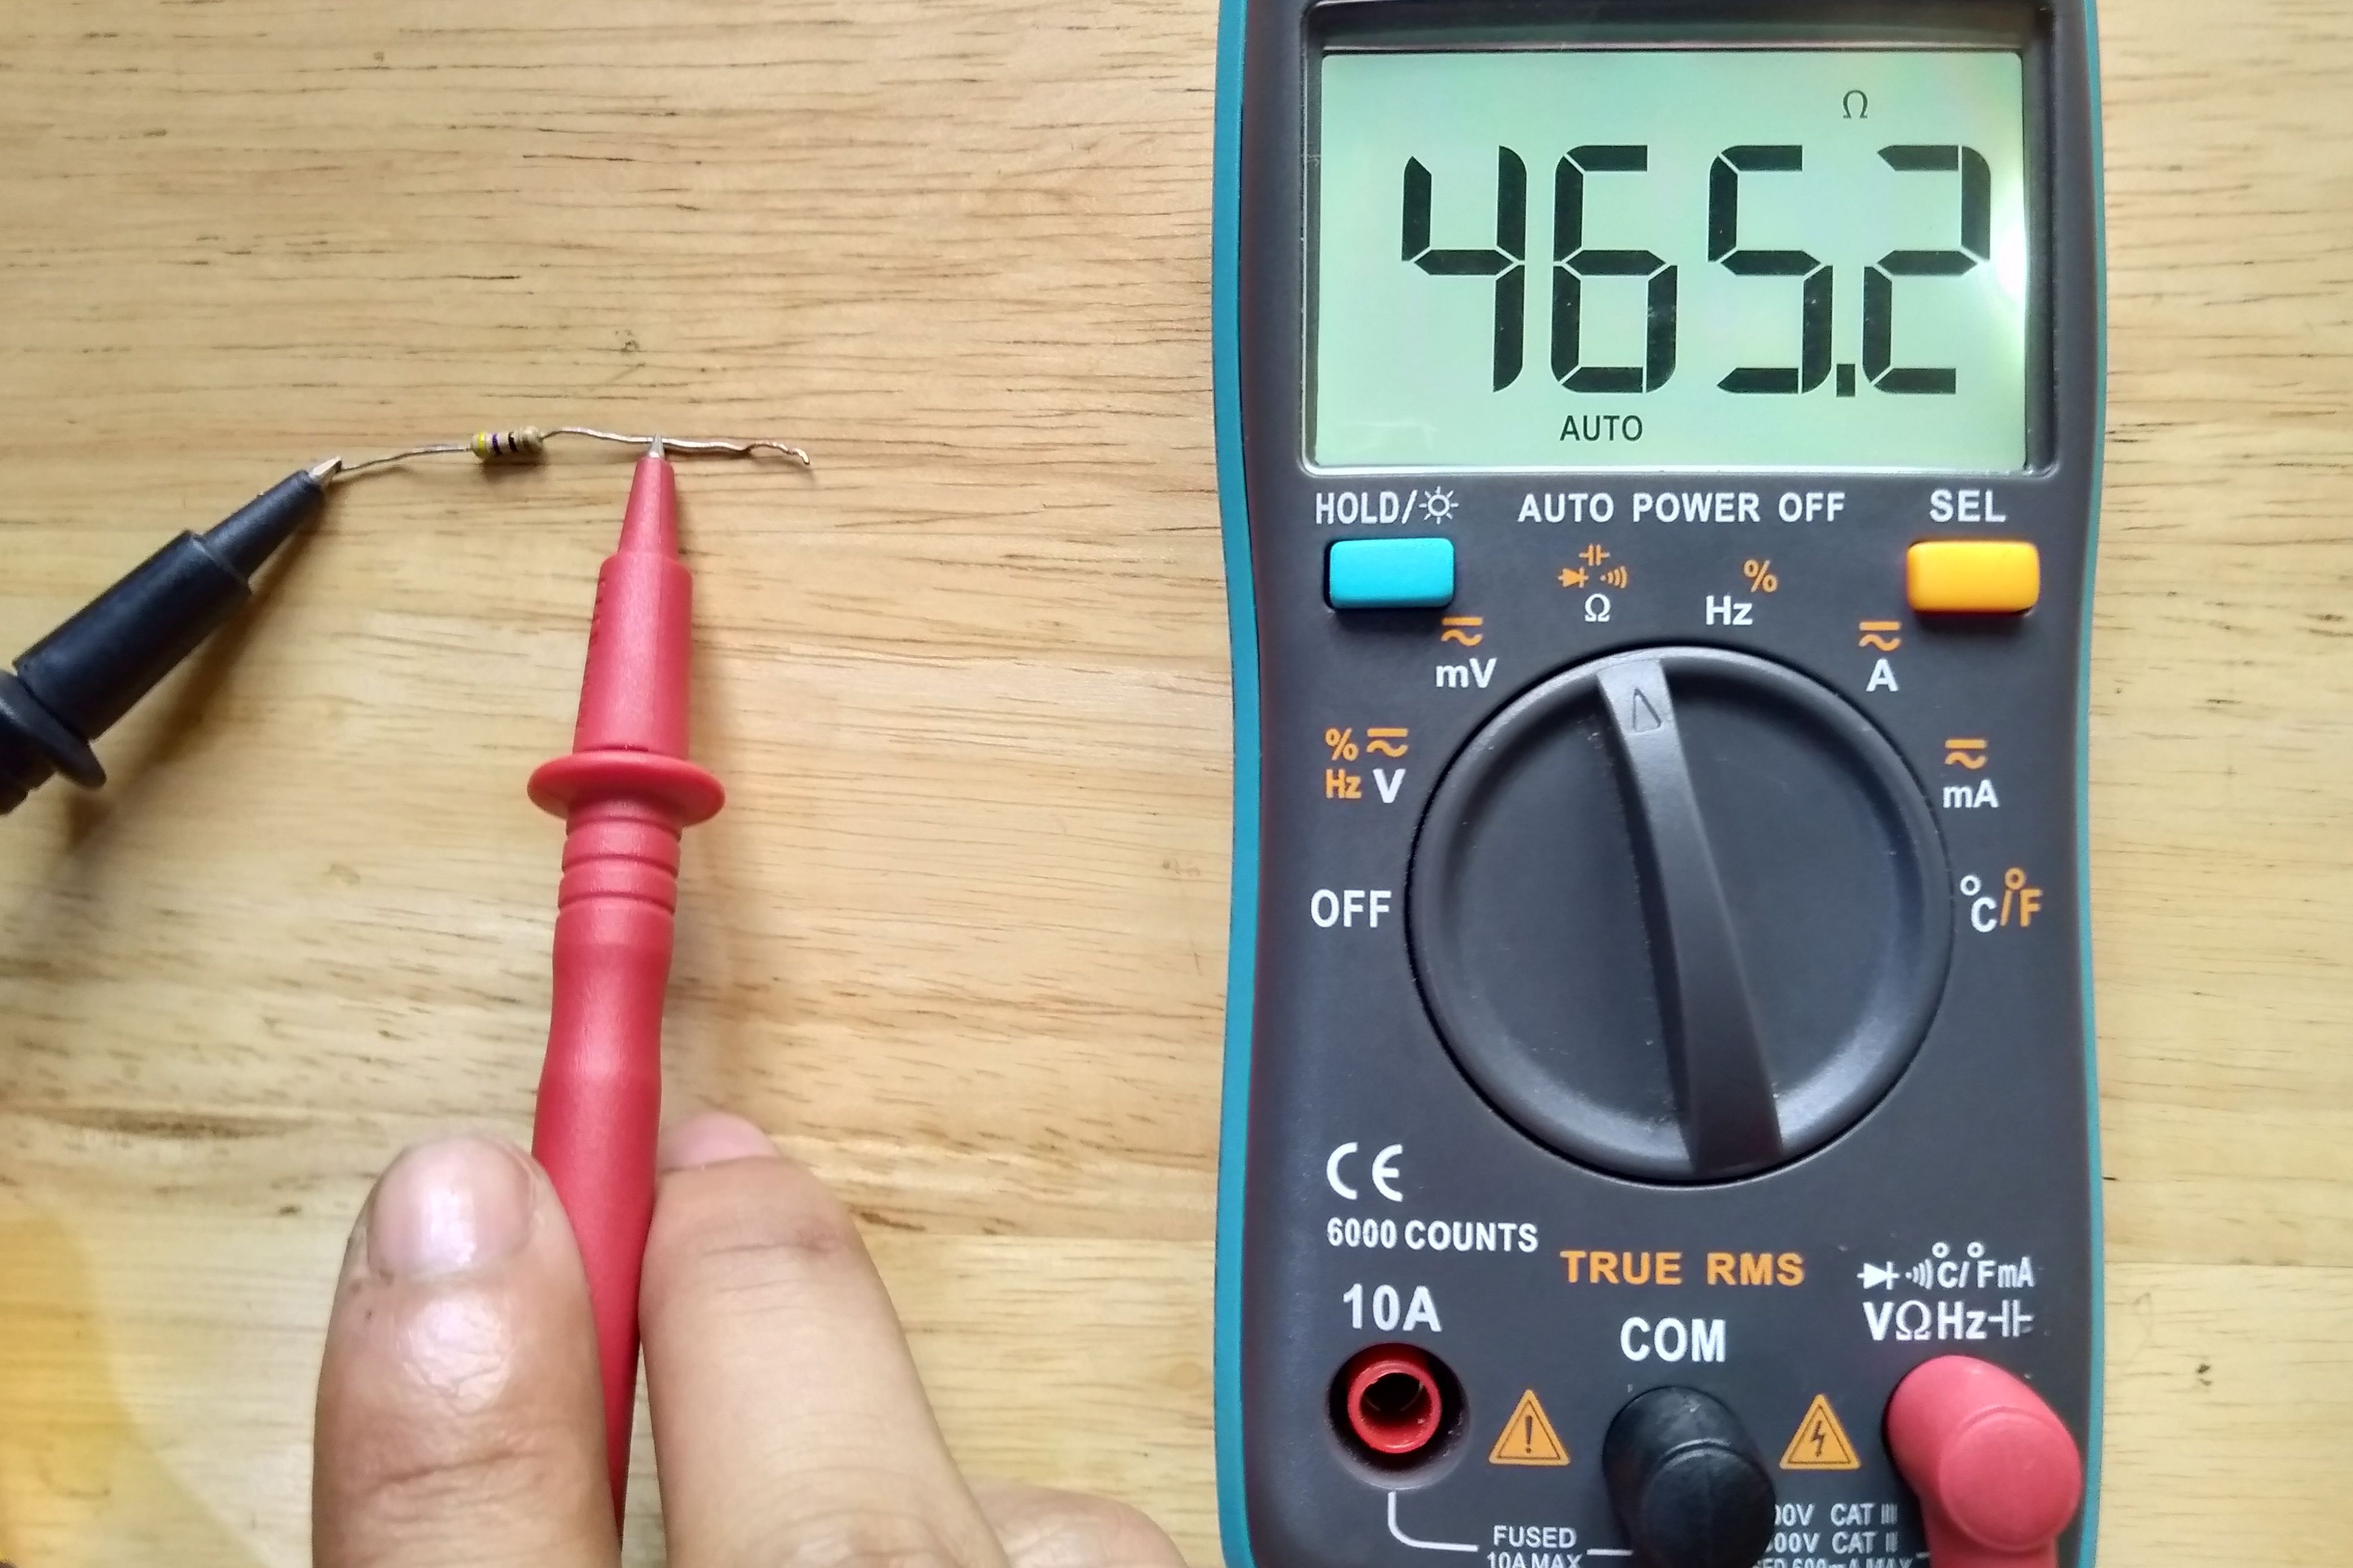
5. Testing the Compressor
Testing the compressor requires measuring the resistance between the compressor terminals. Warning: This test requires disconnecting the compressor wires. Label each wire before disconnecting to ensure proper reconnection.
- Disconnect the wires from the compressor terminals. Label each wire carefully.
- Set your multimeter to the resistance setting (Ω).
- Measure the resistance between each pair of compressor terminals (e.g., C-S, C-R, S-R, where C = Common, S = Start, and R = Run).
- Compare the readings. The resistance between the common terminal and the run terminal should be lower than the resistance between the common terminal and the start terminal. The resistance between the start and run terminals should be the sum of the other two readings.
- Also, measure the resistance between each terminal and the compressor housing (ground). The multimeter should show an open circuit (OL). If you get a reading of continuity, the compressor is grounded and needs to be replaced.
Interpreting the Results
Here's a summary of what the multimeter readings might indicate:
- Contactor: Continuity between line and load terminals with the contactor de-energized indicates a faulty contactor.
- Capacitor: Capacitance readings significantly lower than the rated value indicate a weak or failing capacitor.
- Compressor: Open circuit between terminals, very high or very low resistance between terminals, or continuity between a terminal and the compressor housing indicates a faulty compressor.
When to Call a Professional
While these tests can help you diagnose some common condenser problems, certain issues require the expertise of a qualified HVAC technician. Call a professional if:
- You are uncomfortable working with electricity.
- You suspect a refrigerant leak.
- The compressor is making unusual noises.
- You are unsure about the accuracy of your test results.
- Your system continues to malfunction after replacing a component.
Choosing a New HVAC System
If your condenser is beyond repair or your system is old and inefficient, it might be time to consider a new HVAC system. When choosing a new system, consider the following factors:
- SEER Rating (Seasonal Energy Efficiency Ratio): A higher SEER rating indicates greater energy efficiency. Look for a system with a SEER rating of 14 or higher.
- AFUE Rating (Annual Fuel Utilization Efficiency): This applies to furnaces and indicates how efficiently the furnace converts fuel into heat. A higher AFUE rating means lower fuel costs.
- HSPF Rating (Heating Seasonal Performance Factor): This applies to heat pumps and measures their heating efficiency. A higher HSPF rating indicates greater heating efficiency.
- Size: Ensure the system is properly sized for your home's square footage and insulation levels. An undersized system will struggle to cool or heat your home effectively, while an oversized system can lead to short cycling and reduced efficiency.
- Brand Reputation: Research different HVAC brands and read reviews to find a reliable and reputable manufacturer. Some popular brands include Carrier, Trane, Lennox, and Rheem.
- Warranty: Check the warranty terms and conditions. A longer warranty provides greater peace of mind.
Comparing HVAC Brands and Models
Here's a brief comparison of some popular HVAC brands and models:
| Brand | Model | SEER Rating | Key Features | Price Range |
|---|---|---|---|---|
| Carrier | Infinity 26 | Up to 26 SEER | Variable-speed compressor, smart controls, quiet operation | $$$$ |
| Trane | XV20i | Up to 22 SEER | Variable-speed compressor, TruComfort technology, energy-efficient | $$$ |
| Lennox | SL28XCV | Up to 28 SEER | Variable-capacity compressor, Precise Comfort technology, smart home integration | $$$$ |
| Rheem | Prestige Series | Up to 20 SEER | Two-stage compressor, EcoNet smart home system, quiet operation | $$$ |
Note: Prices can vary depending on the region, installation costs, and other factors.
Understanding Warranties and Maintenance
Most HVAC systems come with a manufacturer's warranty that covers parts and labor for a specific period. It's essential to understand the terms and conditions of your warranty to ensure you are covered in case of a breakdown. Regular maintenance, such as cleaning the coils and changing the air filter, can help extend the life of your system and prevent costly repairs. Consider scheduling annual maintenance with a qualified HVAC technician.
Conclusion
Testing your condenser with a multimeter can be a valuable troubleshooting tool. By following the steps outlined in this guide, you can potentially diagnose common problems and save money on repair costs. However, always prioritize safety and consult a professional when in doubt. When it's time to replace your HVAC system, consider factors like SEER rating, brand reputation, and warranty to make an informed decision. Remember that proper maintenance is crucial for keeping your system running efficiently for years to come.