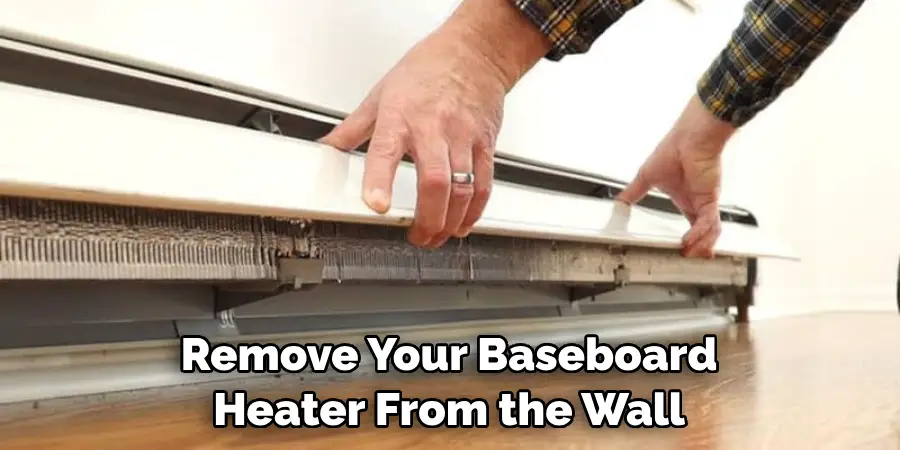
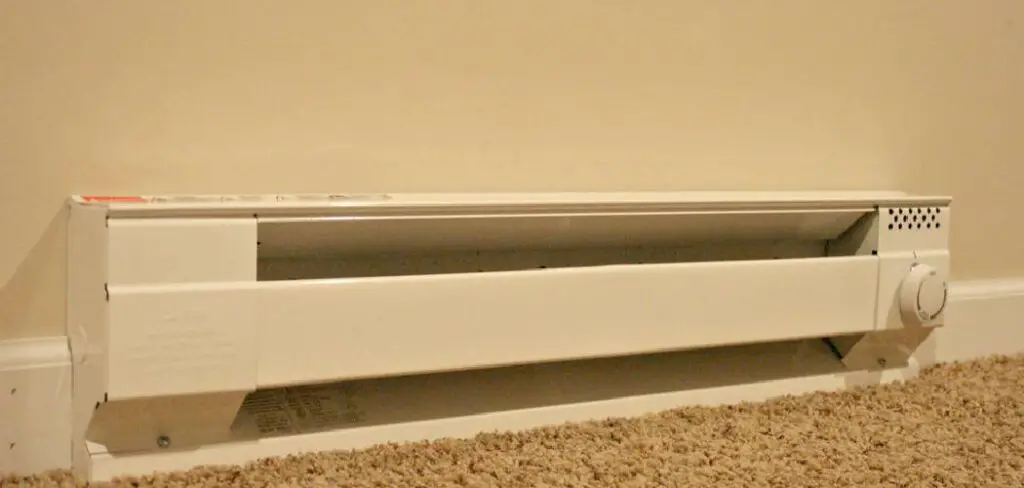
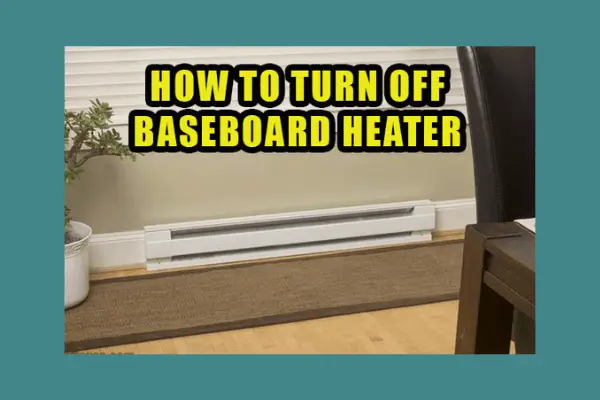
How To Turn Off Baseboard Heater
Baseboard heaters are a common and efficient way to provide supplemental heat to rooms, especially in colder climates. However, sometimes turning them off isn't as straightforward as it seems. A malfunctioning baseboard heater that refuses to turn off can lead to discomfort, wasted energy, and even potential fire hazards. Before you call an electrician, this guide provides a systematic approach to troubleshoot and potentially resolve the issue.
Understanding the Problem
The most common complaint is a baseboard heater that continues to emit heat even when the thermostat is set to its lowest setting or completely off. This could stem from a variety of sources, including a faulty thermostat, a stuck relay, or issues within the heater itself. Let's break down the troubleshooting process into manageable steps.
Safety First!
Electricity can be dangerous! Before you begin any troubleshooting, ensure the power to the baseboard heater is completely shut off at the circuit breaker. This is crucial to prevent electric shock. Double-check the correct breaker by testing other outlets in the room to confirm the power is off. If you're unsure, do not proceed and consult a qualified electrician.
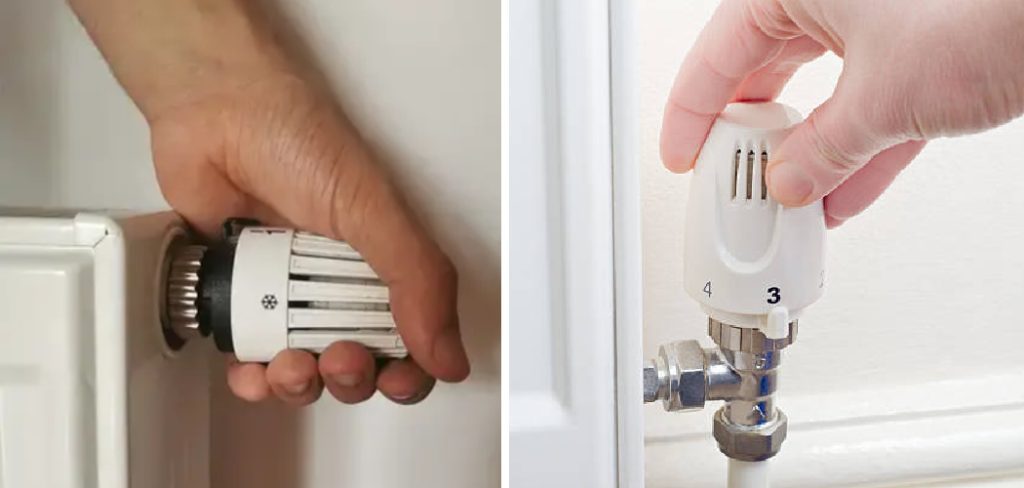
Step 1: Thermostat Check – The Prime Suspect
The thermostat is the control center for your baseboard heater. A malfunctioning thermostat is often the culprit behind a heater that won’t turn off.
Digital Thermostats:
- Battery Check: Many digital thermostats rely on batteries. If the batteries are low, the thermostat may malfunction and not properly control the heater. Replace the batteries with fresh ones and see if the problem is resolved.
- Programming Errors: Review the thermostat's programming. Ensure there aren't any programmed heating schedules overriding your desired settings. Refer to the thermostat's manual for instructions on how to adjust the programming.
- Calibration Issues: Digital thermostats can sometimes become miscalibrated. This means the temperature reading on the thermostat doesn't accurately reflect the actual room temperature. Consult the manual to see if there's a calibration function you can use.
- Resetting: Try resetting the thermostat to its factory settings. This can often clear out any glitches or programming errors. Again, refer to the manual for instructions.
- Visual Inspection: Look for any signs of damage or corrosion on the thermostat. If you see any damage, it's likely the thermostat needs to be replaced.
Mechanical Thermostats:
- Dust and Debris: Over time, mechanical thermostats can accumulate dust and debris, which can interfere with their operation. Use a can of compressed air to carefully clean the inside of the thermostat.
- Leveling: Ensure the thermostat is properly leveled. An unlevel thermostat can provide inaccurate temperature readings and prevent it from functioning correctly. Use a small level to check and adjust as needed.
- Contact Points: Examine the contact points inside the thermostat. These are the points that make or break the electrical connection to turn the heater on or off. Look for signs of corrosion or damage. If you see any issues, consider replacing the thermostat.
- Turning Off: Ensure the thermostat is turned all the way to the "off" position or the lowest temperature setting. Sometimes, a slight misadjustment can cause the heater to remain on.
Testing the Thermostat: If you have a multimeter, you can test the thermostat's continuity. With the power off, disconnect the wires from the thermostat and use the multimeter to check for continuity when the thermostat is in the "off" position. There should be no continuity. If there is continuity, the thermostat is likely faulty and needs to be replaced.
Replacing the Thermostat (Simple DIY - Always with the Power OFF!):
- Turn off the power to the heater at the circuit breaker. Double-check!
- Remove the thermostat cover.
- Carefully disconnect the wires from the old thermostat. Label them as you disconnect them so you know where to connect them on the new thermostat. A simple piece of masking tape and a pen will do. Taking a photo with your phone is also a good idea.
- Install the new thermostat following the manufacturer's instructions. Connect the wires to the corresponding terminals, matching the labels you created earlier.
- Reinstall the thermostat cover.
- Turn the power back on at the circuit breaker.
- Test the new thermostat to ensure it's working properly.
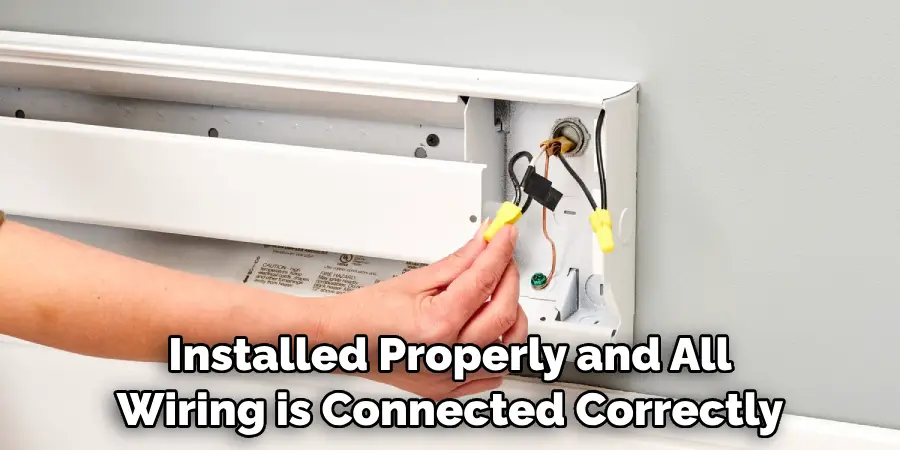
Step 2: Inspecting the Wiring Connections
Loose or corroded wiring connections can cause a variety of electrical problems, including a heater that won’t turn off. After turning off the breaker again, carefully inspect all wiring connections associated with the baseboard heater and the thermostat.
- Check for Loose Wires: Use a screwdriver to tighten any loose screw terminals on the thermostat, heater, and junction boxes.
- Look for Corrosion: Corrosion can build up on wiring connections, creating resistance and preventing proper operation. Clean any corroded connections with a wire brush or electrical contact cleaner.
- Inspect Wire Insulation: Look for any signs of damaged or frayed wire insulation. Damaged insulation can create short circuits and pose a fire hazard. If you find any damaged insulation, replace the affected wires.
Important Note: If you are uncomfortable working with electrical wiring, do not proceed. Contact a qualified electrician to inspect and repair the wiring.
Step 3: The Relay (Advanced – Requires Electrical Knowledge)
Some baseboard heaters, especially those controlled by central heating systems, use a relay to switch the heater on and off. A relay is an electrically operated switch. If the relay is stuck in the "on" position, the heater will continue to run even when the thermostat is off.
- Locate the Relay: The relay is usually located in a junction box near the heater or in the main electrical panel. It will appear as a small, rectangular device with multiple wires connected to it.
- Testing the Relay (Requires a Multimeter and Electrical Knowledge): With the power OFF (crucially important), disconnect the wires from the relay coil. Use a multimeter to check the resistance of the relay coil. A healthy coil should have a resistance value within the range specified by the manufacturer. If the resistance is zero or infinite, the relay is likely faulty. With the power OFF (crucially important), check for continuity across the relay contacts when the relay is not energized. There should be no continuity. If there is continuity, the relay is stuck in the "on" position.
Replacing the Relay (Requires Electrical Knowledge and Experience): Replacing a relay involves working with electrical wiring and requires a good understanding of electrical circuits. If you are not comfortable with this task, contact a qualified electrician.
Warning! Working with relays and electrical panels can be extremely dangerous. Incorrect wiring can lead to electric shock, fire, or damage to your electrical system. If you are unsure, always consult a professional electrician.
Step 4: Heater Element Inspection (Advanced – Potential for Fire)
While less common, a short circuit within the heater element itself could cause the heater to remain on. This is a serious issue that could lead to a fire.
- Visual Inspection (With Power OFF): Carefully inspect the heater element for any signs of damage, such as burns, cracks, or melted components.
- Smell Test (With Power OFF): Sniff around the heater for any unusual burning smells.
- Testing the Element (Requires a Multimeter and Electrical Knowledge): With the power OFF, disconnect the wires from the heater element and use a multimeter to check its resistance. A healthy element should have a specific resistance value. If the resistance is zero or infinite, the element is likely faulty and needs to be replaced.
Replacing the Heater Element (Requires Electrical Knowledge and Experience): Replacing a heater element involves working with electrical wiring and can be a complex task. It's also important to ensure you purchase the correct replacement element for your specific heater model. If you are not comfortable with this task, contact a qualified electrician. In some cases, it may be more cost-effective to replace the entire baseboard heater rather than just the element.
Important Note: If you suspect a short circuit in the heater element, do not attempt to repair it yourself. Contact a qualified electrician immediately. Continuing to use a heater with a short circuit can be extremely dangerous.
Step 5: Central Heating System Integration
If your baseboard heaters are part of a central heating system, the problem might not be with the individual heater or thermostat, but with the central control system itself.
- Check the Zone Valves: In multi-zone heating systems, zone valves control the flow of hot water (in hydronic systems) or electricity (in electric systems) to each zone. A stuck zone valve could be allowing heat to flow to the baseboard heater even when it's supposed to be off. Consult your heating system's manual or a qualified HVAC technician to diagnose and repair zone valve issues.
- Examine the Central Controller: If your system uses a central controller (often a sophisticated thermostat or a separate control panel), check its settings and programming. A malfunction in the controller could be sending incorrect signals to the baseboard heaters. Refer to the controller's manual for troubleshooting steps.
When to Call a Professional
While this guide provides a step-by-step approach to troubleshooting a baseboard heater that won’t turn off, some situations require the expertise of a qualified professional. Call an electrician or HVAC technician if:
- You are uncomfortable working with electricity.
- You suspect a short circuit or other electrical hazard.
- You are unable to identify the cause of the problem.
- The problem involves complex components, such as relays or zone valves.
- You are unsure about any step in the troubleshooting process.
Safety is paramount. Never attempt a repair that you are not qualified to perform.
Preventative Maintenance
Regular maintenance can help prevent problems with your baseboard heaters and extend their lifespan.
- Clean the Heaters Regularly: Dust and debris can accumulate inside the heaters, reducing their efficiency and potentially causing malfunctions. Use a vacuum cleaner with a brush attachment to clean the fins and interior of the heaters.
- Inspect Wiring Connections: Periodically inspect the wiring connections for loose wires or corrosion.
- Test Thermostats: Test the thermostats regularly to ensure they are functioning correctly.
- Consider Professional Inspection: Schedule a professional inspection of your heating system every few years to identify and address potential problems before they become major issues.
By following these steps, you can often diagnose and resolve the issue of a baseboard heater that won't turn off. Remember to prioritize safety and consult a qualified professional when needed.