How To Use A Pipe Threader

Ever tried to replace a leaky pipe only to find the new fitting doesn't quite screw on properly? Or perhaps you're extending a water line and need to create a new threaded end? One of the most common plumbing challenges homeowners face is dealing with improperly threaded pipes. A bad thread can lead to leaks, wasted materials, and a frustrating plumbing experience. While calling a plumber is always an option, learning to use a pipe threader yourself can save you time and money on smaller projects. This guide will walk you through the process, helping you diagnose issues and safely create reliable pipe threads.
Understanding the Problem: Common Threading Issues
Before you even pick up a pipe threader, it's important to understand what constitutes a good thread and what problems you might encounter.
- Cross-threading: This occurs when the fitting and the pipe thread are not aligned properly at the start. Forcing them together creates damaged and useless threads.
- Taper mismatch: Pipe threads are tapered, meaning they get slightly wider towards the end of the pipe. If the taper of the thread you create doesn't match the fitting, it won't seal properly.
- Insufficient thread length: Not enough threads engaged means a weak connection and potential leaks.
- Damaged or worn threads: Existing threads on a pipe might be damaged due to corrosion or previous improper use.
- Incorrect thread size: Using a threader with the wrong die size for your pipe is a guaranteed recipe for disaster.
Step-by-Step Guide: Using a Pipe Threader
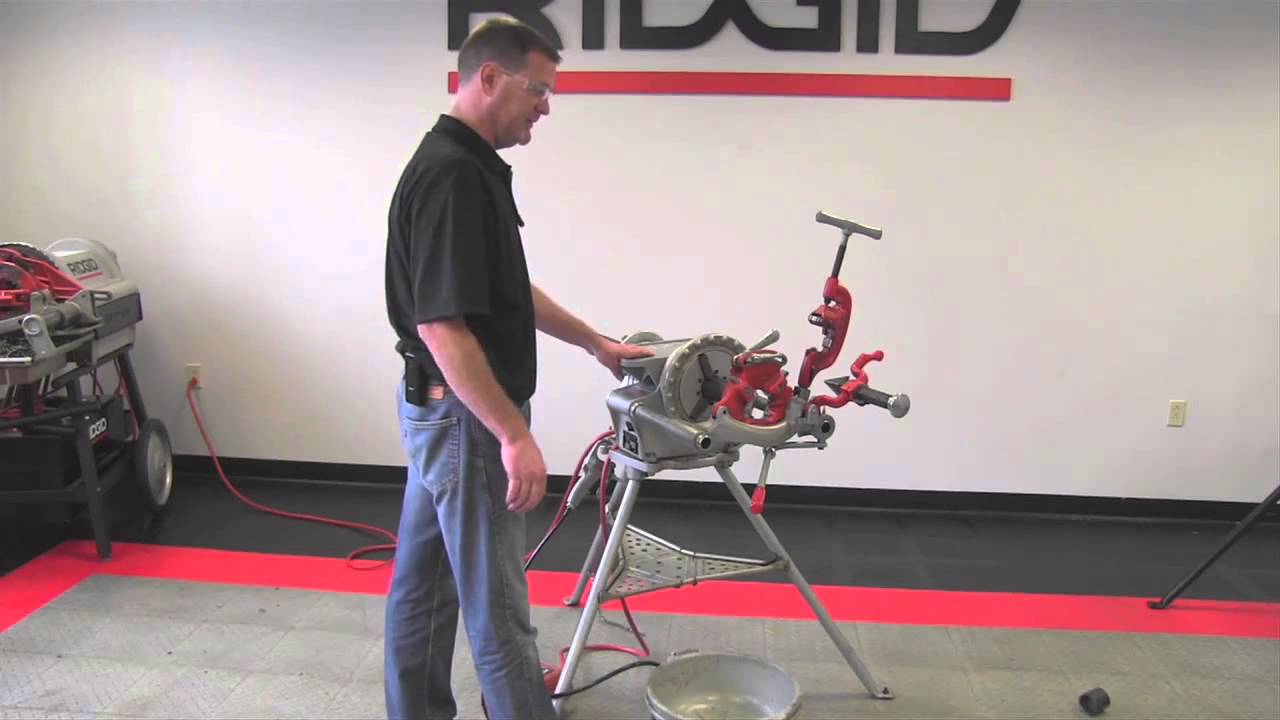
This guide focuses on using a manual pipe threader. While power threaders exist, manual threaders are more accessible for DIY projects and offer better control for beginners.
Step 1: Preparation is Key
Safety first! Always wear safety glasses and work gloves when threading pipes. Metal shavings can be sharp and dangerous.
Gather your materials:
- Pipe threader with the correct die size for your pipe (NPT - National Pipe Thread - is the standard)
- Pipe vise
- Pipe cutter or saw
- Pipe reamer or deburring tool
- Cutting oil specifically designed for pipe threading
- Measuring tape
- Clean rags
Prepare the pipe:
- Cut the pipe to the desired length. Use a pipe cutter for a clean, square cut. A saw can also be used, but ensure the cut is as straight as possible.
- Ream or deburr the inside of the pipe. This removes any burrs or sharp edges left from cutting, ensuring a smooth flow and preventing damage to fittings.
- Secure the pipe in the pipe vise. Ensure the vise jaws are clean and grip the pipe firmly, but not so tightly that they damage it. Position the pipe so the end to be threaded is exposed.
Step 2: Setting Up the Pipe Threader
Choose the correct die head: Your pipe threader will have interchangeable die heads for different pipe sizes. Double-check that you've selected the correct die head for the pipe you're working with. Using the wrong die will ruin the pipe and potentially damage the threader.
Install the die head: Follow the manufacturer's instructions for installing the die head onto the threader. This usually involves aligning the die head with the threader body and securing it with a locking mechanism.
Apply cutting oil: Generously apply cutting oil to both the pipe and the dies. Cutting oil lubricates the threading process, reduces friction and heat, and helps create clean, smooth threads. Don't skimp on the oil – it's essential for a good result.
Step 3: Threading the Pipe
Starting the thread:
- Carefully align the threader with the pipe. Ensure it's square and that the dies engage with the pipe end evenly.
- Apply firm, even pressure and begin turning the threader handle clockwise. Start slowly and gently. You should feel the dies begin to bite into the pipe.
- After the first few turns, check that the threader is still aligned and that the dies are cutting evenly. If it feels like it's binding or misaligned, stop and readjust.
Continuing the thread:
- Continue turning the threader handle clockwise, applying consistent pressure. Keep applying cutting oil liberally throughout the process.
- As you thread, you'll feel the resistance increase. This is normal. The dies are cutting the thread.
- Periodically back off the threader a quarter turn counter-clockwise to break the chips and clear away debris. This helps prevent the dies from clogging and ensures a cleaner thread.
- Continue threading until you reach the desired thread length. This will depend on the fitting you're using. Typically, you'll want to create threads that are long enough to fully engage with the fitting. A good rule of thumb is to thread until you see 5-7 full threads.
Step 4: Finishing Up
Removing the threader:
- Once you've threaded the pipe to the desired length, turn the threader handle counter-clockwise to disengage the dies.
- Remove the threader from the pipe.
Cleaning and Inspection:
- Clean the newly threaded pipe with a rag to remove any excess cutting oil and metal shavings.
- Carefully inspect the threads. Look for any imperfections, such as torn threads, cross-threading, or incomplete threads.
- Test the fit with the fitting you intend to use. The fitting should screw on smoothly and without excessive force.
Troubleshooting: What Went Wrong?
Even with careful execution, things can sometimes go wrong. Here are some common problems and how to address them:
- Threader is hard to turn: This usually indicates insufficient cutting oil or dull dies. Apply more cutting oil and, if the problem persists, consider replacing the dies.
- Threads are torn or rough: This can be caused by dull dies, using the wrong die size, or forcing the threader. Replace the dies, ensure you're using the correct size, and apply consistent pressure.
- Cross-threading: Stop immediately! Remove the threader and inspect the pipe. If the cross-threading is minor, you might be able to carefully file down the damaged threads. However, if the damage is significant, you'll need to cut off the damaged section and start over.
- Leaking connection: Even with properly threaded pipes, leaks can still occur. Ensure you're using Teflon tape or pipe dope (pipe joint compound) on the threads before connecting the fitting. Wrap the tape clockwise around the threads, overlapping each layer slightly.
DIY Fixes & Limitations
Minor imperfections in the threads can sometimes be remedied with a thread file. Gently file down any burrs or rough spots. This can help improve the fit and seal of the fitting.
Applying Teflon tape or pipe dope is crucial for creating a watertight seal. Even perfectly threaded pipes need this additional sealant. Make sure to apply it correctly and generously.
When to Call a Professional
While DIY pipe threading can be empowering, there are situations where it's best to call a licensed plumber:
- Major pipe repairs or modifications: If you're dealing with complex plumbing systems or making significant alterations to your home's plumbing, it's always best to consult a professional.
- Gas lines: Never attempt to thread or repair gas lines yourself. Gas leaks are extremely dangerous and require the expertise of a licensed gas fitter.
- Persistent leaks: If you've tried troubleshooting the leak yourself and it continues to persist, it's time to call a plumber. They have the tools and experience to diagnose and fix the problem correctly.
- Extensive corrosion or damage: If the pipes are heavily corroded or damaged, threading them might weaken them further. A plumber can assess the situation and recommend the best course of action, which might involve replacing sections of pipe.
- You're uncomfortable or unsure: If you feel uneasy about any aspect of the pipe threading process, don't hesitate to call a professional. Your safety and the integrity of your plumbing system are paramount.
- Multiple failed attempts: If you've tried threading the pipe multiple times and are still getting poor results, it's likely a sign that you're dealing with a more complex issue or that your tools are not adequate.
Preventative Measures
Here's how to keep your pipe threading endeavors smooth and problem-free:
- Regularly clean and maintain your pipe threader. This includes cleaning the dies and applying a light coat of oil to prevent rust.
- Replace worn or damaged dies promptly. Dull dies will produce poor-quality threads and can damage the threader.
- Store your pipe threader in a dry place. This will help prevent rust and corrosion.
- Always use the correct die size for your pipe.
- Don't force the threader. If it's too difficult to turn, stop and troubleshoot the problem.
Conclusion
Learning to use a pipe threader can be a valuable skill for any homeowner. By following these steps, you can confidently tackle minor plumbing repairs and projects. Remember to prioritize safety, use the correct tools and materials, and don't hesitate to call a professional when needed. With practice and patience, you'll be creating reliable pipe threads in no time!