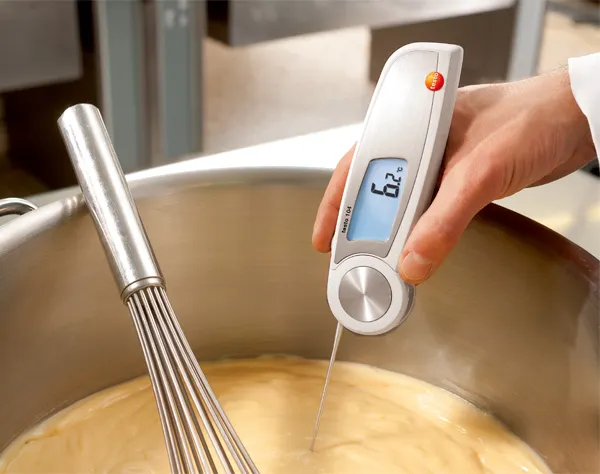
How To Use A Probe Thermometer
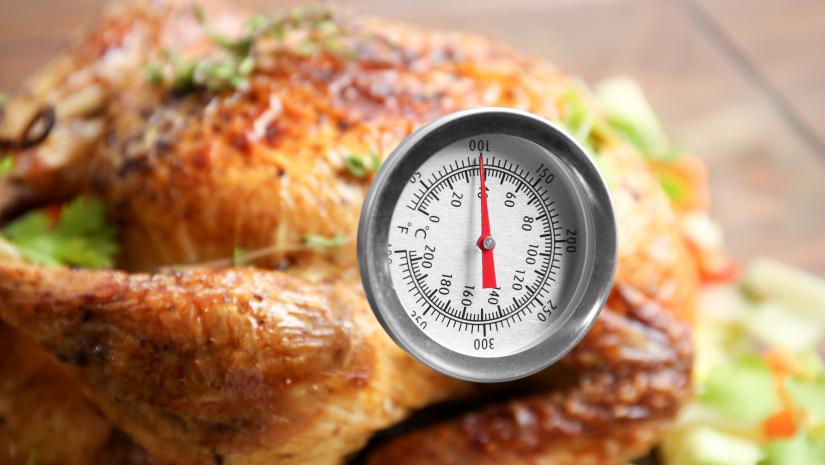
Understanding and Using Probe Thermometers in HVAC Systems
Probe thermometers are indispensable tools in the world of HVAC (Heating, Ventilation, and Air Conditioning). They allow technicians, homeowners, and facility managers to accurately measure temperature, which is crucial for diagnosing issues, optimizing system performance, and ensuring comfort. Whether you're troubleshooting a malfunctioning AC unit or verifying the efficiency of a commercial chiller, understanding how to use a probe thermometer correctly is essential.
Types of Probe Thermometers
Several types of probe thermometers are available, each suited for specific applications. Knowing the differences is the first step in choosing the right tool for the job.
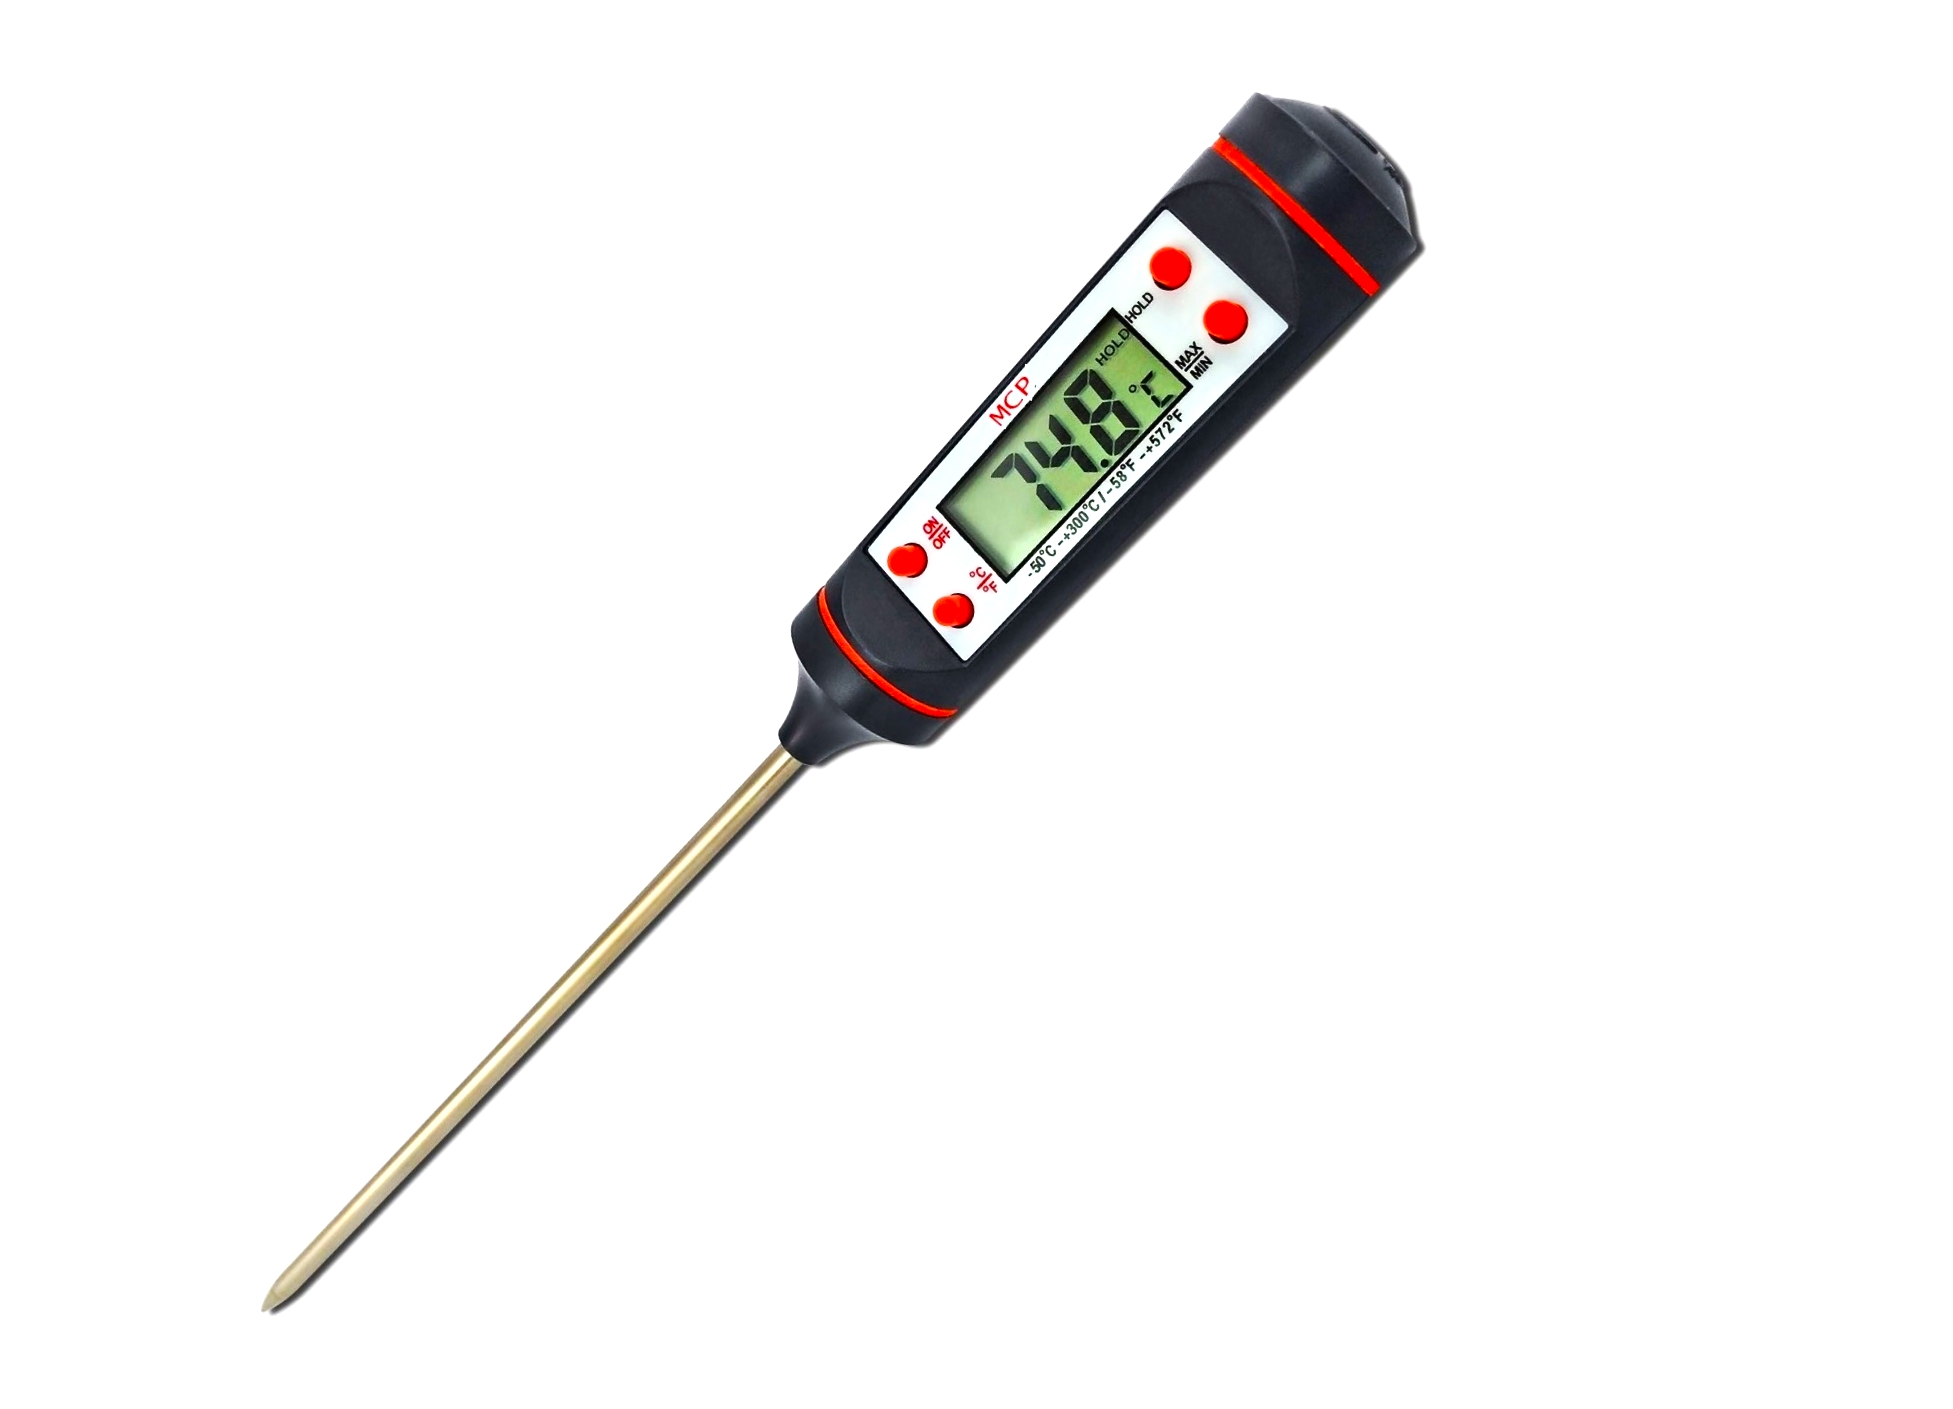
- Digital Probe Thermometers: These are the most common type, offering a clear digital display and typically a fast response time. They're versatile and suitable for a wide range of HVAC applications. Look for models with high accuracy (±0.5°F or better) and good resolution (0.1°F).
- Infrared (IR) Thermometers: While not technically "probe" thermometers, IR thermometers are frequently used in HVAC. They measure surface temperature remotely, which is useful for checking ductwork, registers, and other components without direct contact. However, remember that IR thermometers measure surface temperature, which may differ significantly from the internal air temperature.
- Thermocouple Thermometers: Thermocouples are known for their wide temperature range and durability. They use two different metals joined together to create a voltage that varies with temperature. They are very common in HVAC work.
- RTD (Resistance Temperature Detector) Thermometers: RTDs offer excellent accuracy and stability. They measure temperature by detecting changes in the electrical resistance of a metal. They are often used in laboratory and industrial settings where high precision is required.
Preparing for Measurement
Before taking any measurements, ensure your probe thermometer is properly calibrated. A calibrated thermometer provides accurate readings, which are critical for reliable diagnostics and adjustments. Many digital thermometers have a self-calibration function. For more precise calibration, use an ice bath (32°F or 0°C) and a boiling water bath (212°F or 100°C) as reference points.
Also, consider the environment where you'll be taking measurements. External factors like ambient temperature and drafts can influence readings. Shield the probe from direct sunlight and avoid placing it near heat sources or cold surfaces that could skew the results. Allow the thermometer to acclimate to the ambient temperature for a few minutes before taking measurements. This ensures that the sensor is at a stable temperature, reducing errors.
Taking Accurate Measurements
The technique for taking accurate measurements depends on the specific application. Here are some common scenarios:
- Measuring Air Temperature in Ductwork: Drill a small hole in the ductwork and insert the probe, being careful not to damage any internal components. Seal the hole after taking the measurement. Ensure the probe is positioned in the center of the duct to get a representative reading. The proper placement of the probe is key to accuracy.
- Measuring Refrigerant Line Temperature: Clean the surface of the refrigerant line to ensure good contact between the probe and the pipe. Use insulation tape to secure the probe and minimize the impact of ambient temperature. This is crucial for determining superheat and subcooling, two critical parameters for assessing the performance of a refrigeration system.
- Measuring Supply and Return Air Temperature: Place the probe directly in the airflow of the supply and return vents. Ensure the probe is not obstructed by any grilles or other objects. Take multiple readings and average them to account for variations in airflow. The difference between supply and return air temperature, known as the temperature split, is an important indicator of cooling system performance. A typical temperature split for a residential AC system is 15-20°F.
- Measuring Condenser and Evaporator Coil Temperature: Carefully insert the probe between the fins of the coil to measure the coil temperature. Avoid bending or damaging the fins. Use an IR thermometer for a quick check of coil temperature, but confirm with a probe thermometer for greater accuracy.
HVAC Applications: Real-World Examples
Probe thermometers are essential tools for diagnosing and optimizing HVAC system performance. Here are some specific examples:
- Diagnosing a Low Refrigerant Charge: By measuring the temperature of the suction line and comparing it to the evaporator pressure, you can determine the superheat. High superheat indicates a low refrigerant charge. Proper superheat is crucial for compressor longevity.
- Verifying Proper Condenser Subcooling: Measuring the temperature of the liquid line and comparing it to the condenser pressure allows you to determine the subcooling. Low subcooling indicates a potential issue with the condenser.
- Troubleshooting a Compressor Problem: By measuring the temperature of the compressor discharge line, you can identify potential overheating issues. Excessive discharge temperature can damage the compressor.
- Optimizing Airflow: By measuring the temperature drop across the evaporator coil and comparing it to the manufacturer's specifications, you can determine if the airflow is adequate. Insufficient airflow can lead to icing and reduced cooling capacity.
Interpreting Readings and Taking Action
Once you have obtained temperature measurements, you need to interpret them correctly and take appropriate action. Refer to the manufacturer's specifications for the equipment being tested. Understanding these specifications is critical. For example, knowing the design superheat and subcooling values for a specific AC unit will allow you to accurately diagnose refrigerant charge issues.
Here are some general guidelines:
- High Superheat: Indicates a low refrigerant charge, restrictions in the refrigerant line, or other issues affecting the evaporator. Add refrigerant after verifying there are no leaks or restrictions.
- Low Subcooling: May indicate an overcharge of refrigerant, non-condensables in the system, or a faulty condenser. Recover refrigerant and evaluate the system for contamination.
- High Discharge Temperature: May indicate a restricted condenser, a faulty compressor, or insufficient airflow across the condenser. Clean the condenser coil and check the condenser fan motor.
- Abnormal Temperature Split: A temperature split that is too high or too low indicates problems with airflow, refrigerant charge, or the cooling coil. Check the air filter, blower motor, and refrigerant levels.
Maintenance and Care of Your Probe Thermometer
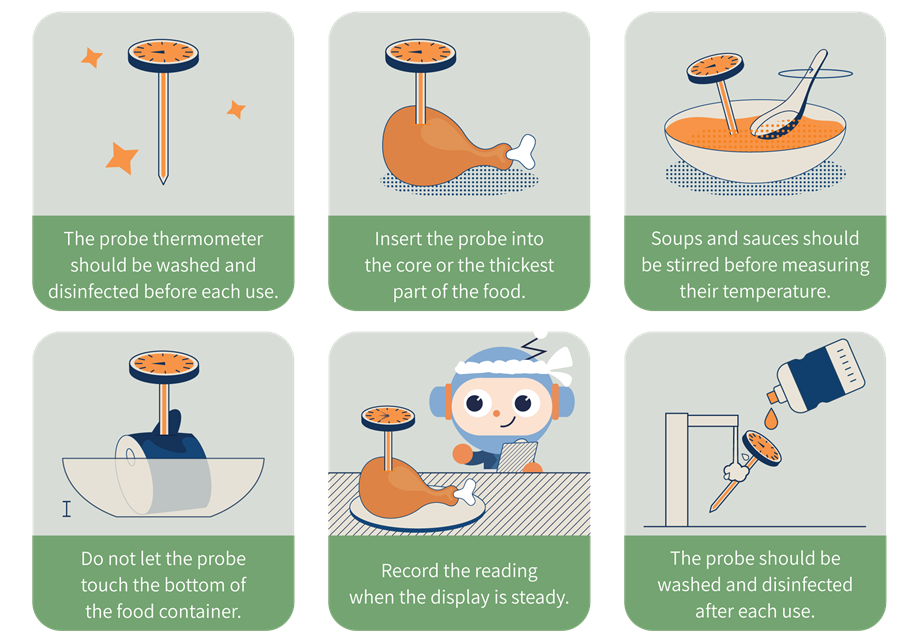
To ensure the accuracy and longevity of your probe thermometer, proper maintenance and care are essential. After each use, clean the probe with a damp cloth and mild detergent. Avoid using abrasive cleaners or solvents, as these can damage the sensor. Store the thermometer in a protective case to prevent damage to the probe and the display. Regularly check the battery and replace it as needed. Periodically verify the calibration of the thermometer and recalibrate it as necessary.
Cost, Efficiency, and Lifespan Considerations
While the cost of a probe thermometer is relatively low (ranging from $20 to $200 depending on the features and accuracy), the value of accurate temperature measurements can be significant. By using a probe thermometer to diagnose and optimize HVAC system performance, you can improve energy efficiency, reduce operating costs, and extend the lifespan of your equipment. For example, a properly charged AC system can consume up to 20% less energy than an undercharged system. Regular maintenance and accurate temperature measurements can also prevent costly repairs and extend the lifespan of your HVAC equipment by several years.
Ultimately, mastering the use of a probe thermometer is a valuable skill for anyone involved in HVAC. By understanding the different types of thermometers, practicing proper measurement techniques, and interpreting readings accurately, you can ensure optimal performance and longevity of your heating and cooling systems.
By properly maintaining the HVAC system, you will reduce energy use and save money on utilities. HVAC units that have regular maintenance performed on them can last 10-15 years, and even longer in some cases. This is vastly important to both homeowners and property managers.
:max_bytes(150000):strip_icc()/sea-tier-3-detail-thermoworks-blue-dot-alarm-thermometer-bluetooth-wireless-technology-wdickey-0650-88b26286085e4e638245a8d467f583f8.jpeg)




:max_bytes(150000):strip_icc()/how-to-use-meat-thermometer-GettyImages-1330139635-91da8d92d7ab4711aa195e6f674ed7ac.jpg)