How To Vent A Dryer From An Interior Wall

Venting Your Dryer From An Interior Wall: A Comprehensive Guide
Dryer venting is a crucial, often overlooked aspect of home maintenance and efficiency. Improper venting can lead to reduced drying times, increased energy bills, and even pose significant fire hazards due to lint buildup. When your dryer is located against an interior wall, the venting process requires careful planning and execution. This guide will walk you through the various methods, considerations, and best practices for effectively venting your dryer in such a scenario.
Understanding the Challenges of Interior Wall Venting
Venting a dryer from an interior wall presents unique challenges compared to venting directly to an exterior wall. The primary obstacle is the increased distance the exhaust air needs to travel, which can lead to:
- Increased lint accumulation: Longer vent runs mean more opportunities for lint to settle, restricting airflow and increasing fire risk.
- Reduced drying efficiency: Restricted airflow forces the dryer to work harder, consuming more energy and prolonging drying cycles.
- Moisture buildup: Improperly sealed or insulated vents can lead to condensation, promoting mold growth and damaging building materials.
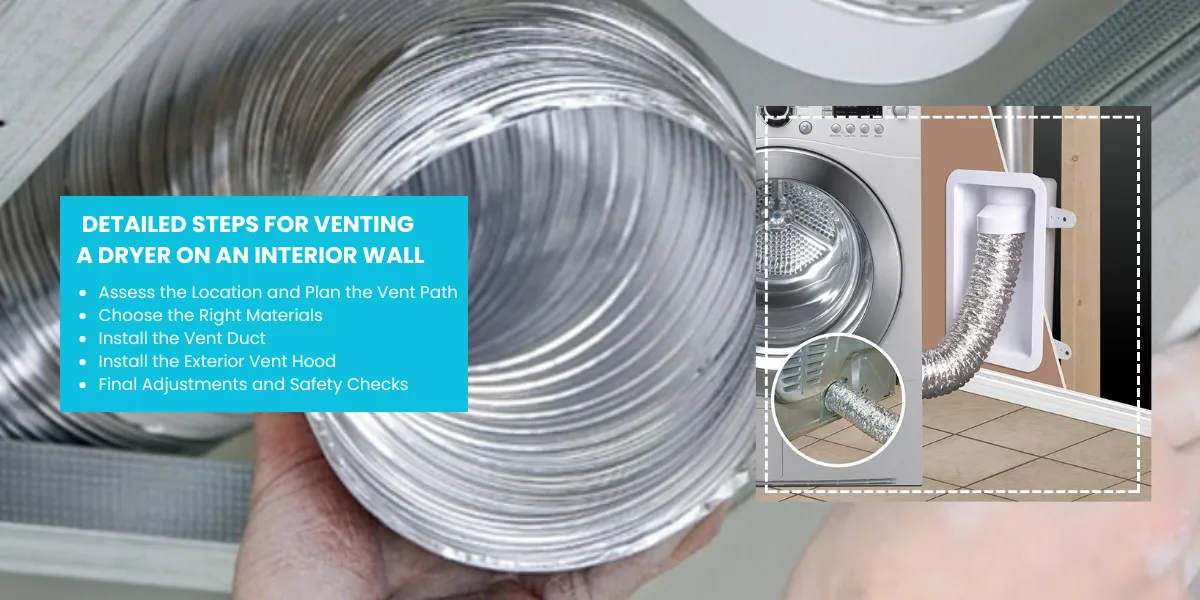
Methods for Venting a Dryer From An Interior Wall
Several methods can be used to vent a dryer from an interior wall, each with its own advantages and disadvantages.
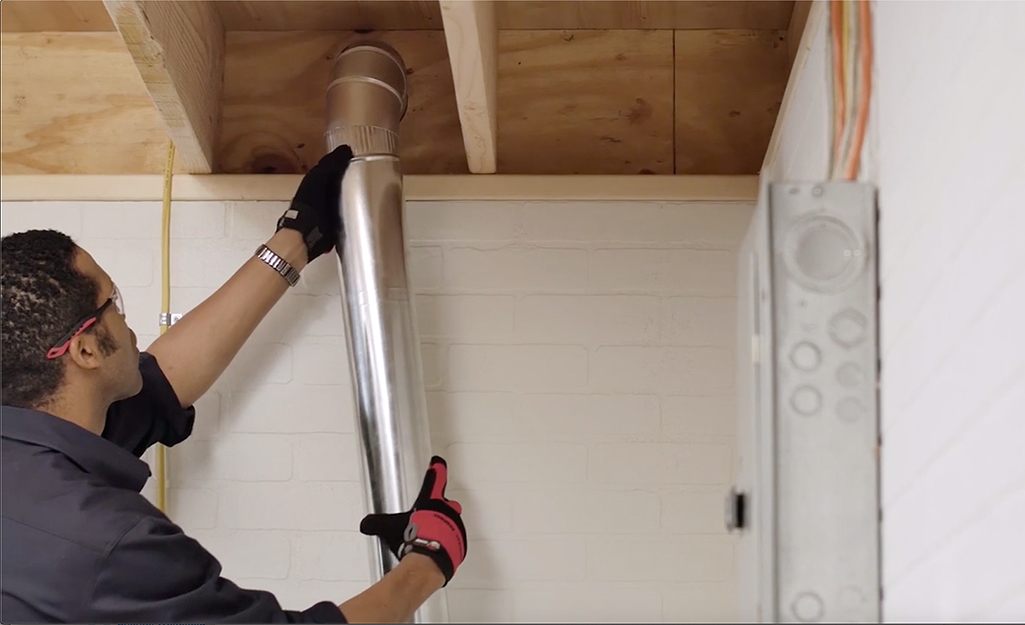
1. Venting Through the Ceiling
This involves running the vent pipe vertically through the ceiling, into the attic, and then out through the roof. This is a common solution but requires careful consideration of attic conditions.
Pros:
- Can be a straightforward solution if the attic is readily accessible.
- Avoids lengthy horizontal runs through walls.
Cons:
- Requires cutting through the ceiling and roof, which can be complex and expensive.
- Attic conditions can impact vent performance – extreme temperatures can affect airflow.
- Requires careful sealing and insulation to prevent condensation issues in the attic.
2. Venting Through the Crawl Space
If your home has a crawl space, you can run the vent pipe horizontally through the wall and then down into the crawl space, eventually exiting through the foundation wall.
Pros:
- Keeps the vent run away from living spaces.
- Can be easier to access for maintenance and cleaning compared to attic runs.
Cons:
- Crawl space conditions (dampness, pests) can negatively impact vent integrity.
- Requires creating an opening in the foundation wall for the exhaust vent.
- May require careful grading and sloping of the vent run to prevent moisture accumulation.
3. Running Vent Through Interior Walls to an Exterior Wall
This method involves running the vent pipe horizontally through interior wall cavities until it reaches an exterior wall, where it can then vent directly outside.
Pros:
- Potentially the shortest and most direct route if an exterior wall is nearby.
- Avoids roof penetrations and crawl space issues.
Cons:
- Requires opening up interior walls, which can be disruptive and expensive.
- May be limited by wall stud placement and other obstructions within the wall cavity.
- Long horizontal runs can still lead to lint buildup and reduced efficiency.
Key Considerations for All Venting Methods
Regardless of the chosen method, several factors are crucial for a successful and safe dryer vent installation.
1. Vent Material
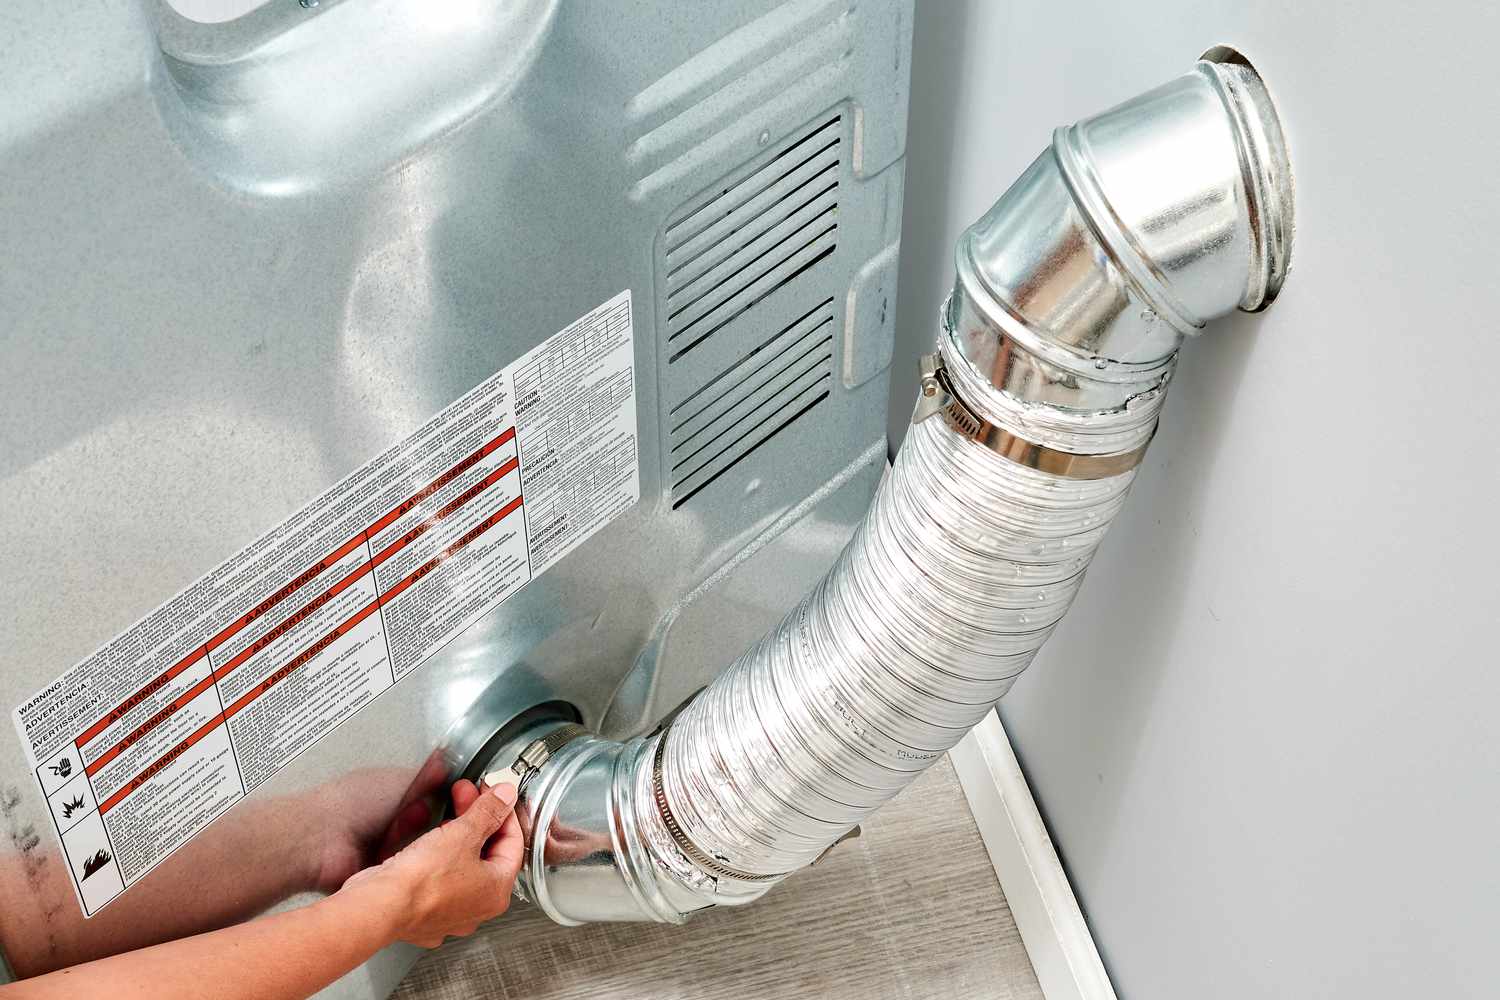
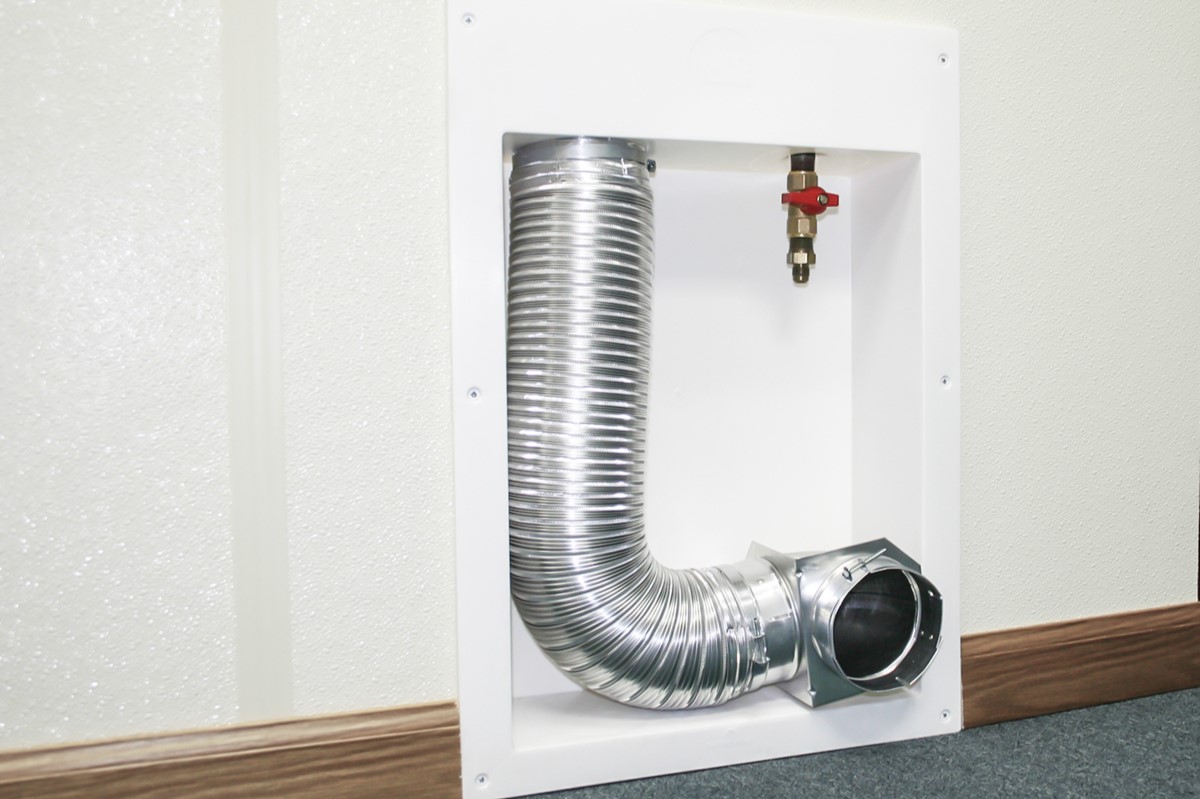
Rigid metal ductwork is the recommended material for dryer vents. It offers superior airflow, durability, and fire resistance compared to flexible foil or plastic ducts. Flexible ducts should only be used for short connections between the dryer and the rigid ductwork, and should be stretched taut to minimize airflow resistance.
2. Vent Length
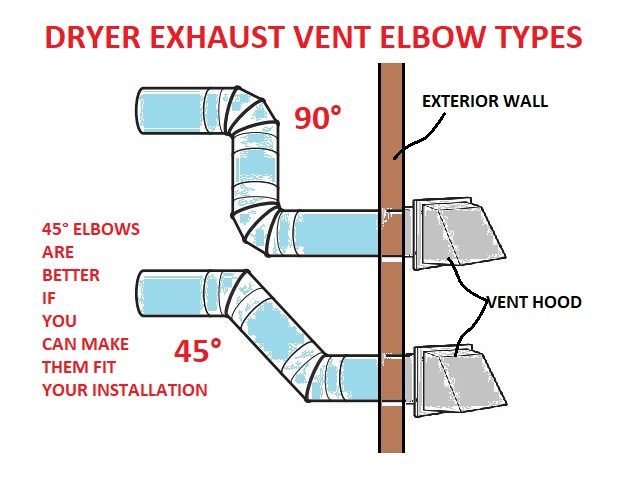
The maximum allowable vent length is a critical factor. The International Residential Code (IRC) typically limits the maximum length to 35 feet, with deductions for each 90-degree bend (5 feet) and 45-degree bend (2.5 feet). Always consult local building codes for specific requirements. Exceeding the maximum vent length significantly reduces drying efficiency and increases fire risk.
3. Vent Diameter
Maintain a consistent 4-inch diameter throughout the entire vent run. Reducing the diameter at any point restricts airflow and can lead to lint buildup.
4. Sealing and Insulation
Properly seal all joints with metal foil tape (not duct tape!) to prevent air leaks. Insulate the vent pipe, especially in unconditioned spaces like attics and crawl spaces, to prevent condensation.
5. Lint Trap Maintenance
Clean the dryer's lint trap after every load. This is the most crucial step in preventing lint buildup in the vent system.
6. Professional Inspection and Cleaning
Schedule a professional dryer vent inspection and cleaning at least once a year, or more frequently if you use your dryer heavily. Professionals have the tools and expertise to thoroughly clean the entire vent system and identify potential problems.
Dryer Vent Booster Fans
In situations where the vent run exceeds the maximum allowable length, a dryer vent booster fan can be installed to improve airflow. However, booster fans must be specifically designed and listed for dryer vent applications. Improperly installed or inappropriate fans can create back pressure and actually worsen the problem.
Cost Considerations
The cost of venting a dryer from an interior wall can vary significantly depending on the chosen method, the length of the vent run, and the complexity of the installation. Expect to pay anywhere from $200 to $1000 or more for professional installation. DIY installation can save on labor costs but requires careful planning and execution to ensure safety and compliance with local codes.
Choosing the Right Dryer
While venting is crucial, the dryer itself plays a significant role in efficiency. When replacing a dryer, consider models with features like:
- Moisture sensors: These automatically stop the drying cycle when clothes are dry, preventing over-drying and saving energy.
- Energy Star certification: Energy Star certified dryers meet strict energy efficiency guidelines.
Popular dryer brands include Whirlpool, LG, Samsung, and Maytag. Research models thoroughly and read reviews to find a dryer that meets your needs and budget.
Ventless Dryers: An Alternative Option
If venting is simply not feasible, consider a ventless dryer. These dryers use condensation or heat pump technology to dry clothes without requiring an external vent. While they may have longer drying times and can be more expensive upfront, ventless dryers offer a viable alternative when venting options are limited.
Building Codes and Permits
Always check with your local building department regarding permits and inspections for dryer vent installations. Most jurisdictions require permits for any modifications to existing HVAC systems, including dryer venting.
Safety First
Improperly vented dryers are a significant fire hazard. Prioritize safety above all else. If you are not comfortable with any aspect of the installation, hire a qualified HVAC professional or appliance installer.
Conclusion
Venting a dryer from an interior wall requires careful planning, proper materials, and adherence to building codes. By understanding the challenges and available methods, you can ensure a safe, efficient, and code-compliant dryer venting system. Regular maintenance and professional inspections are essential for preventing lint buildup and maintaining optimal performance. Whether you choose to tackle the project yourself or hire a professional, prioritize safety and follow best practices for a successful installation.

:no_upscale()/cdn.vox-cdn.com/uploads/chorus_asset/file/21866462/vent_illo.jpg)