How To Wire A Thermostat With 3 Wires

It's a chilly evening, and you crank up the thermostat, expecting a comforting wave of warm air. But nothing happens. Or perhaps your air conditioner refuses to kick on during a sweltering summer day. A common culprit behind these heating and cooling woes? A faulty thermostat, or more specifically, a wiring issue. Don't panic! Many thermostat problems, particularly with simpler 3-wire setups, can be diagnosed and even fixed yourself. This guide will walk you through troubleshooting and potentially resolving your 3-wire thermostat issues, safely and effectively.
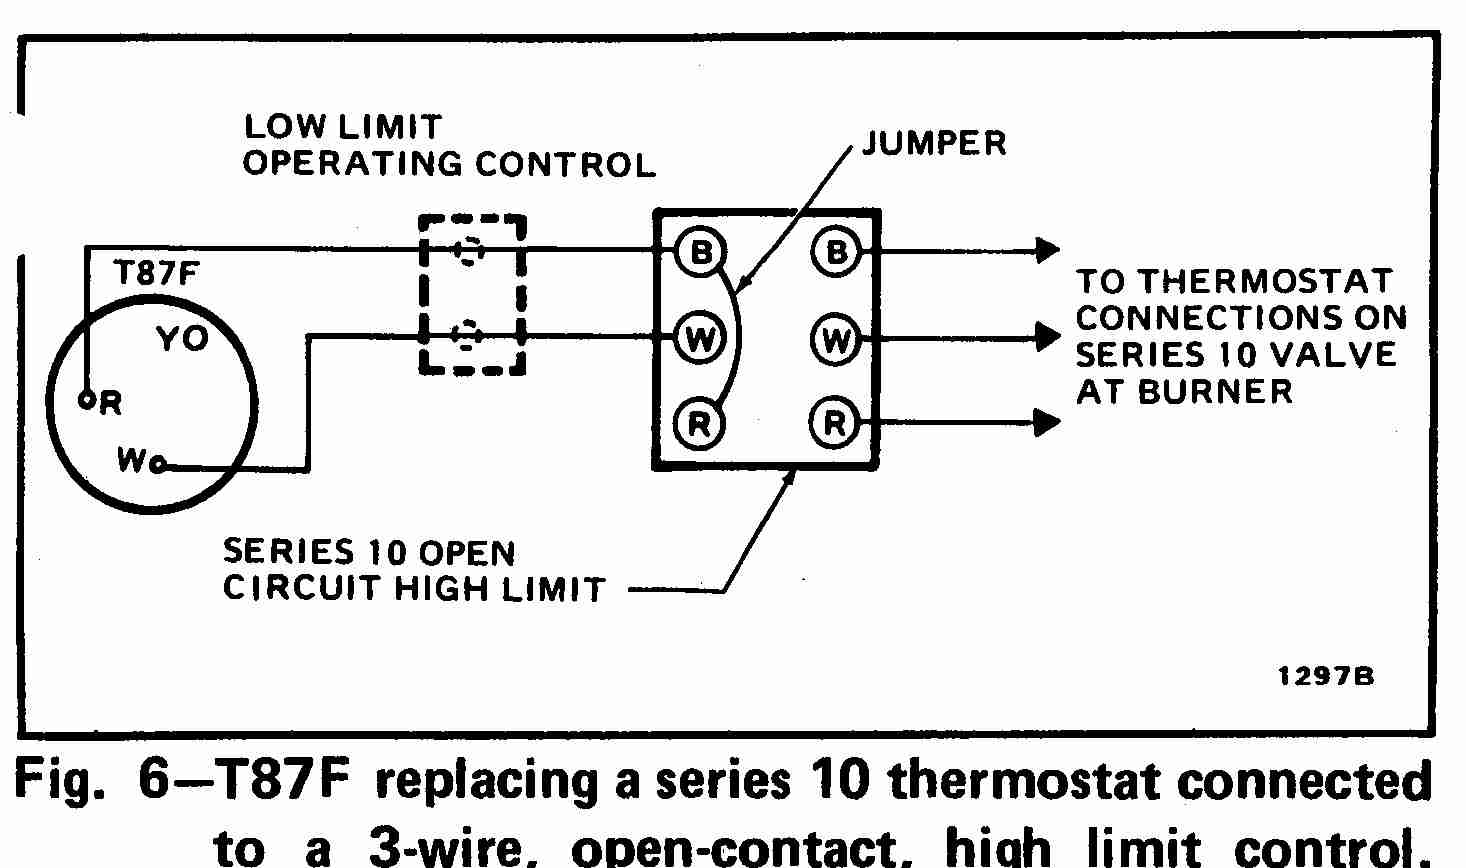
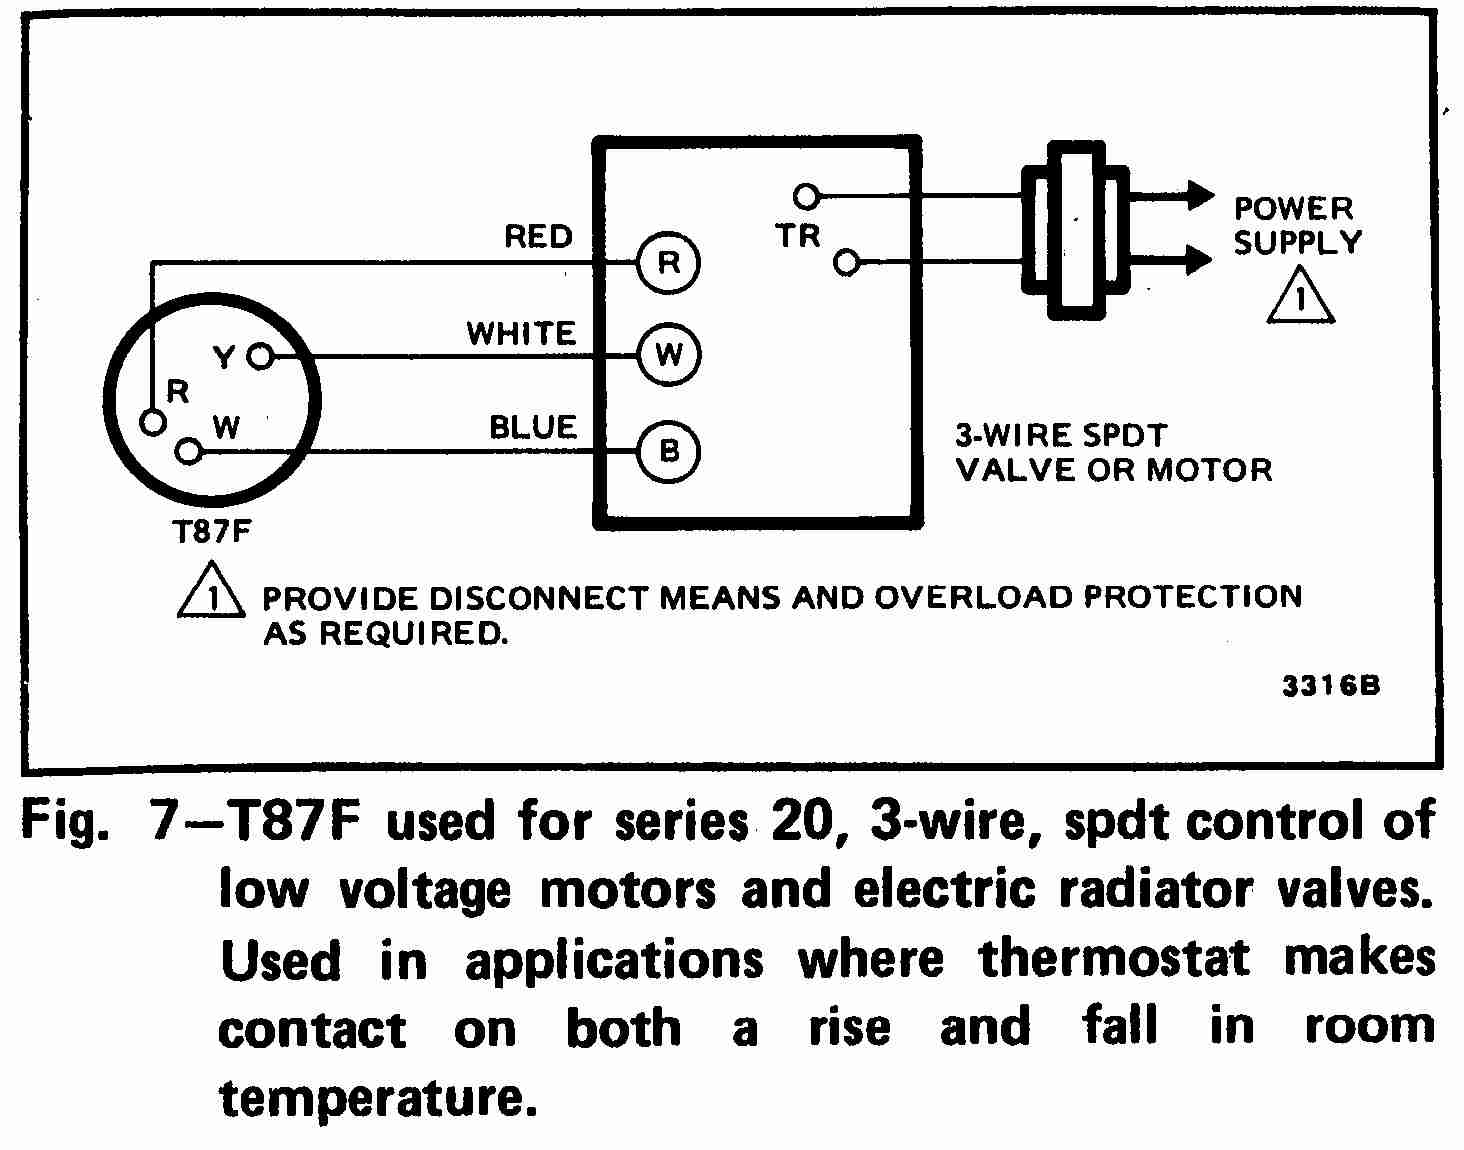
Understanding the 3-Wire Thermostat
Before diving into troubleshooting, let's briefly understand what a 3-wire thermostat is and how it works. These thermostats are typically found in older homes or in systems that have a simpler control setup. Each wire plays a crucial role:
- Red (R): This wire carries 24V power from the furnace or air handler to the thermostat. It's the power source.
- White (W): This wire signals the heating system to turn on. When the thermostat calls for heat, it completes the circuit between the red and white wires.
- Green (G): This wire controls the fan. When the thermostat calls for cooling (or sometimes, heating in certain systems), it completes the circuit between the red and green wires, turning on the blower fan to circulate air.
It's important to note that wiring configurations can vary slightly. Always refer to your thermostat's manual and take detailed pictures before disconnecting any wires.
Common Problems & Initial Diagnosis
Here are some common issues you might encounter with a 3-wire thermostat:
- Thermostat is completely dead: No display, no response to changes in temperature settings.
- Heating doesn't work: The thermostat is on, but the furnace isn't firing up.
- Cooling doesn't work: The thermostat is on, but the air conditioner isn't turning on.
- Fan runs constantly: The fan is always blowing, even when neither heating nor cooling is needed.
- Heating and cooling work intermittently: The system works sometimes, but not others.
Step 1: The Obvious Checks
Before you start fiddling with wires, let's rule out the easy fixes:
- Batteries: If your thermostat has batteries, replace them with fresh ones. Low batteries can cause all sorts of strange behavior.
- Breaker: Check the breaker in your electrical panel that controls your furnace or air handler. Make sure it hasn't tripped. Reset it by switching it off and then back on.
- Furnace Switch: Most furnaces have a physical on/off switch, often near the unit itself. Ensure it's in the "on" position.
- Air Filter: A dirty air filter can restrict airflow and cause the system to overheat and shut down. Replace it with a clean one.
If none of these simple checks solve the problem, move on to the next steps.
Step-by-Step Troubleshooting & DIY Fixes
Safety First! Before working on any electrical wiring, turn off the power to your furnace or air handler at the breaker box. This is crucial to prevent electrical shock.
Step 2: Visual Inspection
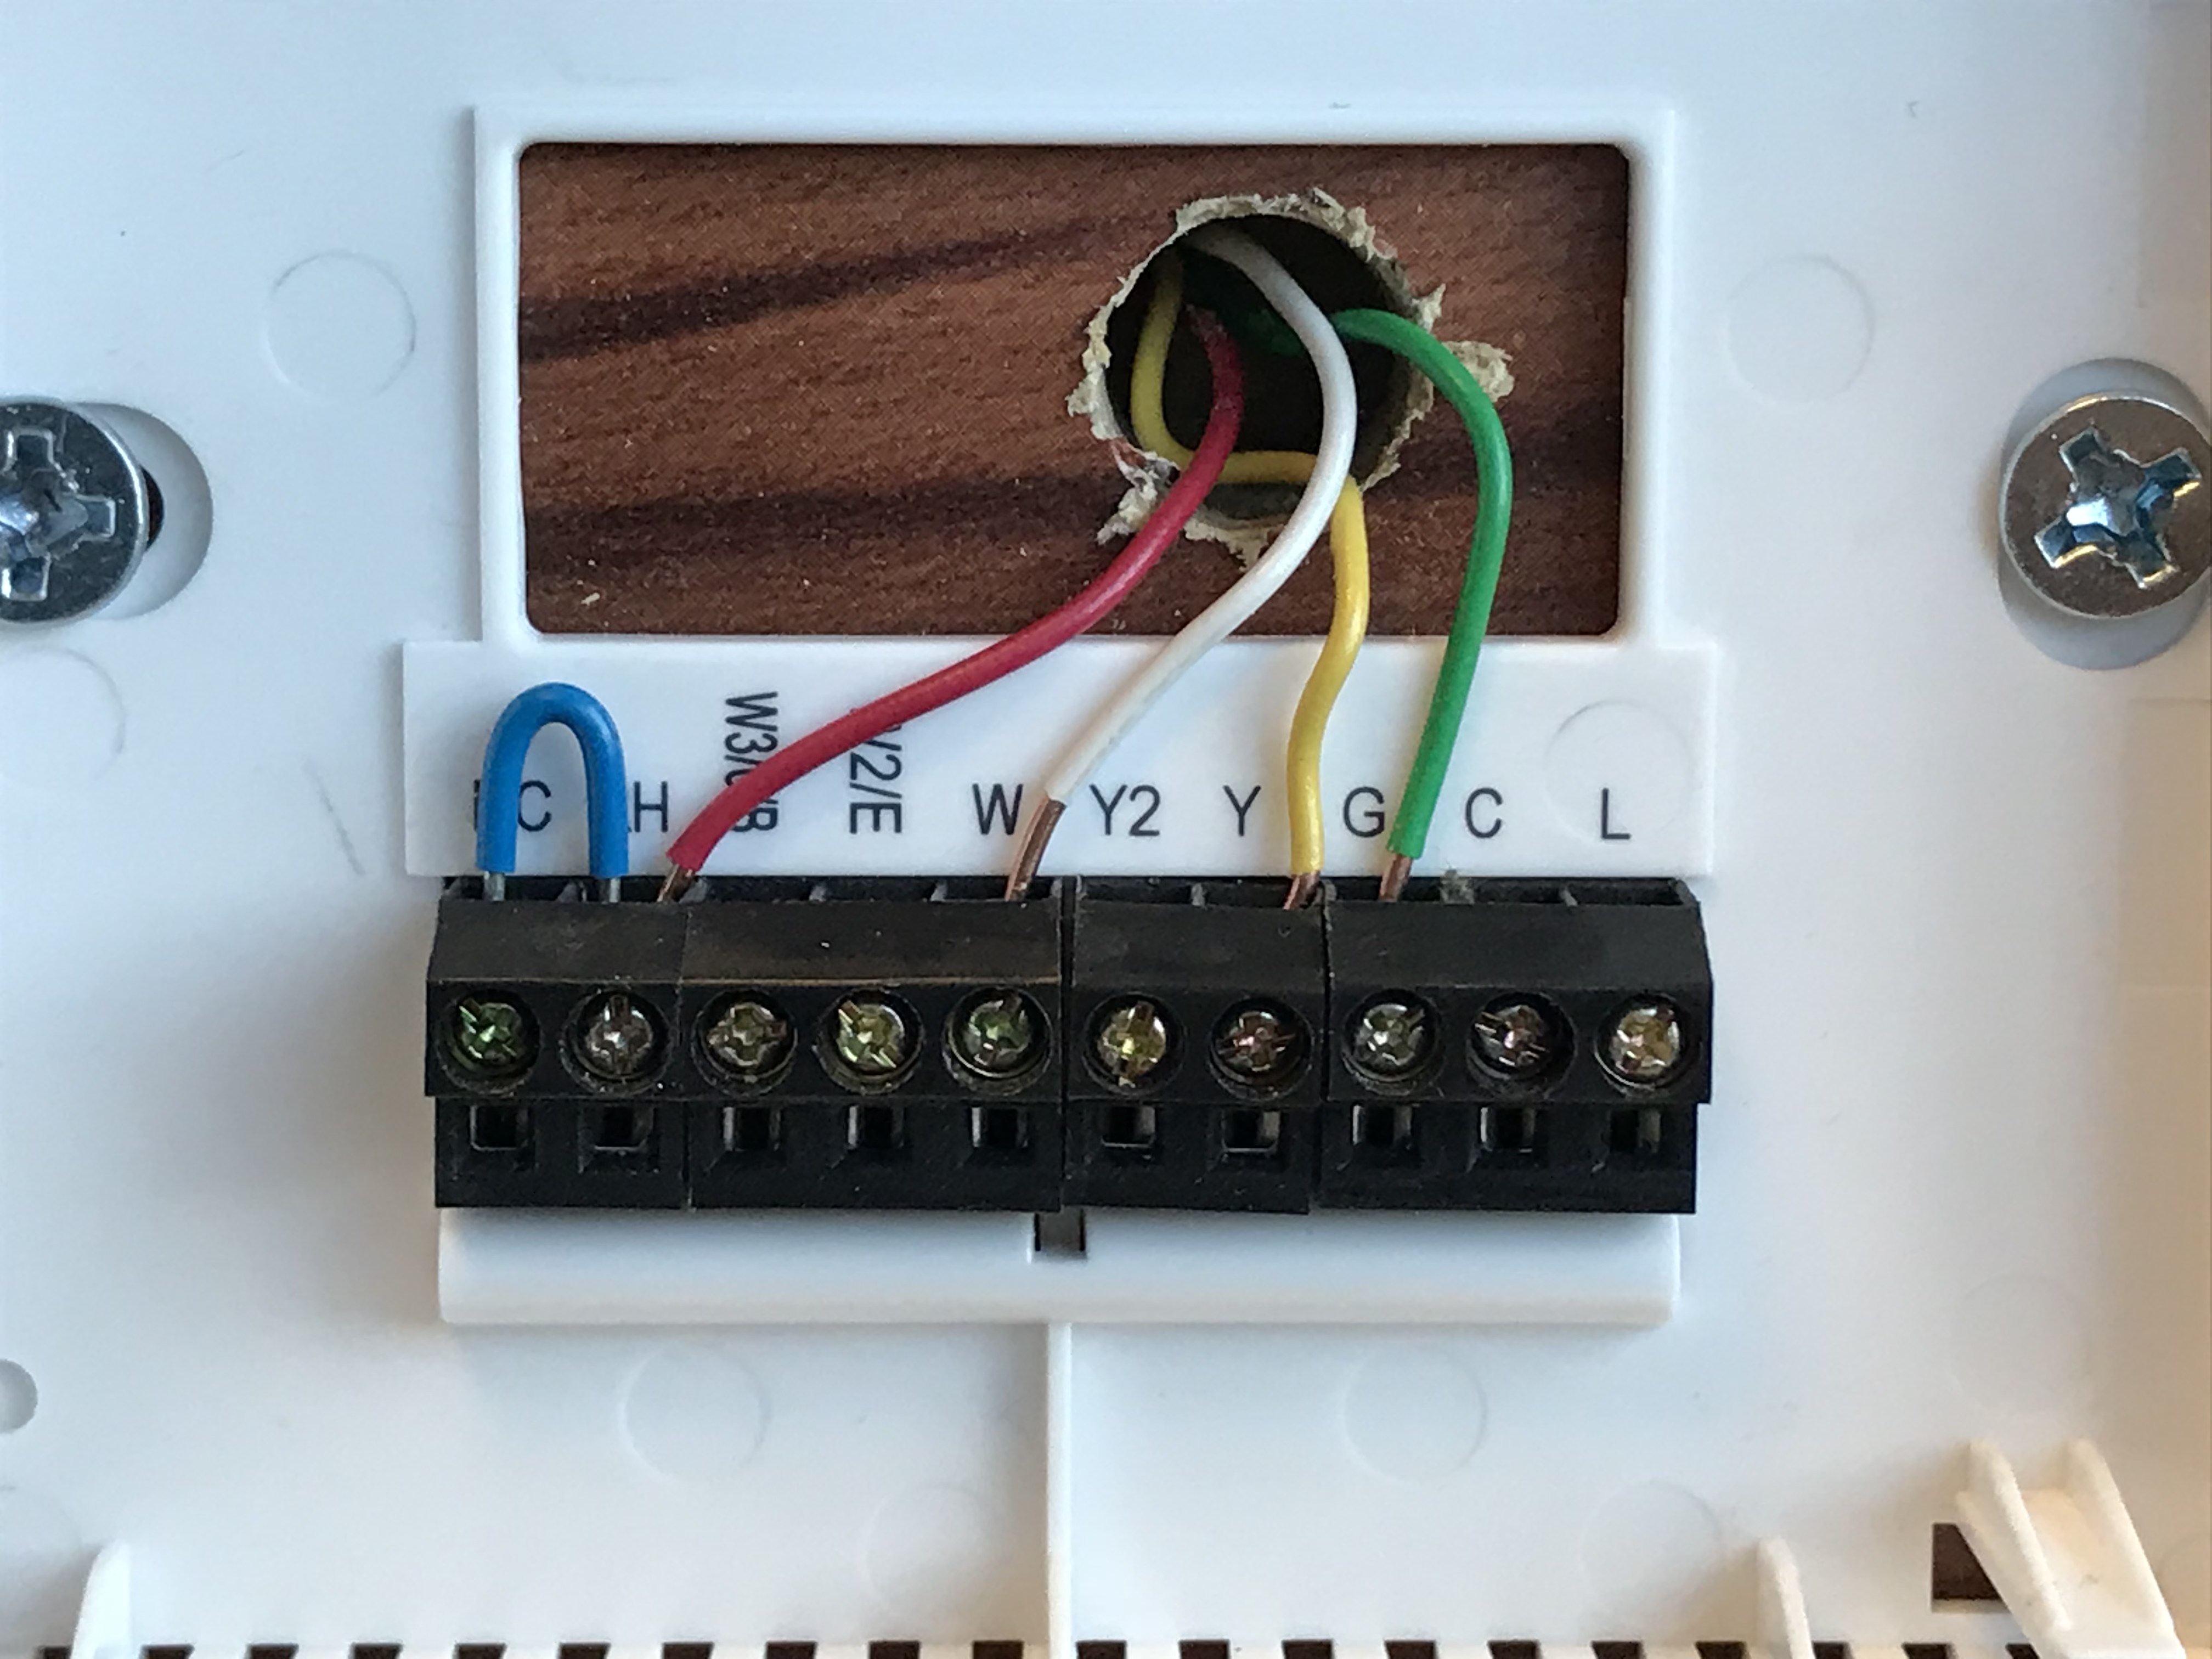
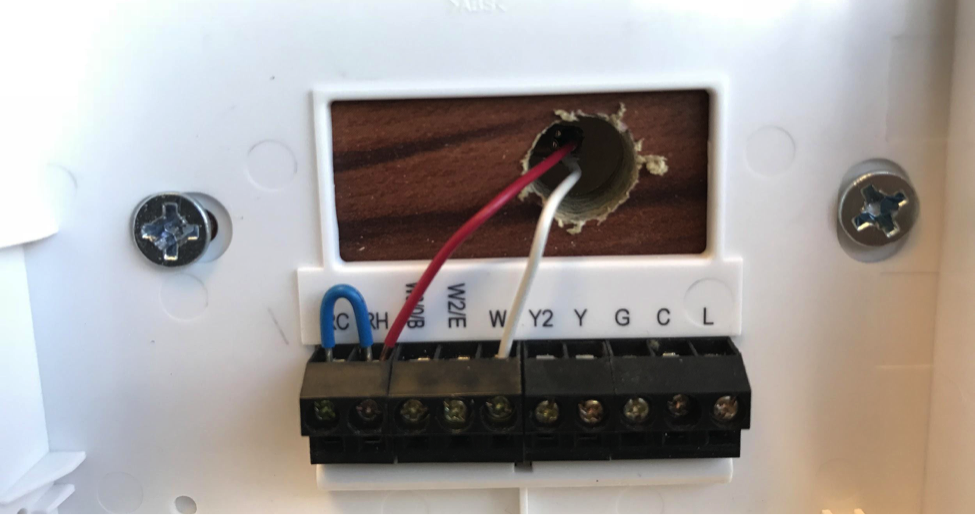
Remove the thermostat cover. Most thermostats have a simple snap-on or screw-on cover. Carefully inspect the wiring connections:
- Loose Wires: Are any of the wires loose or disconnected from their terminals? Gently tug on each wire to ensure it's securely connected.
- Corrosion: Look for signs of corrosion on the wires or terminals. Corrosion can impede the flow of electricity.
- Damaged Wires: Check for any nicks, cuts, or fraying on the wires. Damaged wires can cause short circuits.
Fixes:
- Loose Wires: Tighten the screws on the terminals to secure any loose wires. If the screw is stripped, you may need to gently trim the wire and expose a fresh section to tighten.
- Corrosion: Gently clean any corrosion with a wire brush or fine-grit sandpaper. Be careful not to damage the wires or terminals.
- Damaged Wires: If a wire is significantly damaged, it's best to replace it entirely. You can purchase thermostat wire at most hardware stores. Turn off the breaker. Disconnect the wire from both the thermostat and the furnace/air handler. Run a new wire, ensuring it's securely connected at both ends.
Step 3: Thermostat Wiring Check
Now, let's verify that the wires are connected to the correct terminals. Refer to your thermostat's manual or a photo you took before disconnecting anything. Double-check that:
- The red (R) wire is connected to the R terminal.
- The white (W) wire is connected to the W terminal.
- The green (G) wire is connected to the G terminal.
Fix: If any wires are in the wrong terminals, carefully disconnect them (after turning off the breaker) and reconnect them to the correct terminals. Ensure they are securely fastened.
Step 4: Testing Continuity (Requires a Multimeter)
If the visual inspection and wiring check don't reveal any problems, you can use a multimeter to test the continuity of the thermostat's switch. This will help you determine if the thermostat itself is functioning properly.
What is Continuity? Continuity means that there's a complete electrical path between two points. When the thermostat calls for heat or cooling, it should complete the circuit between the R wire and either the W (heat) or G (fan) wire.
How to Test:
- Turn off the power to the furnace/air handler at the breaker.
- Remove the thermostat from the wall plate.
- Set your multimeter to the "continuity" setting (it usually has a symbol that looks like a sound wave or a diode).
- Place one probe of the multimeter on the R terminal.
- Place the other probe on the W terminal.
- Turn the thermostat to a temperature above the current room temperature (if testing heating) or below the current room temperature (if testing cooling and the fan). You should hear a beep or see a reading on the multimeter, indicating continuity.
- Repeat the process, placing one probe on the R terminal and the other on the G terminal. Turn the thermostat to the "fan on" setting. You should hear a beep or see a reading on the multimeter, indicating continuity.
Interpreting the Results:
- No Continuity: If you don't hear a beep or see a reading when the thermostat is calling for heat or fan, it means the thermostat switch is likely faulty and needs to be replaced.
- Continuity: If you hear a beep or see a reading when the thermostat *isn't* calling for heat or fan, it suggests the thermostat switch is stuck and needs to be replaced.
Step 5: Checking Voltage (Requires a Multimeter and Caution)
Warning: This step involves working with live electricity. If you're not comfortable working with electricity, do not proceed. Call a qualified HVAC technician.
This step verifies that the thermostat is receiving the correct voltage from the furnace/air handler. Set your multimeter to the AC Voltage setting (usually around 250V). Carefully:
- Turn on the power to the furnace/air handler at the breaker.
- Place one probe of the multimeter on the R terminal.
- Place the other probe on a known ground. This could be a metal screw on the furnace chassis (ensure it's properly grounded).
- You should read approximately 24 volts AC.
Interpreting the Results:
- No Voltage or Low Voltage: If you don't read approximately 24 volts, there's likely a problem with the transformer in your furnace/air handler, or a wiring issue between the furnace/air handler and the thermostat. This requires professional diagnosis and repair.
- Correct Voltage: If you read approximately 24 volts, the power supply to the thermostat is likely good.
When to Call a Professional
While many 3-wire thermostat problems can be resolved with DIY troubleshooting, there are times when it's best to call a qualified HVAC technician:
- You're uncomfortable working with electricity. Safety should always be your top priority.
- You suspect a problem with the furnace or air handler itself. This includes issues with the blower motor, gas valve, compressor, or control board.
- You've replaced the thermostat, and the problem persists. This indicates a deeper issue within the system.
- You suspect a problem with the wiring within the walls. Tracing and repairing wiring within walls requires specialized tools and expertise.
- You're unsure about any step in this guide. It's always better to err on the side of caution and seek professional help.
Specifically, if you encounter any of the following:
- Transformer Issues: If your multimeter indicates a transformer failure (no voltage to the thermostat).
- Control Board Malfunctions: If you suspect the central heating/cooling system's control board is faulty.
- Complex Wiring Problems: If the wiring configuration seems unusual or altered and you cannot find a clear diagram.
- Gas Leaks (in heating systems): If you smell gas near your furnace. Immediately evacuate the premises and call your gas company.
Final Thoughts
Troubleshooting a 3-wire thermostat can seem daunting, but by following these steps carefully and methodically, you can often diagnose and resolve common issues yourself. Remember to prioritize safety, and don't hesitate to call a professional when needed. With a little patience and effort, you can get your heating and cooling system back up and running efficiently.