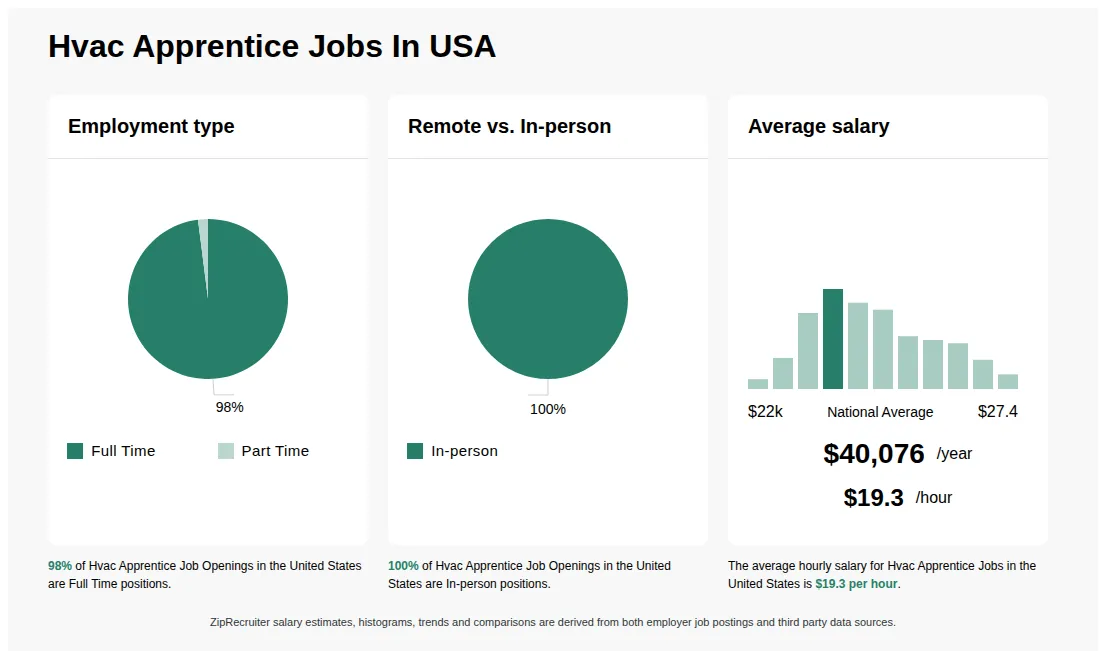
Hvac Apprentice Jobs In The Last 3 Days
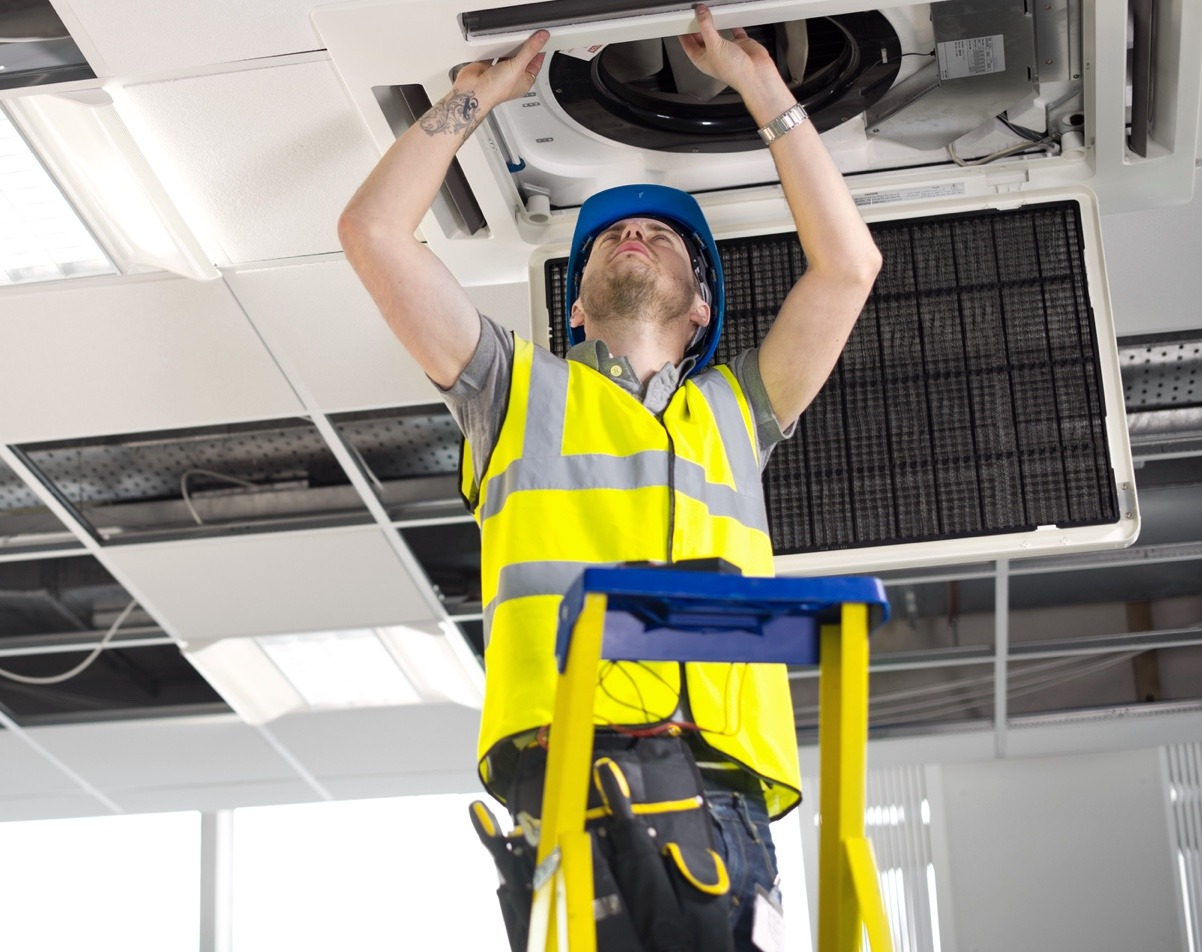
Many homeowners experience inconsistent cooling or heating in their homes, leading to discomfort and higher energy bills. This often manifests as some rooms being noticeably colder or warmer than others, even when the thermostat is set to a comfortable temperature. This article provides a systematic approach to diagnose and address some common causes of this problem, and indicates when it's time to call a professional HVAC technician – potentially, an HVAC apprentice just starting their career.
Step 1: Initial Assessment - Gather Information
Before diving in, take a moment to gather information. This will save time and help you identify the root cause more quickly.
- Identify the affected rooms: Note which rooms are consistently too hot or too cold. Are they on the same side of the house? Are they upstairs or downstairs?
- Check the thermostat setting: Is it set to a reasonable temperature? Is the thermostat in a location that accurately reflects the average temperature of the house? Direct sunlight or proximity to a heat source can skew readings.
- Listen to the HVAC system: Pay attention to any unusual noises coming from the furnace or air conditioner, such as banging, hissing, or rattling.
- Check the air filter: A clogged air filter is a very common culprit and can restrict airflow significantly.
Step 2: The Obvious Culprit: Air Filter Inspection and Replacement
A dirty air filter restricts airflow, forcing your HVAC system to work harder and less efficiently. This can lead to uneven heating and cooling throughout the house. It's the easiest and often most effective fix.
Diagnosis:
Locate your air filter: Usually, it's located in the furnace or air handler unit. Consult your owner's manual if you're unsure where to find it. Visually inspect the filter: If it's visibly dirty, clogged with dust, pet hair, and debris, it needs replacing.
DIY Fix:
- Turn off the HVAC system: This is a crucial safety step. Turn off the system at the thermostat and/or the breaker.
- Remove the old filter: Note the direction of airflow on the old filter (an arrow is usually printed on the side).
- Install a new filter: Make sure the arrow on the new filter points in the same direction as the airflow.
- Turn the HVAC system back on.
Important Note: Check your air filter monthly, especially during peak heating and cooling seasons. A clean filter improves efficiency and extends the life of your HVAC system.
Step 3: Examining Air Vents and Registers
Blocked or closed air vents can significantly impact airflow to specific rooms. Make sure vents are open and unobstructed.
Diagnosis:
- Check all vents in the affected rooms: Ensure they are fully open.
- Look for obstructions: Furniture, rugs, curtains, or even accumulated dust can block airflow.
- Check for closed vents: Sometimes, people close vents in rooms they don't use, but this can disrupt the overall system balance.
DIY Fix:
- Open all vents fully.
- Remove any obstructions blocking airflow.
- Clean vents with a vacuum cleaner attachment to remove dust and debris.
Caution: Avoid completely closing off vents in unoccupied rooms. It can create pressure imbalances and strain your HVAC system. A slight reduction in airflow is preferable.
Step 4: Ductwork Inspection (Visual Only)
Leaky ductwork is a common source of energy loss and uneven heating and cooling. While a thorough duct inspection often requires professional equipment, you can perform a basic visual check.
Diagnosis:
- Access accessible ductwork: This might be in the attic, basement, or crawl space.
- Look for obvious leaks: Check for gaps, tears, or disconnections in the ductwork. Pay particular attention to joints and seams.
- Feel for air leaks: On a cold day, you might feel cool air escaping from leaky ducts.
DIY Fix (Temporary):
Note: This is a temporary fix. Professional duct sealing is recommended for long-term solutions.
- Use duct tape: Seal small leaks and gaps with aluminum foil duct tape (not regular duct tape, which will deteriorate). Ensure the area is clean and dry before applying the tape. Wrap securely: Overlap the tape to create a strong seal.
Warning: Do not attempt to repair ductwork within the furnace or air handler unit. This requires professional expertise.
Step 5: Thermostat Calibration and Location
A poorly calibrated or misplaced thermostat can provide inaccurate temperature readings, leading to inconsistent heating and cooling.
Diagnosis:
- Check thermostat accuracy: Place a separate thermometer near the thermostat and compare the readings. If there's a significant discrepancy (more than a few degrees), the thermostat may be inaccurate.
- Assess thermostat location: Is it located in direct sunlight, near a heat source (e.g., a lamp or appliance), or in a drafty area?
- Check thermostat settings: Ensure the thermostat is set to the correct mode (heat or cool) and that the program settings are appropriate for your schedule.
DIY Fix:
- Recalibrate the thermostat: Consult your thermostat's owner's manual for instructions on calibration. Some thermostats have a calibration setting.
- Relocate the thermostat: If possible, move the thermostat to a more central location, away from direct sunlight, heat sources, and drafts.
- Adjust thermostat settings: Review the program settings and make sure they align with your desired temperature schedule.
- Replace Batteries: Low batteries can cause inaccurate readings or malfunction.
Important: If your thermostat is old or malfunctioning, consider replacing it with a newer, more efficient model. Programmable or smart thermostats can help you save energy and maintain consistent temperatures.
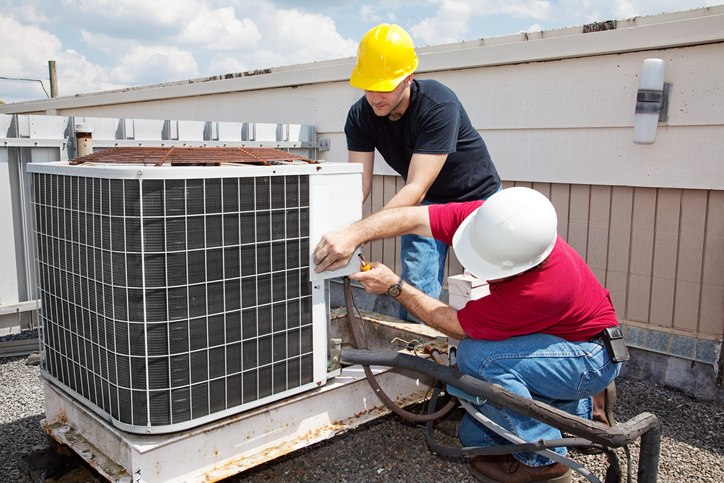
Step 6: Outdoor Unit Inspection (Air Conditioner)
For air conditioning issues, the outdoor unit plays a crucial role. Check for obstructions and cleanliness.
Diagnosis:
- Check for obstructions: Make sure the outdoor unit is free from debris such as leaves, branches, and grass clippings. These can block airflow and reduce efficiency.
- Inspect the fins: The fins around the unit should be straight and undamaged. Bent fins restrict airflow.
- Listen for unusual noises: Pay attention to any unusual sounds coming from the unit, such as buzzing, grinding, or rattling.
DIY Fix:
- Clear debris: Remove any debris surrounding the unit.
- Straighten fins: Use a fin comb (available at most hardware stores) to gently straighten bent fins.
- Clean the unit: Gently spray the unit with a garden hose to remove dirt and grime. Avoid using high pressure, which can damage the fins.
Safety First: Turn off the power to the outdoor unit at the breaker before cleaning or performing any maintenance. Wear gloves to protect your hands from sharp edges.
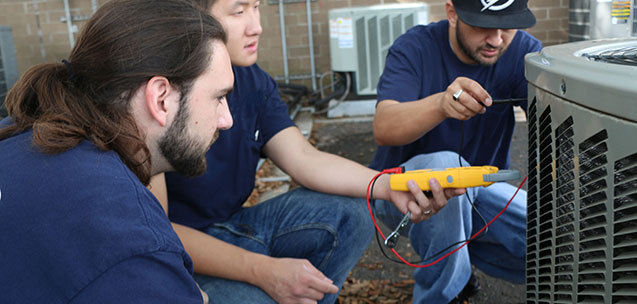
When to Call a Professional – Time for an HVAC Apprentice to Shine!
While many of these issues can be addressed with DIY solutions, some problems require professional expertise. It's time to call a qualified HVAC technician if you encounter any of the following:
- Refrigerant leaks: If you suspect a refrigerant leak (e.g., hissing sound, ice buildup on the refrigerant lines), do not attempt to fix it yourself. Refrigerant is harmful and requires specialized equipment to handle safely.
- Electrical issues: If you suspect any electrical problems with your HVAC system, such as sparking or burning smells, do not attempt to fix it yourself. Electrical work is dangerous and should only be performed by a qualified electrician or HVAC technician.
- Major component failures: If you suspect a major component failure, such as a compressor failure, fan motor failure, or heat exchanger crack, you'll need professional assistance. These repairs often require specialized tools and knowledge.
- Persistent problems: If you've tried the DIY solutions outlined above and are still experiencing uneven heating and cooling, it's time to call a professional. There may be underlying issues that require more advanced diagnostics and repairs.
- Ductwork issues beyond simple sealing: Extensive ductwork repairs, cleaning, or redesign require specialized knowledge and equipment.
- You are not comfortable performing the tasks: If you feel unsure or uncomfortable performing any of these tasks, it's always best to err on the side of caution and call a professional.
Calling a professional HVAC technician, even an apprentice under supervision, can save you time, money, and frustration in the long run. They can accurately diagnose the problem, perform the necessary repairs, and ensure that your HVAC system is operating safely and efficiently. Often, these jobs are entry-level, and an apprentice can bring fresh knowledge and techniques to the table, supervised by experienced technicians.
Preventive Maintenance: The Key to Long-Term Comfort and Efficiency
The best way to avoid HVAC problems is to perform regular preventive maintenance. Here are some tips:
- Change your air filter regularly: As mentioned earlier, a clean air filter is crucial for maintaining good airflow and efficiency.
- Schedule annual maintenance: Have your HVAC system professionally inspected and serviced at least once a year. This will help identify and address potential problems before they become major issues.
- Keep the outdoor unit clean: Clear debris and straighten fins regularly to ensure proper airflow.
- Monitor your energy bills: A sudden increase in your energy bills could indicate a problem with your HVAC system.
- Listen to your system: Pay attention to any unusual noises or smells coming from your HVAC system. These could be signs of a problem.
By following these tips, you can keep your HVAC system running smoothly and efficiently for years to come, ensuring consistent comfort and lower energy bills. And who knows, maybe the person fixing it will be a motivated HVAC apprentice gaining valuable experience!