Hydronic Electric Baseboard Heater Vs Standard

Imagine this: it's a frigid winter evening, and your electric baseboard heater, designed to keep your home cozy, is stubbornly refusing to cooperate. Whether you have the standard electric baseboard or the hydronic type, a cold heater can quickly turn your comfortable space into an icy predicament. This article will guide you through a systematic troubleshooting process to diagnose the problem and attempt some safe, DIY fixes. We’ll cover the differences between standard and hydronic electric baseboard heaters, and pinpoint when it's absolutely time to call in a professional.
Understanding the Basics: Standard vs. Hydronic Electric Baseboard Heaters
Before we dive into troubleshooting, let's clarify the difference between the two types of electric baseboard heaters:
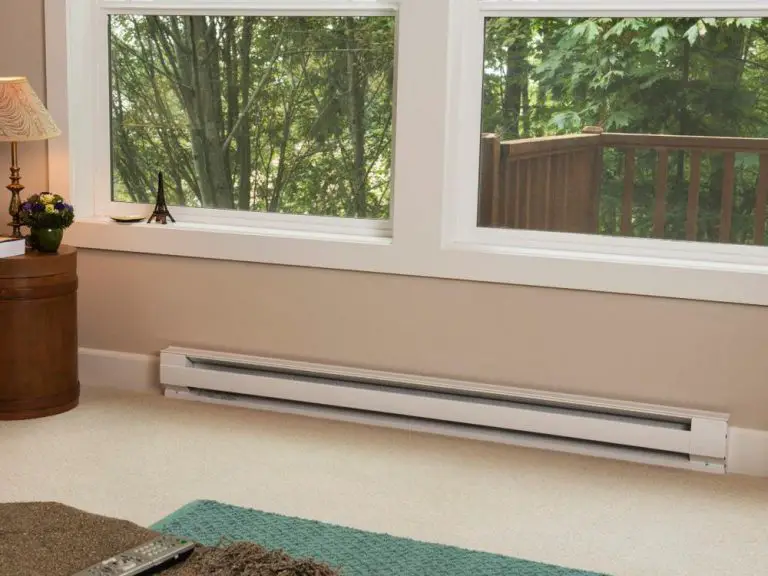
- Standard Electric Baseboard Heaters: These heaters contain a heating element (usually a metal fin) that heats up directly when electricity flows through it. Air passes over the element, gets heated, and rises, creating convection currents that warm the room. They are relatively simple in design and generally less expensive.
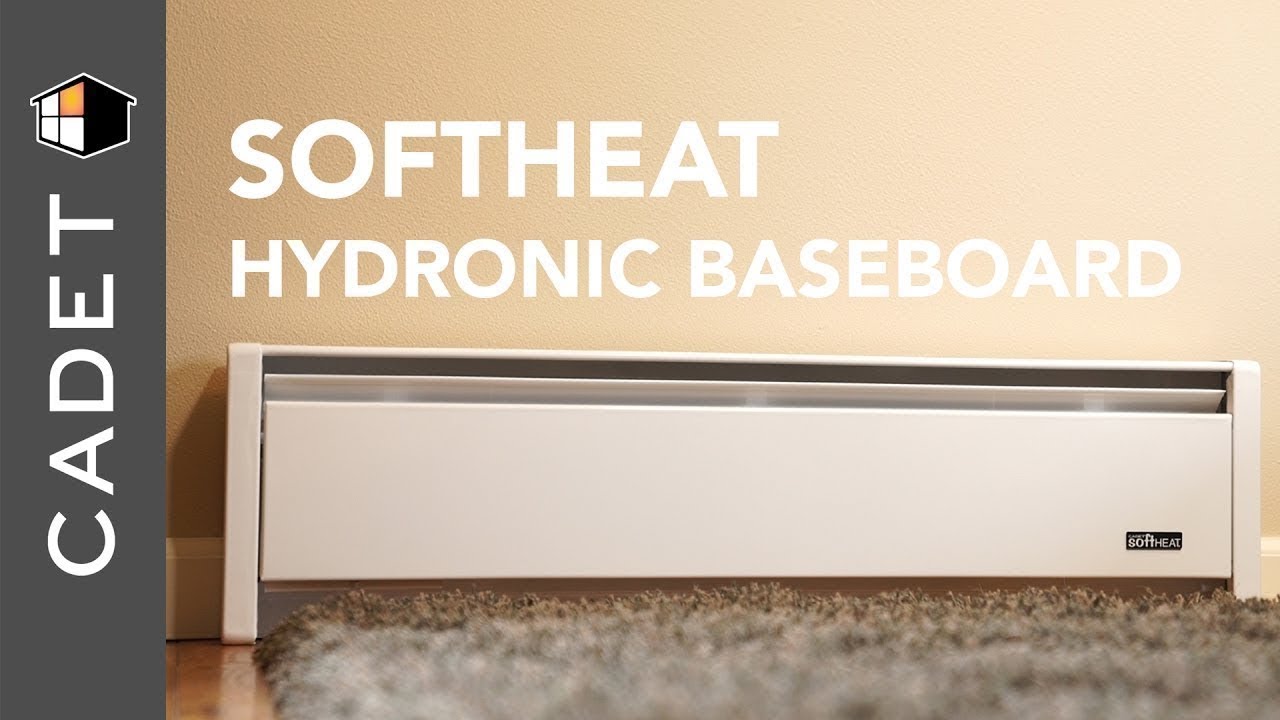
- Hydronic Electric Baseboard Heaters: These heaters contain a sealed tube filled with a fluid (typically oil or a water-glycol mixture). An electric element heats the fluid, which then circulates within the tube, radiating heat more evenly and retaining heat longer than standard models. They tend to provide a more consistent and comfortable heat and are often quieter.
Knowing which type you have is crucial because the troubleshooting steps will differ slightly.
Common Problem: The Heater Isn't Heating
This is the most common complaint. The heater is on, the thermostat is set high, but the unit remains cold or barely warm.
Step 1: Confirm Power Supply
This might seem obvious, but it's always the first thing to check. Is the heater receiving power?
- Check the Circuit Breaker: Locate the circuit breaker that controls the heater. It's usually labeled in your electrical panel. Make sure the breaker is in the "ON" position. If it's tripped (in the "OFF" or a middle position), reset it by switching it fully to the "OFF" position and then back to the "ON" position.
- Test Other Appliances on the Circuit: If the breaker trips immediately after resetting, there might be a problem with the circuit itself or another appliance on the same circuit. Try unplugging other devices and resetting the breaker again. If it still trips, the issue is likely with the wiring or the breaker, and you should call an electrician immediately.
Step 2: Check the Thermostat
The thermostat controls the heater. A faulty thermostat can prevent the heater from turning on.
- Ensure Proper Settings: Make sure the thermostat is set to a temperature *higher* than the current room temperature. Sometimes, the simplest solution is the correct one.
- Test the Thermostat: If you have other electric baseboard heaters, try swapping the thermostat with one from a working heater. If the problem follows the thermostat, the thermostat is the culprit. Replacing a thermostat is a relatively simple DIY task. Turn off the breaker before working on any electrical components!
- Inspect for Damage: Look for any visible damage to the thermostat, such as cracks, loose wires, or corrosion. If you find any damage, replace the thermostat.
Step 3: Inspect the Heater (Power OFF!)
Safety is paramount. Always turn off the circuit breaker before inspecting the heater itself. This prevents electrical shock.
- Visual Inspection: Look for any obvious signs of damage, such as burned wires, melted plastic, or corrosion. Pay close attention to the wiring connections at the heater and the thermostat.
- Clean the Heater: Dust and debris can accumulate inside the heater, reducing its efficiency and potentially causing overheating. Use a vacuum cleaner with a brush attachment to carefully clean the fins and the interior of the heater. Do not use water or any liquid cleaners!
Step 4: Specific Checks for Standard Electric Baseboard Heaters
For standard electric baseboard heaters, focus on the heating element.
- Heating Element Inspection: While the breaker is off, visually inspect the heating element for any breaks or damage. If the element is visibly broken, the entire heater unit needs to be replaced. There's no safe or practical way to repair a broken heating element.
- Continuity Test (Advanced - Requires a Multimeter): If the heating element looks intact but the heater still doesn't work, you can use a multimeter to test for continuity. Disconnect the wires from the heating element and set your multimeter to the continuity setting (usually indicated by a diode symbol or a sound wave). Touch the probes of the multimeter to the terminals of the heating element. If the multimeter shows continuity (a beep or a low resistance reading), the element is likely good. If it shows no continuity (an open circuit), the element is broken. If you're not comfortable using a multimeter, skip this step and call a professional.
Step 5: Specific Checks for Hydronic Electric Baseboard Heaters
Hydronic heaters have a sealed fluid system, so different issues can arise.
- Listen for Gurgling Noises: If you hear gurgling or bubbling noises coming from the heater, it could indicate air trapped in the fluid-filled tube. This can reduce the heater's efficiency. Some hydronic heaters have a bleed valve that allows you to release trapped air. Consult your heater's manual for instructions on how to bleed the system. If you don't have a manual or are unsure, don't attempt to bleed the system yourself.
- Check for Leaks: Inspect the heater for any signs of leaks, such as fluid stains on the wall or floor. If you find a leak, do not attempt to repair it yourself. Hydronic heaters contain specialized fluids, and repairing a leak requires specialized equipment and knowledge. Call a qualified HVAC technician immediately.
- Fluid Level (If Applicable): Some older hydronic heaters might have a fill valve where you can add more fluid. However, modern sealed hydronic heaters should never require refilling. If you have an older model, consult the manual for instructions on checking and refilling the fluid. Never use tap water to refill the system!
When to Call a Professional
While many issues with electric baseboard heaters can be resolved with simple DIY troubleshooting, there are certain situations where you should always call a qualified electrician or HVAC technician:
- Electrical Issues: If you suspect any electrical problems, such as tripped breakers that won't reset, burned wires, or loose connections, do not attempt to fix them yourself. Electrical work is dangerous and should only be performed by a licensed electrician.
- Hydronic Heater Leaks: As mentioned earlier, never attempt to repair a leak in a hydronic heater yourself. The fluid can be hazardous, and repairing the leak requires specialized equipment.
- Complex Repairs: If you've gone through all the troubleshooting steps and still can't figure out the problem, or if the problem requires disassembling the heater beyond basic cleaning, it's best to call a professional.
- Unfamiliarity: If you are uncomfortable working with electricity or unfamiliar with the internal components of your heater, don't hesitate to call a professional. It's always better to be safe than sorry.
Preventive Maintenance
Preventive maintenance can help extend the life of your electric baseboard heaters and prevent future problems.
- Regular Cleaning: Clean the heaters regularly to remove dust and debris.
- Inspect Wiring: Periodically inspect the wiring connections for any signs of looseness or corrosion.
- Thermostat Calibration: Check the accuracy of your thermostats and recalibrate them if necessary.
- Professional Inspection: Consider having your electric baseboard heaters inspected by a professional every few years, especially if you have older units.
Conclusion
Troubleshooting electric baseboard heaters, whether standard or hydronic, doesn't have to be a daunting task. By following these steps and understanding the key differences between the two types, you can diagnose common problems and attempt some safe, DIY fixes. Remember to always prioritize safety and never hesitate to call a professional when dealing with electrical or hydronic issues that are beyond your comfort level. With a little knowledge and effort, you can keep your home warm and comfortable all winter long.
:max_bytes(150000):strip_icc()/convection-vs-hydronic-electric-baseboard-heaters-1821911_FINAL-00dcb8b9d9a6478f9308cd0f392ae097.png)