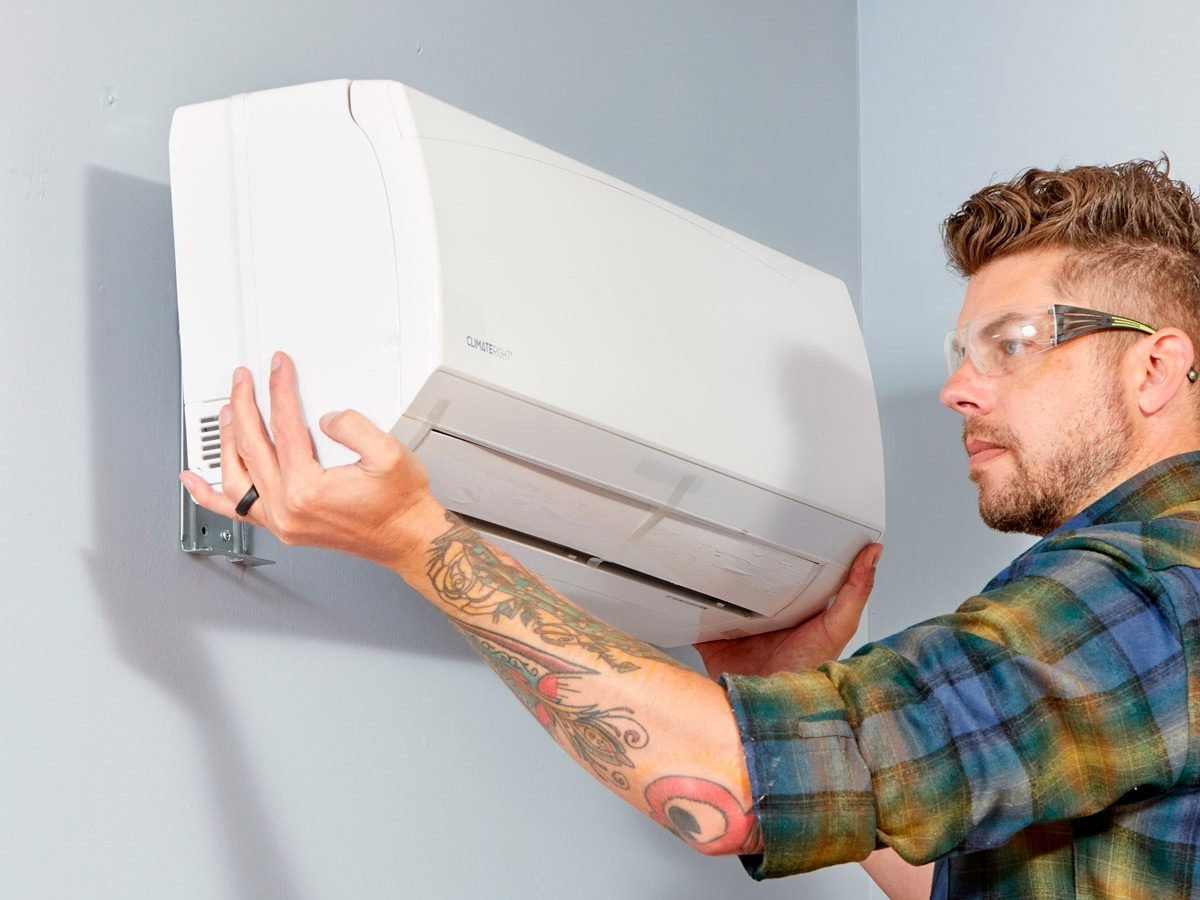
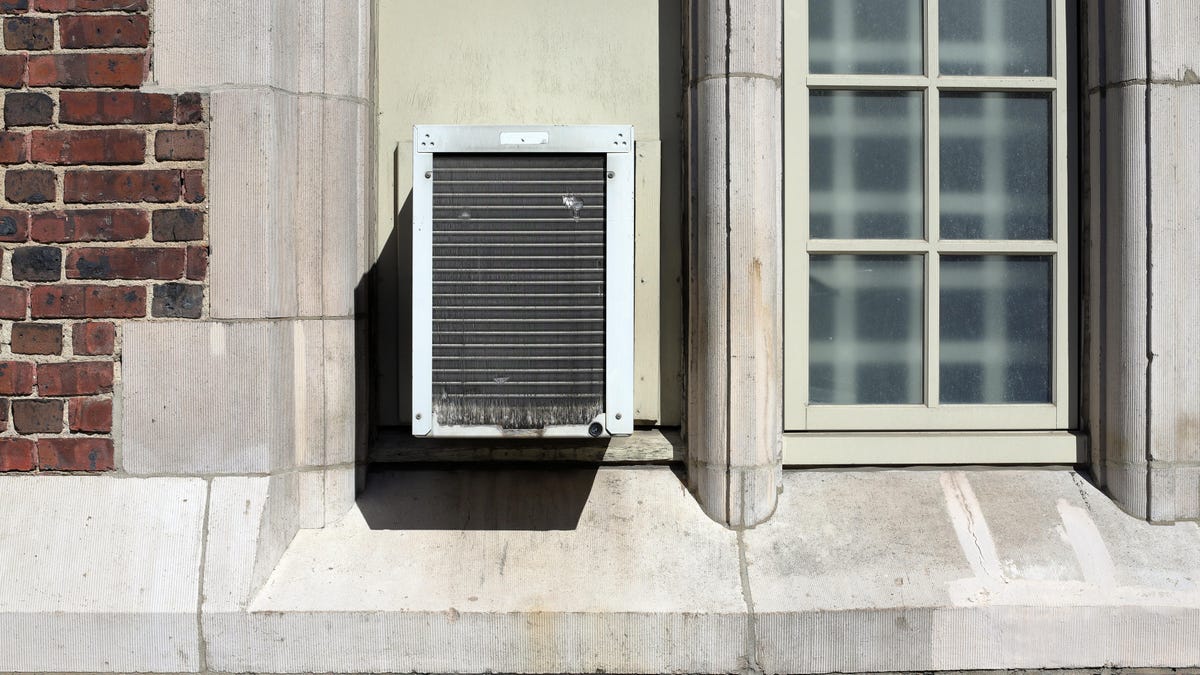
In The Wall Air Conditioner Installation
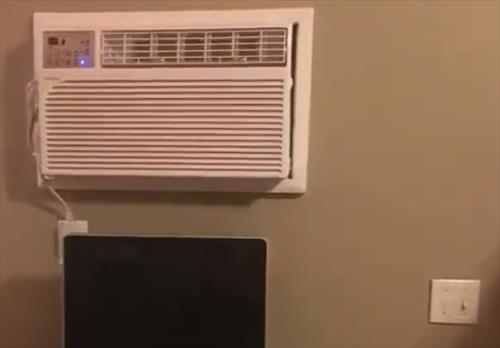
Wall air conditioners are a great way to cool down specific rooms in your home without the hassle of central air conditioning. However, like any appliance, they can sometimes malfunction. A common complaint is that the air conditioner isn't cooling as effectively as it should, or not cooling at all. Before calling a technician, there are several troubleshooting steps you can take to potentially resolve the issue yourself.
Troubleshooting Your In-The-Wall Air Conditioner
This guide provides a step-by-step approach to diagnosing and potentially fixing common problems with your in-the-wall air conditioner. Remember to prioritize safety. If you are uncomfortable with any of these steps, or if the problem involves electrical or complex mechanical issues, contact a qualified HVAC technician.
Step 1: Safety First – Disconnect the Power
Before you begin any troubleshooting, it is absolutely crucial to disconnect the power to your air conditioner. This prevents the risk of electrical shock.
- Locate the circuit breaker that controls the air conditioner. It's usually labeled in your electrical panel.
- Turn the breaker OFF.
- As an additional safety measure, you can unplug the air conditioner from the wall outlet, if accessible.
Step 2: Check the Power Supply and Outlet
Even if the breaker is on, there might be a problem with the power supply or the outlet itself.
- Visually inspect the power cord for any damage, such as cuts, frays, or exposed wires. Do not use the air conditioner if the cord is damaged; it needs to be replaced by a qualified electrician.
- Test the outlet using a different appliance that you know works. Plug the working appliance into the outlet where the air conditioner was plugged in. If the appliance doesn't work, the outlet is likely faulty.
- If the outlet is faulty, do not attempt to repair it yourself. Contact a qualified electrician to inspect and repair the outlet.
- If the outlet works with another appliance, proceed to the next step.
- Check the breaker again, make sure it isn't tripped. If the breaker is tripped, reset it.
Step 3: Inspect the Air Filter
A dirty air filter is one of the most common causes of poor cooling performance. A clogged filter restricts airflow, making the air conditioner work harder and less efficiently. It can also lead to the unit overheating.
- Locate the air filter. It's usually behind a removable front panel on the air conditioner. Refer to your owner's manual if you're unsure where to find it.
- Remove the air filter.
- Inspect the filter for dust, dirt, and debris. If it's visibly dirty, it needs to be cleaned or replaced.
- Clean the filter (if it's a washable type):
- Vacuum the filter to remove loose dirt.
- Rinse the filter with lukewarm water. You can use a mild detergent if necessary.
- Allow the filter to dry completely before reinstalling it.
- Replace the filter (if it's a disposable type):
- Purchase a new filter of the correct size and type. Refer to your owner's manual for the correct specifications.
- Install the new filter.
Step 4: Check the Thermostat Settings
Sometimes, the problem is simply a matter of incorrect settings. Double-check that the thermostat is set correctly.
- Ensure the air conditioner is set to "Cool" mode. Many air conditioners have multiple modes, such as "Fan," "Dry," and "Cool."
- Set the temperature to a lower setting than the current room temperature. Give it some time (15-30 minutes) to see if the air conditioner starts cooling.
- Check the fan speed. A higher fan speed will circulate more air and improve cooling.
- If your air conditioner has a "Timer" or "Sleep" mode, make sure it's not activated. These modes can sometimes interfere with the cooling process.
Step 5: Examine the Outdoor Vents
In-the-wall air conditioners have vents on the outside of the building that allow heat to be expelled. If these vents are blocked, the air conditioner won't be able to cool properly.
- Go outside and inspect the vents. Make sure they are free from obstructions such as plants, debris, or snow.
- Remove any obstructions that you find.
- Ensure that the area around the vents is clear, allowing for proper airflow.
Step 6: Clean the Condenser Coils (If Accessible and Safe)
The condenser coils are located on the outdoor portion of the air conditioner. They release heat into the air. If they are dirty, they won't be able to dissipate heat effectively, reducing the cooling capacity. Exercise caution when cleaning the coils, as they can be sharp.
Important Safety Note: This step requires that you have easy and safe access to the outdoor portion of your in-wall AC unit. Do not attempt this step if it involves working at heights or in precarious positions. Always disconnect the power before attempting to clean the coils.
- Locate the condenser coils. They are usually behind a protective grill on the outdoor portion of the air conditioner.
- Use a soft brush or a vacuum cleaner with a brush attachment to gently remove dirt and debris from the coils. Be careful not to bend or damage the fins.
- You can also use a fin comb to straighten any bent fins. This will improve airflow through the coils.
- Special coil cleaning sprays are available at most hardware stores. Follow the instructions on the spray can.
- Ensure the coils are completely dry before reconnecting the power.
Step 7: Check the Fan Motor
The fan motor is responsible for circulating air through the air conditioner. If the fan motor is not working properly, the air conditioner won't cool effectively.
- Turn the air conditioner on and listen carefully to the fan. Is it running smoothly, or is it making unusual noises?
- If the fan is not running at all, or if it's running very slowly, the fan motor may be faulty.
- If you suspect the fan motor is faulty, it's best to contact a qualified HVAC technician. Replacing a fan motor can be complex and may require specialized tools and knowledge.
Step 8: Check for Ice Buildup
Ice buildup on the evaporator coils (the coils inside the unit) can indicate a problem with airflow, refrigerant levels, or other issues.
- Turn the air conditioner off and let it sit for several hours to allow the ice to melt.
- After the ice has melted, check the air filter. A dirty air filter is a common cause of ice buildup.
- If the air filter is clean, there may be a problem with the refrigerant levels. This requires professional attention.
- If the problem persists, contact a qualified HVAC technician to diagnose and repair the issue.
When to Call a Professional
While many air conditioner problems can be resolved with simple troubleshooting steps, some issues require the expertise of a qualified HVAC technician. Call a professional if:
- You suspect a refrigerant leak. Refrigerant leaks are harmful to the environment and can also damage your air conditioner.
- The air conditioner is making unusual noises, such as loud banging, grinding, or hissing sounds.
- The air conditioner is not turning on at all, even after checking the power supply and outlet.
- You see ice buildup on the evaporator coils even after cleaning the air filter.
- You are uncomfortable working with electrical components or complex mechanical systems.
- You suspect a problem with the compressor. The compressor is the heart of the air conditioner, and repairs are best left to professionals.
- Your air conditioner is old and experiencing frequent problems. It may be time to consider replacing it with a new, more energy-efficient model.
- The problem involves any gas lines, do not attempt repairs, call a professional immediately.
Preventative Maintenance
Regular maintenance can help prevent many air conditioner problems and extend the life of your unit.
- Clean or replace the air filter regularly (at least every month during periods of heavy use).
- Clean the condenser coils at least once a year.
- Inspect the vents for obstructions and remove any debris.
- Consider having your air conditioner professionally serviced every year or two. A technician can inspect the unit for potential problems and perform necessary maintenance.
By following these troubleshooting steps and preventative maintenance tips, you can keep your in-the-wall air conditioner running efficiently and effectively for years to come.