In The Wall Heat And Air Conditioning Units

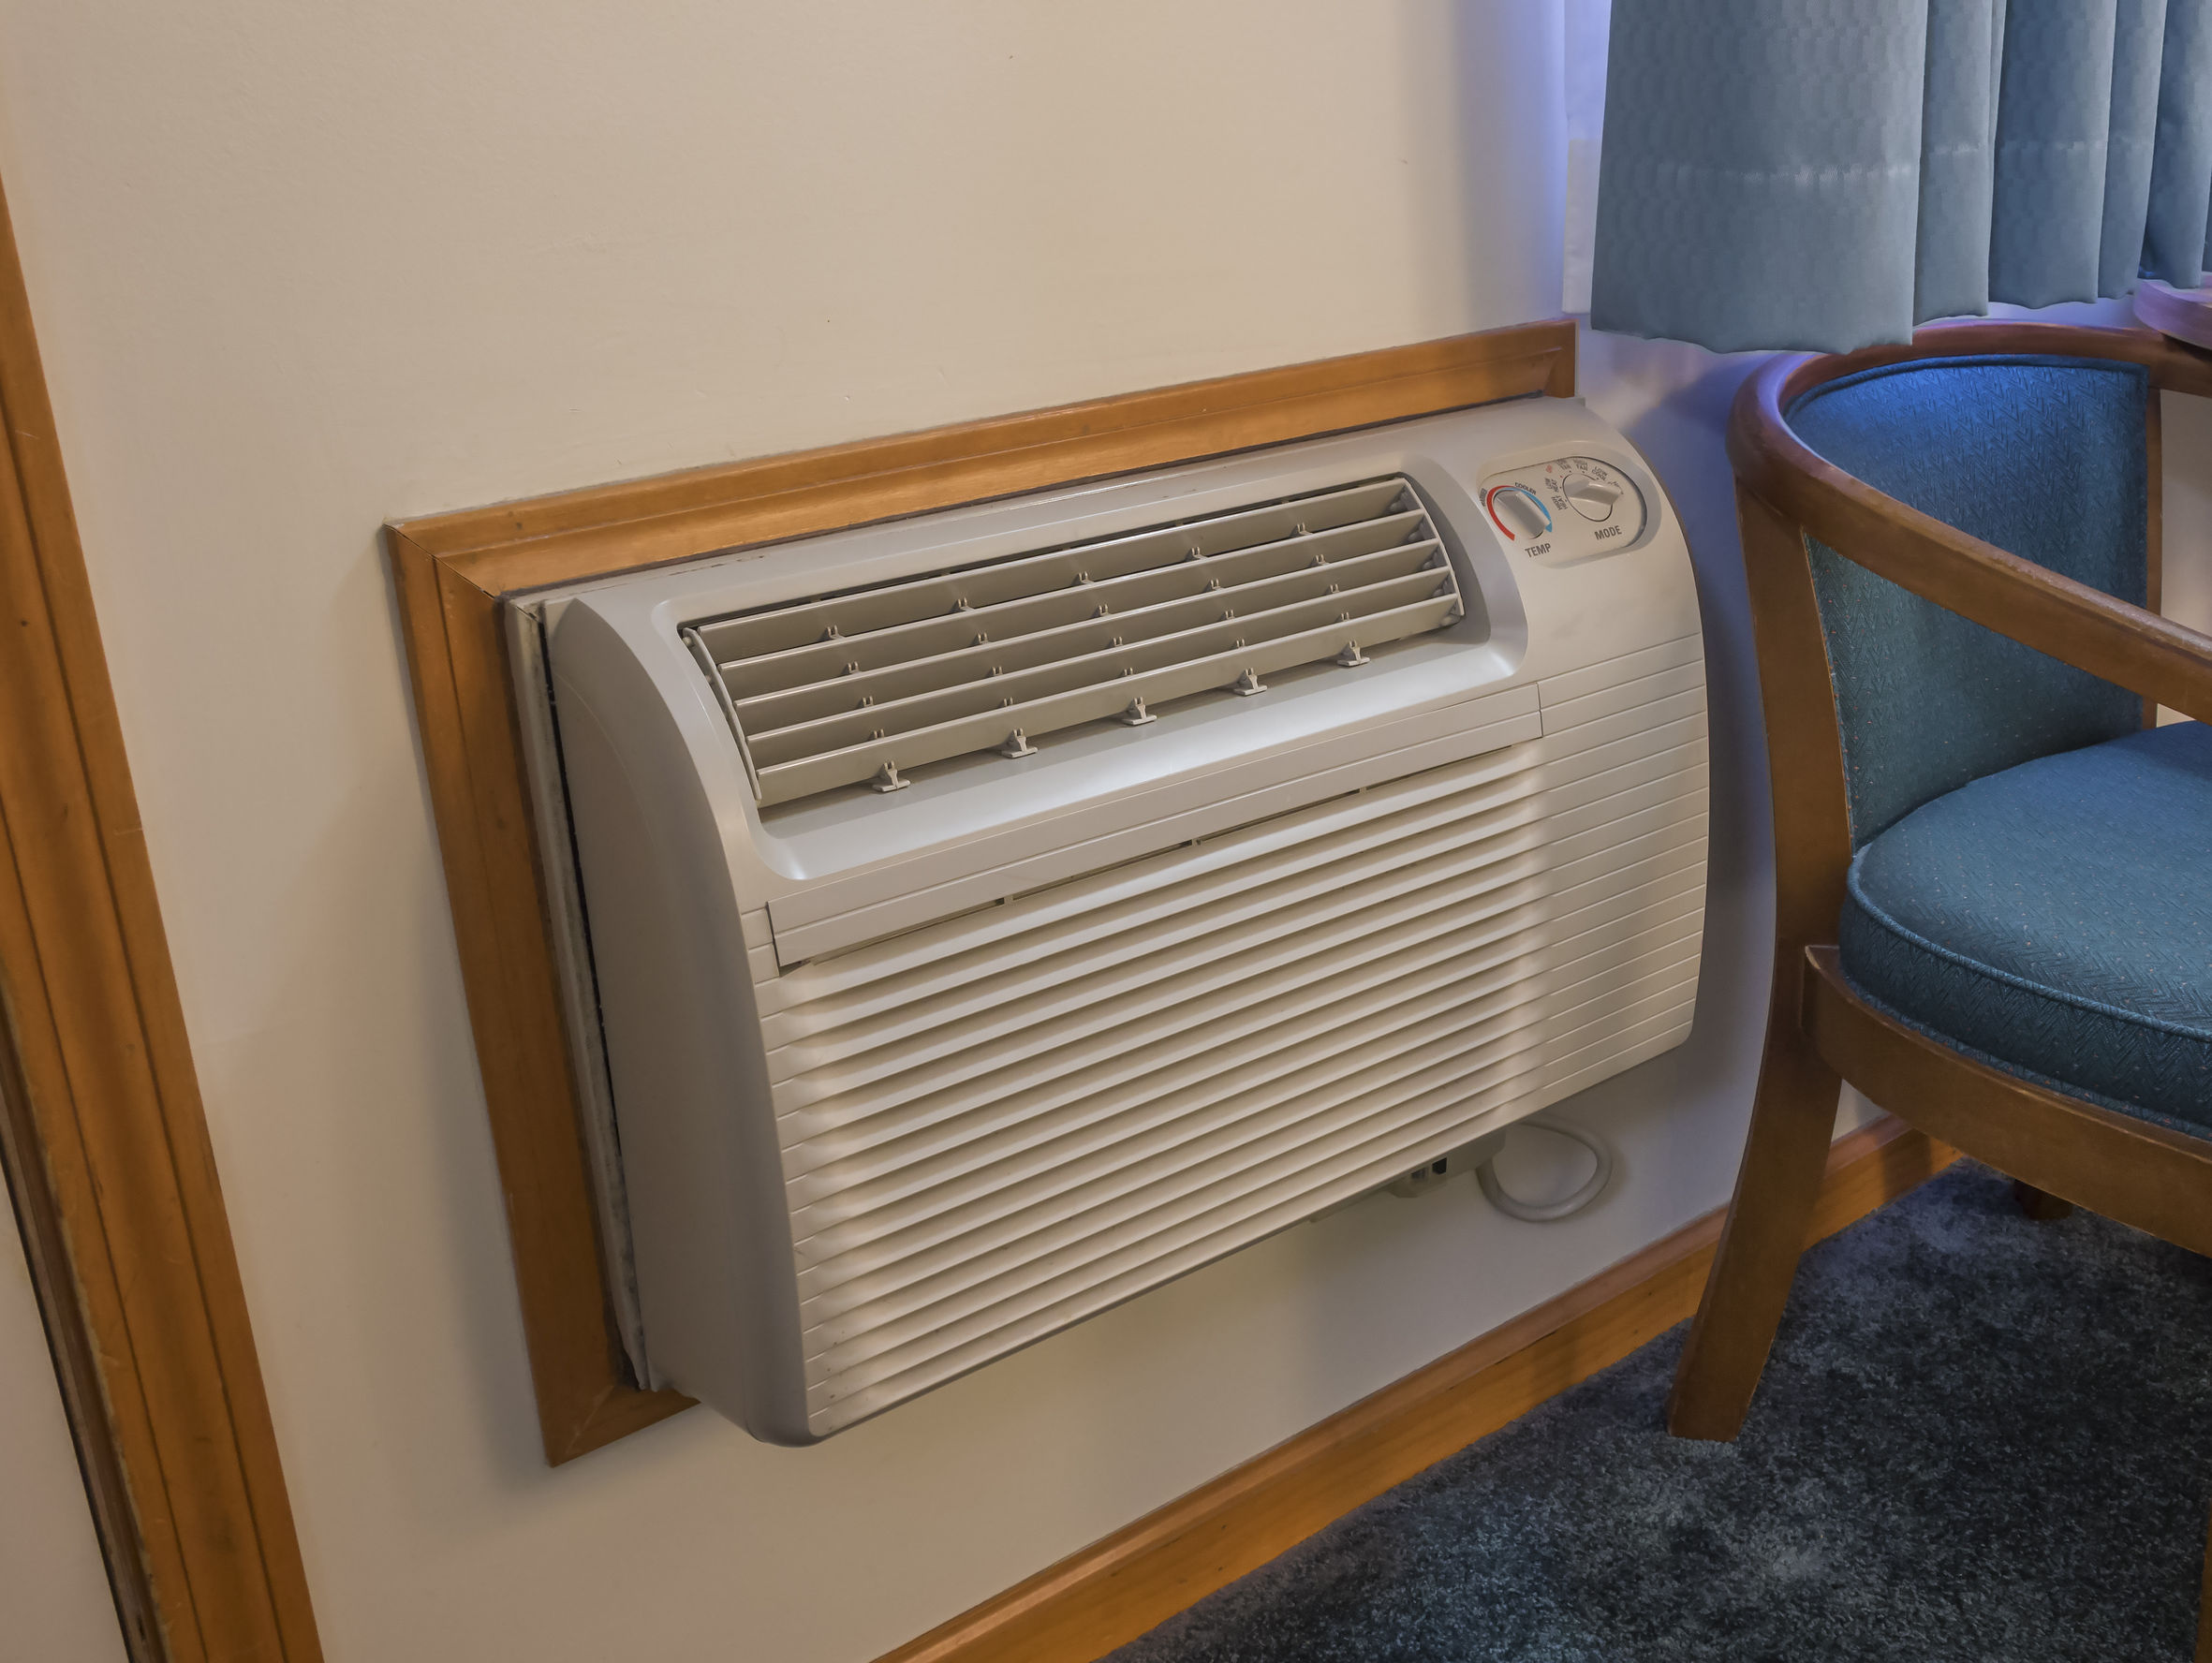
In-the-wall heat and air conditioning units offer a convenient climate control solution, particularly in apartments or older homes. However, like any appliance, they can experience problems. One of the most frequent complaints homeowners have is weak or non-existent cooling during the summer months. Before calling a professional, you can try some basic troubleshooting steps to potentially resolve the issue yourself. This guide will walk you through a methodical approach to diagnose and address common problems.
Step 1: Preliminary Checks (No Tools Required)
Start with the simplest checks first – these require no tools and can quickly identify obvious issues.
1.1. Power Supply: Is the Unit On?
This might seem obvious, but it's the first thing to check. Make sure the unit is plugged in securely and that the outlet is working. Test the outlet by plugging in another device, like a lamp. If the outlet isn't working, check the circuit breaker in your electrical panel. If the breaker has tripped, reset it. If it trips again immediately, there might be a more serious electrical problem requiring an electrician.
1.2. Thermostat Settings: Is it Set Correctly?
Double-check that your thermostat is set to 'Cool' mode and that the target temperature is lower than the current room temperature. Sometimes, a simple misconfiguration is the culprit. Also, verify the fan setting. It should be set to 'Auto' for the most efficient operation. If set to 'On', the fan will run constantly, which, while circulating air, doesn't guarantee cooling if the unit isn't actively cooling.
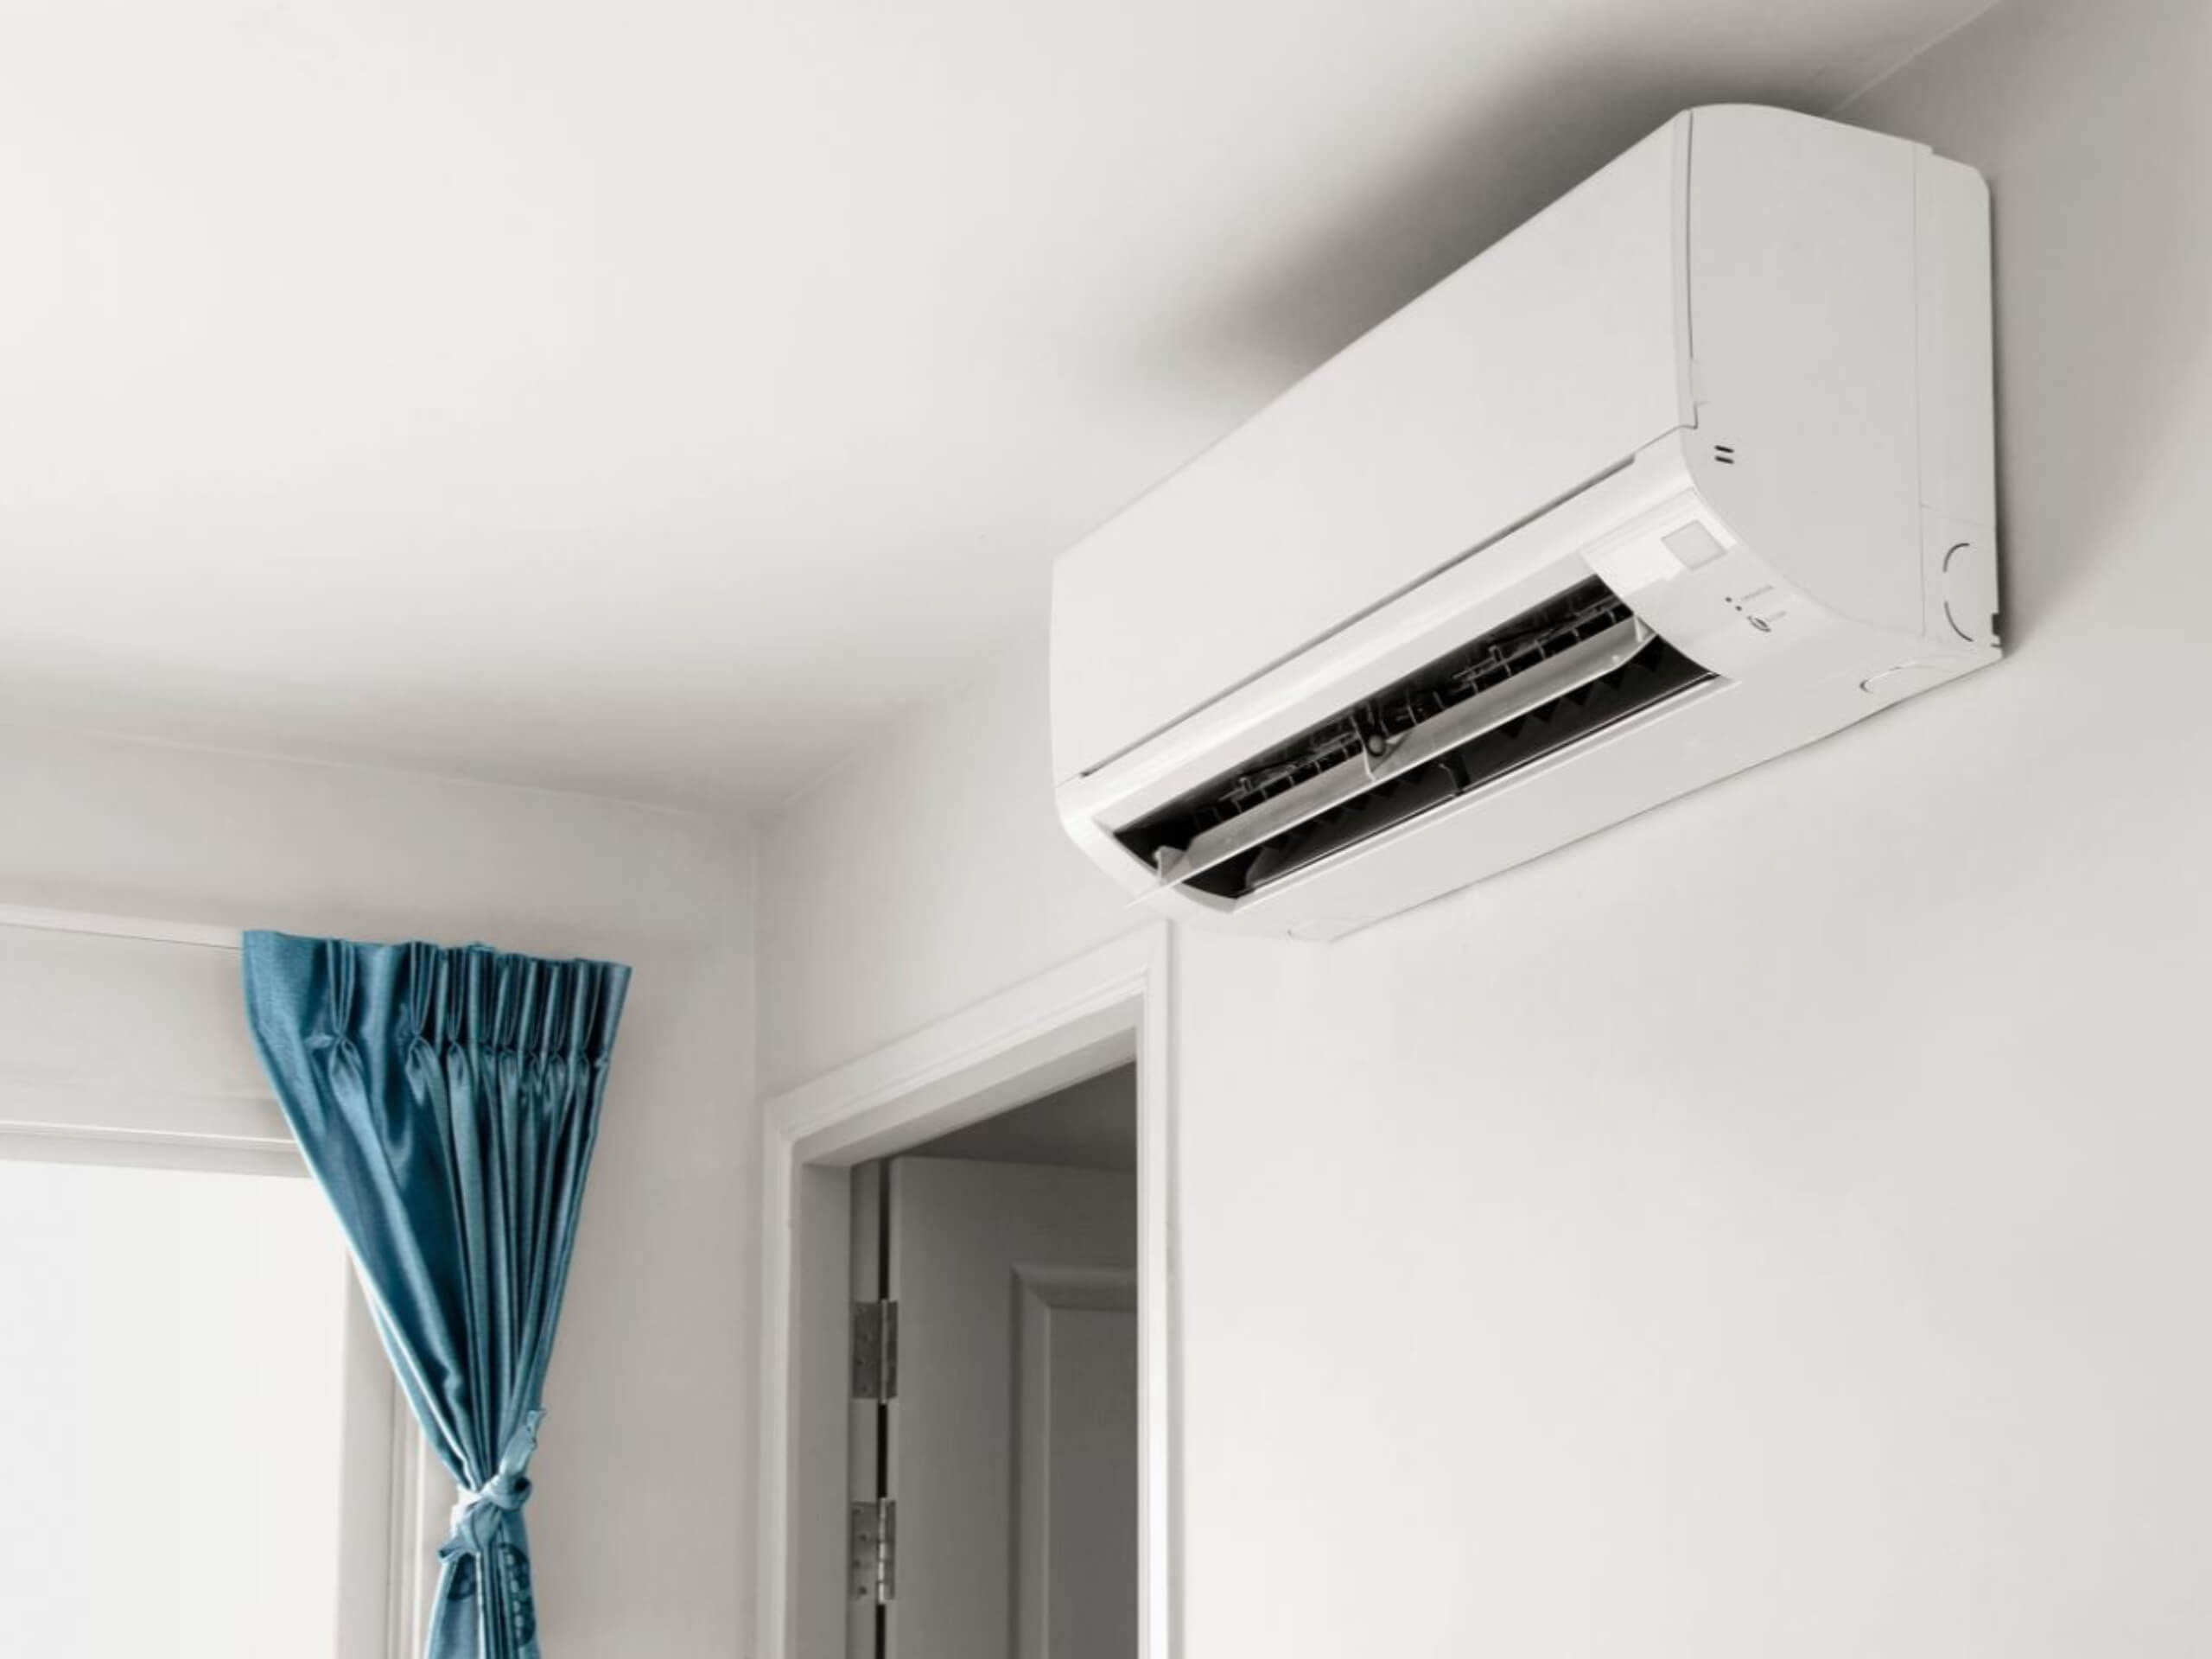
1.3. Airflow Obstructions: Is Anything Blocking the Unit?
Ensure that the front of the unit is free from obstructions like curtains, furniture, or other objects that might be blocking the airflow. These obstructions can significantly reduce the unit's cooling efficiency. Similarly, check the outside vent (if applicable) for obstructions like leaves, debris, or overgrown plants. Clear any blockage to ensure proper airflow.
1.4. Air Filter: Is It Clean?
A dirty air filter is the most common cause of weak cooling. A clogged filter restricts airflow, forcing the unit to work harder and less efficiently. Most in-the-wall units have a removable filter located behind a front panel. Remove the filter and inspect it. If it's visibly dirty (dusty, lint-covered), it needs to be cleaned or replaced. Some filters are washable; if yours is, wash it with mild soap and water, let it dry completely, and then reinstall it. Otherwise, replace it with a new filter of the correct size. Replacing your air filter regularly (every 1-3 months, or more frequently in dusty environments) is crucial for maintaining the unit's performance and efficiency.
Step 2: Visual Inspection (Minimal Tools Required)
These checks require minimal tools and involve a closer look at the unit.
2.1. Condensation and Ice Buildup: Is There Ice on the Coils?
Carefully inspect the cooling coils (usually visible when the front panel and filter are removed). Look for signs of ice buildup. Ice buildup indicates a problem, often caused by restricted airflow (see dirty filter above) or low refrigerant levels (a more serious issue requiring professional attention). If you find ice, turn the unit off and allow the ice to melt completely. Once melted, clean or replace the air filter and try running the unit again. If the ice returns, the problem likely isn't the filter and requires a professional HVAC technician.
2.2. Condenser Fan: Is the Fan Spinning?
Observe the condenser fan (the fan that blows air across the coils, typically located at the back of the unit or outside). Make sure the fan is spinning freely when the unit is turned on. If the fan isn't spinning or is spinning very slowly, there might be a problem with the fan motor or an obstruction preventing it from turning. Do not attempt to manually spin the fan while the unit is powered on. Turn the unit off and carefully inspect the fan blades for obstructions. Remove any debris. If the fan still doesn't spin after removing obstructions, the fan motor may be faulty and requires professional replacement.
2.3. Coil Condition: Are the Coils Clean?
Over time, the cooling coils can accumulate dust and debris, reducing their efficiency. If the coils are visibly dirty, you can try to clean them carefully. Unplug the unit before attempting to clean the coils. Use a soft brush or a vacuum cleaner with a brush attachment to gently remove dust and debris from the coils. Be careful not to damage the delicate fins. Coil cleaner sprays designed for HVAC units can also be used, but follow the manufacturer's instructions carefully. Avoid using harsh chemicals or abrasive cleaners.
Step 3: Basic Troubleshooting (Basic Tools May Be Required)
These steps might require a few basic tools like a screwdriver or multimeter. If you are not comfortable using these tools, skip to the next section and consult a professional.
3.1. Capacitor Check (Multimeter Required - Proceed with Caution!)
This step involves working with electrical components and should only be attempted if you have experience with electrical troubleshooting and understand the risks involved. If you are unsure, consult a qualified HVAC technician.
The capacitor is a small electrical component that helps start the fan motor and compressor. A faulty capacitor can prevent the unit from cooling properly. Unplug the unit and locate the capacitor (typically a cylindrical component inside the control panel). Use a multimeter to test the capacitor's capacitance. Compare the measured value to the capacitor's rated value (usually printed on the capacitor). If the measured value is significantly lower than the rated value, the capacitor is likely faulty and needs to be replaced. Always discharge the capacitor before handling it to avoid electric shock. Replacing a capacitor is a relatively simple repair, but it requires knowledge of electrical safety and the correct replacement part. When in doubt, hire a professional.
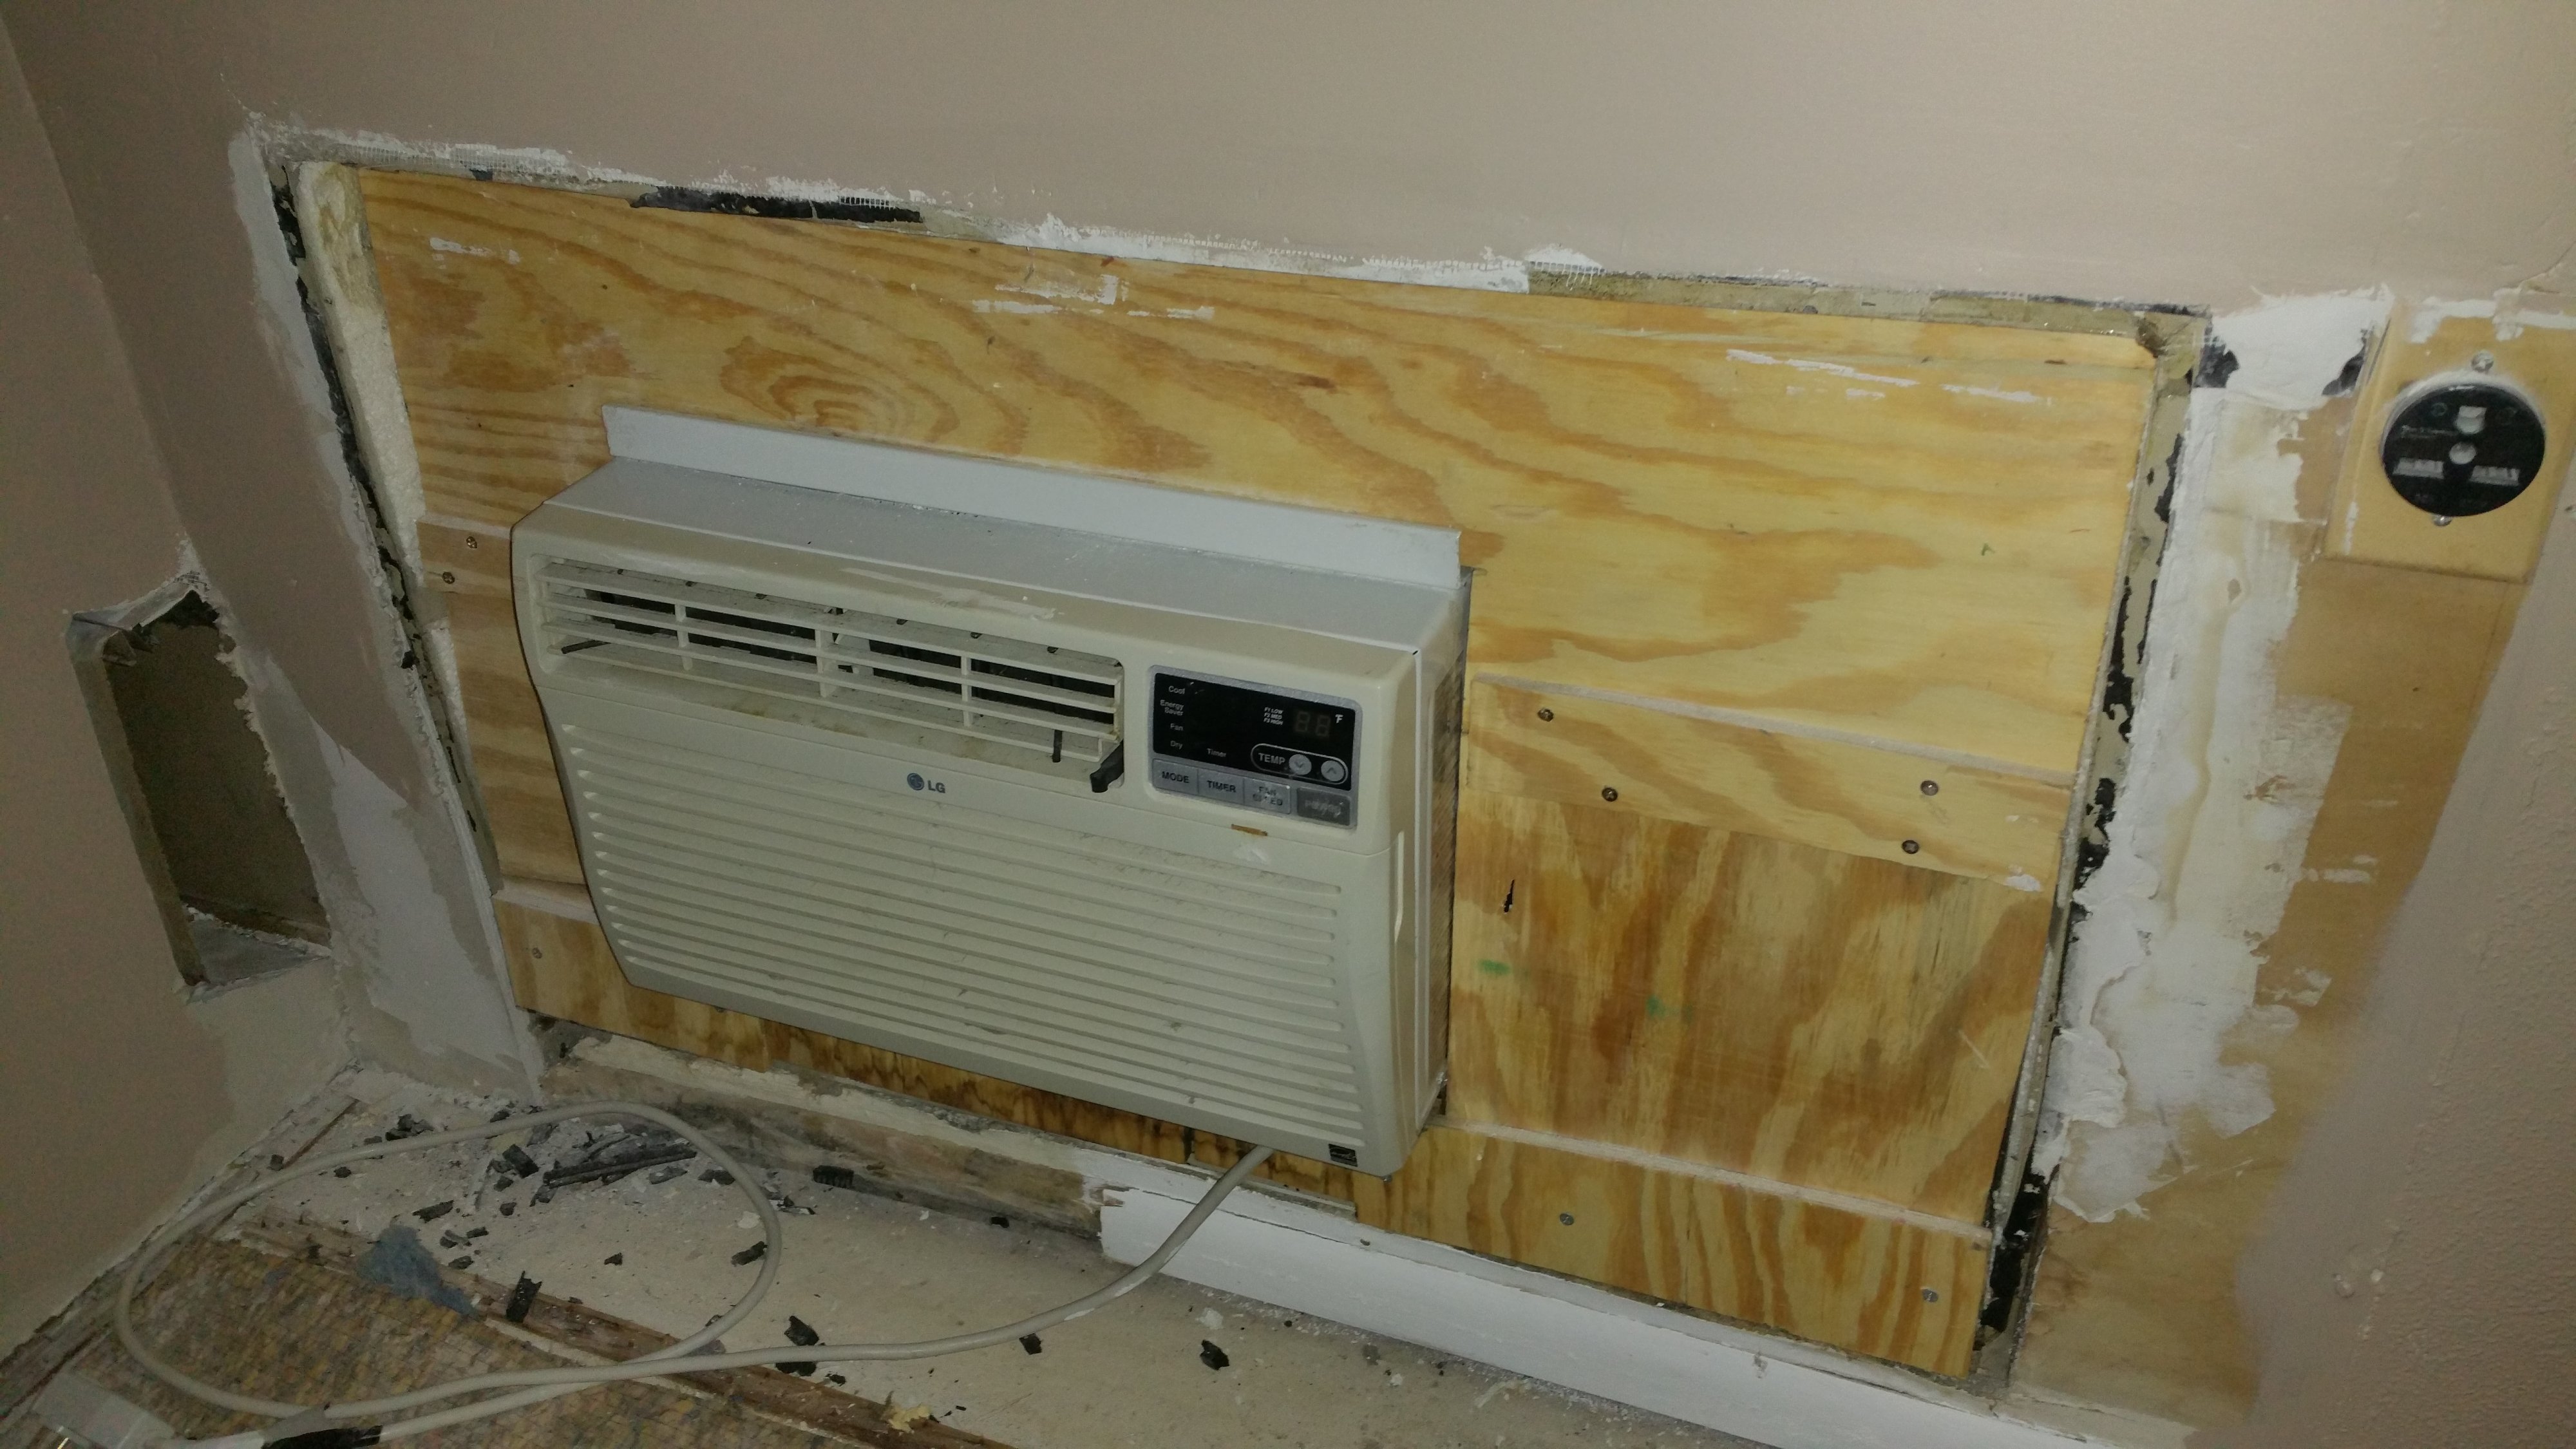
3.2. Wiring Connections: Are There Loose Connections?
Unplug the unit and carefully inspect the wiring connections inside the control panel. Look for loose, corroded, or burned wires. Tighten any loose connections with a screwdriver. If you find corroded or burned wires, they may need to be replaced. Again, working with electrical wiring can be dangerous; if you are uncomfortable, consult a qualified electrician or HVAC technician.
When to Call a Professional HVAC Technician
While many minor issues can be resolved with these DIY troubleshooting steps, some problems require professional attention. Call a qualified HVAC technician if:
- Refrigerant Leaks: If you suspect a refrigerant leak (e.g., hissing sound, oily residue near connections), do not attempt to repair it yourself. Refrigerant leaks require specialized equipment and knowledge to repair properly and safely.
- Compressor Problems: The compressor is the heart of the cooling system. If you suspect a compressor problem (e.g., loud noises, unit not cooling at all), it's best to leave the diagnosis and repair to a professional. Compressor repairs are often complex and expensive.
- Electrical Issues: If you are uncomfortable working with electrical components or if you suspect a serious electrical problem (e.g., frequent breaker trips, burning smell), call a qualified electrician or HVAC technician immediately.
- Icing Continues After Filter Change: If the unit continues to ice up even after cleaning or replacing the air filter, it signals a more serious issue like low refrigerant or a problem with the compressor.
- You're Unsure: If you've tried these troubleshooting steps and the unit still isn't cooling properly, or if you are unsure about any of the steps, it's always best to consult a professional.
Preventive Maintenance: Regular preventive maintenance can help prevent many of these problems. Schedule an annual checkup with a qualified HVAC technician to inspect and clean the unit, check refrigerant levels, and identify potential problems before they become major issues. Regular filter changes are also crucial for maintaining optimal performance and efficiency.
By following these troubleshooting steps and knowing when to call a professional, you can keep your in-the-wall heat and air conditioning unit running efficiently and effectively, ensuring a comfortable indoor environment throughout the year.