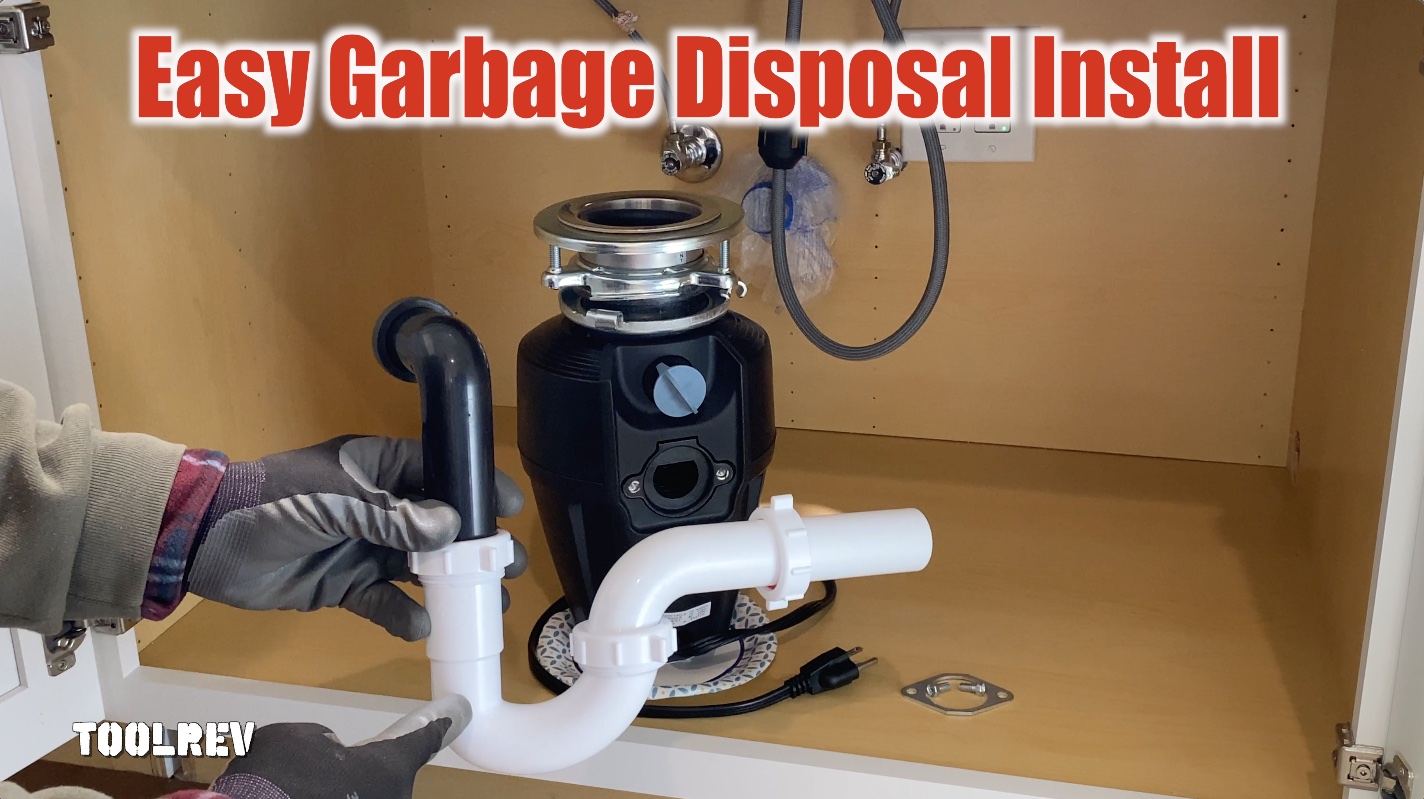
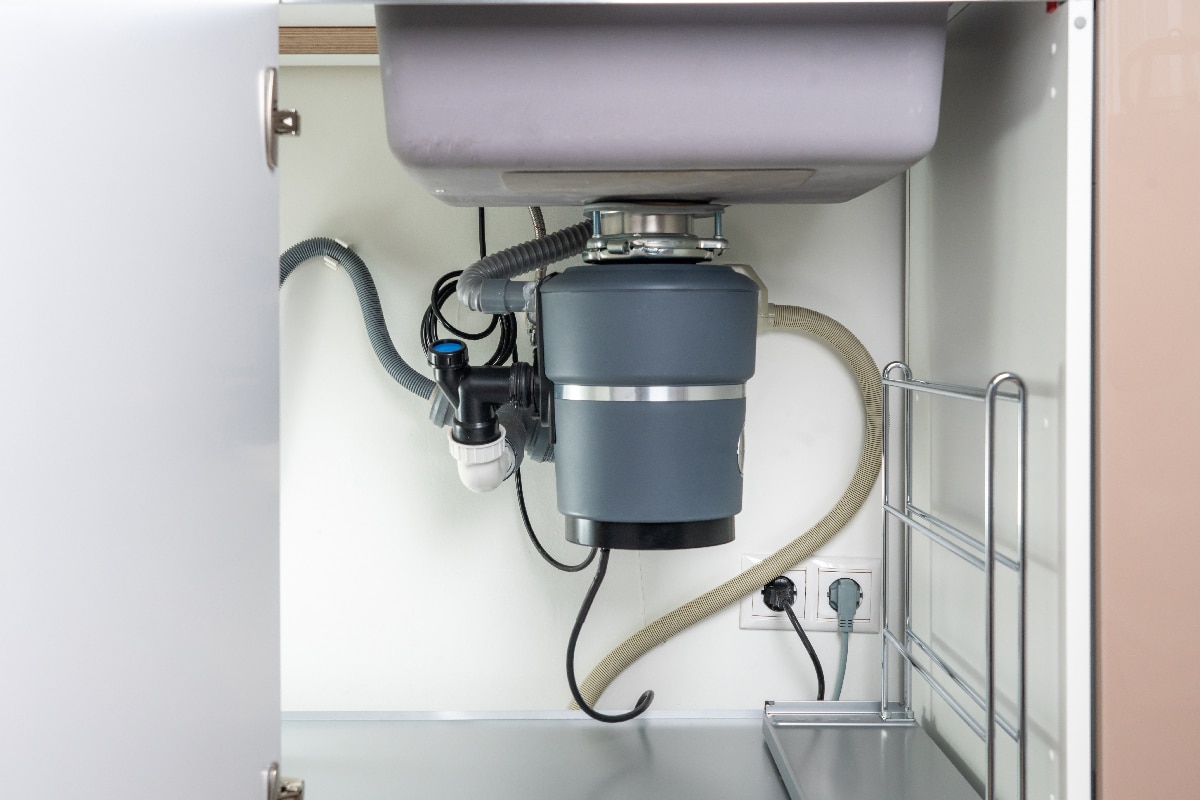
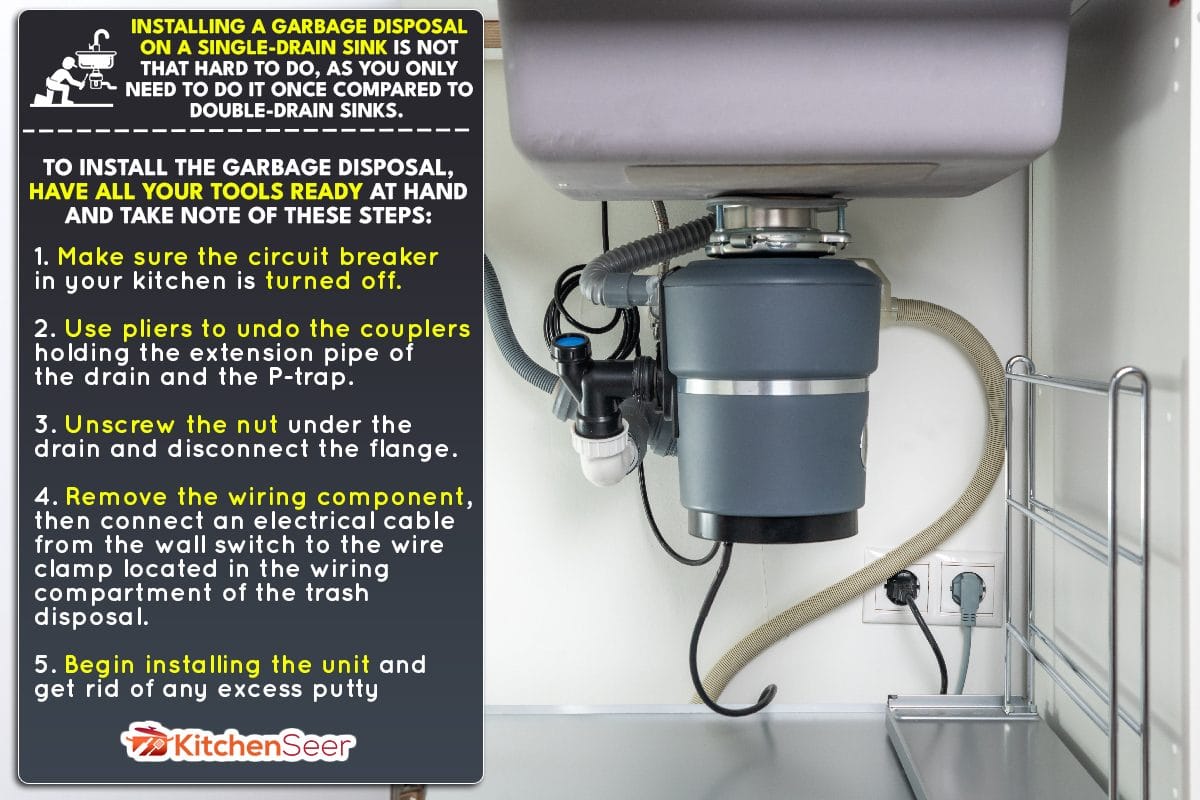
Install Garbage Disposal In Single Sink
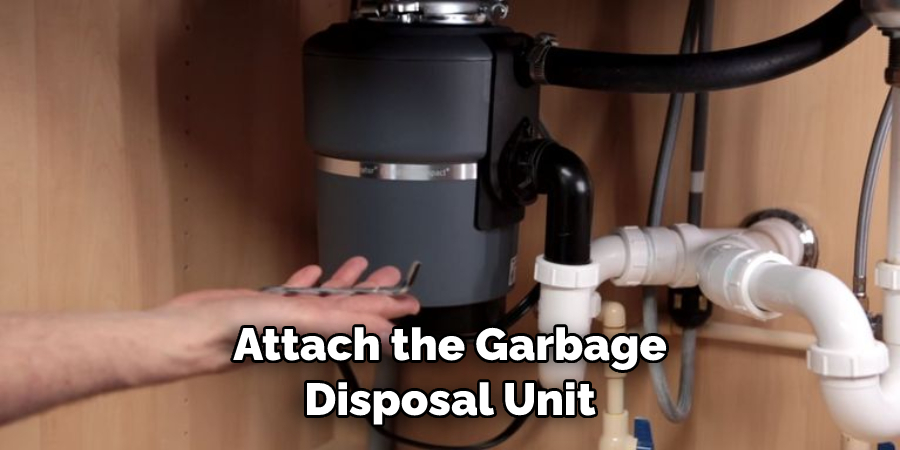
The dreaded kitchen sink clog is a common household woe, and often, the culprit is a malfunctioning garbage disposal. Before calling a plumber, you can troubleshoot some common issues yourself. This guide provides a step-by-step approach to diagnosing and resolving problems with a garbage disposal installed in a single sink. Remember to always prioritize safety; when in doubt, call a qualified professional.
Safety First!
Never put your hand inside the disposal while it's connected to power. Before you begin any troubleshooting, always:
- Turn off the power to the disposal at the circuit breaker.
- Visually inspect the disposal for any obvious damage, such as leaks or loose wires.
If you're uncomfortable working with electrical components, stop and call a licensed electrician.
Problem 1: The Disposal is Completely Dead (No Sound)
A completely unresponsive disposal usually points to a power issue. Here's how to investigate:
Step 1: Check the Circuit Breaker
This is the simplest and most common fix. Locate the circuit breaker that controls the disposal (it should be labeled). Check if the breaker has tripped (flipped to the "off" position). If it has, flip it to the "off" position completely and then back to the "on" position.
Important: If the breaker trips immediately again, do not keep resetting it. This indicates a short circuit, which is a serious electrical hazard. Call an electrician immediately.
Step 2: Test the Outlet
Even if the breaker is fine, the outlet itself might be faulty. Use a voltage tester or multimeter to check if the outlet is receiving power. If you don't have a voltage tester, you can carefully plug a small appliance you know works (like a phone charger) into the outlet to see if it receives power.
If the outlet is not receiving power:
- Check for loose wires connected to the outlet. Turn off the breaker first! (This step is best left to someone comfortable with basic electrical work, otherwise call an electrician)
- The outlet itself may need to be replaced (consult with an electrician).
Step 3: Check the Reset Button
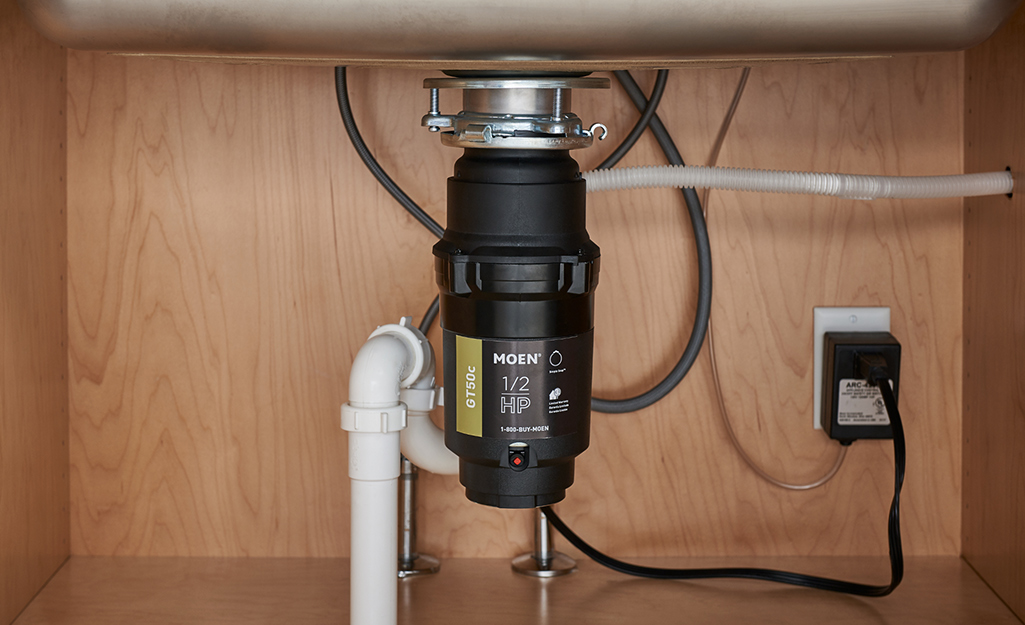
Most disposals have a reset button located on the bottom of the unit. It's usually a small, red button. Press it firmly. This often resets the motor after an overload.
Step 4: Examine the Power Cord
Inspect the disposal's power cord for any damage, such as cuts, frayed wires, or loose connections. If you find any damage, the cord needs to be replaced. This is generally a simple process, but always ensure the breaker is off before disconnecting and replacing the cord.
Replacing the power cord:
- Turn off the breaker.
- Unplug the disposal.
- Locate the access panel on the bottom or side of the disposal where the power cord connects.
- Remove the screws holding the access panel in place.
- Note how the wires are connected to the terminals.
- Disconnect the wires (usually by loosening screws).
- Remove the old power cord.
- Install the new power cord, connecting the wires to the same terminals in the same order.
- Reattach the access panel.
- Plug in the disposal (but leave the breaker off until you're sure everything is secure).
- Turn the breaker back on and test the disposal.
Problem 2: The Disposal Hums but Doesn't Grind
A humming disposal usually means the motor is running, but something is preventing the grinding plate from turning. This often indicates a jam.
Step 1: The Tongs or Pliers Approach
Never reach your hand inside the disposal. Use tongs or pliers to remove any visible obstructions. Common culprits include silverware, bones, fruit pits, and fibrous foods like celery stalks.
Step 2: The Wooden Spoon Method
If you can't see any obstructions, try using a wooden spoon or broom handle to gently rotate the grinding plate back and forth. This may dislodge any hidden jams. Apply gentle pressure only.
Step 3: The Jam-Buster Wrench (Allen Wrench)
Most disposals come with a special jam-buster wrench, also known as an Allen wrench. There's a small hole on the bottom of the disposal specifically for this wrench. Insert the wrench and turn it back and forth to manually rotate the motor and free any jams.
Step 4: Reset the Disposal (Again)
After clearing the jam, press the reset button on the bottom of the disposal again.
Step 5: Run Cold Water
Turn on a steady stream of cold water before and during operation. Cold water helps solidify any grease that may be contributing to the jam and also helps flush debris through the drainpipe.
Problem 3: The Disposal is Leaking
Leaks can occur from several places on the disposal. Identifying the source is crucial for fixing the problem.
Step 1: Identify the Leak Source
Carefully inspect the following areas for leaks:
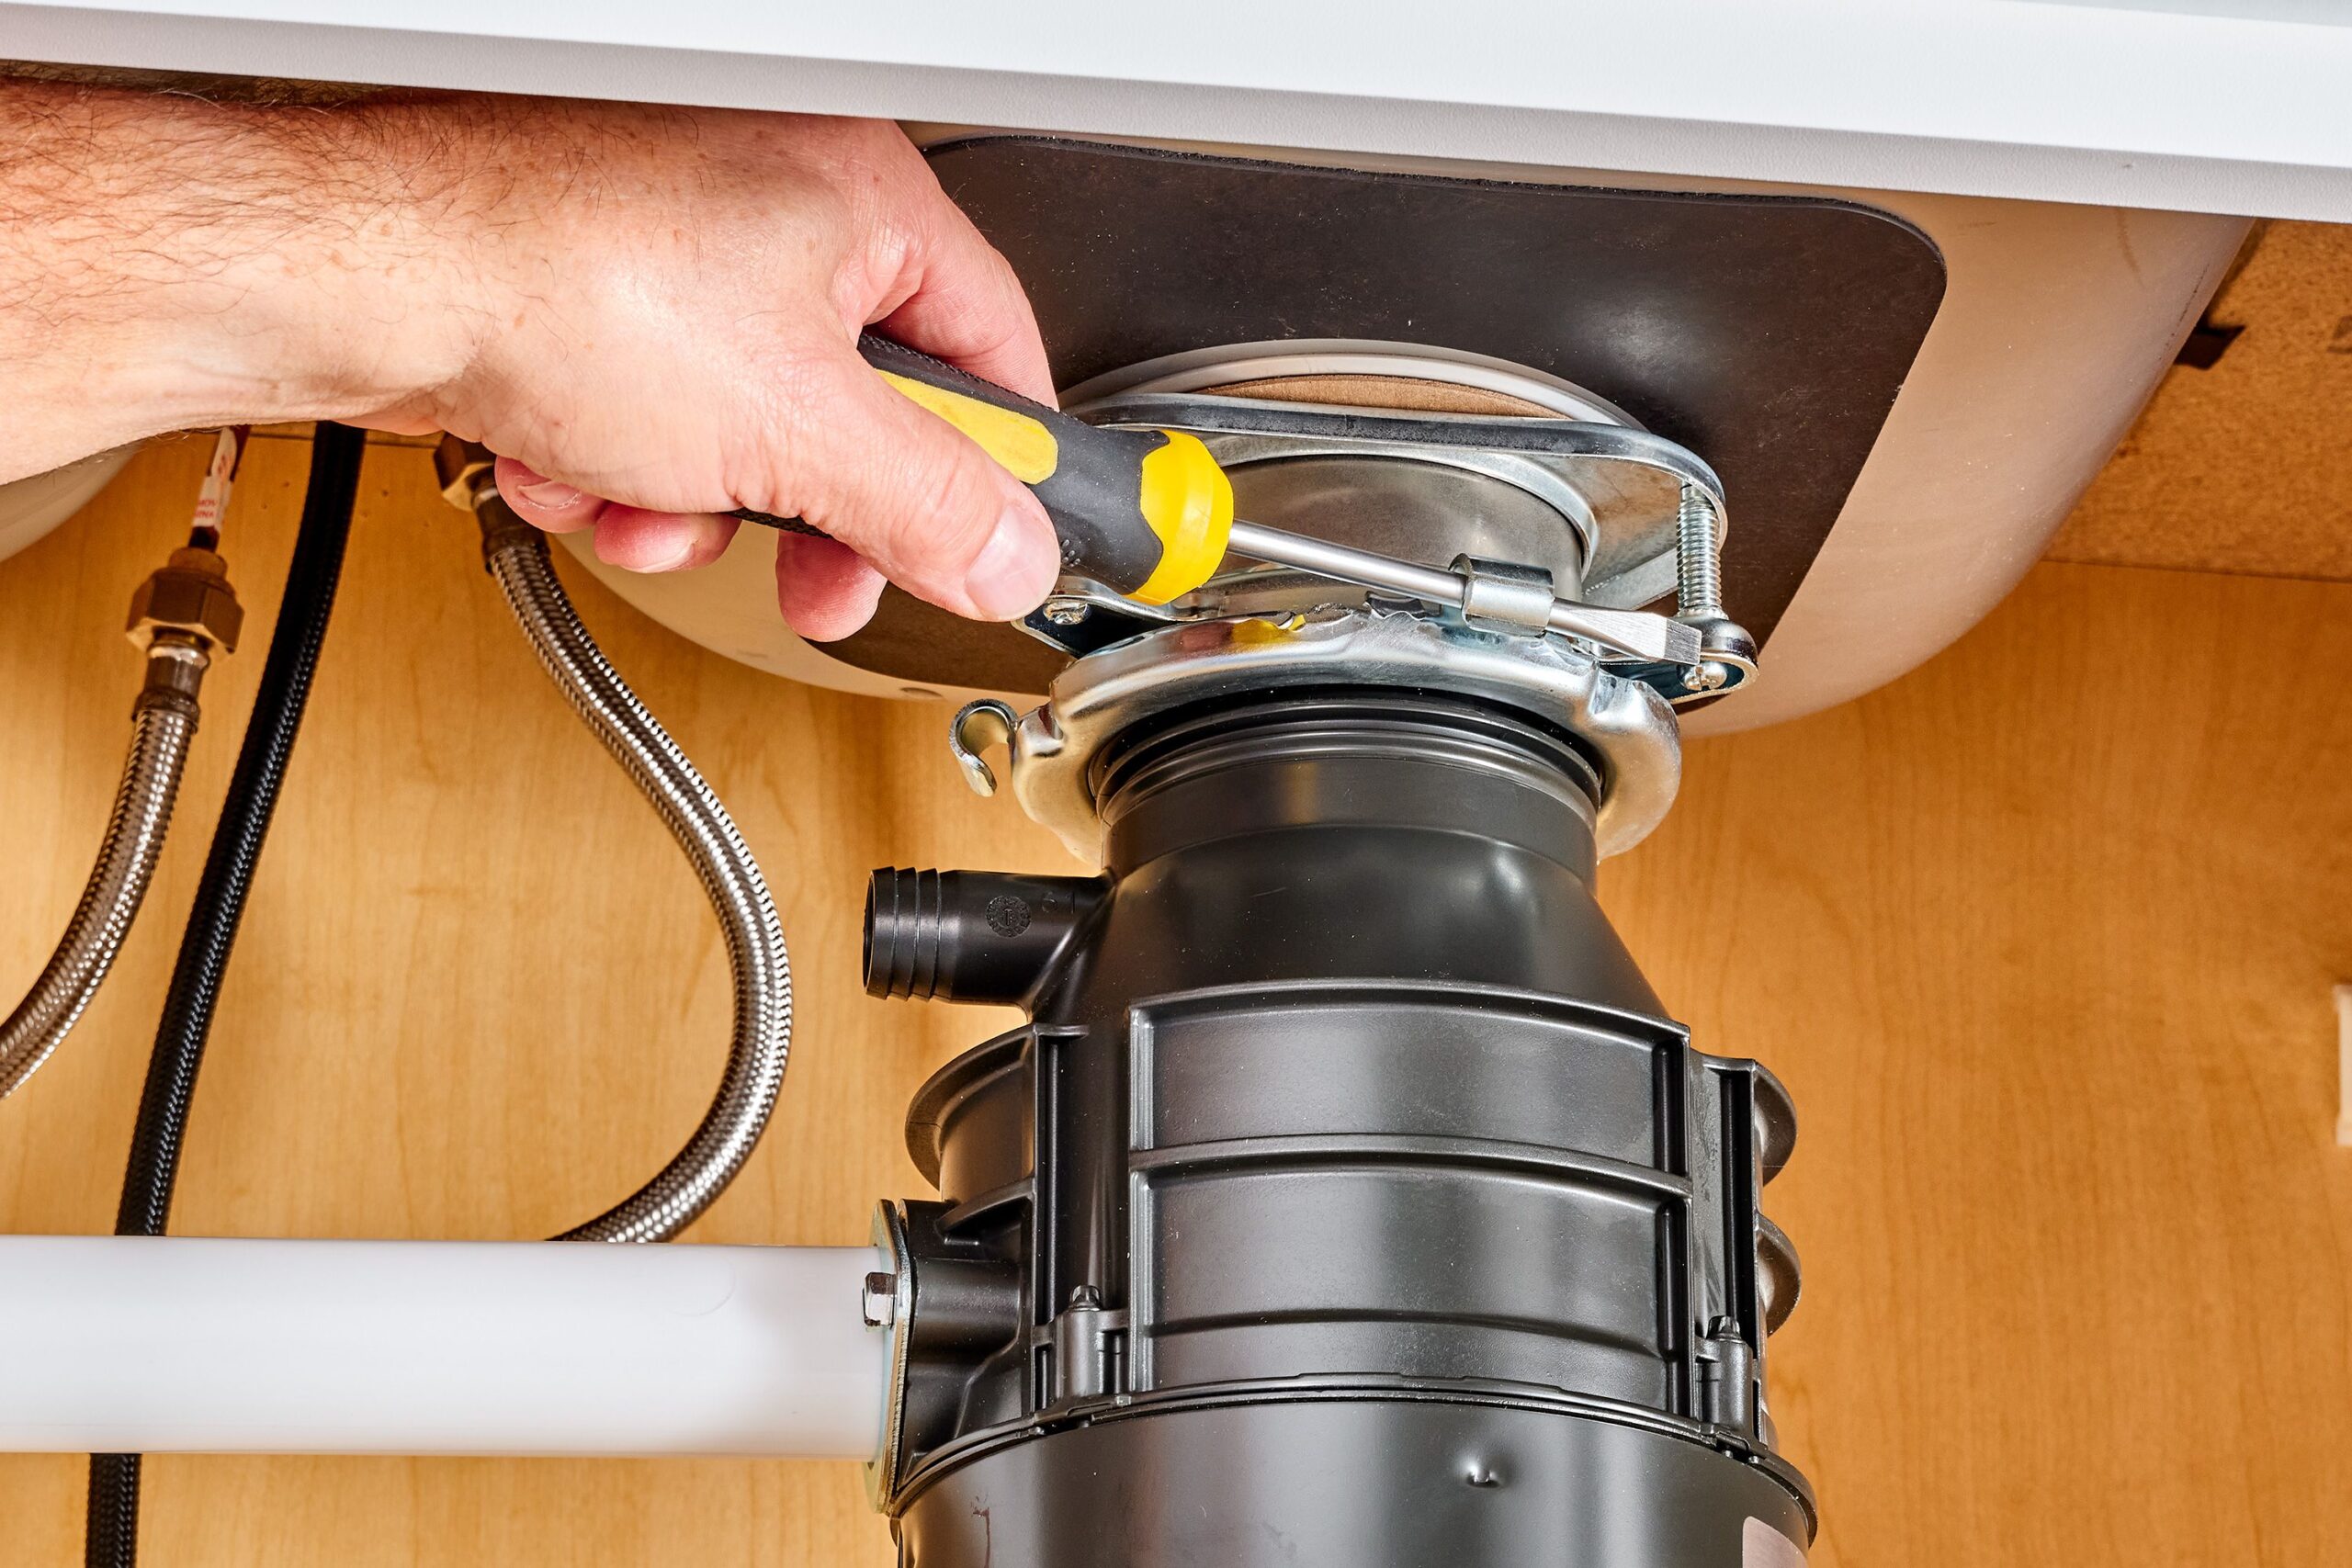
- Top of the Disposal (Sink Flange): This is where the disposal connects to the sink.
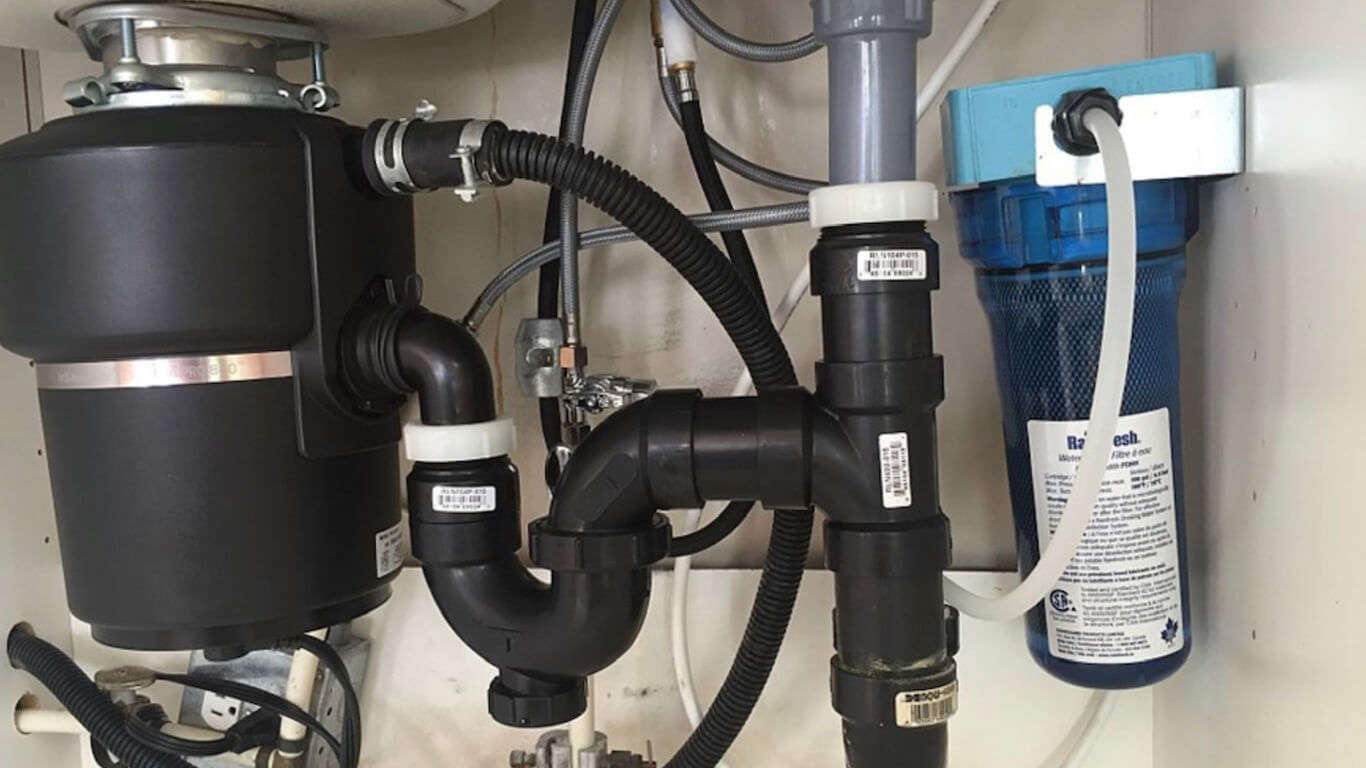
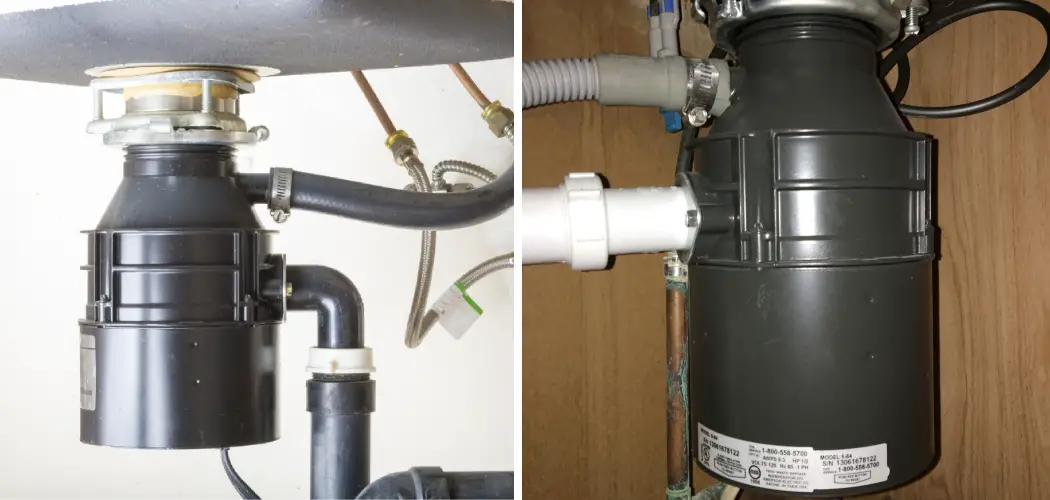
- Dishwasher Connection: This is where the dishwasher drain hose connects to the disposal.
- Discharge Pipe Connection: This is where the disposal connects to the drainpipe.
- Disposal Body: Cracks in the disposal body itself are a sign of serious damage.
Step 2: Tighten Connections
If the leak is coming from a connection, try tightening the screws or clamps. Use a wrench, but be careful not to overtighten, which could strip the screws or crack the plastic.
Step 3: Replace Putty or Plumber's Tape
If tightening doesn't work, you may need to replace the plumber's putty or plumber's tape used to seal the connections.
Replacing Plumber's Putty (Sink Flange):
- Disconnect the disposal from the sink flange.
- Clean the old putty from the flange and the sink.
- Roll a rope of new plumber's putty and press it firmly around the underside of the sink flange.
- Reinstall the disposal, tightening the mounting screws evenly.
- Remove any excess putty that squeezes out.
Replacing Plumber's Tape (Threaded Connections):
- Disconnect the leaking pipe.
- Clean the threads on both the pipe and the fitting.
- Wrap plumber's tape around the threads of the pipe in a clockwise direction, overlapping each layer.
- Reconnect the pipe, tightening it securely.
Step 4: Replace Damaged Parts
If the leak is coming from a crack in the disposal body itself, or if the rubber gasket between the disposal and the sink flange is damaged, the disposal will likely need to be replaced. Internal disposal components aren't typically replaceable by homeowners.
Problem 4: The Disposal is Noisy or Vibrates Excessively
Excessive noise or vibration can indicate loose components or a worn-out motor.
Step 1: Check Mounting Hardware
Make sure the disposal is securely mounted to the sink. Tighten any loose screws or bolts.
Step 2: Inspect for Loose Objects
Even small objects rattling around inside the grinding chamber can cause noise and vibration. Turn off the power, wait for the disposal to stop completely, and use tongs or pliers to remove any debris.
Step 3: Check for Worn-Out Mounts
The rubber mounts that connect the disposal to the sink flange can wear out over time, causing excessive vibration. These mounts can be replaced, but it may require some disassembly of the disposal.
Step 4: Motor Problems
If the noise is a grinding or screeching sound coming from the motor itself, the motor bearings may be worn out. This is a sign that the disposal is nearing the end of its lifespan and will likely need to be replaced.
When to Call a Professional
While many disposal problems can be resolved with basic troubleshooting, some issues require professional help. Call a qualified plumber or electrician if:
- You're uncomfortable working with electricity.
- The breaker trips repeatedly after resetting it.
- There's a leak coming from the disposal body itself.
- You suspect a serious electrical problem, such as a short circuit.
- The disposal requires internal repairs or component replacements that are beyond your skill level.
- You've tried all the troubleshooting steps and the disposal still isn't working.
Preventative Maintenance
To extend the life of your garbage disposal and prevent future problems, follow these tips:
- Run cold water for at least 15 seconds before and after using the disposal.
- Avoid putting grease, bones, coffee grounds, eggshells, and fibrous foods down the disposal.
- Cut food scraps into smaller pieces before putting them down the disposal.
- Occasionally grind ice cubes to sharpen the blades and clean the grinding chamber.
- Flush the disposal with a mixture of baking soda and vinegar to neutralize odors and break down buildup.
By following these troubleshooting steps and preventative maintenance tips, you can keep your garbage disposal running smoothly for years to come. Remember to always prioritize safety and don't hesitate to call a professional when needed.