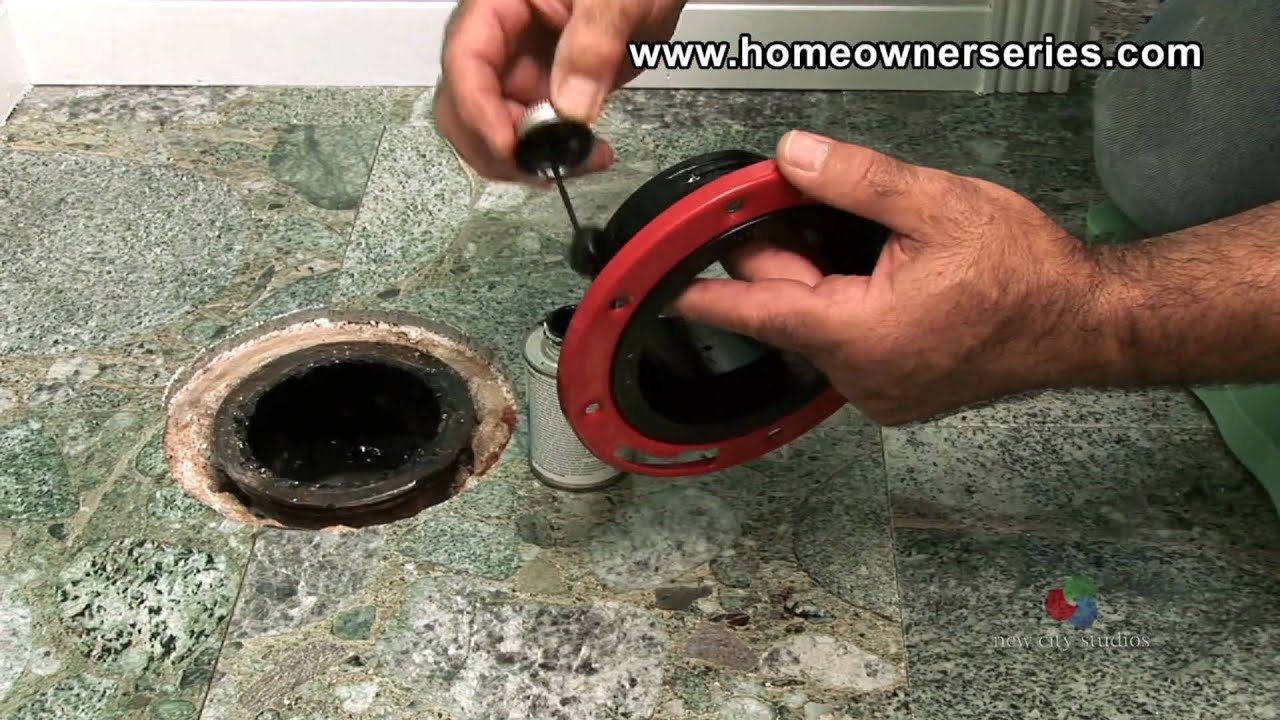
Install Toilet Flange On Concrete Floor

Installing a toilet flange on a concrete floor is a common task during bathroom renovations or when replacing a toilet. A toilet flange provides a secure and watertight connection between the toilet and the drainpipe. While it might seem daunting, with the right tools, materials, and a bit of patience, you can successfully install a toilet flange on a concrete floor yourself. This guide will walk you through the process step-by-step, ensuring a professional and long-lasting result.
Understanding Toilet Flanges
Before diving into the installation, it's crucial to understand what a toilet flange is and the different types available.
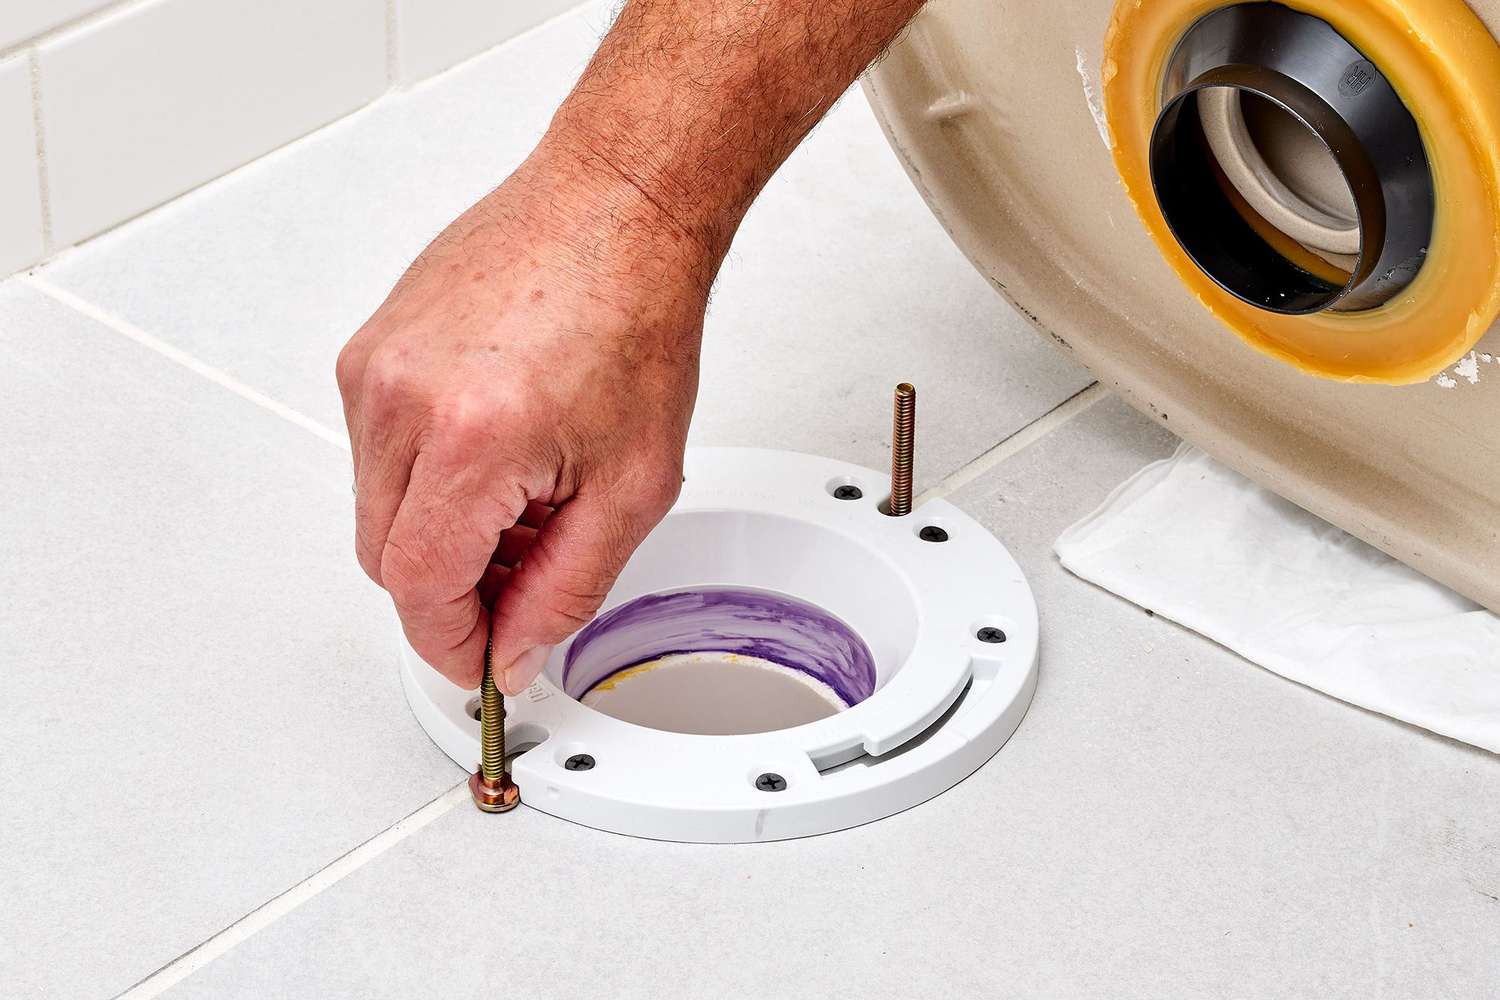
A toilet flange, also known as a closet flange, is a fitting that connects the toilet to the drainpipe. It provides a mounting point for the toilet and creates a watertight seal to prevent leaks and sewer gases from escaping.
Several types of toilet flanges are available, each designed for specific situations:
* PVC Flanges: These are the most common type, made from durable PVC plastic. They are suitable for use with PVC drainpipes. * ABS Flanges: Similar to PVC flanges, but made from ABS plastic. They are used with ABS drainpipes. It's crucial to use the same material for the flange and drainpipe. * Cast Iron Flanges: These are heavy-duty flanges made from cast iron. They are typically used in older homes with cast iron drainpipes. * Metal Ring Flanges (with PVC or ABS Spigot): These flanges have a metal ring for added strength and a PVC or ABS spigot for connection to the drainpipe. They are a good option for situations where extra support is needed. * Inside Fit Flanges: Used to repair broken flanges without removing the old one. It fits inside the existing drain pipe.Choosing the right type of flange depends on the type of drainpipe you have and the specific requirements of your installation. In the context of a concrete floor, the critical aspects are compatibility with your drain pipe (usually PVC or ABS) and how the flange will be secured to the concrete.
Tools and Materials Needed
Having the right tools and materials on hand will make the installation process much smoother and more efficient. Here's a comprehensive list:
* New Toilet Flange: Choose the appropriate type and size for your drainpipe. * Toilet Wax Ring: Creates a watertight seal between the toilet and the flange. Consider a wax ring with a horn for added protection against clogs. * Concrete Drill with Masonry Bit: For drilling pilot holes in the concrete. Make sure the bit is the correct size for your concrete screws. * Hammer Drill: A hammer drill provides additional power for drilling into concrete, making the job easier. * Concrete Screws or Anchors: To securely fasten the flange to the concrete floor. * Screwdriver or Drill with Screwdriver Bit: For driving in the concrete screws. * Pencil or Marker: For marking the screw hole locations. * Measuring Tape: For accurate measurements. * Level: To ensure the flange is level. * Putty Knife or Scraper: For removing old wax and debris. * Shop Vacuum: To clean up dust and debris. * Safety Glasses: To protect your eyes from flying debris. * Gloves: To protect your hands. * Respirator or Dust Mask: To avoid inhaling concrete dust. * Shims (optional): For leveling the flange if the floor is uneven. * Flange Extender (optional): If the existing flange is too low. * PVC Primer and Cement (if needed): For connecting PVC flanges to PVC drainpipes. * ABS Cement (if needed): For connecting ABS flanges to ABS drainpipes. * Hacksaw or PVC Cutter (if needed): For cutting the drainpipe to the correct length.Step-by-Step Installation Guide
Follow these steps carefully to ensure a successful toilet flange installation on your concrete floor:
1. Remove the Old Toilet and Flange (If Applicable)
* Turn off the water supply to the toilet at the shut-off valve. * Flush the toilet to remove as much water as possible from the tank and bowl. * Disconnect the water supply line from the toilet tank. * Remove the toilet by unscrewing the bolts at the base. You may need to rock the toilet gently to break the wax seal. * Carefully lift the toilet and set it aside. Have someone help you, as toilets can be heavy. * Remove the old wax ring from the flange and the toilet. Use a putty knife or scraper to remove any residue. Dispose of the old wax ring properly. * Inspect the old flange. If it's damaged, cracked, or corroded, you'll need to replace it.2. Prepare the Drainpipe and Concrete Floor
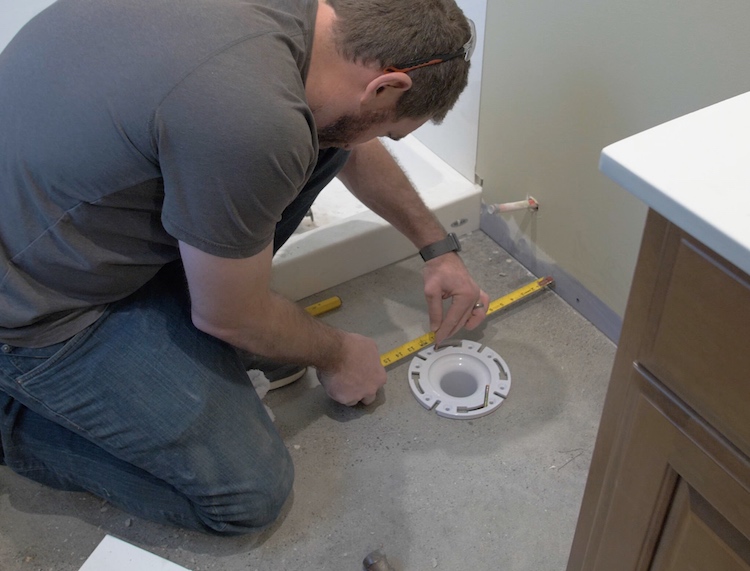
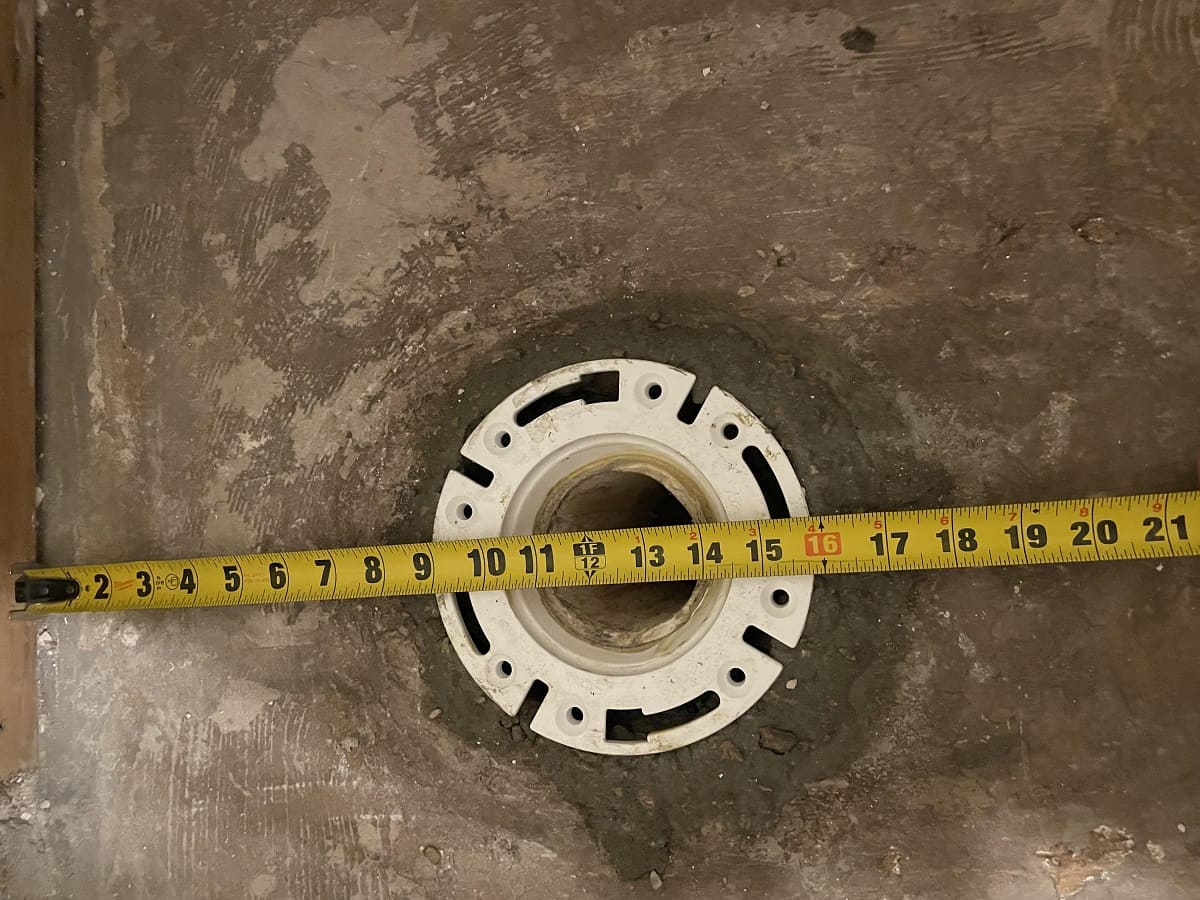
* Clean the area around the drainpipe. Remove any debris, dirt, or old adhesive. A shop vacuum is helpful for this. * Inspect the drainpipe for damage. If it's cracked or damaged, you'll need to repair or replace it before installing the new flange. * Ensure the drainpipe is the correct height. The top of the flange should be flush with the finished floor. If the drainpipe is too low, you may need to use a flange extender. If it's too high, you may need to cut it down using a hacksaw or PVC cutter. * Dry-fit the new flange onto the drainpipe to ensure a proper fit.3. Position and Secure the New Flange
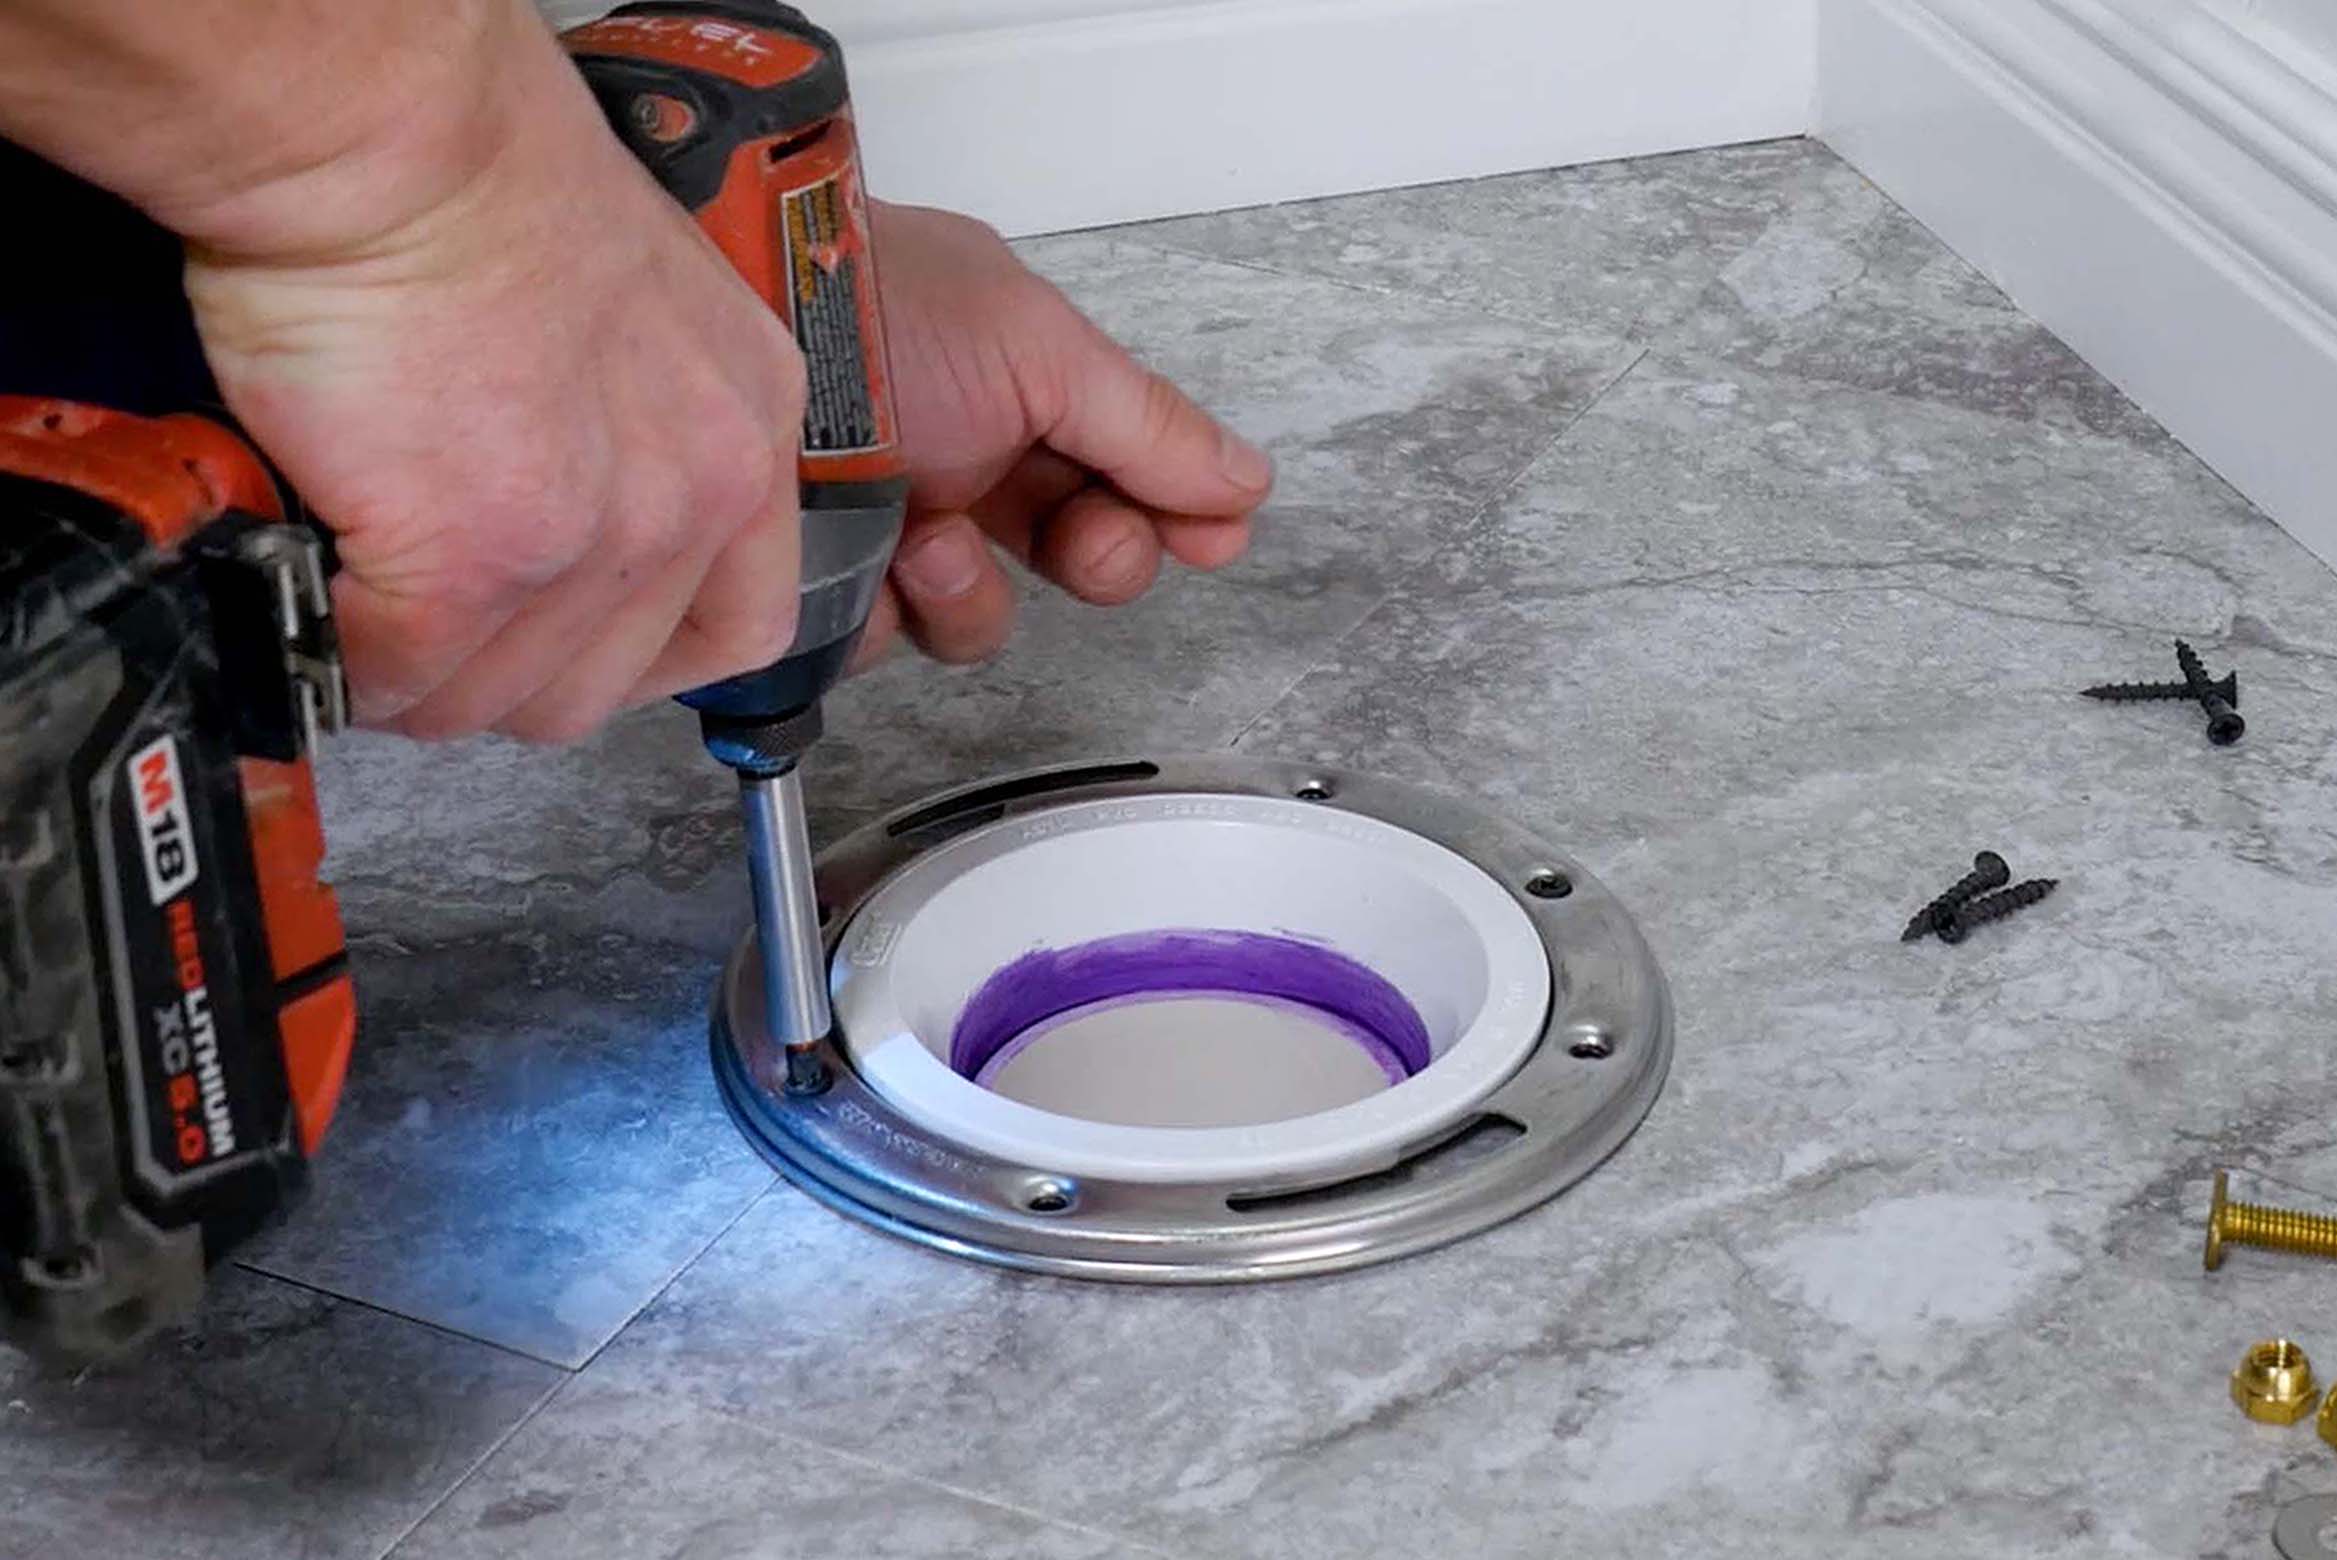
* Place the new flange over the drainpipe, ensuring it's properly aligned. * Use a level to ensure the flange is level. If the floor is uneven, use shims to level the flange. * Mark the screw hole locations on the concrete floor using a pencil or marker. Be precise with your markings for a secure installation. * Remove the flange and put on your safety glasses, gloves, and respirator. * Drill pilot holes into the concrete floor at the marked locations using a concrete drill with a masonry bit. The depth of the pilot holes should be slightly longer than the length of your concrete screws or anchors. * Place the flange back over the drainpipe, aligning the screw holes with the pilot holes. * Insert the concrete screws or anchors into the screw holes and tighten them securely using a screwdriver or drill with a screwdriver bit. Do not overtighten, as this could crack the flange.4. Connect the Flange to the Drainpipe (If Necessary)
* If you are using a PVC or ABS flange, you may need to connect it to the drainpipe using PVC primer and cement or ABS cement, respectively. * Apply PVC primer to both the inside of the flange spigot and the outside of the drainpipe. * Apply PVC cement to both surfaces. * Quickly insert the flange spigot into the drainpipe and twist slightly to ensure a good bond. * Hold the flange in place for a few seconds until the cement sets. * Allow the cement to cure completely according to the manufacturer's instructions before proceeding.5. Install the Wax Ring and Reinstall the Toilet
* Place a new wax ring on the bottom of the toilet around the waste outlet. You can also place the wax ring on top of the flange. Some plumbers prefer one method over the other. * Carefully lower the toilet onto the flange, aligning the toilet bolts with the holes in the flange. * Press down firmly on the toilet to create a good seal between the wax ring and the flange. * Install the washers and nuts on the toilet bolts and tighten them hand-tight. * Alternate tightening the bolts a little at a time until the toilet is securely fastened to the floor. Do not overtighten the bolts, as this could crack the toilet base. * Connect the water supply line to the toilet tank. * Turn on the water supply and check for leaks. * Flush the toilet several times to ensure it's working properly.Troubleshooting
Even with careful planning, you may encounter some issues during the installation process. Here are some common problems and how to address them:
* Leaking Toilet: This is usually caused by a faulty wax ring seal. Remove the toilet, inspect the wax ring, and replace it with a new one. Ensure the flange is level and securely fastened to the floor. * Wobbly Toilet: This can be caused by an uneven floor or loose toilet bolts. Use shims to level the toilet and tighten the bolts securely. * Damaged Flange: If the flange is cracked or damaged, it needs to be replaced. * Drainpipe Too Low: Use a flange extender to raise the flange to the correct height. * Difficulty Drilling into Concrete: Use a hammer drill for added power. Ensure you are using the correct type of masonry bit.Tips for Success
* Take your time and be patient. Rushing the installation can lead to mistakes and leaks. * Read the manufacturer's instructions for the flange and other materials carefully. * Double-check all measurements before cutting or drilling. * Wear safety glasses, gloves, and a respirator to protect yourself from injury and dust. * If you're not comfortable with any part of the installation, consult a qualified plumber.Conclusion
Installing a toilet flange on a concrete floor requires careful planning, the right tools, and a step-by-step approach. By following this guide, you can confidently tackle this project and ensure a secure and watertight connection for your toilet. Remember to prioritize safety and take your time to ensure a professional result. If you encounter any difficulties, don't hesitate to seek professional help.