Installation Of Mini Split Heat Pump
A mini-split heat pump is an excellent solution for efficient heating and cooling, offering zoned temperature control and energy savings. However, installing one is a more involved process than setting up a window AC unit. This guide provides a detailed overview of the installation process, empowering you to understand the steps involved and make informed decisions, whether you're considering DIY or hiring a professional.
Understanding Mini-Split Heat Pumps
Before diving into installation, let's clarify what a mini-split is and how it works.
A mini-split heat pump is a ductless system comprising two main components:
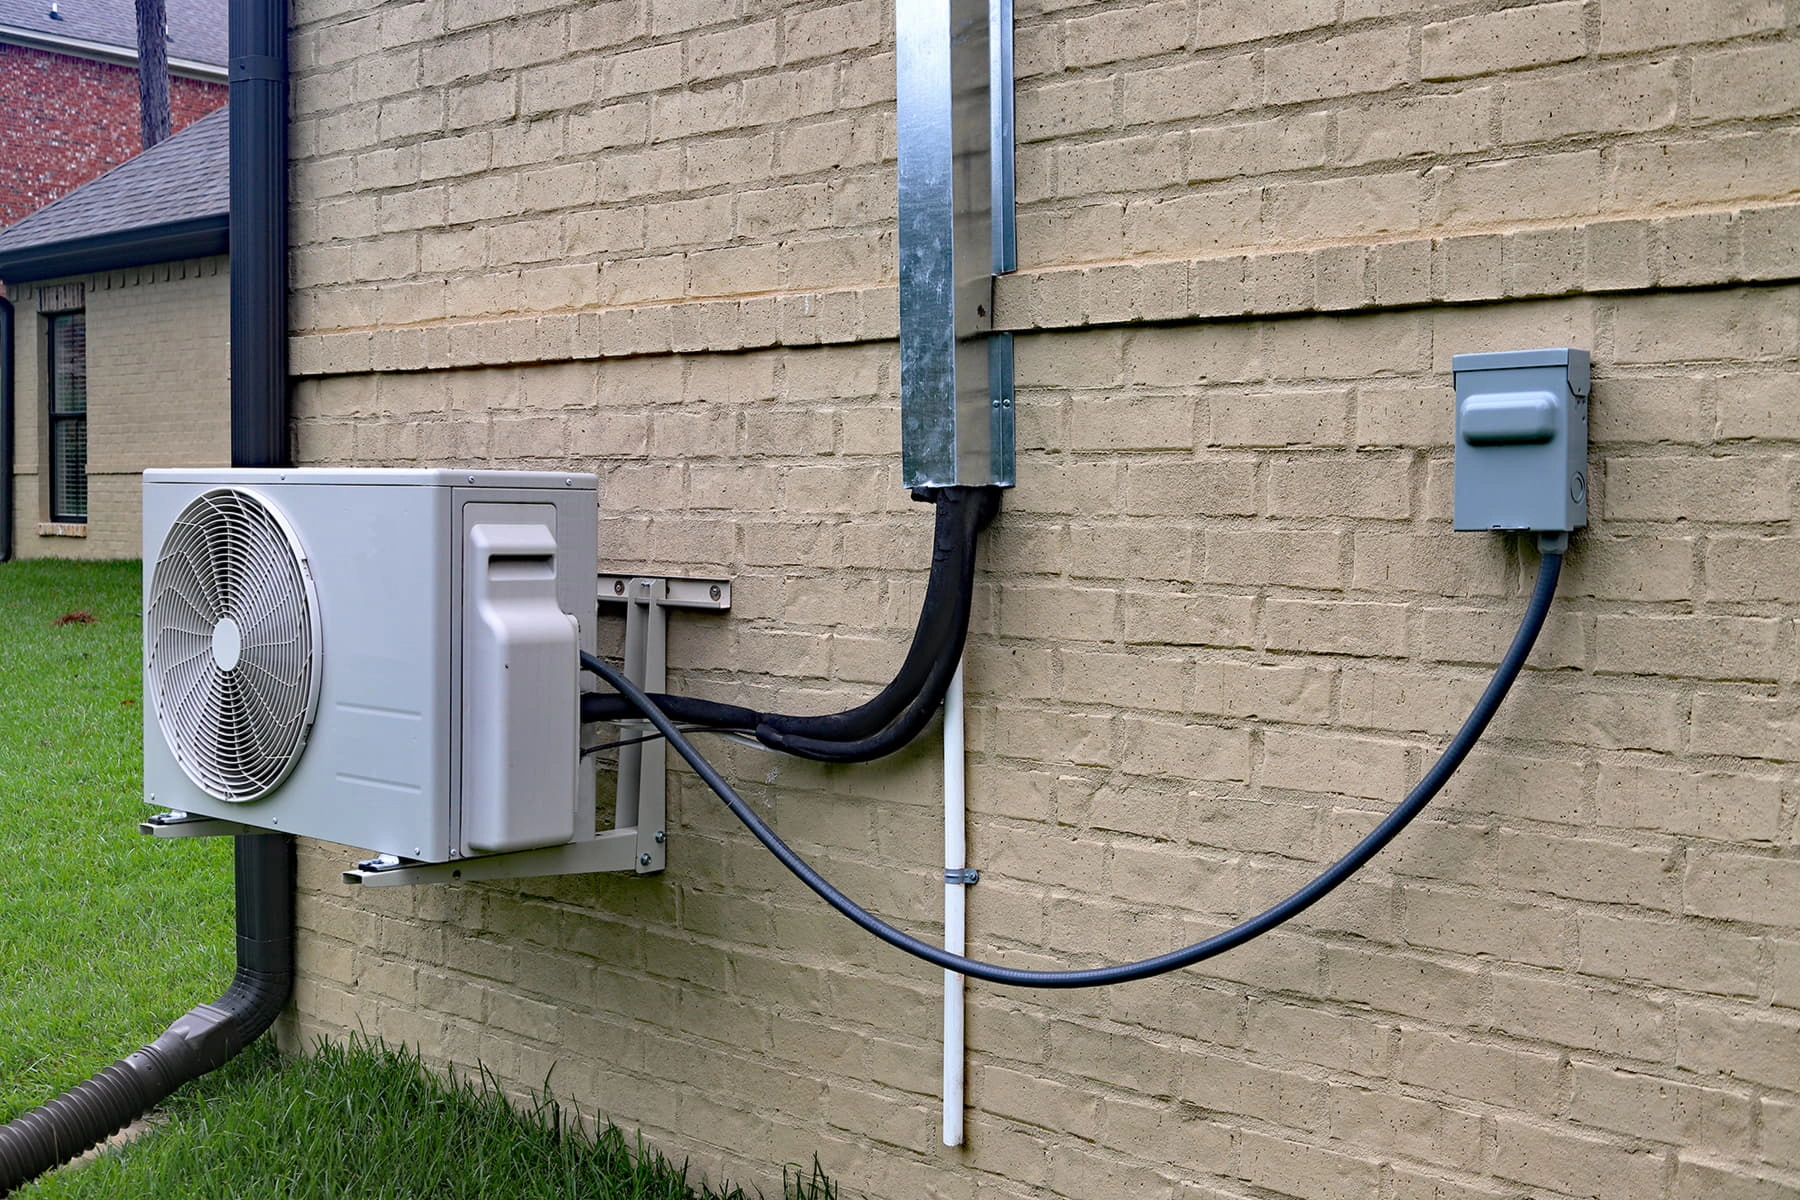
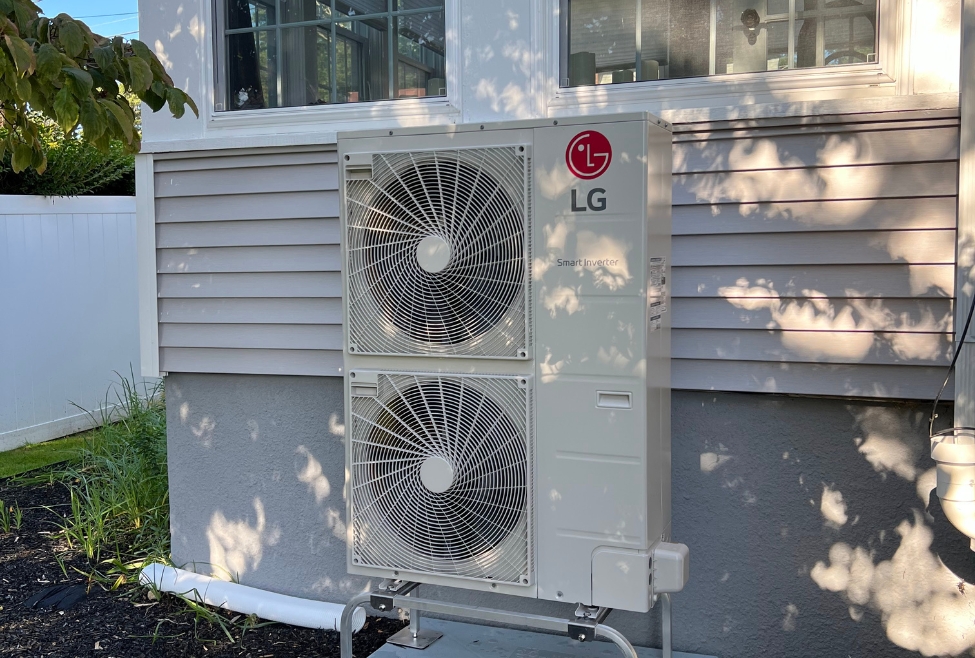
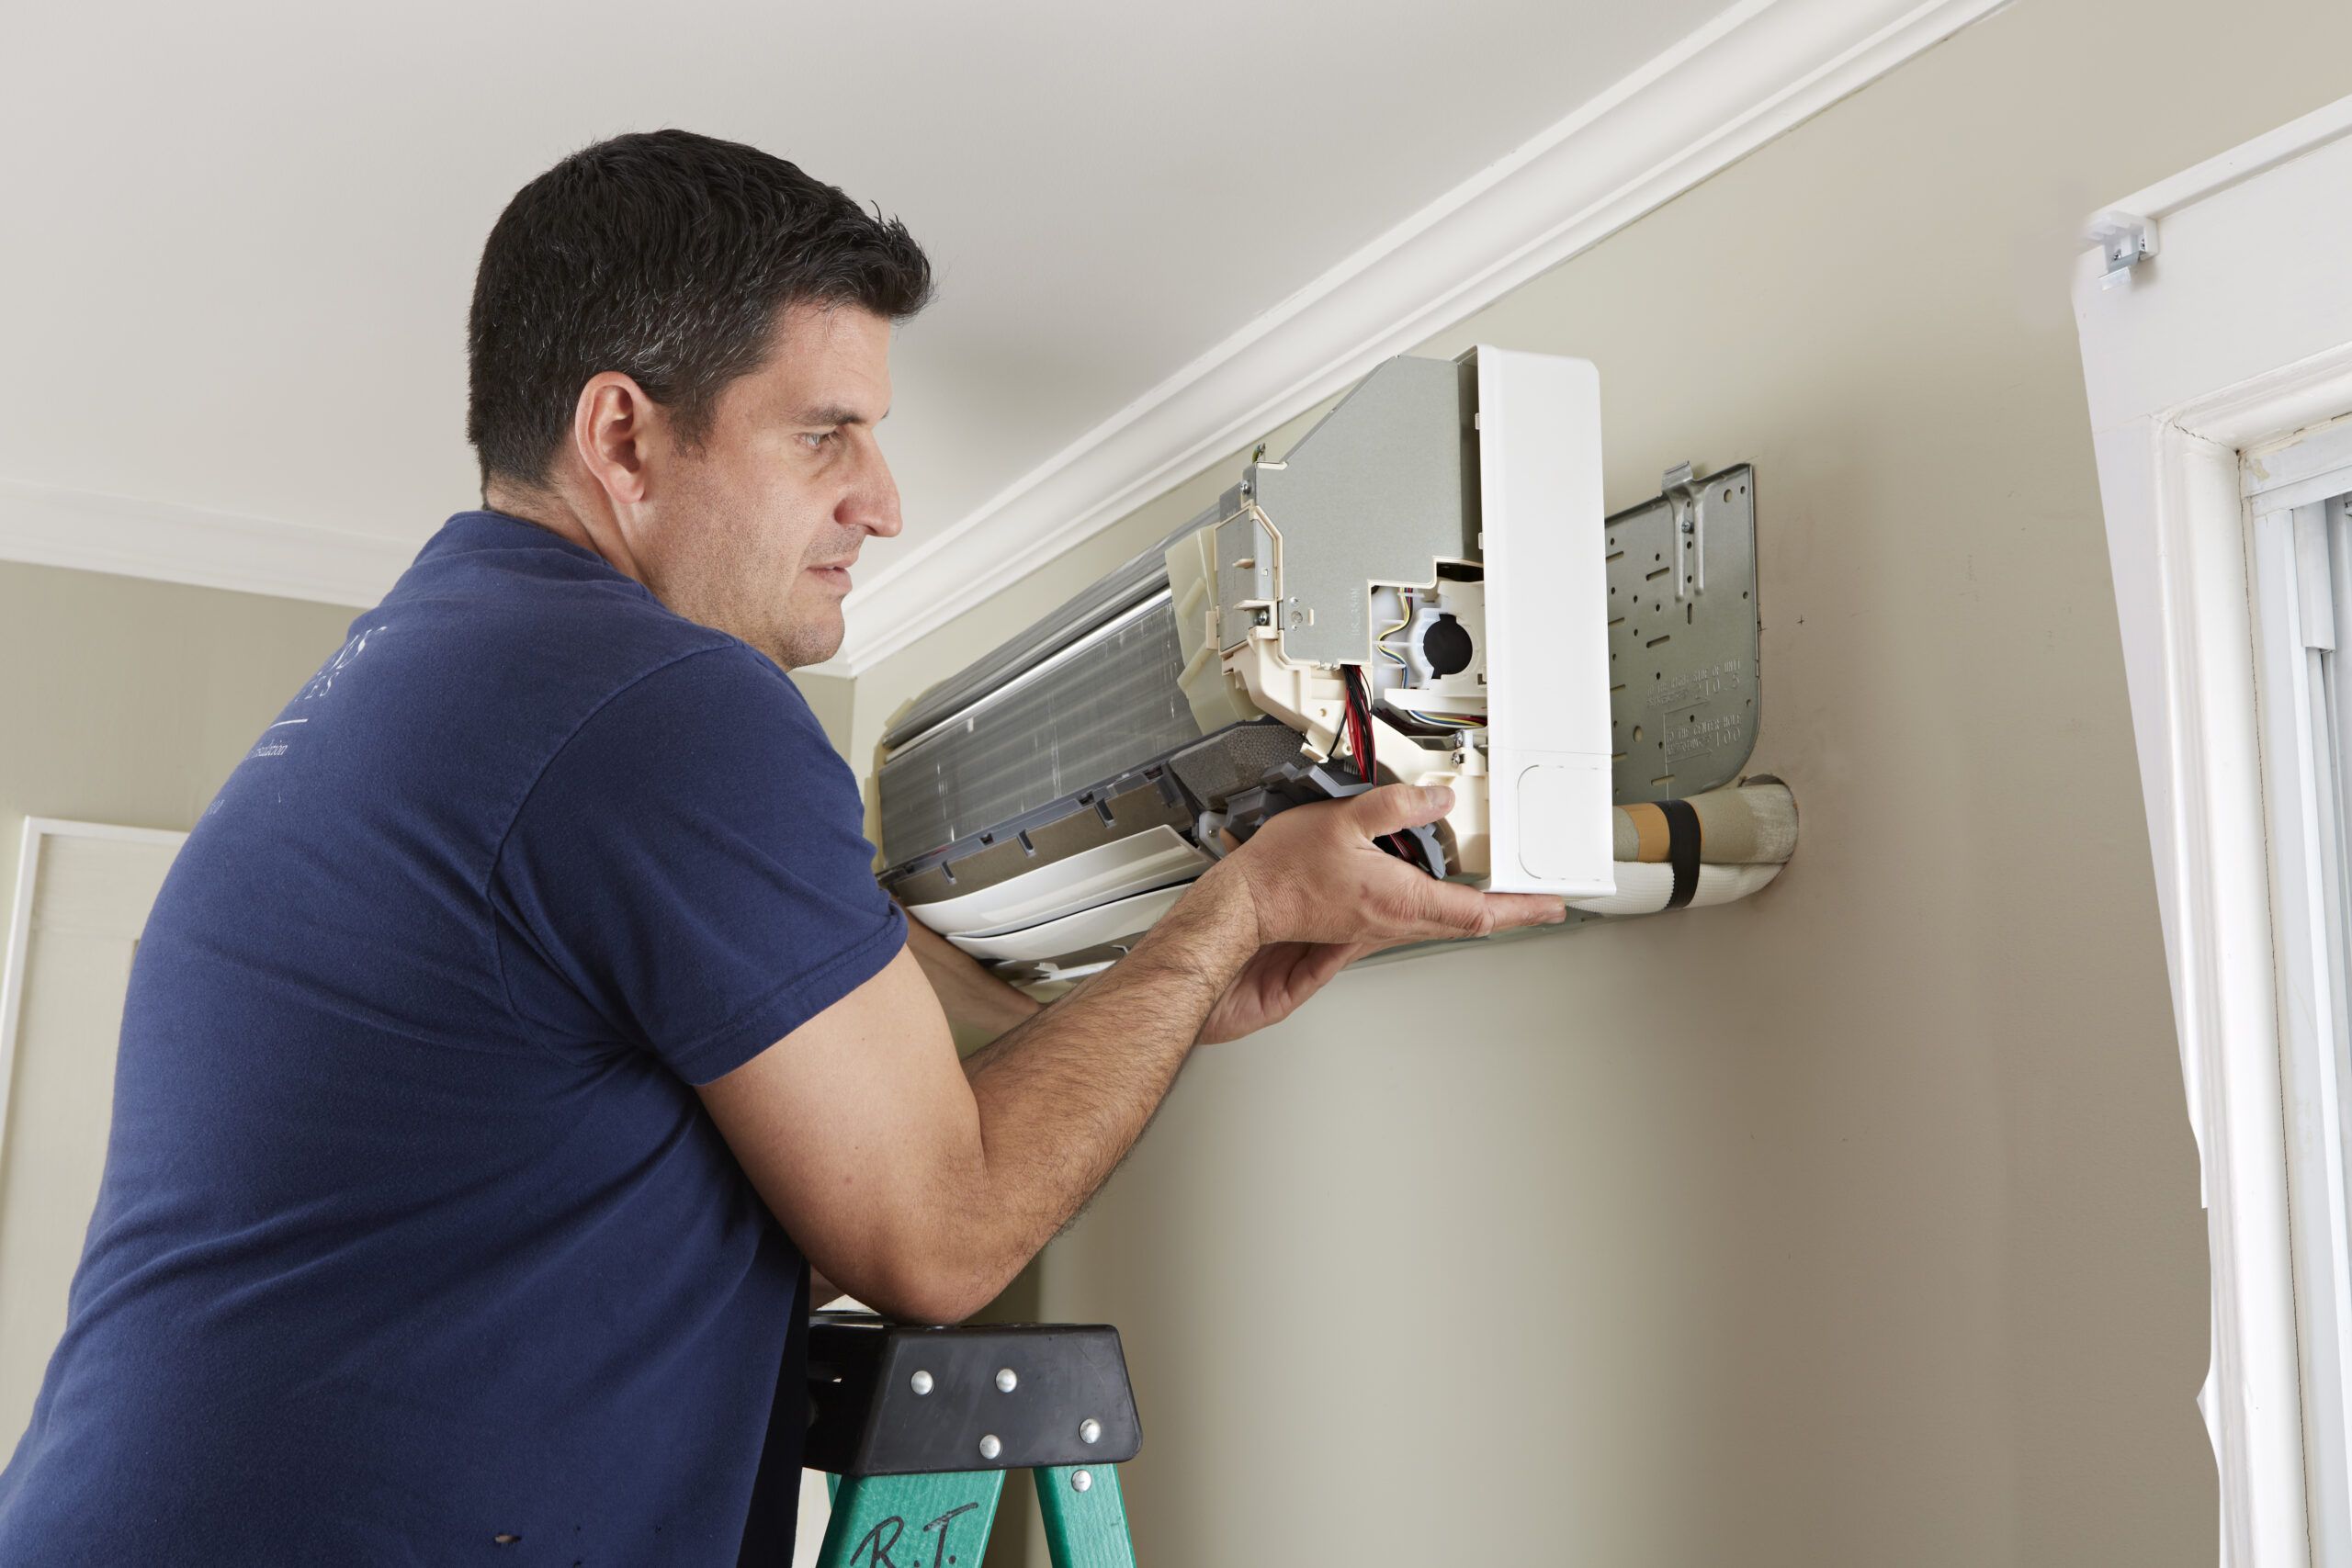
* Outdoor Unit (Condenser): This unit is located outside your home and houses the compressor, condenser coil, and fan. It's responsible for releasing heat when cooling and absorbing heat when heating. * Indoor Unit (Evaporator/Air Handler): Mounted on a wall or ceiling inside your home, this unit circulates conditioned air into the room. It contains the evaporator coil, fan, and air filters.These two units are connected by a refrigerant line set, which carries the refrigerant between them, and electrical wiring for power and communication.
How it Works: Think of refrigerant as the "blood" of your AC system, carrying heat from inside to outside (cooling mode) or from outside to inside (heating mode). The compressor, located in the outdoor unit, circulates this refrigerant. The indoor unit blows air across the evaporator coil, cooling (or heating) the air before distributing it into the room.
Is DIY Installation Right for You?
While some homeowners attempt DIY mini-split installation, it's generally recommended to hire a qualified HVAC technician. Here's why:
* Refrigerant Handling: Working with refrigerant requires specialized tools and knowledge. Improper handling can be dangerous and environmentally damaging. Regulations often require certification to handle refrigerants. * Electrical Wiring: Mini-splits require proper electrical connections. Incorrect wiring can lead to fire hazards or equipment damage. * Vacuuming and Pressure Testing: After connecting the refrigerant lines, the system needs to be vacuumed to remove air and moisture. Pressure testing ensures there are no leaks. These steps require specialized equipment. * Warranty: Many manufacturers void the warranty if the system is not installed by a certified technician. * Complexity: Even with detailed instructions, the installation process can be complex and time-consuming.If you're comfortable with basic electrical work, plumbing, and have a good understanding of HVAC systems, you *might* consider DIY. However, be prepared for a steep learning curve and the potential for costly mistakes. Always prioritize safety and follow all local codes and regulations. If in doubt, hire a professional!
Tools and Materials Needed
Whether you're hiring a professional or attempting DIY, understanding the tools and materials involved is crucial. Here's a list:
* Mini-Split System: Includes the outdoor unit, indoor unit, line set (usually pre-charged, but some require field charging), and mounting brackets. * Vacuum Pump: Used to evacuate air and moisture from the refrigerant lines. * Manifold Gauge Set: Used to monitor refrigerant pressure during evacuation and charging (if necessary). * Refrigerant Leak Detector: Used to check for refrigerant leaks after installation. * Flaring Tool: Used to create flared connections on the refrigerant lines (if required). * Tube Cutter: Used to cut the refrigerant lines to the correct length. * Wrenches: For tightening fittings on the refrigerant lines. * Level: Essential for ensuring proper mounting of both indoor and outdoor units. * Drill with various drill bits: For drilling holes through walls for the refrigerant lines and mounting brackets. * Screwdrivers (Phillips and flathead): For securing screws and tightening connections. * Electrical Tester: To verify power is off before working on electrical connections. * Wire Strippers and Crimpers: For making electrical connections. * Voltage Meter: To test voltage and ensure proper electrical supply. * Piping Insulation: To insulate the refrigerant lines and prevent condensation. * Wall Sleeve or Core Drill: For creating a clean, properly sized hole through the wall. * Sealant/Caulk: To seal the hole around the refrigerant lines and prevent air and water infiltration. * Mounting Hardware: Screws, bolts, and anchors for securing the units to the wall. * Safety Glasses and Gloves: Essential for personal protection. * Torque Wrench: For tightening flare connections to the manufacturer's specified torque to prevent leaks.Step-by-Step Installation Guide
This guide provides a general overview of the installation process. Always refer to the manufacturer's instructions for your specific model.
1. Planning and Preparation
* Choose the Location: Select suitable locations for both the indoor and outdoor units. The indoor unit should be mounted on an interior wall, away from direct sunlight and heat sources. The outdoor unit should be placed on a level surface with adequate clearance for airflow. Consider aesthetics and noise levels when choosing locations. * Check for Obstructions: Ensure there are no pipes, wires, or other obstructions in the wall where you plan to drill the hole for the refrigerant lines. * Gather Necessary Permits: Check with your local building department for any required permits before starting the installation. * Turn Off Power: Always turn off the power to the circuit breaker that will be used to supply power to the mini-split system before starting any electrical work. Verify the power is off with an electrical tester.2. Mounting the Indoor Unit
* Install Mounting Plate: Use the mounting plate provided with the indoor unit as a template to mark the screw holes on the wall. Use a level to ensure the plate is perfectly horizontal. Drill pilot holes and secure the mounting plate to the wall using appropriate screws and anchors. * Hang the Indoor Unit: Carefully hang the indoor unit onto the mounting plate, ensuring it is securely attached.3. Drilling the Hole for the Line Set
* Locate the Hole: Determine the location of the hole through the wall for the refrigerant lines, drain hose, and electrical wiring. The hole should be slightly larger than the diameter of the line set. * Drill the Hole: Use a core drill or a standard drill with a masonry bit to drill the hole through the wall. Angle the drill slightly downward from the inside to allow for proper drainage.4. Mounting the Outdoor Unit
* Prepare the Mounting Surface: Ensure the mounting surface is level and stable. You may need to pour a concrete pad or use a pre-fabricated mounting pad. * Secure the Unit: Place the outdoor unit on the mounting surface and secure it with appropriate bolts and anchors. Ensure the unit is level.5. Connecting the Refrigerant Lines
* Carefully run the Line Set: Route the refrigerant lines, drain hose, and electrical wiring through the hole in the wall. Avoid kinking or bending the lines sharply. * Connect the Lines: Connect the refrigerant lines to the indoor and outdoor units. Use a flaring tool to create flared connections if necessary. Tighten the fittings with a torque wrench to the manufacturer's specified torque. * Connect the Drain Hose: Connect the drain hose to the indoor unit and route it to a suitable drainage point. Ensure the drain hose slopes downward to allow for proper drainage.6. Electrical Connections
* Wire According to Diagram: Connect the electrical wiring to the indoor and outdoor units according to the wiring diagram provided by the manufacturer. Use wire strippers and crimpers to make secure connections. * Double-Check Wiring: Double-check all wiring connections to ensure they are correct and secure.7. Evacuating and Charging the System
* Connect Vacuum Pump: Connect the vacuum pump to the service ports on the outdoor unit. * Evacuate the System: Run the vacuum pump until the system reaches the manufacturer's specified vacuum level (typically around 500 microns). This removes air and moisture from the refrigerant lines. * Pressure Test: Close the service ports and monitor the vacuum level for at least 30 minutes. If the vacuum level rises, it indicates a leak. * Release Refrigerant (If Required): If your system requires field charging (some are pre-charged), carefully release the refrigerant from the outdoor unit into the system according to the manufacturer's instructions. Use a manifold gauge set to monitor the refrigerant pressure.8. Final Steps
* Insulate Refrigerant Lines: Insulate the refrigerant lines with piping insulation to prevent condensation. * Seal the Wall Penetration: Seal the hole around the refrigerant lines with sealant or caulk to prevent air and water infiltration. * Turn on Power: Turn on the power to the circuit breaker that supplies power to the mini-split system. * Test the System: Turn on the mini-split system and test its operation in both cooling and heating modes. Verify that the system is working correctly and that the air is being cooled or heated effectively. * Check for Leaks: Use a refrigerant leak detector to check for any refrigerant leaks at the connections. * Clean Up: Clean up any debris or materials from the installation site.Post-Installation Tips
* Regular Maintenance: Clean the air filters regularly (typically every 1-3 months) to ensure optimal performance. * Professional Servicing: Schedule regular maintenance with a qualified HVAC technician to ensure the system is running efficiently and to prevent potential problems. * Understand Your System: Familiarize yourself with the operation and features of your mini-split system. Read the owner's manual carefully.Troubleshooting Common Issues
* System Not Cooling or Heating: Check the air filters, refrigerant levels, and electrical connections. * Water Leaks: Check the drain hose for clogs or kinks. * Unusual Noises: Contact a qualified HVAC technician to diagnose and repair any unusual noises.Conclusion
Installing a mini-split heat pump is a significant undertaking that requires careful planning, the right tools, and a good understanding of HVAC systems. While DIY installation is possible, it's generally recommended to hire a qualified HVAC technician to ensure a safe and proper installation. By understanding the steps involved, you can make informed decisions and enjoy the benefits of efficient heating and cooling in your home.