Installing A Mini Split Air Conditioner
Frequently Asked Questions About Mini Split Air Conditioner Installation
Thinking about installing a mini-split air conditioner? They offer efficient and targeted cooling and heating. Here are some of the most common questions we get about the installation process.
Q: What exactly *is* a mini-split air conditioner and how does it work?
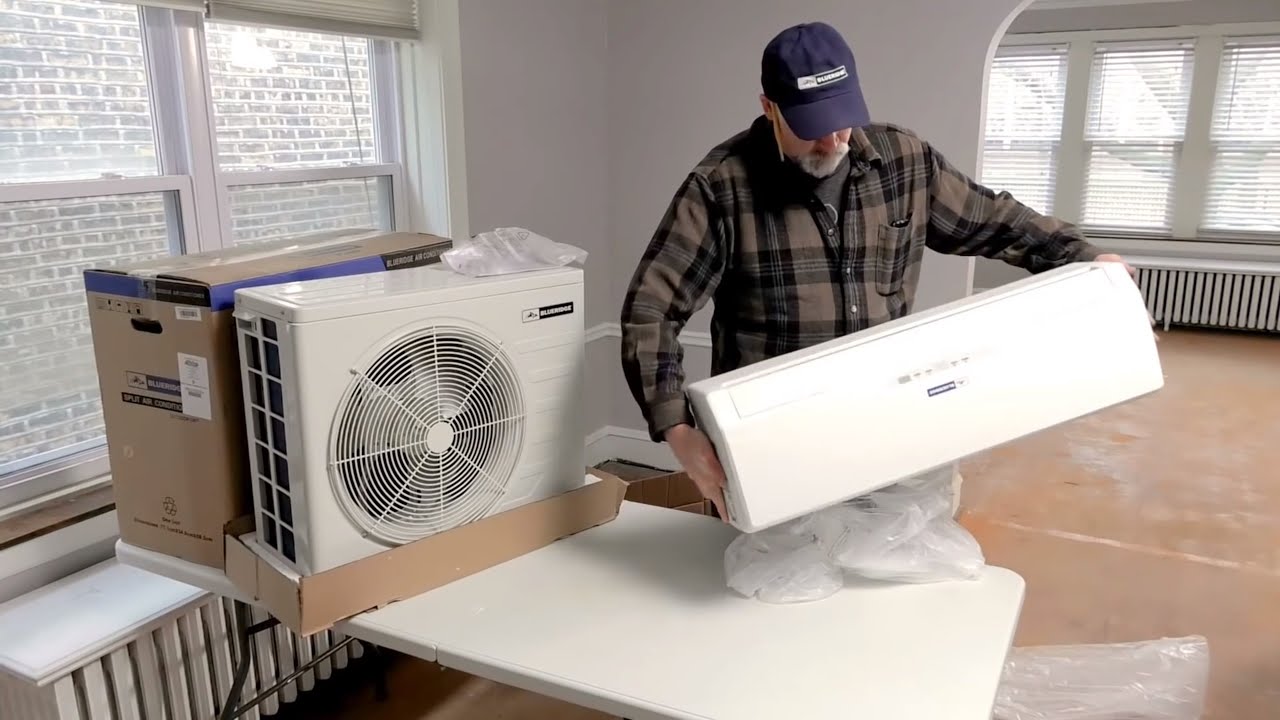
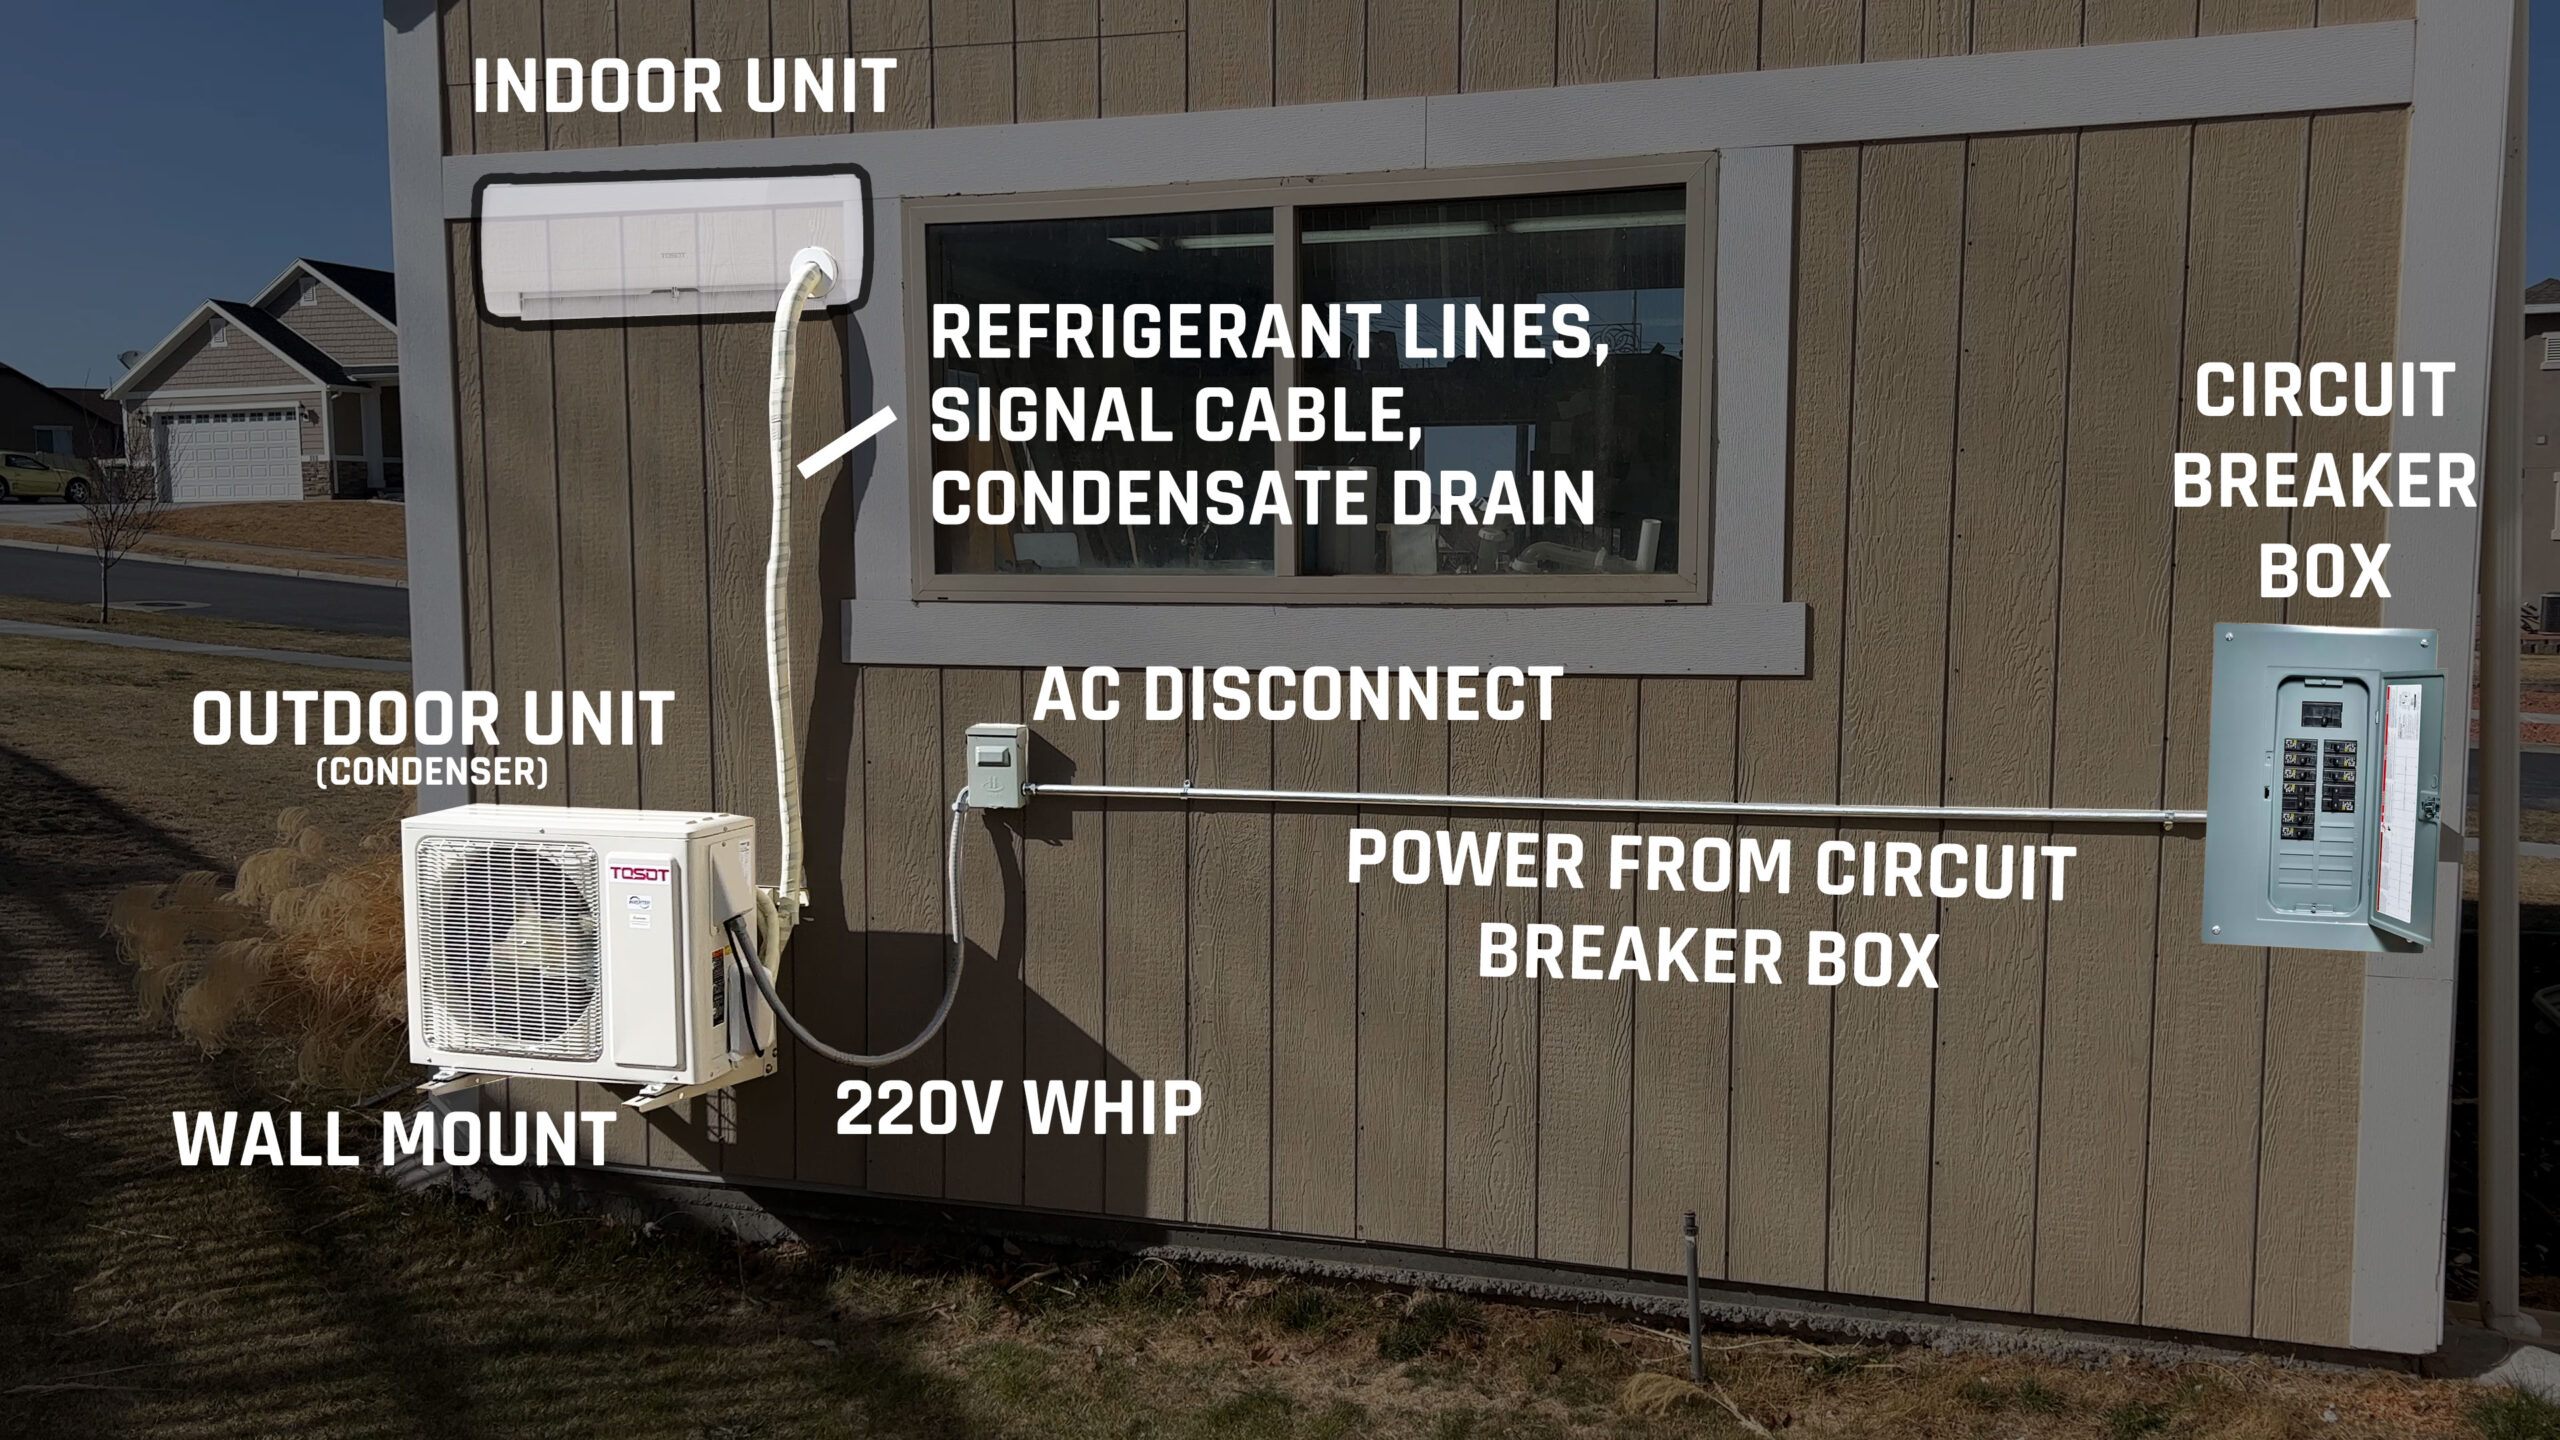
A mini-split system, also known as a ductless system, is comprised of two main components: an outdoor unit (compressor/condenser) and an indoor unit (air handler). Unlike central air, it doesn't require ductwork. The outdoor unit is placed outside the building, while the indoor unit is mounted on a wall or ceiling inside the room you want to cool or heat. They are connected by a conduit containing refrigerant lines, power cables, and a condensate drain.
The system works by transferring heat. In cooling mode, it extracts heat from the indoor air and releases it outside. In heating mode, it does the opposite, extracting heat from the outside air and transferring it inside. Even when it's cold outside, mini-splits can extract heat, though their efficiency decreases as temperatures drop.
Q: Can I install a mini-split AC myself, or do I need a professional?
While DIY installation kits are available, we strongly recommend professional installation for several key reasons:
- Refrigerant Handling: Working with refrigerant requires specialized tools and knowledge. Incorrect handling can be dangerous and illegal, potentially leading to fines and environmental damage. Only certified technicians can legally handle refrigerants.
- Electrical Work: Mini-splits require dedicated electrical circuits. Incorrect wiring can be a fire hazard and damage the unit. Licensed electricians are trained to handle these installations safely and according to code.
- Vacuuming the Lines: After connecting the refrigerant lines, the system needs to be vacuumed to remove air and moisture. This requires a specialized vacuum pump and manifold gauge set. Failure to properly vacuum the lines can significantly reduce the unit's efficiency and lifespan.
- Proper Sizing and Placement: A professional can accurately assess your cooling and heating needs to determine the correct size unit for your space and the optimal placement for maximum efficiency.
- Warranty: Many manufacturers require professional installation for the warranty to be valid. A DIY installation could void the warranty, leaving you responsible for any future repairs.
- Code Compliance: Local building codes may require permits and inspections for mini-split installations. A professional installer will be familiar with these requirements and ensure your installation is compliant.
In short, while attempting to install a mini-split yourself might seem like a cost-saving measure, it's generally not worth the risk. A professional installation ensures safety, efficiency, and long-term reliability.
Q: What is involved in the installation process by a professional?
A professional mini-split installation typically involves these steps:
- Site Assessment: The installer will assess your space to determine the best location for the indoor and outdoor units, considering factors like room size, sun exposure, insulation, and access to power.
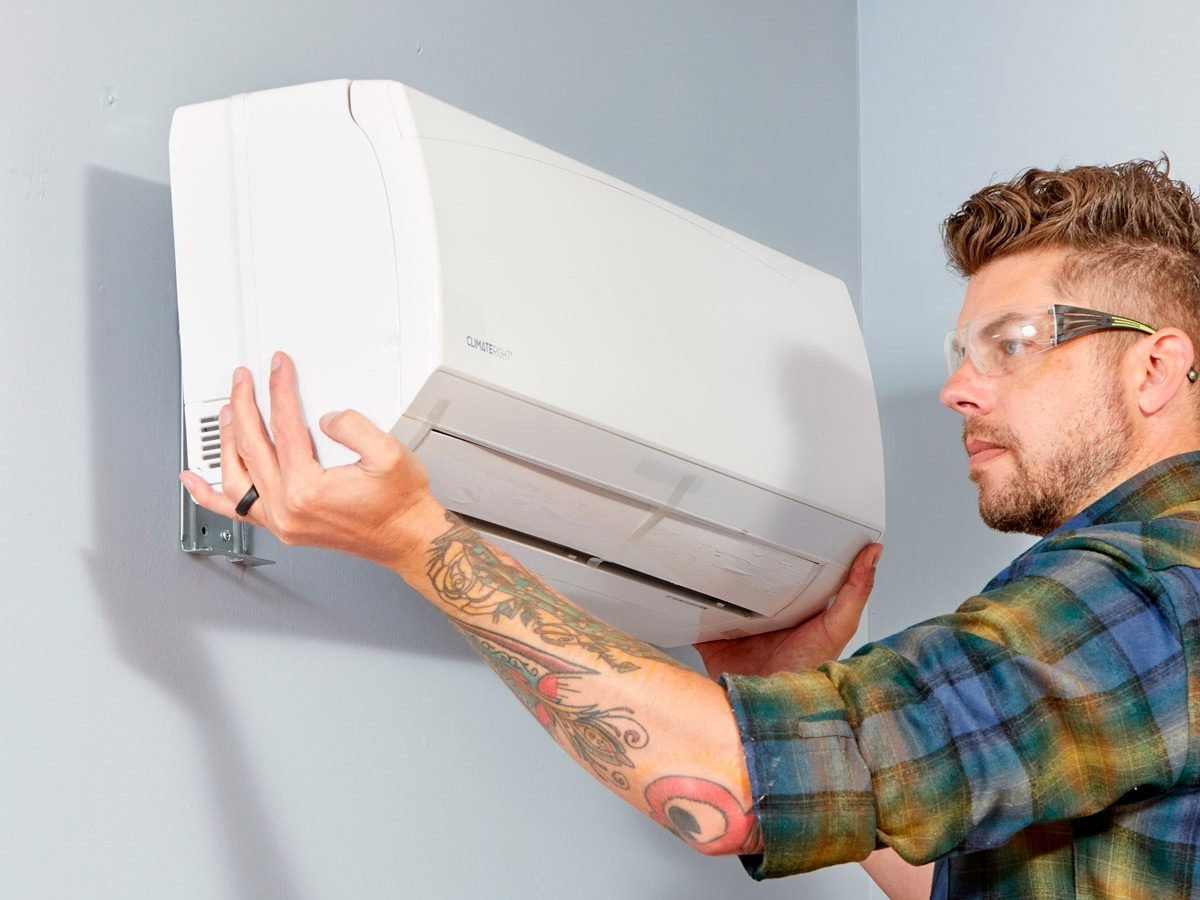
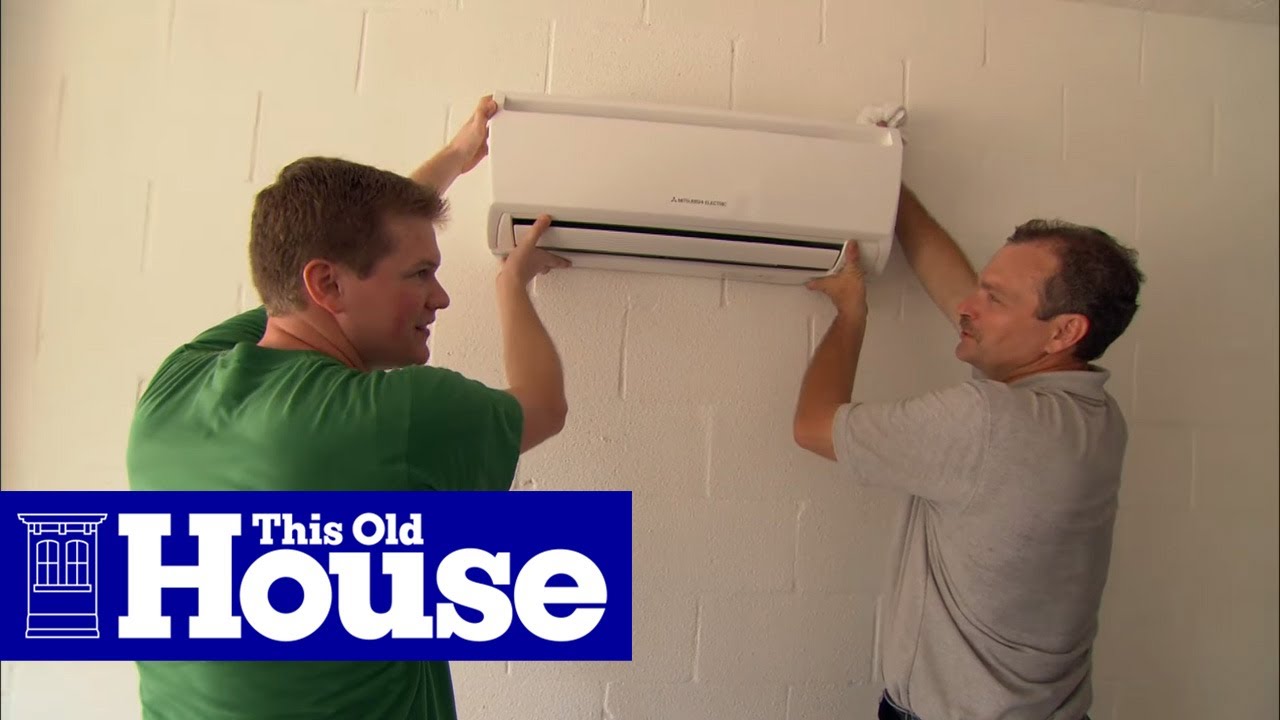
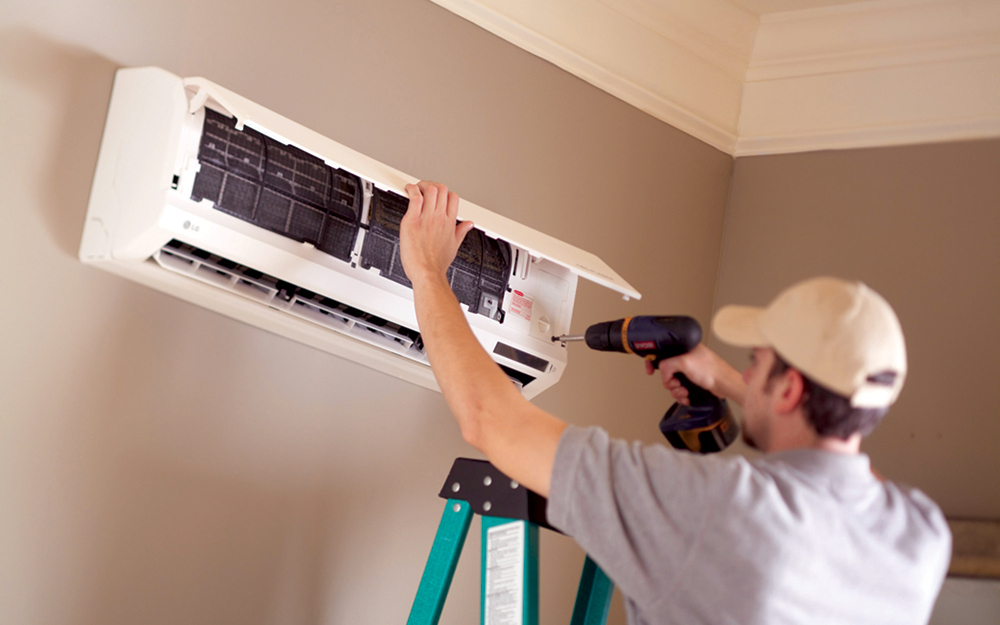
- Mounting the Indoor Unit: A mounting bracket is securely attached to the wall (or ceiling, depending on the model). The indoor unit is then mounted on the bracket.
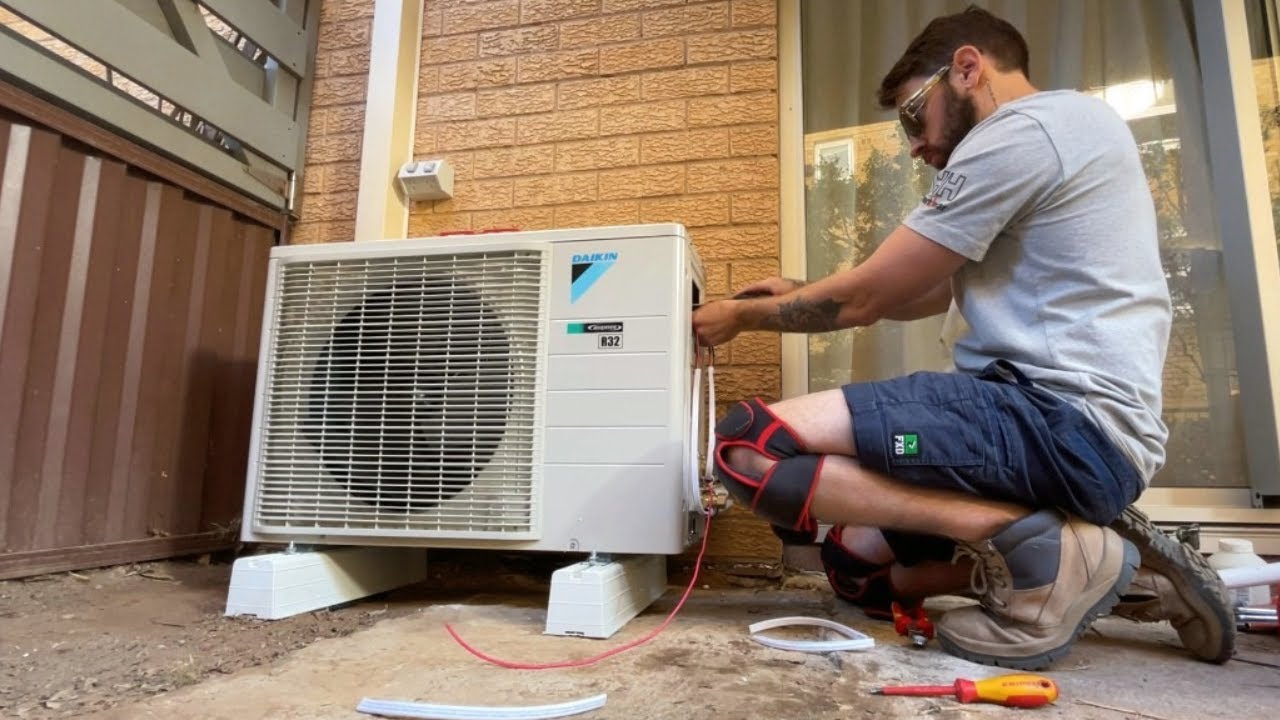
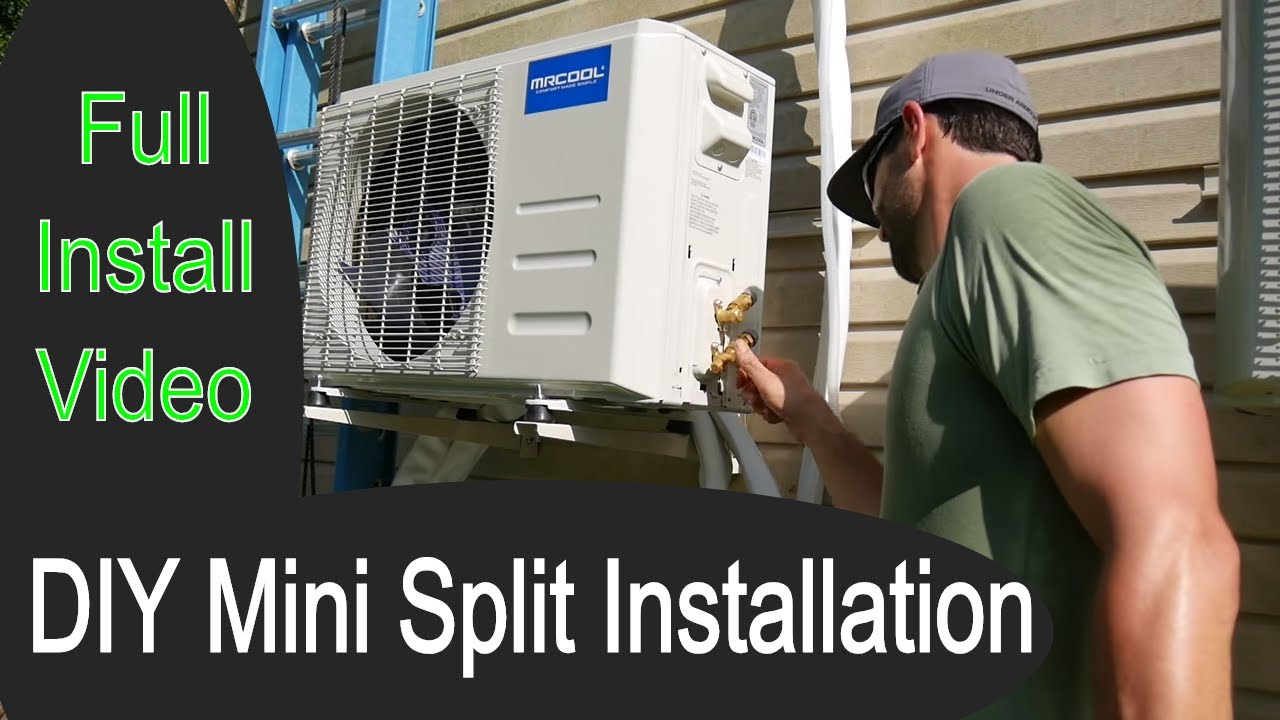
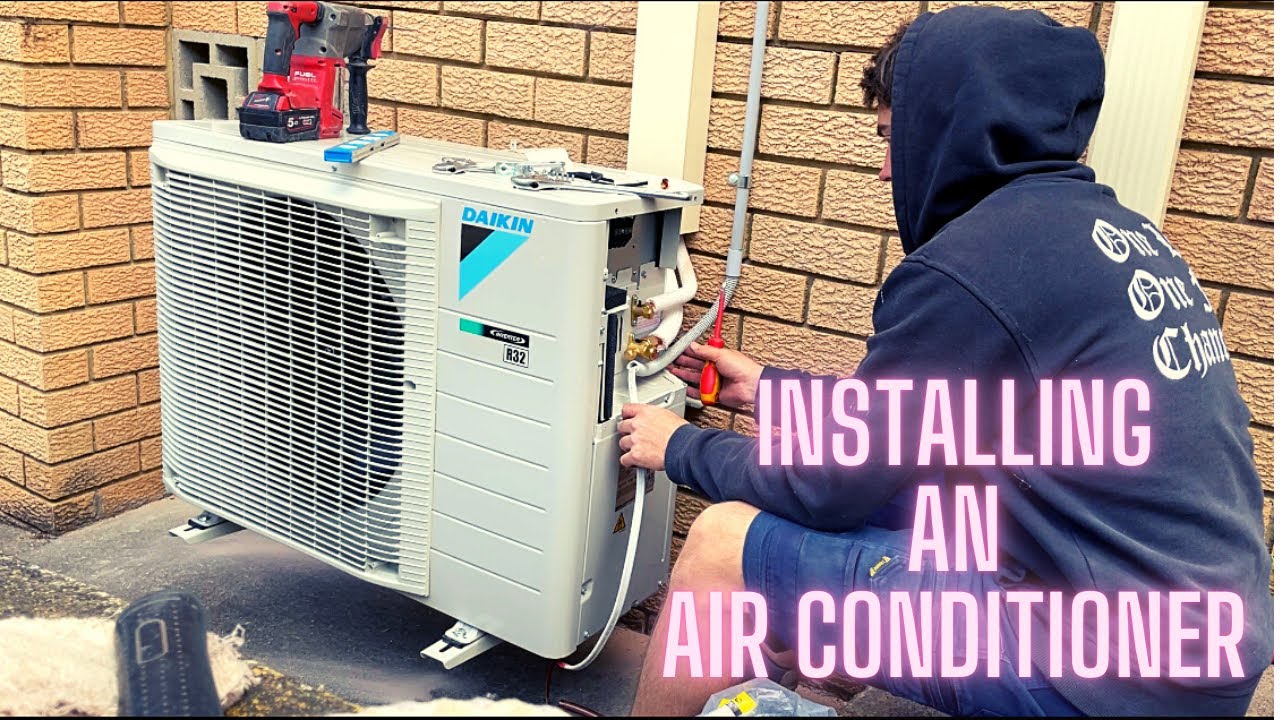
- Mounting the Outdoor Unit: A concrete pad or mounting bracket is installed outside to support the outdoor unit. The location should provide adequate clearance for airflow and be accessible for maintenance.
- Connecting the Refrigerant Lines and Electrical Wiring: The refrigerant lines, power cables, and condensate drain line are run through a small hole in the wall connecting the indoor and outdoor units. Properly sealing this hole is crucial to prevent air leaks. Connections are made to the units according to the manufacturer's specifications.
- Vacuuming the Refrigerant Lines: A vacuum pump is used to remove air and moisture from the refrigerant lines. This is a critical step for ensuring the system's efficiency and longevity.
- Refrigerant Charge and Leak Testing: The refrigerant is released into the system, and all connections are carefully checked for leaks.
- Electrical Connections: The unit is connected to the electrical panel by a licensed electrician, ensuring a dedicated circuit with the appropriate breaker size.
- System Testing and Calibration: The system is turned on and tested to ensure it's functioning correctly. The installer will calibrate the unit and explain how to operate it.
- Clean Up: The installer will clean up the work area and dispose of any debris.
The entire process usually takes between 4 and 8 hours, depending on the complexity of the installation.
Q: How much does mini-split installation typically cost?
The cost of mini-split installation varies depending on several factors:
- The number of indoor units: A single-zone system (one indoor unit connected to one outdoor unit) will be less expensive than a multi-zone system (multiple indoor units connected to one outdoor unit).
- The size and type of unit: Larger units with higher BTU ratings and advanced features will cost more to install.
- The complexity of the installation: Factors like the distance between the indoor and outdoor units, the accessibility of the installation location, and the need for electrical upgrades can affect the price.
- Your location: Labor costs vary by region.
- Permits and Inspections: Permit fees and inspection costs will add to the overall price.
- The contractor's rates: Get quotes from multiple contractors to compare prices.
Generally, you can expect to pay anywhere from $3,000 to $8,000 for a single-zone mini-split installation, including the cost of the unit and labor. Multi-zone systems can cost significantly more, ranging from $6,000 to $15,000 or more. It’s always best to obtain multiple quotes to ensure you receive competitive pricing.
Q: What are the key considerations when choosing a location for the indoor and outdoor units?
Choosing the right location for your mini-split units is crucial for optimal performance and aesthetics. Here are some key considerations:
Indoor Unit:
- Airflow: Choose a location that allows for unrestricted airflow throughout the room. Avoid placing the unit behind furniture or curtains that could block the air vents.
- Structural Support: The wall or ceiling must be strong enough to support the weight of the unit.
- Proximity to Outdoor Unit: Minimize the distance between the indoor and outdoor units to reduce refrigerant line length and improve efficiency.
- Aesthetics: Consider the visual impact of the unit on the room. Choose a location that is relatively unobtrusive.
- Noise: While mini-splits are generally quiet, avoid placing the unit directly above sleeping areas if possible.
- Condensate Drain: Ensure a proper drainage path for the condensate line.
Outdoor Unit:
- Clearance: Provide adequate clearance around the unit for airflow and maintenance. Follow the manufacturer's recommendations for minimum clearance distances.
- Level Surface: Install the unit on a level concrete pad or mounting bracket.
- Protection from the Elements: Avoid placing the unit in direct sunlight or areas prone to heavy snow accumulation.
- Noise: Consider the noise level of the outdoor unit and avoid placing it near bedrooms or other sensitive areas.
- Accessibility: Ensure the unit is easily accessible for maintenance and repairs.
- Proximity to Power: The outdoor unit needs to be close to a power source for electrical connection.
Your installer can help you assess your space and determine the best locations for your mini-split units based on these considerations.
Q: How do I maintain my mini-split system after installation?
Proper maintenance is essential for ensuring the longevity and efficiency of your mini-split system. Here are some key maintenance tasks:
- Clean the Air Filters Regularly: Clean the air filters in the indoor unit every 2-4 weeks, depending on usage and air quality. Dirty filters restrict airflow and reduce efficiency. Most filters can be washed with mild soap and water.
- Clean the Outdoor Unit: Remove any debris (leaves, branches, etc.) from the outdoor unit. Periodically clean the coils with a soft brush or vacuum cleaner. Avoid using high-pressure water spray, as this can damage the coils.
- Check the Condensate Drain: Ensure the condensate drain line is clear and free of clogs. You can use a wet/dry vacuum to clear any blockages.
- Inspect Refrigerant Lines: Visually inspect the refrigerant lines for any signs of damage or leaks. If you suspect a leak, contact a professional immediately.
- Professional Maintenance: Schedule professional maintenance at least once a year. A technician will inspect the system, clean the coils, check the refrigerant charge, and perform any necessary repairs.
- Monitor Performance: Pay attention to the unit's performance. If you notice a decrease in cooling or heating efficiency, unusual noises, or other problems, contact a professional for service.
By following these maintenance tips, you can keep your mini-split system running smoothly for years to come.
Q: Are there any energy efficiency rebates or incentives available for installing a mini-split?
Yes, there are often rebates and incentives available for installing energy-efficient mini-split air conditioners. These incentives can help offset the initial cost of the system.
- Federal Tax Credits: Check the ENERGY STAR website for information on federal tax credits for energy-efficient appliances. These credits can reduce your federal income tax liability.
- State and Local Rebates: Many states and local utility companies offer rebates for installing energy-efficient heating and cooling systems. Check with your local utility company or energy office for available programs in your area.
- Manufacturer Rebates: Some manufacturers offer rebates on their products. Check the manufacturer's website or ask your installer about available rebates.
Be sure to research available rebates and incentives before you purchase your mini-split system. These programs can significantly reduce the overall cost of the installation.