Installing Weep Holes After Fact
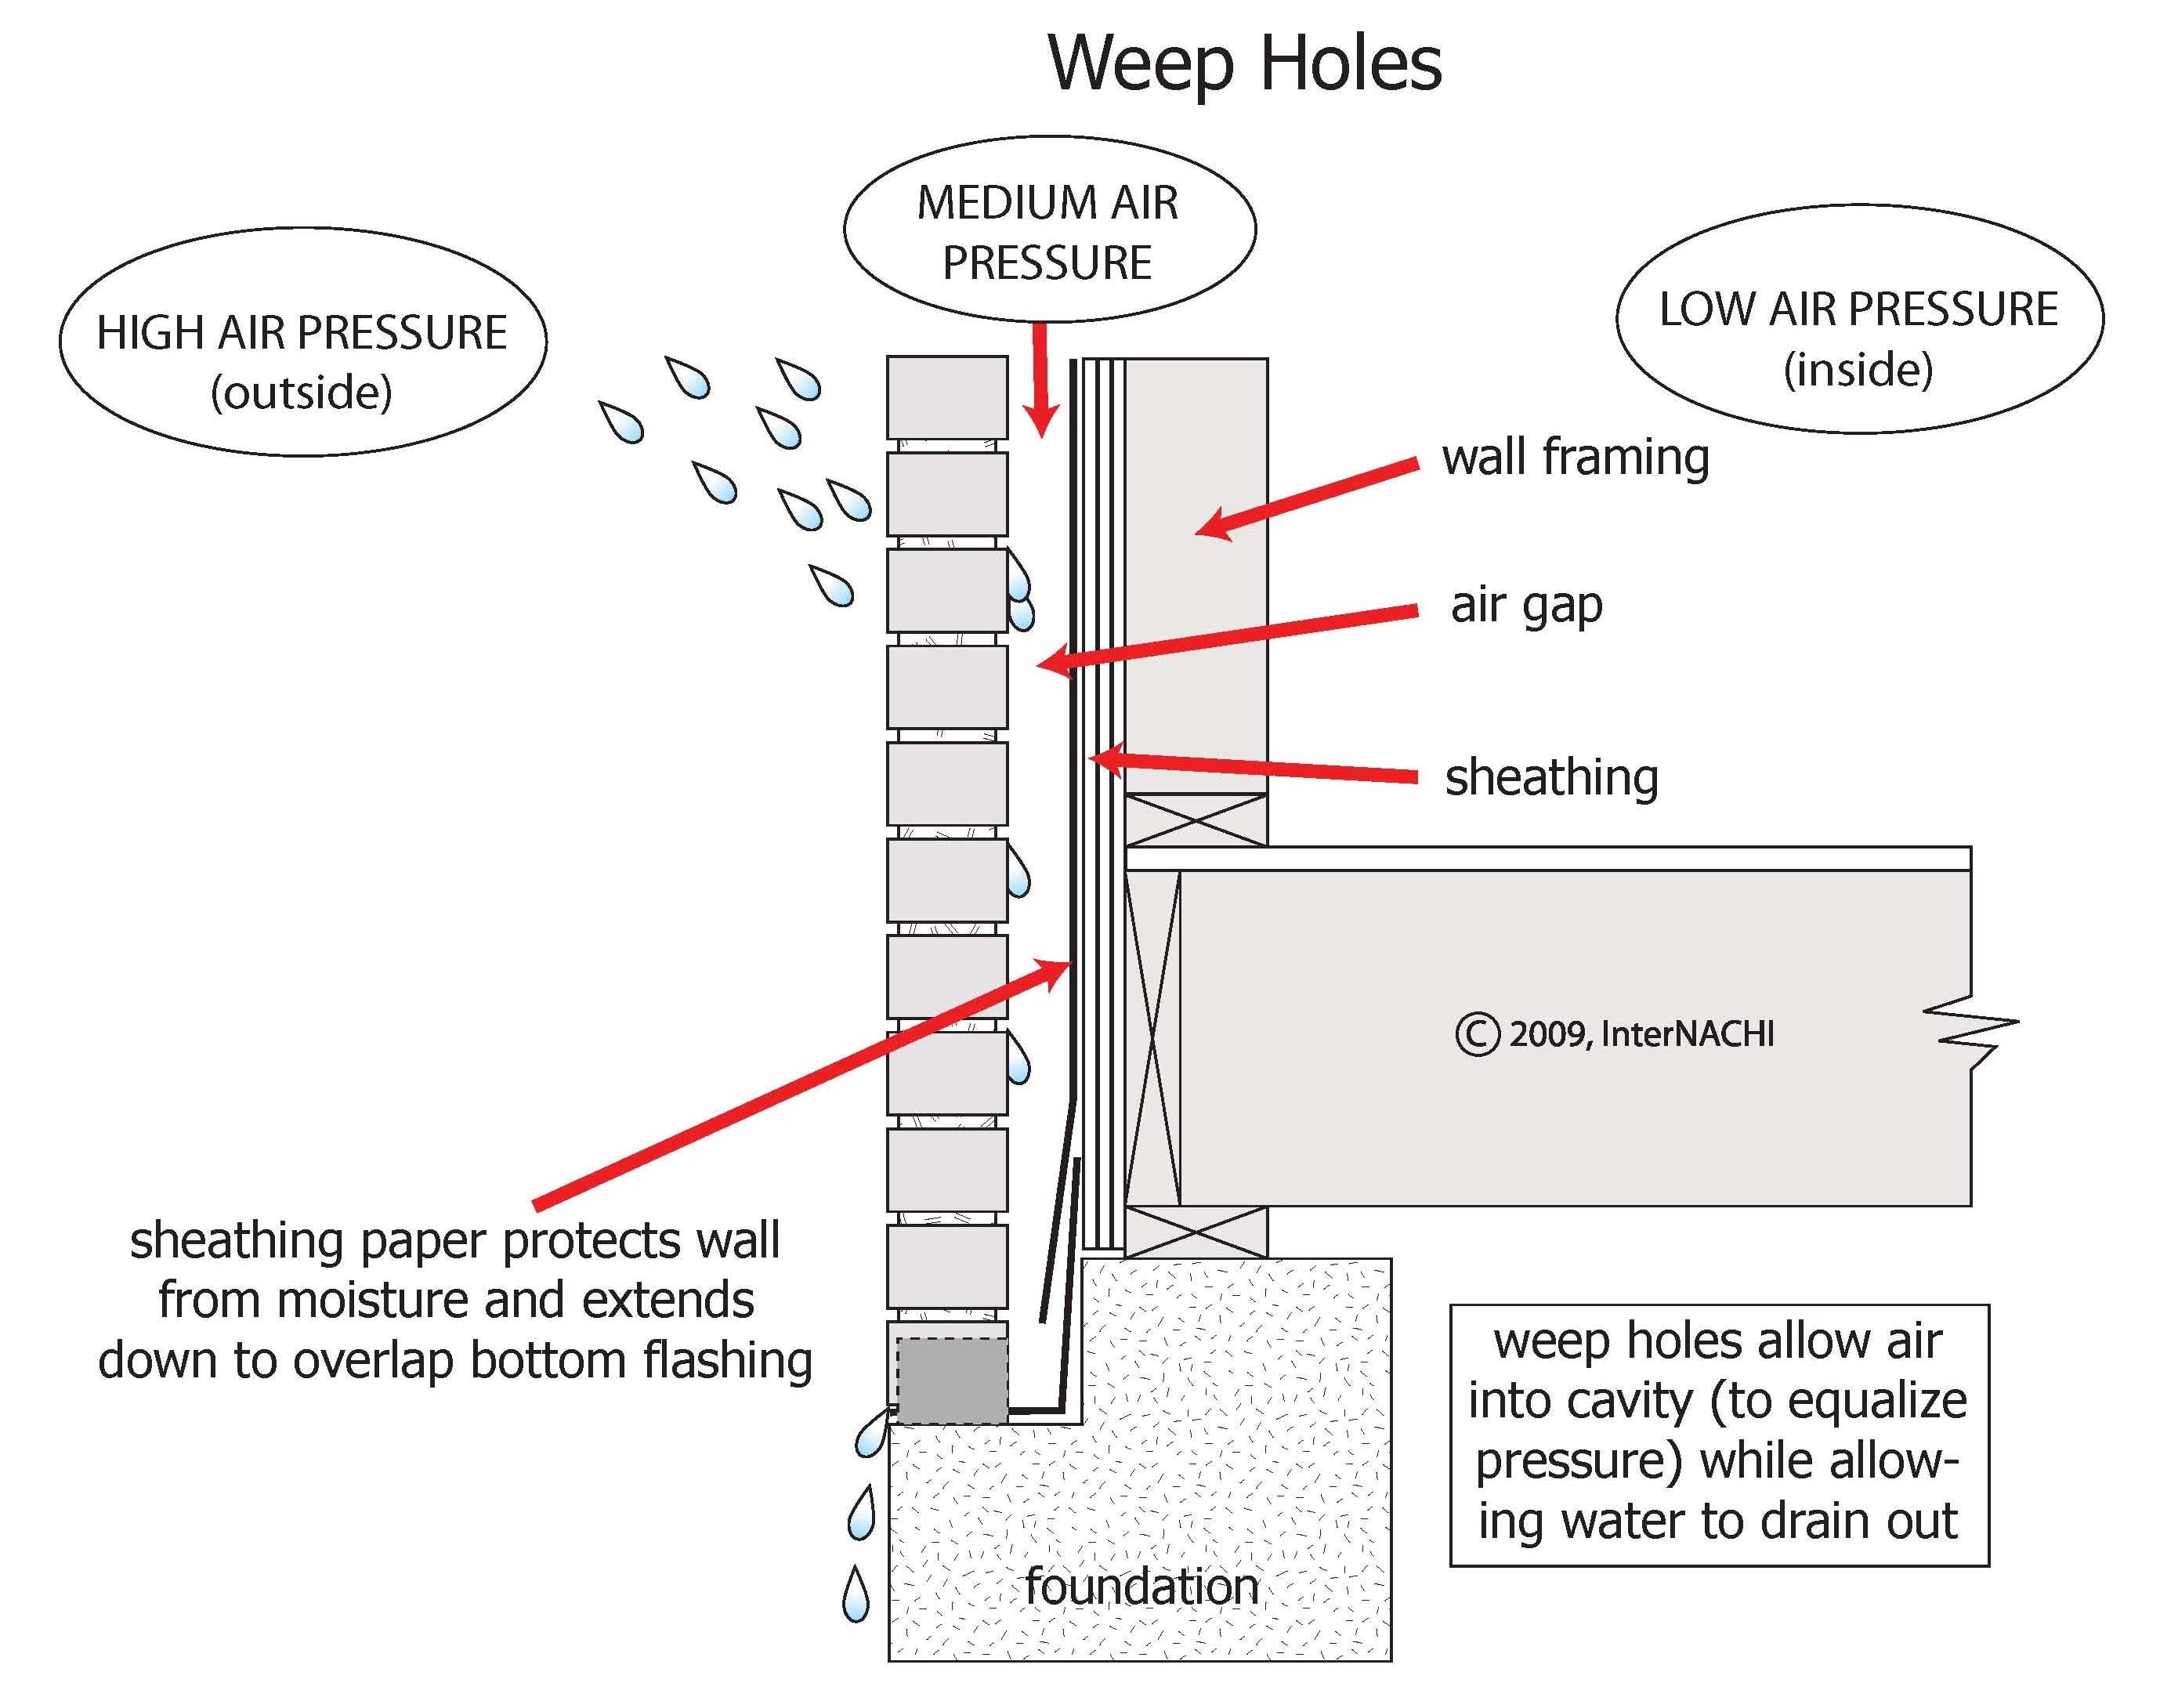
Efflorescence, crumbling mortar, and interior dampness. These are all red flags that your brick or stone veneer might be holding onto too much moisture. While a properly installed wall should "breathe" and allow moisture to escape, many older homes, or those built with insufficient detailing, lack this essential feature: weep holes. Installing weep holes after the fact might seem daunting, but with careful planning and a methodical approach, it's a manageable DIY project – at least up to a certain point.
Diagnosing the Need for Weep Holes
Before you grab a drill, it's crucial to accurately diagnose the problem. Remember, misdiagnosis can lead to unnecessary and potentially damaging work.
Step 1: Identifying the Symptoms
Look for the following telltale signs:
- Efflorescence: This is a white, powdery deposit on the surface of the brick or stone. It's caused by water carrying salts from within the wall to the surface as it evaporates. While some efflorescence is normal in new construction, persistent or excessive efflorescence is a sign of moisture build-up.
- Crumbling Mortar: Check the mortar joints between the bricks or stones. Is it soft, crumbly, or missing in places? This indicates water damage and freeze-thaw cycles taking their toll.
- Dampness on Interior Walls: This is a serious symptom. If you notice damp patches, peeling paint, or mildew growth on interior walls adjacent to the exterior brick or stone, water is definitely infiltrating the wall cavity.
- Staining Below Windows and Lintel: Water running down the brickwork can leave unsightly stains, particularly below windows and lintels (the horizontal supports above openings).
- Visible Water Damage to Wood Structures: Inspect any exposed wood elements adjacent to the brick veneer, such as fascia boards or window frames. Look for signs of rot, warping, or discoloration.
Step 2: Ruling Out Other Causes
Moisture problems can stem from various sources. Before assuming a lack of weep holes is the culprit, consider these possibilities:
- Roof Leaks: A leaky roof can send water cascading down the walls, mimicking the symptoms of inadequate weep holes. Thoroughly inspect your roof for damaged shingles, flashing, or gutters.
- Gutter and Downspout Issues: Clogged gutters or improperly positioned downspouts can cause water to overflow and saturate the surrounding walls. Ensure your gutters are clean and your downspouts direct water away from the foundation.
- Plumbing Leaks: A hidden plumbing leak inside the wall can be a source of persistent moisture. Listen for the sound of dripping water and check water pressure if you suspect a leak.
- Groundwater Intrusion: If the dampness is concentrated near the base of the wall, groundwater intrusion may be the problem. This could be due to poor drainage or a high water table.
Step 3: Performing a Simple Water Test
To help confirm that the brick veneer is holding onto water, try this simple test. On a dry day, thoroughly wet a small section of the brickwork with a garden hose. Wait a few hours, then check for dampness on the interior side of the wall. If dampness appears quickly, it suggests that water is readily penetrating the wall and not able to escape.
DIY Weep Hole Installation: A Step-by-Step Guide
If you've determined that a lack of weep holes is likely contributing to your moisture problem, and you've ruled out other causes, you can proceed with installing them. Safety is paramount. Wear safety glasses, gloves, and a dust mask. If you're uncomfortable working at heights, don't hesitate to call a professional.
Step 1: Gathering Your Materials
You'll need the following:
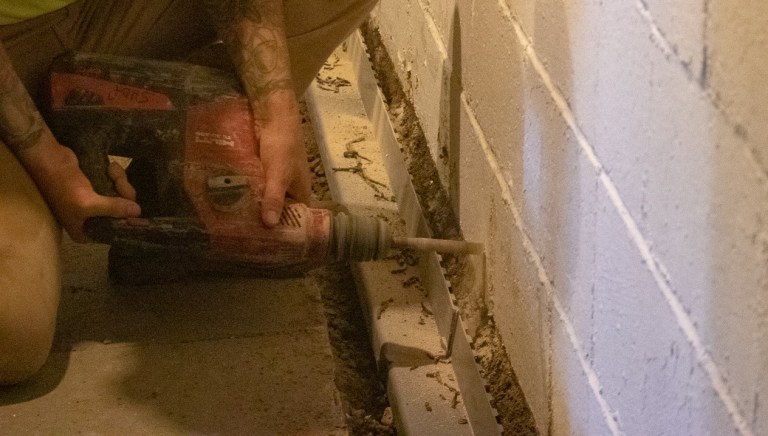
- Drill: A hammer drill is ideal for drilling through brick or mortar. A standard drill can work, but it will take longer and be harder on the drill bits.
- Drill Bits: Use masonry drill bits appropriate for the size weep hole you plan to create (typically ¼ inch to ⅜ inch). Have several bits on hand, as they can dull quickly when drilling through brick or mortar.
- Weep Hole Inserts (optional): These small plastic or metal tubes help keep the weep holes open and prevent insects from entering. They come in various sizes and styles.
- Mortar Chisel and Hammer (optional): If you prefer to create rectangular weep holes, you'll need these tools.
- Vacuum Cleaner: To remove dust and debris from the drilled holes.
- Measuring Tape: To ensure proper spacing of the weep holes.
- Safety Glasses, Gloves, and Dust Mask: Essential for personal protection.
Step 2: Planning the Placement of Weep Holes
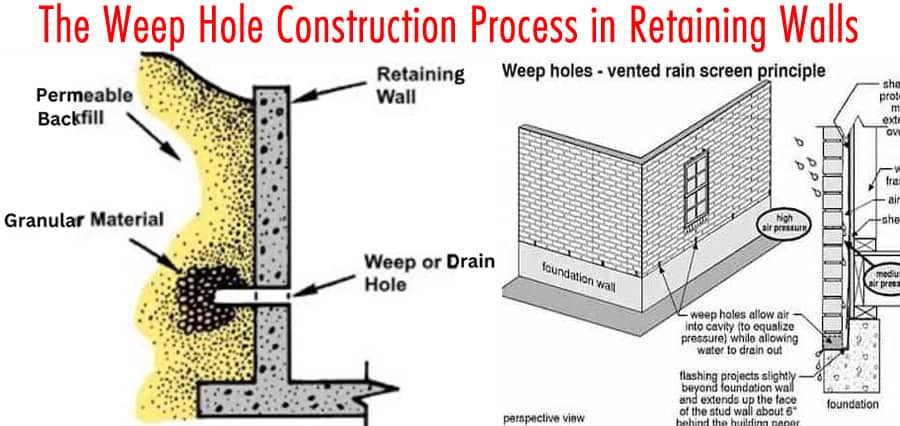
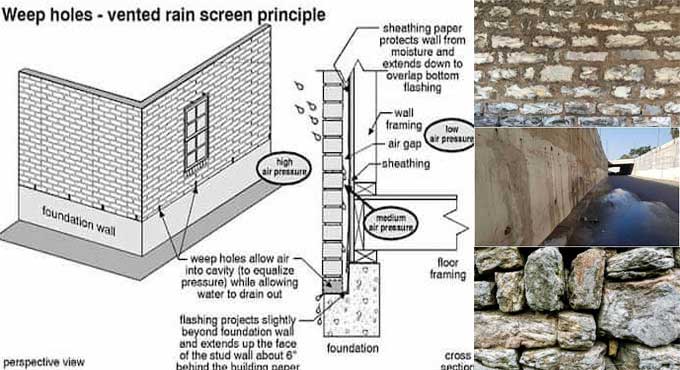
Weep holes should be spaced approximately 24 inches apart horizontally and located just above the flashing course (the waterproof barrier that directs water out of the wall cavity). Ideally, they should be placed in the mortar joints, not the bricks themselves. Common locations include:
- Above Windows and Doors: These are prime areas for water intrusion.
- At the Base of Walls: Position weep holes just above the foundation line to allow any accumulated water to escape.
- Above Lintel: Placement is similar to windows.
- At any point where the horizontal plane meets the vertical plane
Step 3: Drilling the Weep Holes
This is the most critical step. Take your time and be careful not to damage the surrounding brickwork.
- Mark the Spot: Use a pencil to mark the location of each weep hole on the mortar joint.
- Drill Pilot Hole: Start with a small drill bit to create a pilot hole. This will help prevent the larger bit from wandering.
- Drill to the Proper Depth: Slowly drill through the mortar joint until you reach the air space behind the brick veneer. You'll feel a slight give when you break through. Do not drill all the way through the wall! You only want to penetrate the outer layer of brick or stone. The typical depth is around 4 inches.
- Clean the Hole: Use a vacuum cleaner to remove any dust and debris from the drilled hole.
- Repeat: Repeat the process for each weep hole, maintaining consistent spacing.
Step 4: Inserting Weep Hole Inserts (Optional)
If you're using weep hole inserts, now is the time to install them. Simply push them into the drilled holes until they are flush with the surface of the mortar joint. These help to keep the holes clear and prevent insects from nesting inside.
Step 5: Alternative Method: Creating Rectangular Weep Holes (Optional)
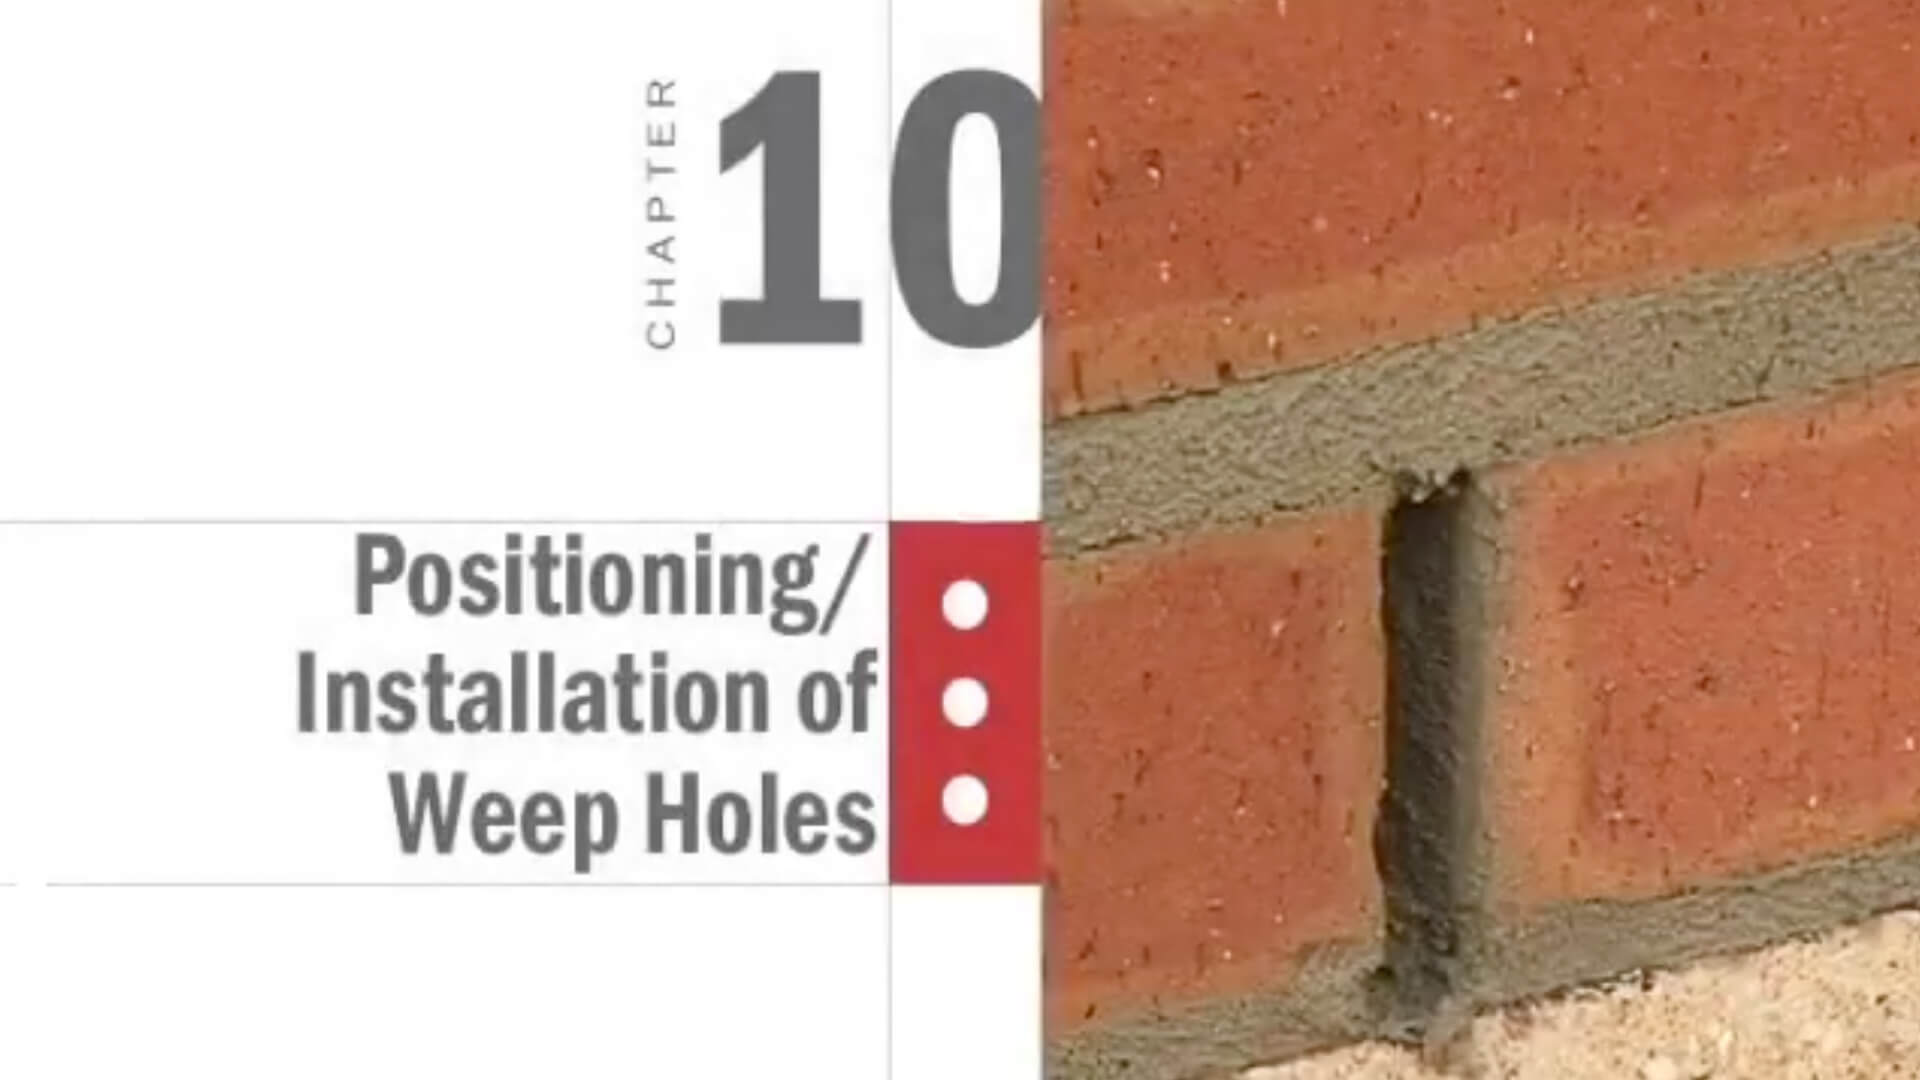
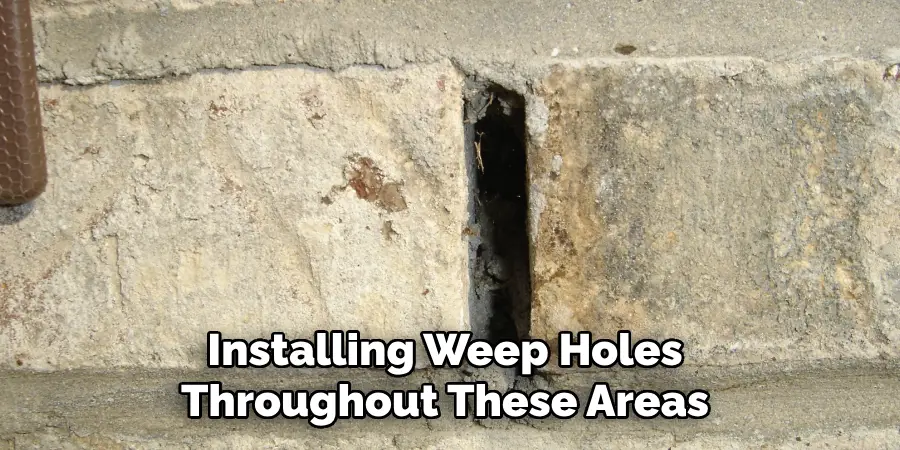
Some people prefer the appearance of rectangular weep holes. To create these, use a mortar chisel and hammer to carefully remove a small section of mortar from the joint. The opening should be about ½ inch wide and 1 inch long. This method requires more skill and patience than drilling, but it can provide a more traditional look.
When to Call a Professional
While installing weep holes is a manageable DIY project for many homeowners, there are situations where professional help is essential. Don't hesitate to call a qualified mason or contractor if you encounter any of the following:
- Extensive Mortar Damage: If the mortar is severely deteriorated or missing in large sections, simply adding weep holes won't solve the problem. The entire wall may need repointing (replacing the mortar).
- Structural Issues: If you suspect any structural problems with the brick veneer or underlying wall, consult a structural engineer before proceeding with any repairs.
- Difficulty Drilling: If you're having difficulty drilling through the mortar or brick, or if you're concerned about damaging the wall, it's best to let a professional handle it.
- Large-Scale Water Damage: If you're dealing with significant water damage, such as mold growth or rot, you may need professional remediation services in addition to weep hole installation.
- Working at Heights: If the work requires you to be on a ladder at a height that makes you uncomfortable, hire a professional. Safety should always be your top priority.
- Unsure About the Root Cause: If you're still unsure about the cause of the moisture problem, a professional can conduct a thorough inspection and provide an accurate diagnosis.
- Complicated Flashing Details: Integrating weep holes properly requires an understanding of flashing installation. If you find the flashing is installed incorrectly or is damaged, this can be a major issue and may require professional assessment and repair.
Post-Installation Monitoring
After installing the weep holes, it's essential to monitor the area for any changes. Keep an eye on the efflorescence, mortar joints, and interior walls. It may take several months to see a noticeable improvement, but if the weep holes are working properly, you should eventually notice a reduction in moisture-related problems.
Regular Maintenance: Weep holes can become clogged with debris over time. Periodically inspect them and clear out any obstructions using a small brush or wire.
By following these steps and being vigilant, you can help ensure that your brick or stone veneer remains healthy and free from moisture damage for years to come. Remember, when in doubt, consult a professional. Addressing moisture problems early can save you significant time and money in the long run.