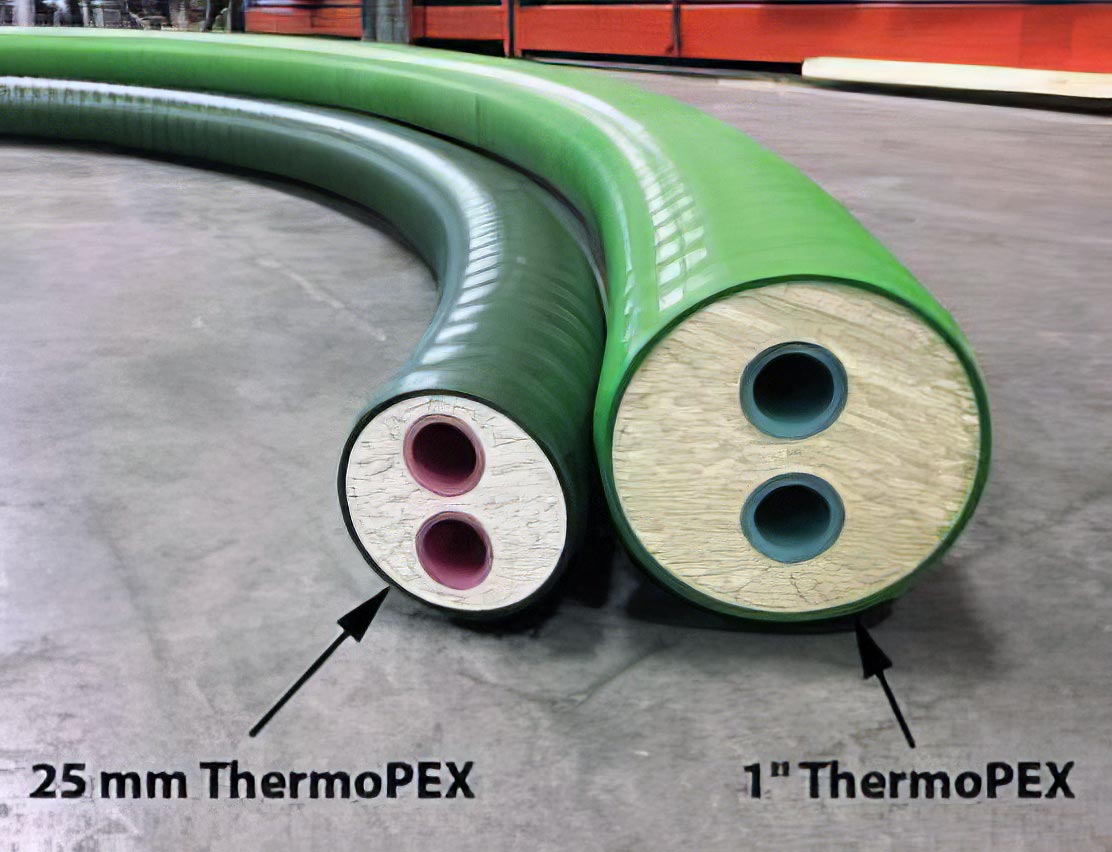
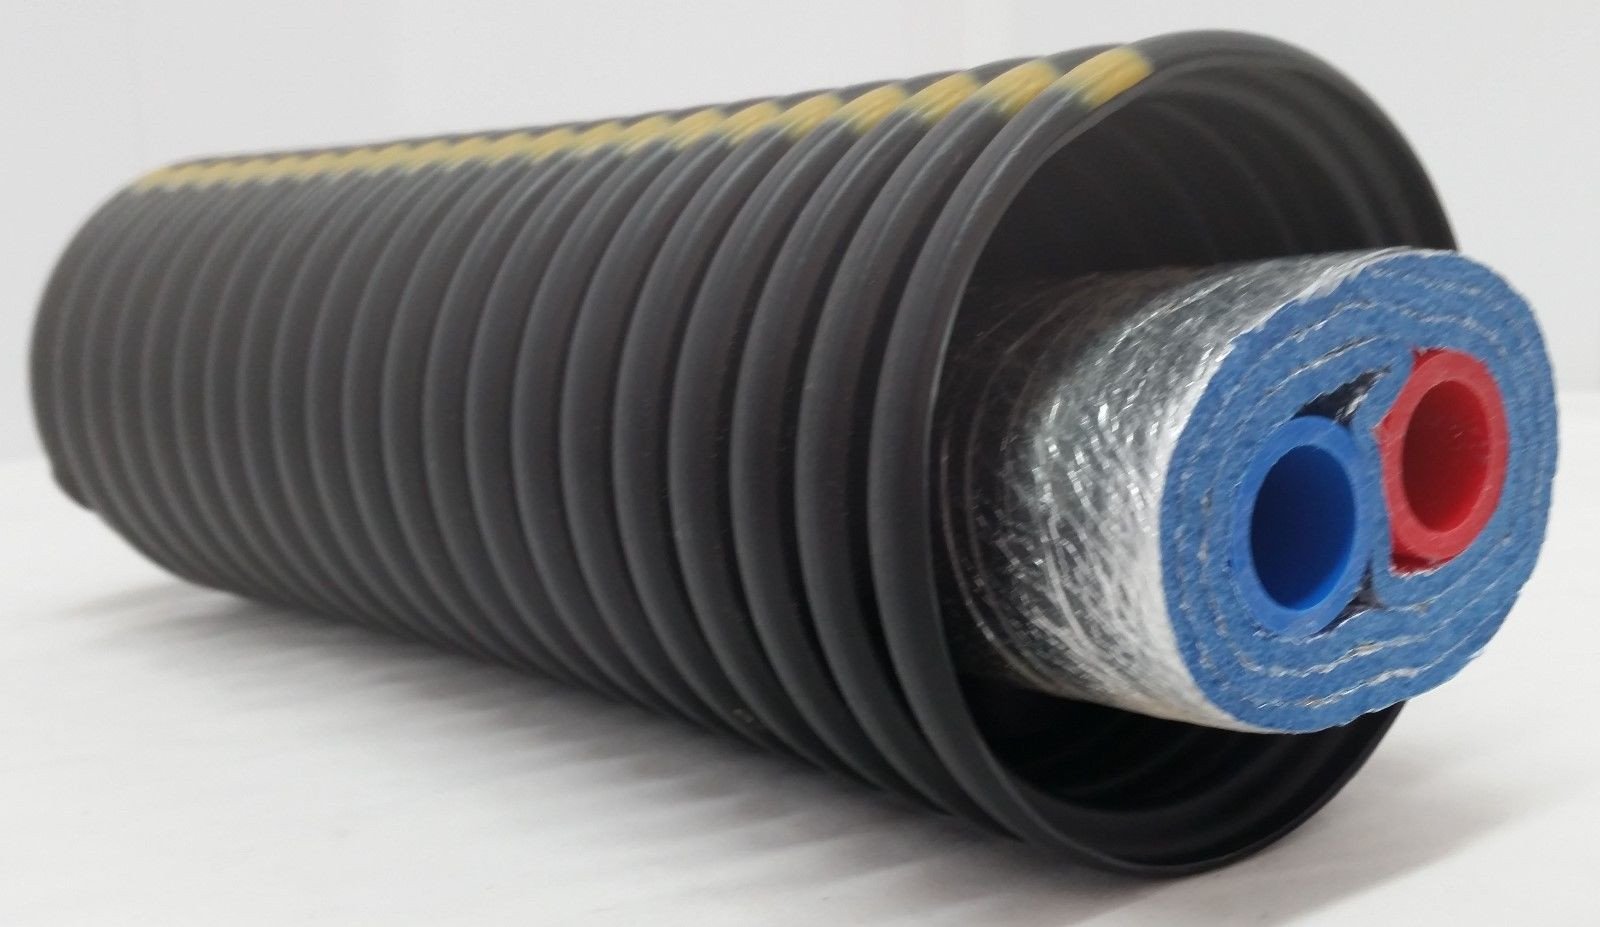
Insulated Pex Pipe For Wood Boilers
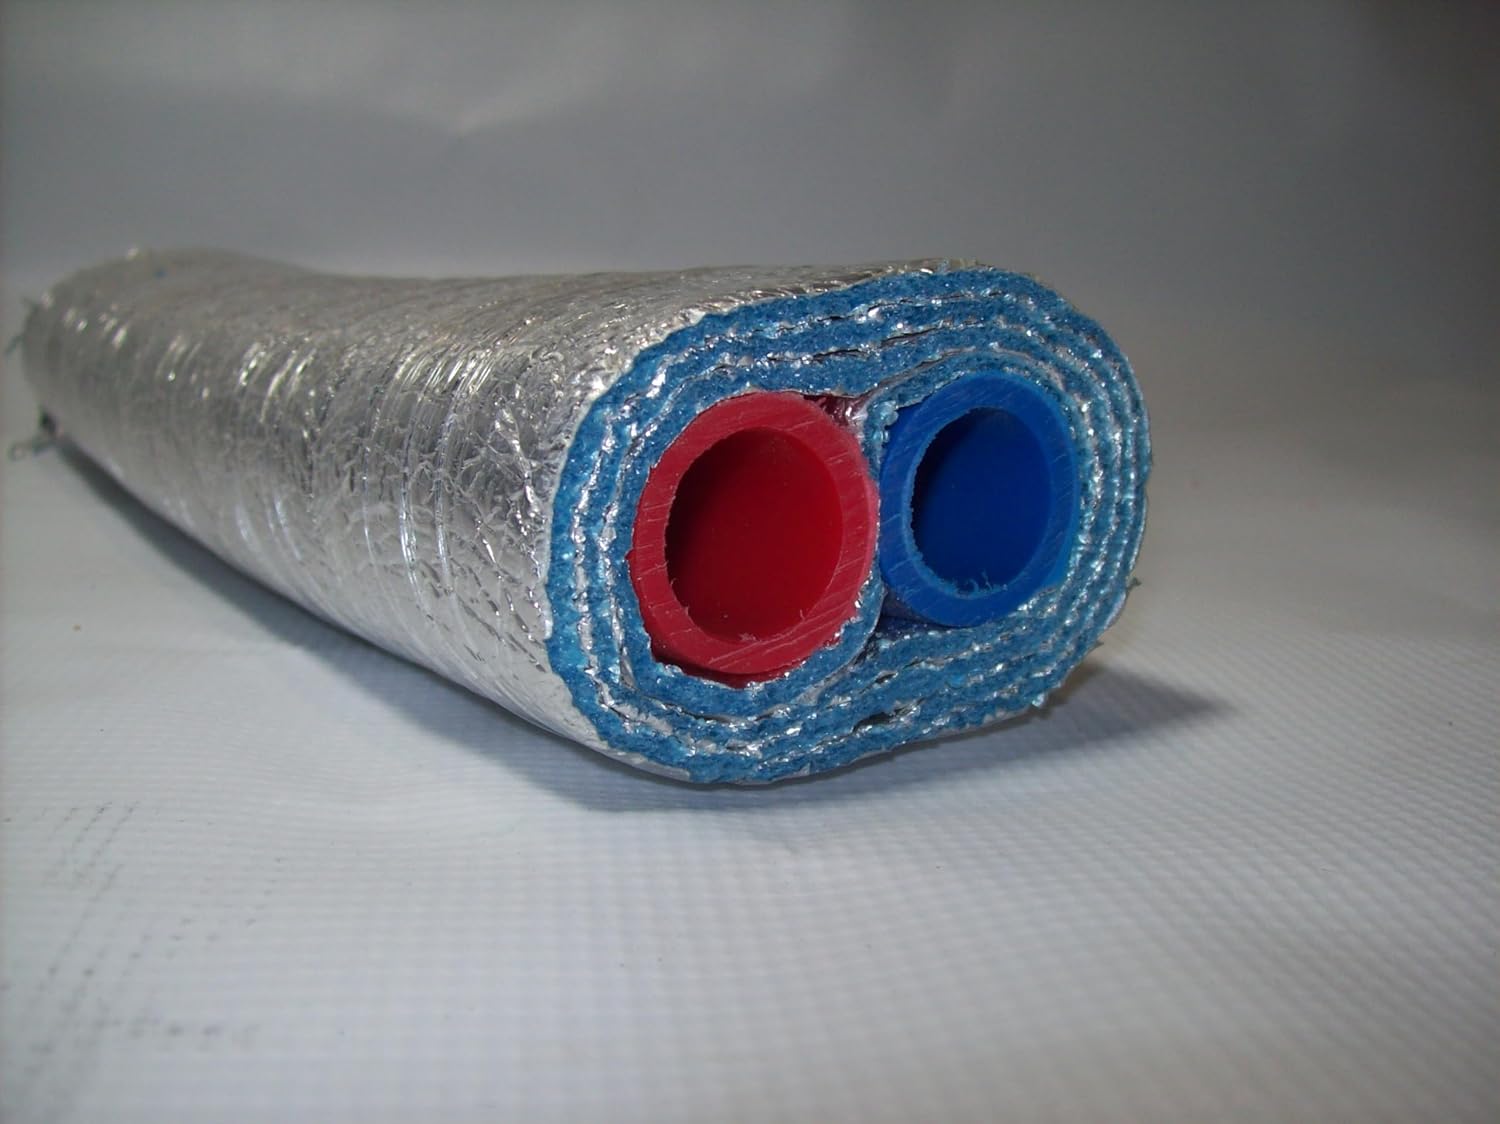
Many homeowners who rely on outdoor wood boilers connected to their homes via insulated PEX pipe experience a common frustration: heat loss. While insulated PEX is designed to minimize heat dissipation during water transfer, factors like age, damage, or improper installation can compromise its effectiveness. This results in higher wood consumption, longer boiler run times, and ultimately, a colder house than you'd like. This article will guide you through diagnosing and addressing common issues, empowering you with DIY solutions and identifying when it’s time to call in a professional.
Identifying the Problem: Excessive Heat Loss
Before jumping into solutions, let's confirm if you're truly experiencing excessive heat loss. Start by comparing your wood consumption to previous years, accounting for weather differences. If you're burning significantly more wood than usual for similar temperatures, that's a red flag.
Here are some key signs to watch for:
- Higher wood consumption: Burning significantly more wood than normal for the same heating needs.
- Longer boiler run times: The boiler cycles on and off more frequently and for longer durations.
- Lower water temperatures: Noticeably lower water temperatures at the point of use in your home (e.g., faucets, radiators).
- Ice or snow melt along the PEX route: This indicates escaping heat, even with insulation.
Step-by-Step Troubleshooting Guide
Now, let's walk through a methodical troubleshooting process. Remember to prioritize safety and shut down the system if you encounter any situations beyond your comfort level.
Step 1: Visual Inspection of the PEX Pipe Run
This is the most crucial step. Carefully examine the entire length of the insulated PEX pipe run from the boiler to your house. Look for the following:
- Physical damage: Check for cuts, cracks, punctures, or abrasions in the outer jacket or insulation. These can be caused by animals, landscaping equipment, or settling ground.
- Water accumulation: Look for signs of water pooling around the pipe, especially at low points or joints. This indicates a possible leak or compromised insulation.
- Compromised insulation: Inspect for areas where the insulation is compressed, missing, or waterlogged. Wet insulation is ineffective insulation.
- Exposed PEX: Make sure that no sections of the PEX pipe are directly exposed to the elements without insulation. Sunlight degrades PEX over time.
- Proper Burial Depth (if applicable): If the PEX is buried, check for signs of ground settling or erosion that might have exposed the pipe.
- Joint Integrity: Pay close attention to any joints, couplings, or fittings along the PEX run. These are common weak points where leaks can occur.
DIY Fix: If you find small cuts or punctures in the outer jacket, you can often repair them with waterproof duct tape or specialized PEX repair tape. Ensure the area is clean and dry before applying the tape. Wrap the damaged section tightly and extend the tape a few inches beyond the damage on either side.
Step 2: Inspecting Connections and Fittings
Leaks at connections are a frequent cause of heat loss. Examine all fittings, including those at the boiler, the house entry point, and any intermediate connections. Look for:
- Dripping water: Even a small drip can lead to significant heat loss over time.
- Mineral deposits: White or greenish deposits around fittings indicate a past or present leak.
- Corrosion: Corrosion can weaken fittings and lead to leaks.
- Loose connections: Gently try to wiggle the fittings. If they move easily, they may need tightening.
DIY Fix: If you find a slightly loose fitting, carefully try tightening it with the appropriate wrench. Do not overtighten! Overtightening can damage the fitting and cause a more significant leak. If tightening doesn’t stop the leak, or if you see signs of corrosion, it's best to consult a professional.
Step 3: Checking for Air Pockets
Air pockets in the PEX lines can restrict water flow and reduce heating efficiency. Air tends to accumulate at high points in the system.
- Gurgling noises: Listen for gurgling or bubbling sounds in the PEX lines, especially when the system is running.
- Inconsistent heating: Radiators or baseboards may heat unevenly.
DIY Fix: Many systems have air bleed valves installed at high points in the PEX run or on the radiators/baseboards within the house. Carefully open these valves to release trapped air. Have a bucket and rag ready to catch any water that may come out. Close the valve once water starts flowing steadily.
Step 4: Evaluating Insulation Effectiveness
Even without visible damage, the insulation itself may have deteriorated over time, especially if it has been exposed to moisture. Evaluate the insulation by:
- Feeling for temperature differences: Carefully feel the outside of the insulated PEX pipe. If certain sections feel significantly warmer than others, it indicates reduced insulation effectiveness.
- Checking for water saturation: If the insulation feels damp or heavy, it's likely waterlogged and needs to be replaced.
- Assessing insulation type: Some types of insulation degrade faster than others. Verify the insulation type is appropriate for outdoor burial (if applicable).
DIY Fix: If the insulation is only slightly damaged or compressed, you might be able to add an additional layer of insulation around the affected area. Use high-quality, waterproof pipe insulation and secure it tightly with tape or zip ties. However, if the insulation is significantly damaged or waterlogged, replacement is necessary, and this might require professional assistance depending on the extent of the damage and access to the PEX pipe.
Step 5: Examining the Boiler's Water Chemistry
While not directly related to the PEX pipe itself, poor water chemistry in the boiler can lead to corrosion and scale buildup within the entire system, including the PEX lines. This reduces heat transfer efficiency and can contribute to heat loss.
- Rusty water: Reddish or brown water indicates rust in the system.
- Scale buildup: White or chalky deposits in the boiler or on fittings indicate scale buildup.
DIY Fix: Test the boiler water pH level using a test kit available at most hardware stores. Maintain the pH within the recommended range (typically between 7 and 8.5) by adding appropriate chemicals. Regularly flush the boiler to remove sediment and scale. Always follow the manufacturer's instructions for water treatment and flushing. If corrosion or scale buildup is severe, professional cleaning or treatment may be necessary.
When to Call a Professional
While many issues can be addressed with DIY solutions, some situations require the expertise of a qualified HVAC technician or plumber specializing in outdoor wood boiler systems. Here's when to seek professional help:
- Significant leaks: If you cannot stop a leak by tightening a fitting or if the leak is substantial.
- Corrosion or damage to PEX pipe itself: Replacing sections of PEX pipe, especially buried pipe, requires specialized tools and knowledge.
- Extensive insulation damage: Replacing large sections of damaged or waterlogged insulation can be a complex task, especially if the PEX is buried or difficult to access.
- Boiler issues: If you suspect problems with the boiler itself, such as low water level, pump failure, or burner malfunctions.
- Uncertainty: If you are unsure about any aspect of the troubleshooting process or feel uncomfortable performing a particular repair.
- Suspect Frozen Pipes: If you suspect frozen pipes, especially during very cold weather. Thawing frozen pipes improperly can cause them to burst.
Preventative Measures for Long-Term Performance
Preventing problems is always better than fixing them. Here are some tips to keep your insulated PEX pipe system running efficiently for years to come:
- Regular Inspections: Conduct visual inspections of the PEX pipe run at least twice a year, preferably in the spring and fall.
- Proper Burial Depth: Ensure that buried PEX pipe is buried at the recommended depth for your climate to prevent freezing.
- Protect Against Damage: Protect the PEX pipe from physical damage by using protective sleeves or barriers where necessary.
- Maintain Water Chemistry: Regularly test and treat the boiler water to prevent corrosion and scale buildup.
- Trim Vegetation: Keep vegetation clear of the PEX pipe to prevent damage from roots or animals.
- Insulate Exposed Sections: Ensure that all exposed sections of PEX pipe, including fittings and connections, are properly insulated.
- Consider a Glycol Solution: If you experience frequent freezing temperatures, consider using a glycol solution in the boiler water to lower the freezing point. Always consult with a professional before adding glycol to your system.
By following these troubleshooting steps and preventative measures, you can effectively diagnose and address heat loss issues in your insulated PEX pipe system, ensuring optimal efficiency and comfort for your home.