Insulating Air Ducts In Crawl Space

One of the most energy-wasting culprits in many homes is poorly insulated air ducts, especially those running through unconditioned spaces like crawl spaces. When ducts aren't properly insulated, the conditioned air (either heated or cooled) loses efficiency as it travels through these areas. This leads to higher energy bills, uneven temperatures in your home, and a strain on your HVAC system. Let's walk through troubleshooting and improving the insulation of your crawl space air ducts.
Identifying the Problem: Uninsulated or Poorly Insulated Ducts
Before you start tearing things apart, it's crucial to confirm that poor duct insulation is indeed the problem. Here are some signs to look for:
- Higher than usual energy bills: A sudden or consistent increase in your heating or cooling costs can point to air leaks or insulation issues.
- Uneven temperatures throughout the house: Some rooms are consistently colder or hotter than others, even when the HVAC system is running.
- Cold or warm ducts to the touch: In the winter, uninsulated ducts will feel very cold; in the summer, they'll feel warm. This indicates heat transfer.
- Visible condensation on ductwork: This is a telltale sign of uninsulated ducts, particularly in humid climates. Moisture can lead to mold growth.
- Crawl space feels significantly different in temperature: Noticeably colder in the winter or hotter in the summer than the rest of the house.
Safety First! Before You Begin
Working in a crawl space presents its own set of challenges. Prioritize safety before you even think about touching the ducts:
- Wear appropriate protective gear: This includes a dust mask or respirator, safety glasses, gloves, and long sleeves and pants. Crawl spaces often contain dust, mold, insulation particles, and potentially pests.
- Turn off the HVAC system: Before working on any ductwork, completely shut down your furnace or air conditioner at the breaker. This prevents accidental operation and potential injury.
- Inspect for hazards: Look for any standing water, exposed wiring, or signs of pests (rodents, insects) before entering the crawl space. Address these issues before proceeding.
- Ensure adequate lighting: Crawl spaces are typically dark and cramped. Use a work light or headlamp to see clearly and avoid tripping hazards.
- Have a helper: Ideally, have someone outside the crawl space who can assist you if needed.
Step-by-Step Troubleshooting and DIY Fixes
1. Visual Inspection of Existing Insulation
The first step is a thorough visual inspection of the existing duct insulation. Look for:
- Missing insulation: Are there bare sections of ductwork where insulation is completely absent?
- Damaged insulation: Is the insulation torn, compressed, or water-damaged?
- Loose insulation: Is the insulation sagging or improperly secured to the ducts?
- Signs of pests: Have rodents or insects nested in the insulation, compromising its effectiveness?
If you find any of these problems, you'll need to repair or replace the insulation.
2. Addressing Air Leaks
Even with insulation, air leaks can significantly reduce the efficiency of your ductwork. Common areas for leaks include:
- Seams and joints: Where sections of ductwork connect.
- Around registers and boots: Where ducts connect to vents and registers.
- Tears or punctures in the ductwork: Any damage to the duct material itself.
DIY Fix: Sealing Air Leaks
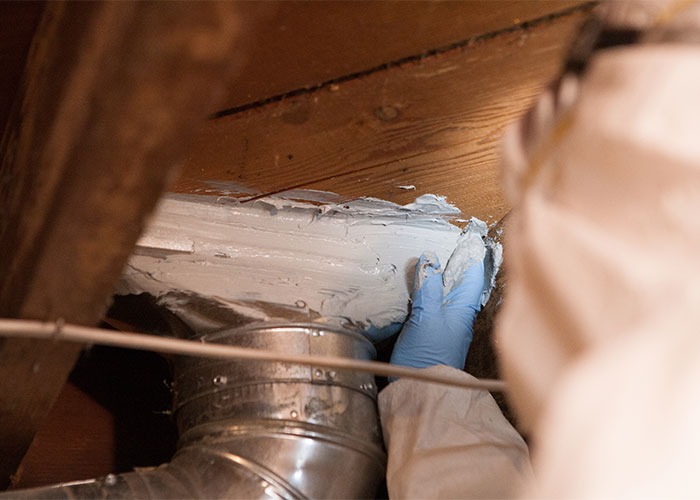
For small leaks, you can use duct tape or mastic sealant. Do not use regular cloth or electrical tape, as these will not hold up over time. Duct tape is a temporary fix, and mastic sealant provides a more permanent solution.
- Clean the area: Use a brush or cloth to remove any dirt or debris from the area around the leak.
- Apply duct tape (temporary): Overlap the tape generously over the leak, pressing firmly to create a seal.
- Apply mastic sealant (preferred): Use a brush to apply a thick layer of mastic sealant over the leak, extending it a few inches beyond the edges. Allow the sealant to dry completely according to the manufacturer's instructions.
3. Adding or Replacing Duct Insulation
If your ducts are uninsulated or the existing insulation is damaged, you'll need to add or replace it. There are several types of duct insulation available:
- Fiberglass Insulation: Typically comes in rolls and is relatively inexpensive. However, it can irritate the skin and respiratory system, so wear appropriate protective gear.
- Foam Insulation: Comes in sheets or rolls and offers good insulation value. It's more expensive than fiberglass but is easier to handle and less irritating.
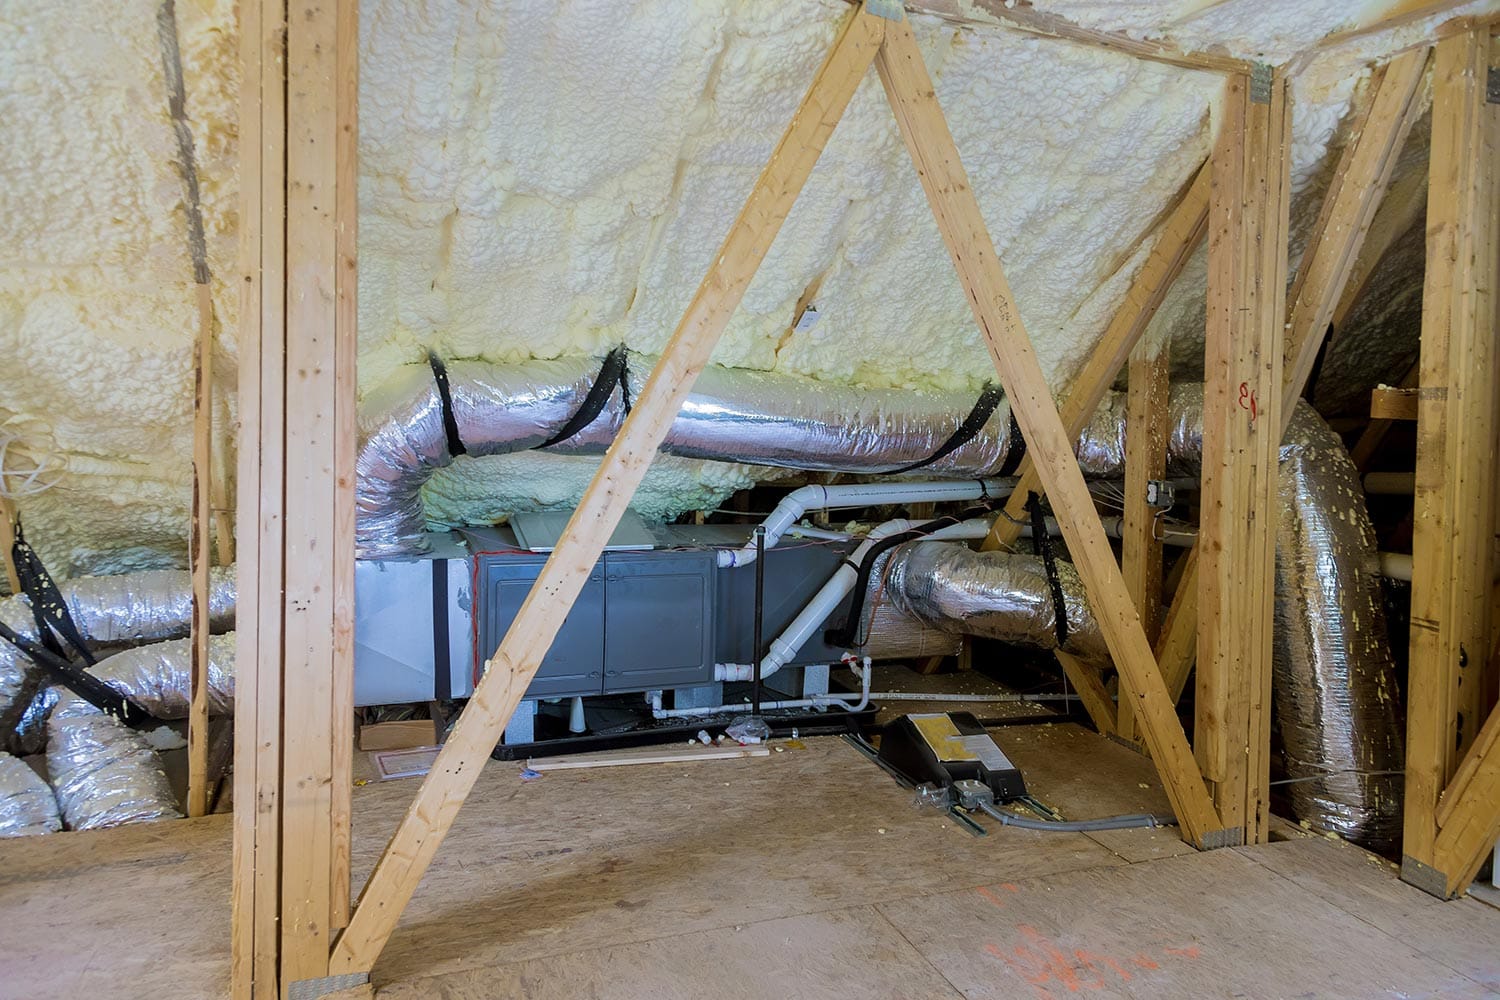
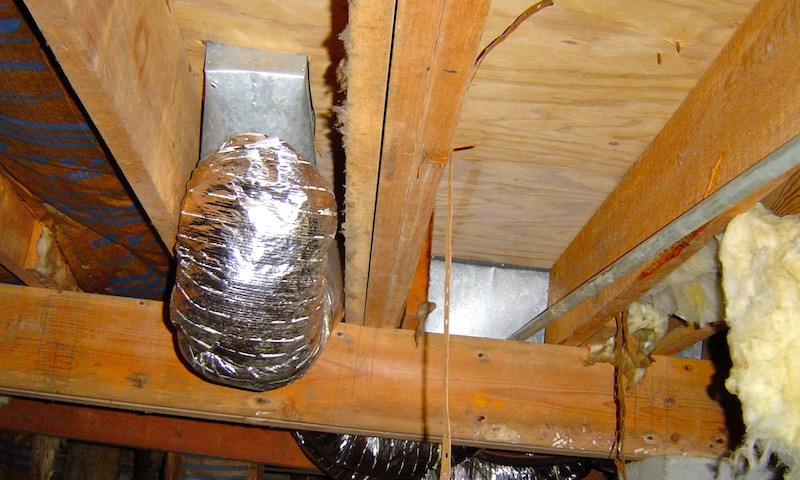
- Duct Wrap: Specifically designed for wrapping ducts. It often has a foil backing for added insulation and vapor barrier.
DIY Fix: Insulating Ducts
- Measure the ductwork: Determine the length and width of the sections you need to insulate.
- Cut the insulation: Cut the insulation to the appropriate size, adding a few extra inches for overlap.
- Wrap the ductwork: Wrap the insulation around the duct, ensuring that it completely covers the surface. Overlap the edges of the insulation by at least 2 inches.
- Secure the insulation: Use foil tape (not duct tape) to secure the insulation in place. Wrap the tape tightly around the insulation, overlapping the edges. For fiberglass insulation, you can also use plastic zip ties to further secure it.
- Seal the seams: Seal all seams and joints with foil tape or mastic sealant to prevent air leaks.
Important Note: When insulating, ensure the vapor barrier (usually the foil side) faces outwards (towards the warmer side) in colder climates to prevent moisture from condensing within the insulation. In very hot and humid climates, the vapor barrier should face inwards (towards the colder duct). Check local building codes for specific requirements.
4. Supporting the Ducts
Properly supporting the ducts is crucial to prevent sagging and damage to the insulation. Sagging ducts can create low spots where condensation can accumulate, leading to mold growth.
DIY Fix: Adding Duct Supports
- Inspect existing supports: Check if existing straps or hangers are loose or damaged.
- Add additional supports: If necessary, add additional straps or hangers to support the ducts. Use metal straps or hangers specifically designed for ductwork.
- Ensure proper spacing: Supports should be spaced no more than 4-6 feet apart to prevent sagging.
5. Addressing Crawl Space Ventilation
Proper crawl space ventilation is essential for preventing moisture buildup, which can damage insulation and promote mold growth. Make sure your crawl space has adequate ventilation. If it doesn't, consider installing vents or a dehumidifier.
DIY Fix: Improving Crawl Space Ventilation (Simple Steps)
- Clear existing vents: Ensure that all crawl space vents are clear of obstructions like debris, vegetation, or insulation.
- Install additional vents (if needed): If your crawl space has limited ventilation, consider adding more vents. Consult with a professional to determine the appropriate number and placement of vents.
- Ensure proper drainage: Make sure that the ground around your foundation slopes away from the house to prevent water from entering the crawl space.
When to Call a Professional
While many of these fixes are DIY-friendly, there are times when it's best to call a professional HVAC technician. Consider seeking professional help if:
- You find extensive mold growth: Mold remediation requires specialized equipment and training.
- You suspect asbestos: If your home was built before the 1980s, the insulation may contain asbestos. Do not attempt to remove it yourself.
- You are uncomfortable working in the crawl space: Crawl spaces can be challenging and uncomfortable environments.
- You are unsure about the proper techniques: If you are not confident in your ability to properly insulate or seal the ducts, it's best to leave it to a professional.
- The ductwork is significantly damaged: If the ducts are crushed, rusted, or otherwise severely damaged, they may need to be replaced.
- You need to modify the ductwork: Adding or removing ductwork requires specialized knowledge and tools.
- You have a complex HVAC system: If your system is complex or you are not familiar with its operation, it's best to consult with a professional.
Specifically, if the repairs involve:
- Electrical work beyond simply unplugging/plugging in: Any work on the electrical system of your HVAC unit should be performed by a licensed electrician.
- Gas lines: Any work on gas lines is extremely dangerous and should only be performed by a licensed gas technician.
- Refrigerant handling: Handling refrigerants requires specialized equipment and training.
- Complex HVAC system diagnosis: If you are unable to pinpoint the cause of the problem, a professional can diagnose the issue and recommend the appropriate solution.
Long-Term Maintenance
Once you've insulated your crawl space air ducts, it's important to maintain them to ensure long-term energy efficiency. Here are some tips:
- Regularly inspect the insulation: Check for damage, sagging, or signs of pests.
- Seal any new air leaks: As the house settles and ages, new leaks may appear.
- Maintain crawl space ventilation: Keep vents clear and ensure proper drainage.
- Consider a crawl space encapsulation: This involves sealing the crawl space to prevent moisture and air infiltration. This is a more significant investment but can greatly improve energy efficiency and prevent mold growth.
By taking these steps, you can significantly improve the energy efficiency of your home, reduce your energy bills, and create a more comfortable living environment. Remember to always prioritize safety and when in doubt, call a professional!