Insulation For Hot Water Heater Pipes

Do you find yourself shivering in the shower despite cranking up the hot water? Or maybe your energy bills are inexplicably high, even when you haven't changed your usage habits? One often-overlooked culprit could be uninsulated or poorly insulated hot water pipes. Loss of heat from these pipes translates directly to wasted energy and lukewarm showers. Let's dive into how to diagnose and address this issue yourself, saving you money and boosting your comfort.
Diagnosing the Problem: Is Pipe Insulation the Culprit?
Before you call a plumber or HVAC technician, let's investigate whether your hot water pipes are to blame. Here's a systematic approach:
Step 1: The Touch Test (No Tools Required)
This is the simplest and safest way to get a preliminary idea of the situation. With your hot water running for a few minutes, carefully touch the hot water pipes near your water heater and along their path to your faucets.
- Normal: The pipes should feel warm to the touch, but not scalding hot.
- Problem: If the pipes are extremely hot, nearly too hot to touch comfortably, then a significant amount of heat is escaping, indicating inadequate or damaged insulation. If you have cold water pipes running close to the hot water ones, you might also feel those pipes being warmed by the hot water pipes nearby.
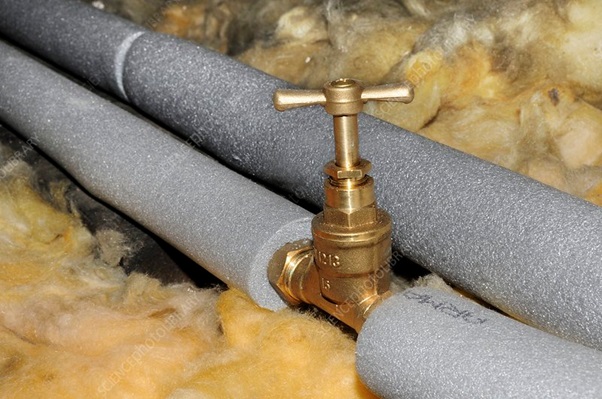
Pay particular attention to pipes in unheated areas like basements, crawl spaces, or garages, as these are more susceptible to heat loss.
Step 2: Visual Inspection (No Tools Required)
Now, take a close look at the insulation itself. Look for the following:
- Missing Insulation: Are there sections of pipe completely bare? This is the most obvious sign of a problem.
- Damaged Insulation: Is the insulation torn, cracked, water-logged, or crumbling? Even small tears can significantly reduce its effectiveness. Rodents or pests may have damaged the insulation, using it for nesting material.
- Improper Installation: Is the insulation loosely fitted, leaving gaps between the insulation and the pipe? Are the seams properly sealed? Look for loose tape or fittings.
- Wet Insulation: Wet insulation is useless. Address any leaks or sources of moisture *before* replacing insulation.
Step 3: Time-to-Warm-Up Test (No Tools Required)
This test helps quantify the heat loss. Turn on a hot water faucet (preferably one furthest from the water heater). Time how long it takes for the water to reach its maximum temperature. Now, turn off the hot water.
Repeat the process a day later. If the time it takes for the water to reach maximum temperature has *significantly* increased, this indicates a loss of heat due to uninsulated or damaged pipes.
Step 4: Energy Bill Review (No Tools Required)
Compare your recent energy bills to those from the same period in previous years. Consider factors like rate increases and changes in occupancy. However, a noticeable and unexplained spike in your energy bill could be a sign of heat loss from your water pipes. Keep in mind that this test alone is not definitive, as many factors can affect energy consumption.
Step 5: Infrared Thermometer Test (Requires Tool)
For a more precise measurement, use an infrared thermometer. Aim the thermometer at the surface of the insulated (or uninsulated) hot water pipes. Then, point the thermometer at the insulated (or uninsulated) cold water pipes. The difference in temperature will indicate the heat loss from the hot water pipe.
Important Note: When using an infrared thermometer, always follow the manufacturer's instructions and safety guidelines.
DIY Actions: Simple Solutions You Can Try
Once you've identified the problem, here are some DIY solutions you can tackle:
1. Insulating Bare Pipes
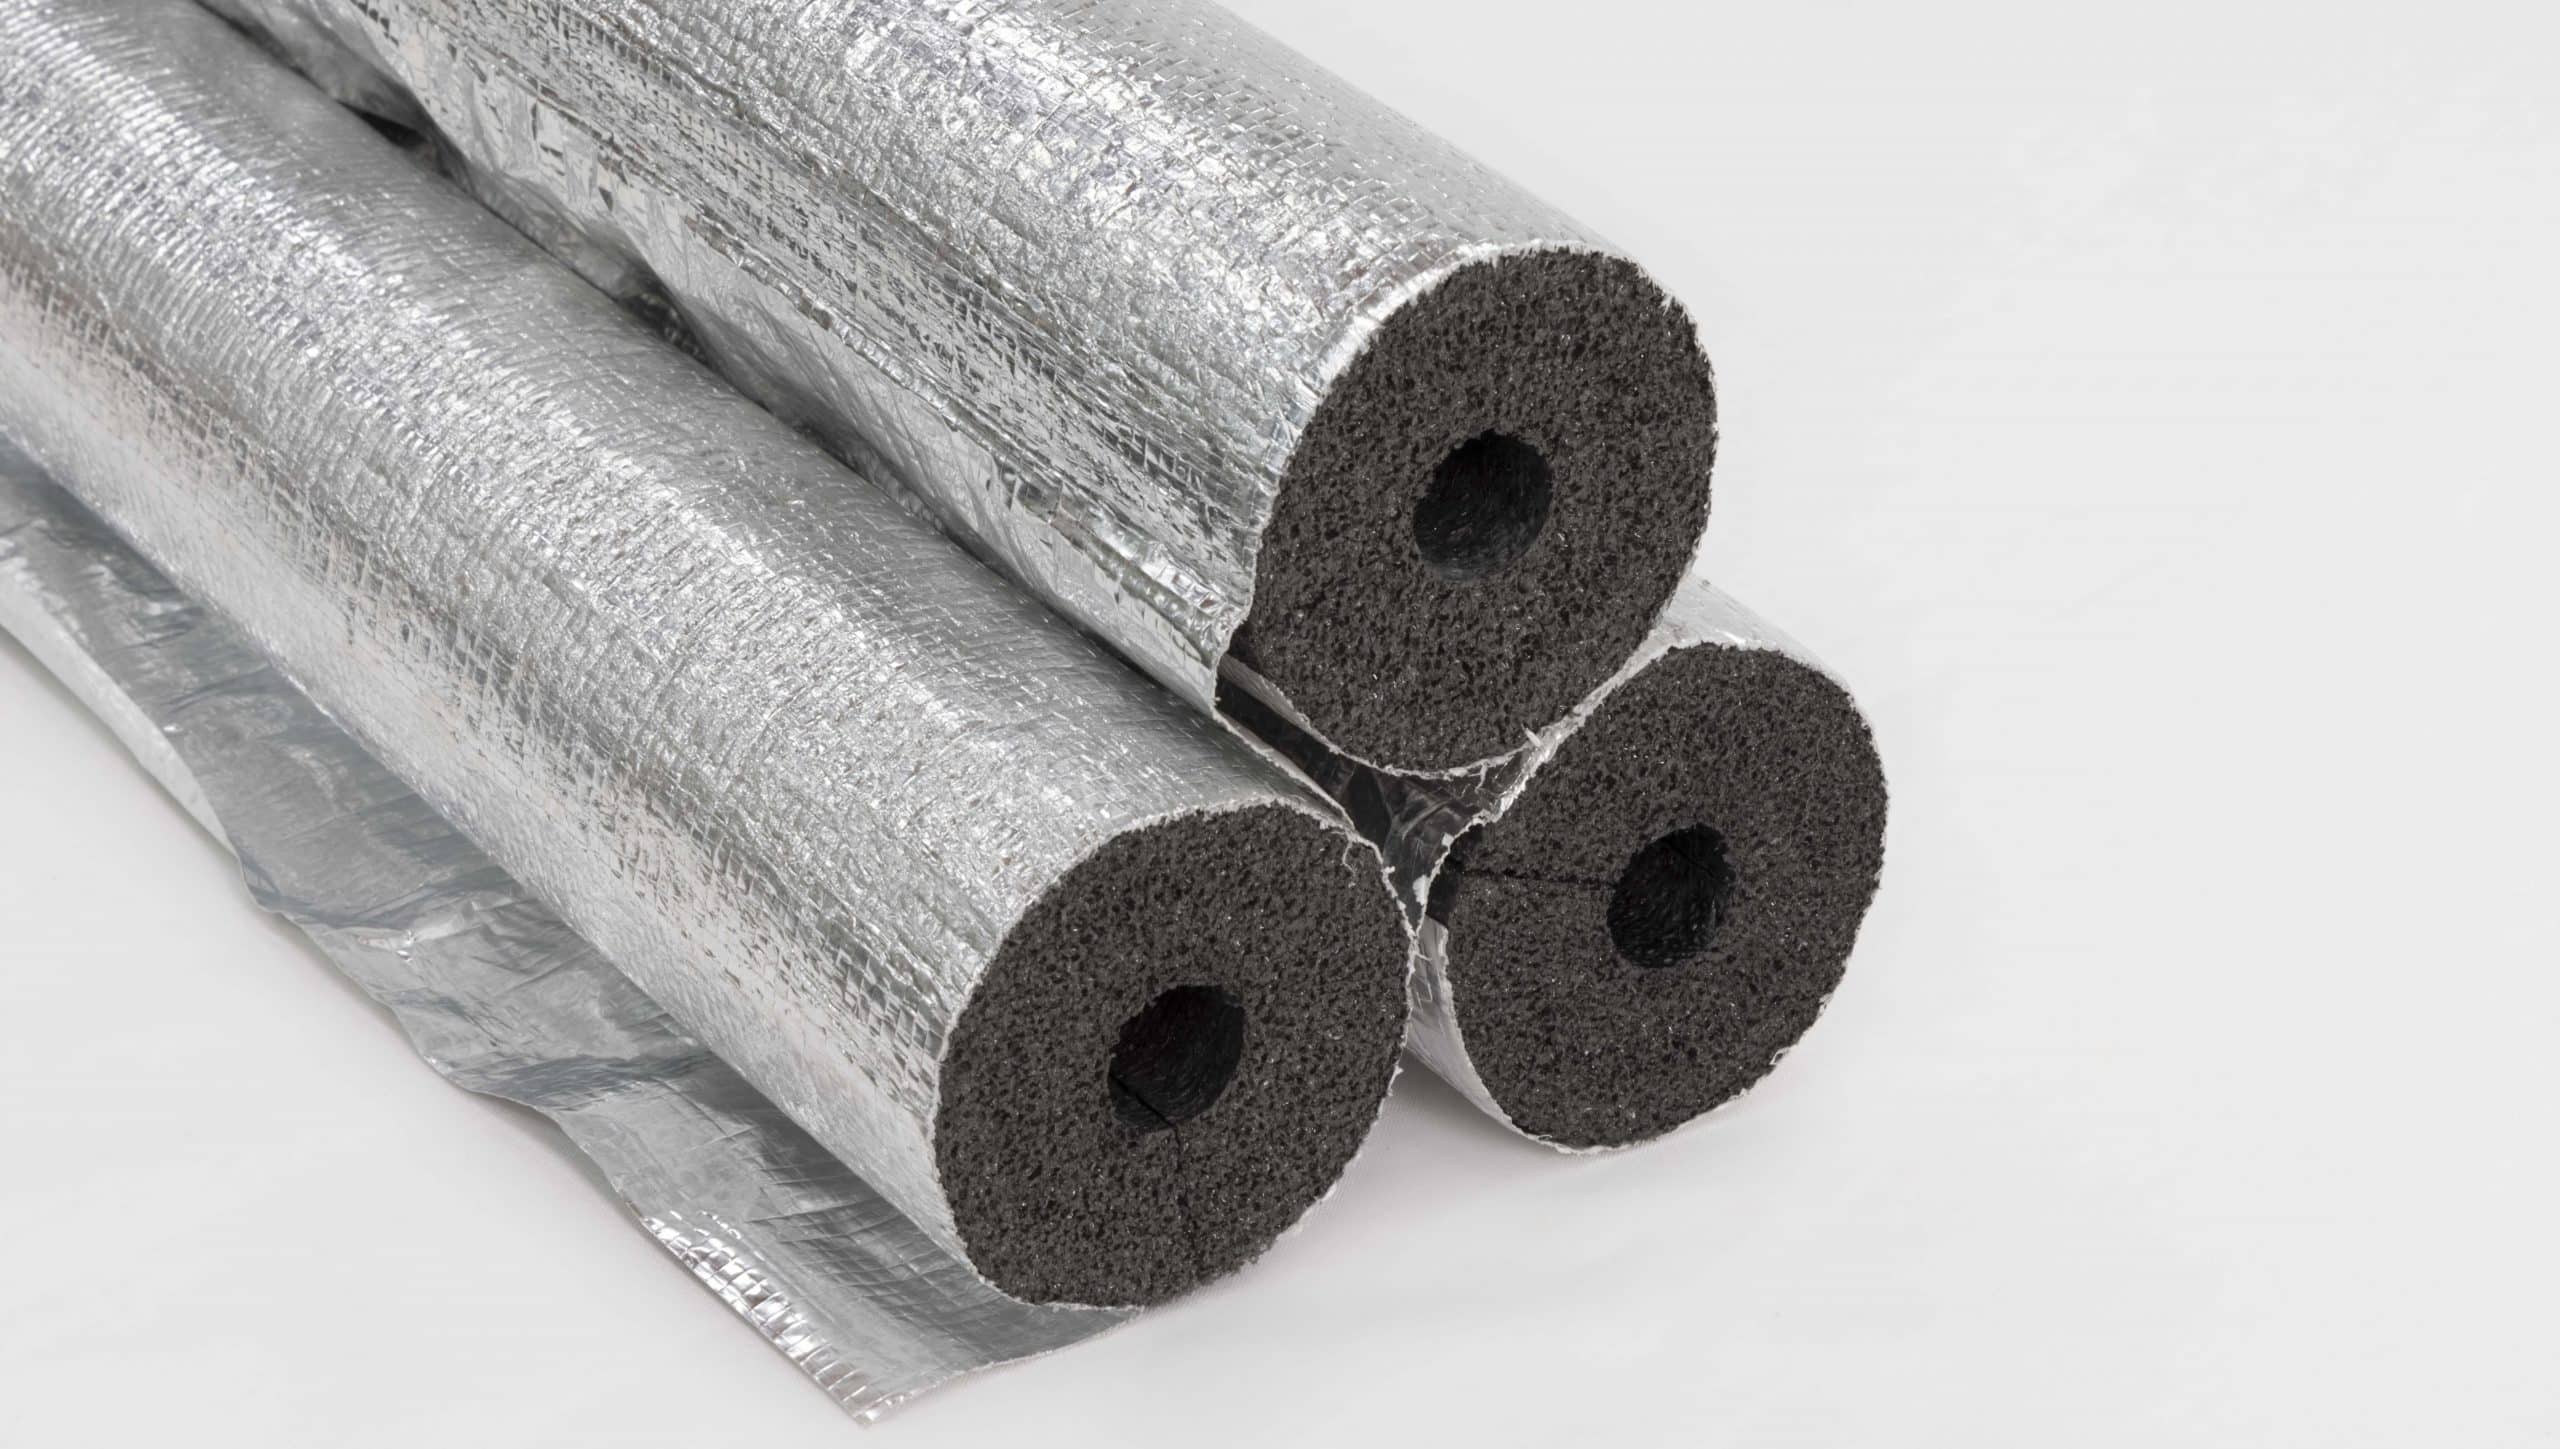
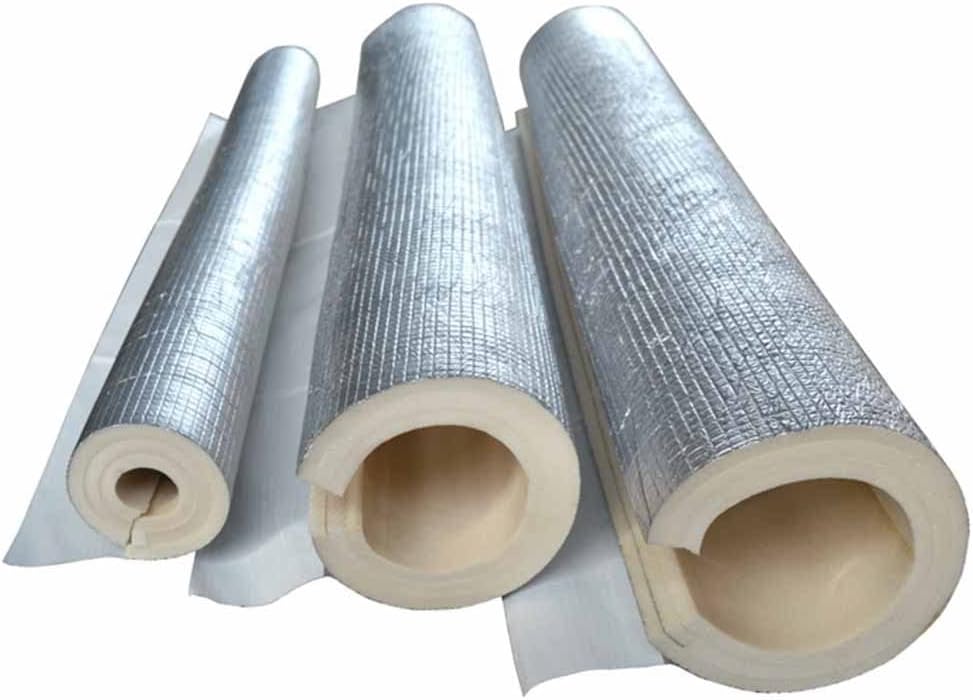
This is the most straightforward fix. Purchase pipe insulation sleeves from your local hardware store. These sleeves are typically made of foam or fiberglass and come in various lengths and diameters. Make sure you get the correct diameter for your pipes.
- Measure and Cut: Measure the length of the bare pipe sections and cut the insulation sleeves to size using a utility knife.
- Apply: Open the slit in the insulation sleeve and snap it over the pipe.
- Seal: Use insulation tape (specifically designed for this purpose) to seal the seams and any gaps. Ensure the tape is applied snugly and smoothly for maximum effectiveness.
2. Repairing Damaged Insulation
If the existing insulation is only slightly damaged (small tears or cracks), you might be able to repair it instead of replacing it entirely.
- Clean: Clean the damaged area with a dry cloth to remove any dirt or debris.
- Seal: Apply insulation tape over the tear or crack, ensuring a tight seal. Overlap the tape onto the surrounding undamaged insulation.
For larger damage, it's best to replace the entire section of insulation.
3. Improving Existing Insulation
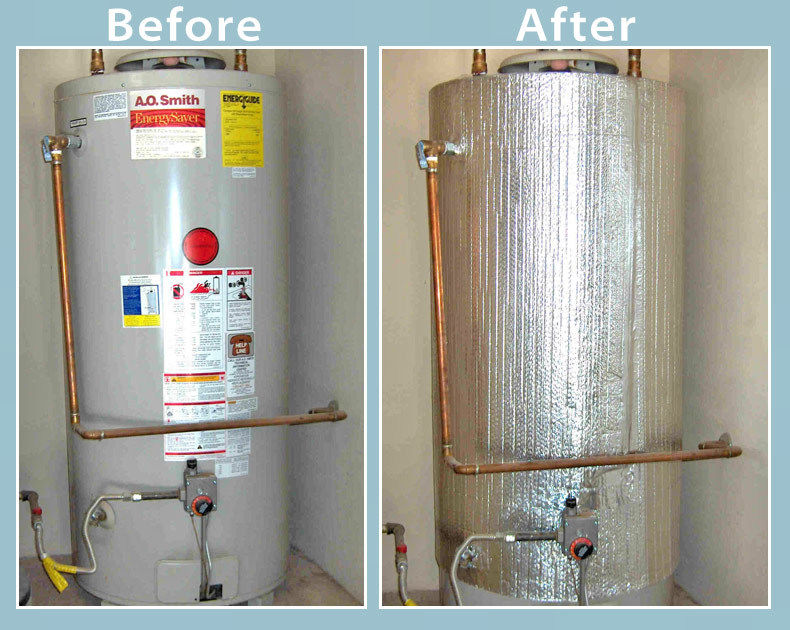
Even if your pipes are already insulated, you can improve their performance by adding an extra layer of insulation. Simply wrap additional insulation around the existing insulation and secure it with insulation tape. This is particularly useful in unheated areas.
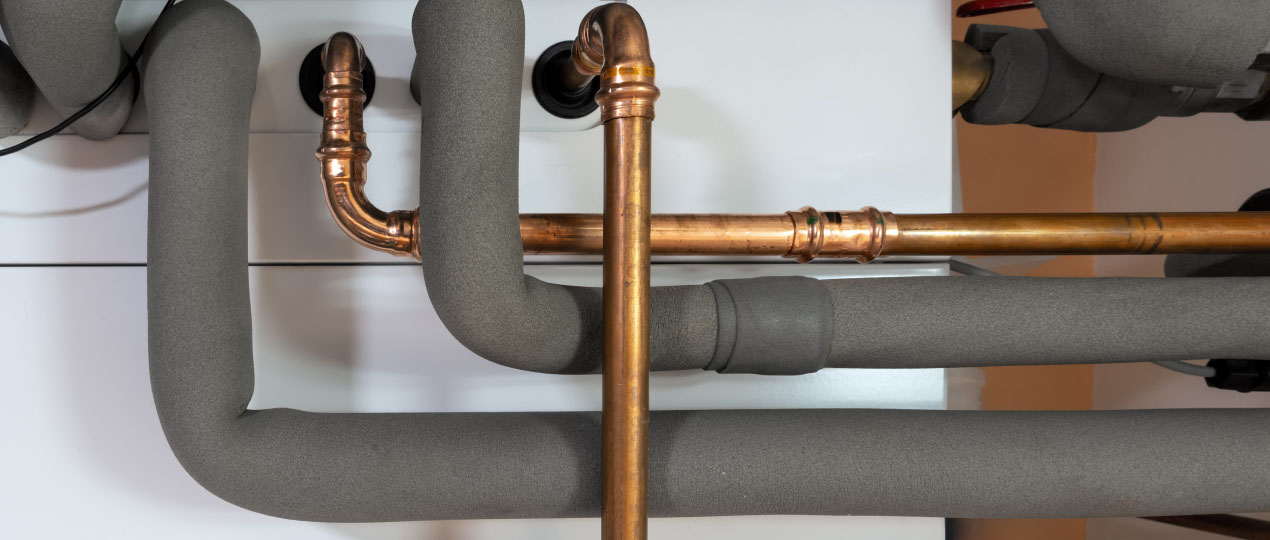
4. Sealing Gaps and Openings
Pay close attention to joints, elbows, and T-sections. These areas are often poorly insulated or have gaps. Use pre-formed insulation elbows and T-sections, or carefully cut and shape the insulation to fit snugly around these areas. Seal all seams with insulation tape.
5. Insulating Pipe Hangers
Metal pipe hangers can conduct heat away from the hot water pipes. Use small pieces of insulation to wrap the pipes where they contact the hangers.
When to Call a Professional
While many pipe insulation issues can be handled DIY, there are situations where a professional HVAC technician or plumber is required.
- Extensive Damage: If a large portion of your pipe insulation is damaged or missing, or if you suspect significant underlying plumbing issues (such as leaks), it's best to call a professional.
- Difficult Access: If the pipes are located in hard-to-reach areas (behind walls, in cramped crawl spaces), a professional has the tools and expertise to safely and effectively insulate them.
- Asbestos Concerns: If your home was built before the 1980s, the existing insulation *may* contain asbestos. Do not disturb the insulation. Contact a qualified asbestos abatement professional for safe removal and replacement.
- Complex Plumbing Systems: If you have a complex plumbing system with multiple branches and zones, a professional can assess the entire system and identify areas of heat loss.
- Uncertainty: If you're unsure about any aspect of the repair or installation process, it's always best to err on the side of caution and consult a professional. Incorrectly installed insulation can be ineffective or even create new problems.
Safety First!
Before starting any DIY project, remember safety:
- Turn off the water heater: Turn off the power to the water heater *before* working near any electrical components or plumbing.
- Wear protective gear: Wear gloves, safety glasses, and a dust mask when working with insulation, especially fiberglass.
- Be careful with sharp tools: Use a sharp utility knife and exercise caution when cutting insulation.
- Work in a well-ventilated area: If you're working in a confined space, ensure adequate ventilation.
Conclusion
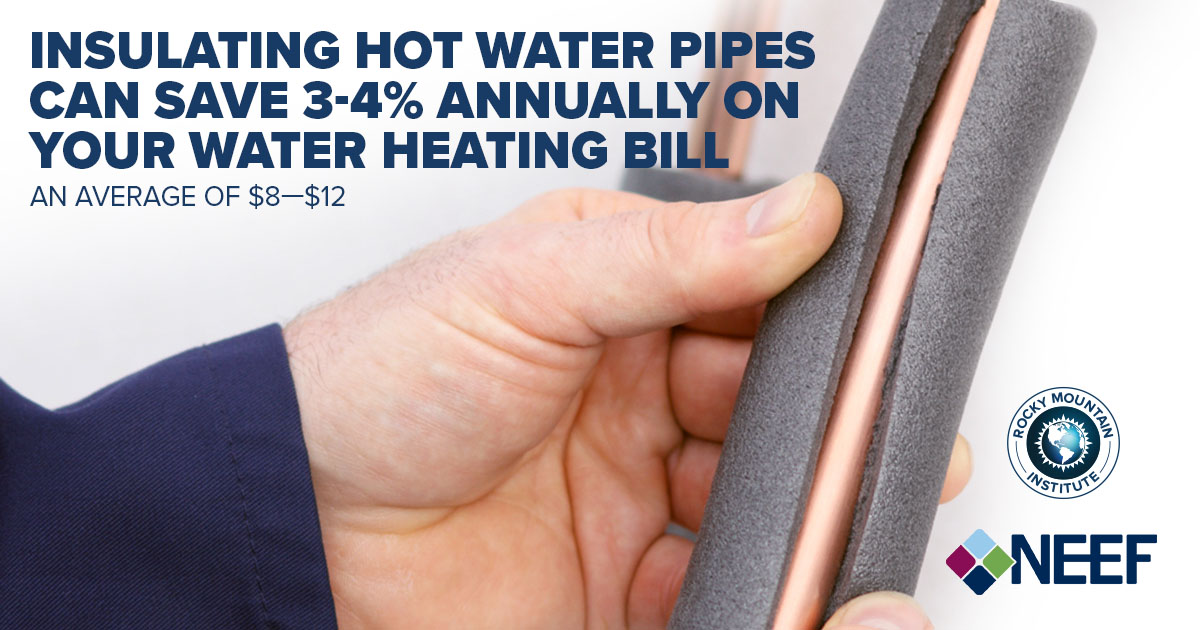
Insulating your hot water pipes is a relatively simple and inexpensive project that can significantly reduce energy waste and improve your comfort. By following these steps, you can diagnose the problem, implement DIY solutions, and save money on your energy bills. Remember to prioritize safety and call a professional when needed. With a little effort, you can enjoy warmer showers and a lighter energy bill!