Lennox Authorized Repair Service Near Me
It's a sweltering summer day, and your Lennox air conditioner decides to take a vacation of its own. Or perhaps it's the dead of winter, and your furnace is blowing cold air. Suddenly, the phrase "Lennox Authorized Repair Service Near Me" becomes the most important Google search you can imagine. Before you frantically dial a repair service, let's walk through some common problems and simple troubleshooting steps you can take yourself. This could save you time, money, and the hassle of waiting for a technician.
Common Problem: The AC/Furnace Isn't Working At All
This is perhaps the most frustrating scenario. No cool air, no heat – just silence. Before panicking, let's systematically diagnose the issue.
Step 1: Check the Thermostat
This sounds obvious, but it's often the culprit. Ensure your thermostat is:
- Turned on.
- Set to the correct mode (Cool for AC, Heat for furnace).
- Set to a temperature that's significantly different from the current room temperature. For example, if it's 80 degrees inside, set the AC to 72. If it's 60 degrees inside, set the heat to 70.
- Check the batteries. A dead or dying thermostat battery can cause all sorts of problems. Replace them, even if the display is still lit.
Step 2: Inspect the Circuit Breaker
Locate your electrical panel and look for the circuit breaker labeled "AC," "Furnace," or "HVAC." It might also be labeled with the amperage, such as "20A" or "30A."
Important Safety Note: If you're uncomfortable working with electrical panels, skip this step and call a qualified technician.
- Check if the breaker is tripped. A tripped breaker will be in the "off" or a middle position.
- Reset the breaker. Flip the breaker all the way to the "off" position, then firmly back to the "on" position.
- Wait a few minutes and see if it trips again. If it does, do not keep resetting it. This indicates a more serious electrical problem that requires professional attention.
Step 3: Examine the Emergency Shut-Off Switch
Many HVAC systems have an emergency shut-off switch, usually located near the unit itself (either the indoor or outdoor unit). It often looks like a light switch.
- Ensure the switch is in the "on" position. Someone might have accidentally turned it off.
Step 4: Check the Furnace Filter (for Furnace Issues)
A dirty air filter is a common cause of furnace problems. It restricts airflow, causing the furnace to overheat and shut down.
- Locate the filter. It's usually in a slot near the furnace blower.
- Inspect the filter. If it's visibly dirty (covered in dust and debris), replace it with a new filter of the correct size. Check the filter frame or the furnace manual for the correct size.
When to Call a Professional:
- If the circuit breaker continues to trip.
- If you've checked all the above steps and the unit still doesn't turn on.
- If you suspect an electrical problem you are not comfortable handling.
Common Problem: The AC/Furnace is Running, But Not Cooling/Heating Effectively
The system is on, but the air coming out isn't as cold or hot as it should be. Here's what to check:
Step 1: Re-Check the Thermostat
Again, verify the thermostat settings.
- Ensure the temperature is set low enough (for AC) or high enough (for furnace).
- Make sure the thermostat isn't in "fan only" mode.
Step 2: Inspect the Air Vents
Make sure air vents are open and unobstructed.
- Check each vent in your home. Ensure they are fully open.
- Look for obstructions. Furniture, rugs, or curtains could be blocking airflow.
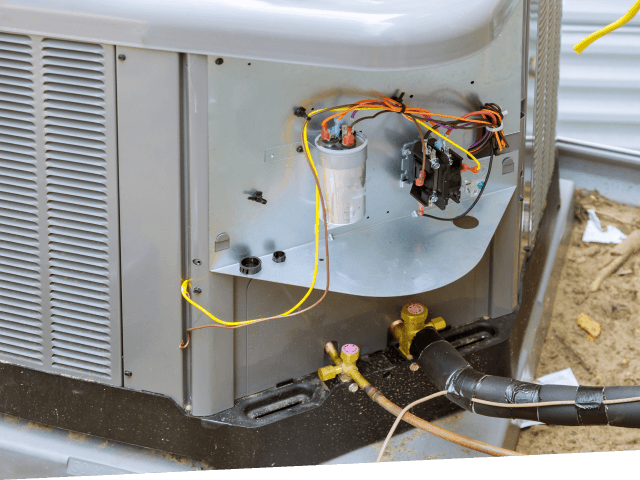
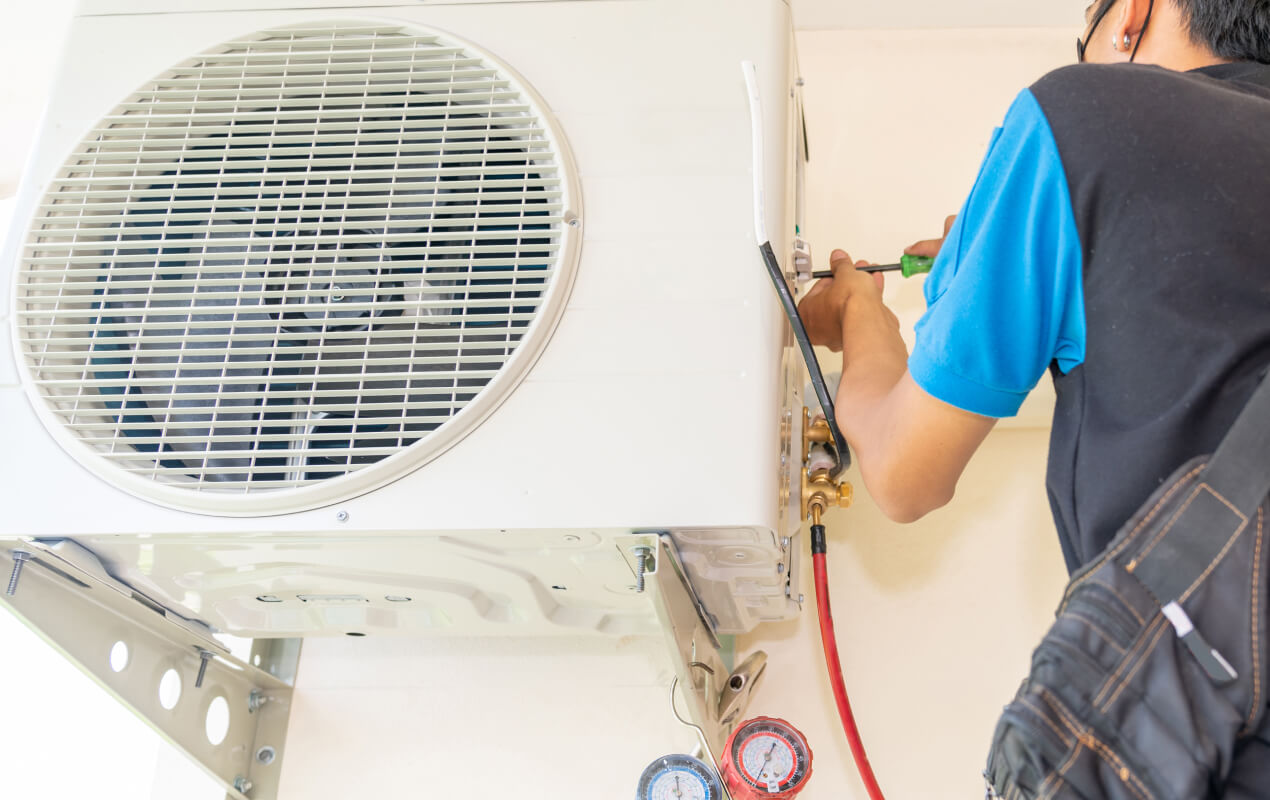
Step 3: Check the Outdoor AC Unit (Condenser)
Important Safety Note: Never insert anything into the fan blades of the outdoor unit. Ensure the unit is powered off at the breaker before attempting any cleaning.
- Inspect for debris. Leaves, grass clippings, and other debris can block airflow and reduce efficiency. Carefully remove any visible debris from the outside of the unit. A garden hose (on a gentle setting) can be used to rinse the fins, but be careful not to bend them.
- Ensure the fan is spinning freely. If the fan is blocked or doesn't spin, it could indicate a motor problem.
Step 4: Check the Air Filter (Again!)
Even if you checked the filter recently, a clogged filter can quickly lead to poor performance. A dirty filter is the most common cause of poor heating and cooling.
Step 5: Check for Leaks in Ductwork
Leaky ducts can waste a significant amount of energy. Visually inspect accessible ductwork for obvious leaks.
- Look for gaps or cracks in the ductwork, especially at joints.
- Feel for air leaks with your hand while the system is running.
When to Call a Professional:
- If the outdoor unit's fan is not spinning freely.
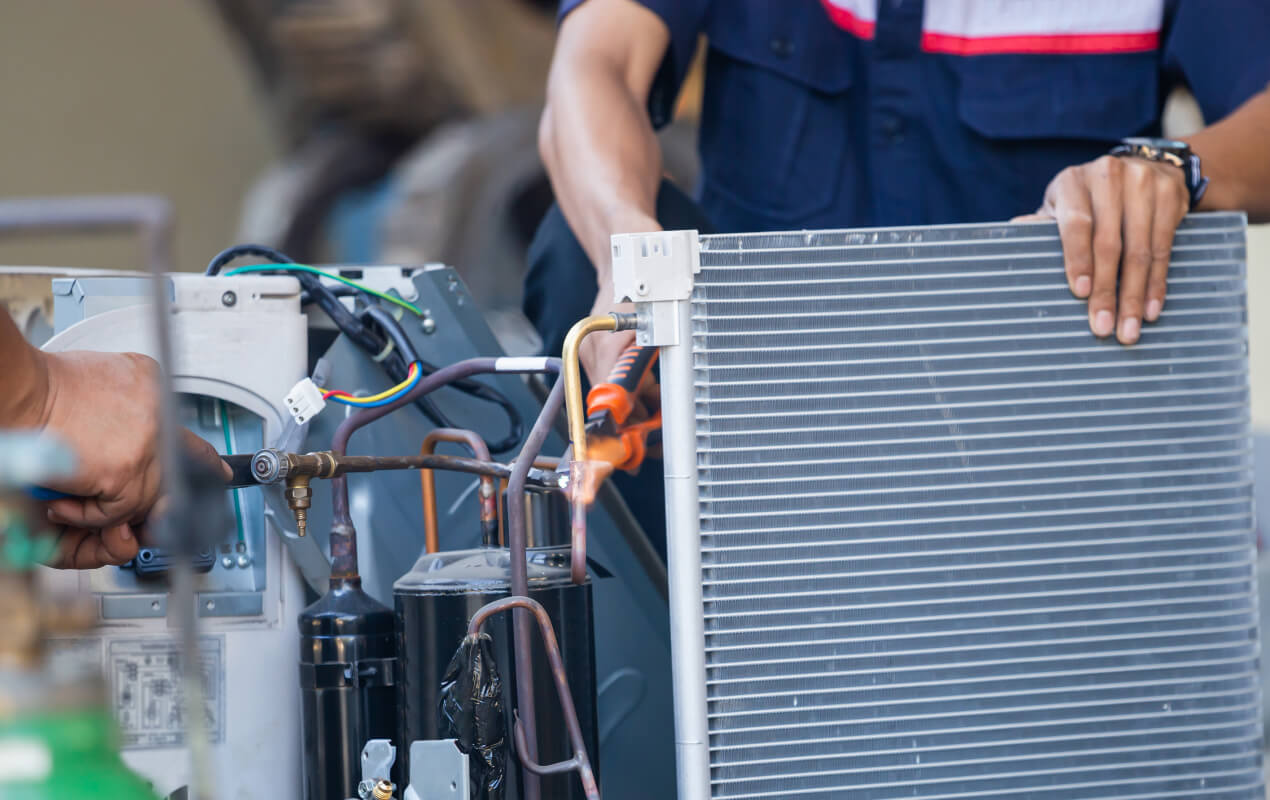
- If you suspect a refrigerant leak (you might notice ice forming on the refrigerant lines).
- If you've checked the vents, filter, and outdoor unit, and the system still isn't performing well.
- If you find significant ductwork leaks that you cannot easily seal.
Common Problem: The AC/Furnace is Making Strange Noises
Unusual noises coming from your HVAC system can be a sign of a variety of problems.
Step 1: Identify the Noise
Try to pinpoint the location of the noise (indoor unit, outdoor unit, or ductwork) and describe the type of noise (buzzing, rattling, squealing, grinding, etc.). This information will be helpful when you speak to a technician.
Step 2: Check for Loose Debris
- Inspect the outdoor unit for loose rocks, sticks, or other debris that might be rattling around inside.
- Check the indoor unit for any loose panels or screws.
Step 3: Listen to the Blower Motor
Important Safety Note: Ensure the unit is powered off at the breaker before attempting to inspect the blower motor area.
- Listen for squealing or grinding noises coming from the blower motor. These noises could indicate a failing motor or a worn bearing.
Step 4: Listen for Hissing or Bubbling Noises
These noises could indicate a refrigerant leak.
When to Call a Professional:
- If you hear hissing or bubbling noises (suspecting a refrigerant leak).
- If you hear grinding or squealing noises coming from the blower motor.
- If you cannot identify the source of the noise, or if the noise is loud or persistent.
- Any loud banging or popping noises.
Common Problem: Water Leaking From The AC/Furnace
Water leaks can damage your home and indicate a problem with your HVAC system.
Step 1: Check the Condensate Drain Line
The condensate drain line is a PVC pipe that carries water away from the indoor AC unit. It can become clogged with algae or debris.
- Locate the drain line. It's usually a PVC pipe that runs from the indoor unit to a drain or outside your house.
- Check for clogs. You can try to clear the clog by using a wet/dry vacuum to suck out any debris. Alternatively, you can use a stiff wire or pipe cleaner to dislodge the blockage. Pouring a cup of distilled vinegar down the drain line can also help to dissolve algae.
Step 2: Check the Condensate Pump (If Applicable)
Some systems use a condensate pump to pump the water uphill to a drain. If the pump fails, it can cause water to overflow.
- Locate the condensate pump. It's a small plastic tank near the indoor unit.
- Check if the pump is working. You should hear the pump running periodically. If it's not running, check the power cord and ensure it's plugged in.
Step 3: Inspect the Drain Pan
The drain pan is located underneath the indoor AC unit. It catches any condensation that doesn't make it into the drain line.
- Inspect the drain pan for cracks or leaks. If the pan is damaged, it will need to be replaced.
When to Call a Professional:
- If you cannot clear the condensate drain line.
- If the condensate pump is not working and you cannot troubleshoot it yourself.
- If the drain pan is cracked or leaking.
- If you suspect a refrigerant leak (water leak combined with ice forming on the refrigerant lines).
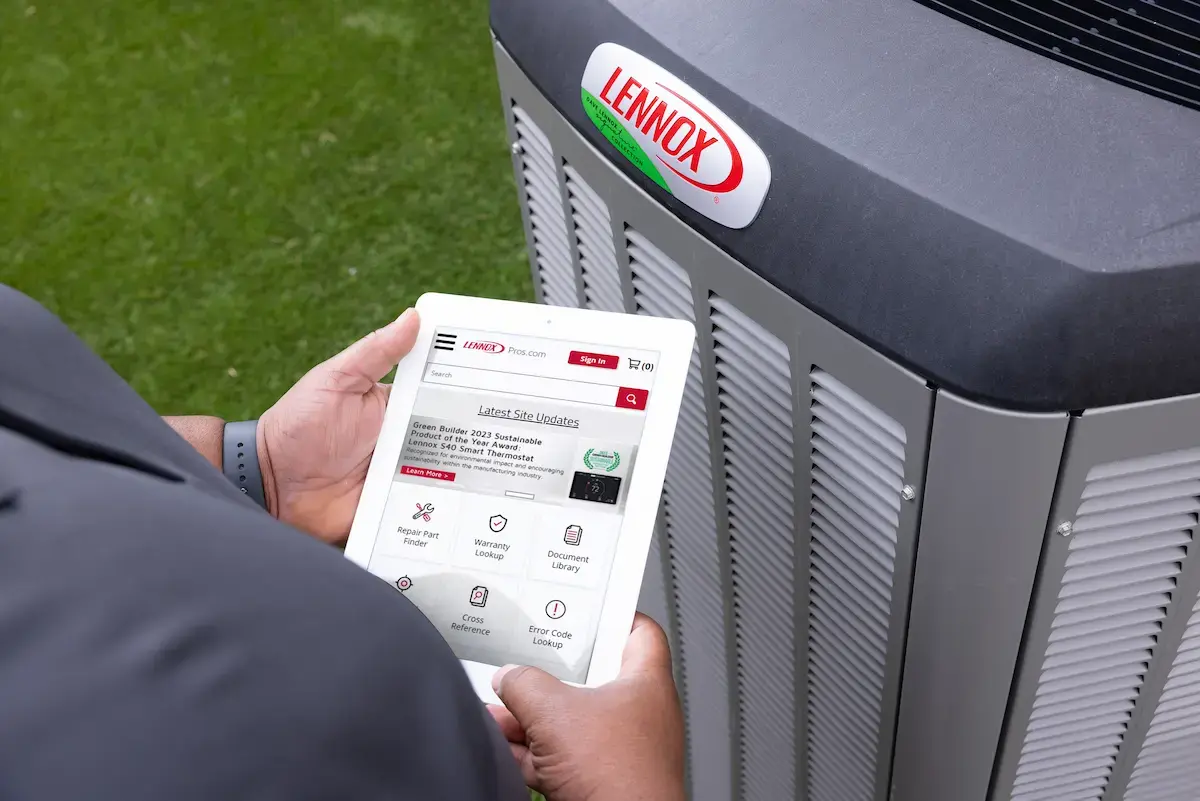
Finding a "Lennox Authorized Repair Service Near Me" When Needed
While these troubleshooting steps can resolve many common HVAC problems, some issues require the expertise of a qualified technician. A Lennox Authorized Repair Service has technicians trained specifically on Lennox equipment and access to genuine Lennox parts. Using an authorized service ensures the job is done right and that your warranty remains valid.
Here's how to find a Lennox Authorized Repair Service:
- Use the Lennox website's dealer locator. The Lennox website has a tool that allows you to search for authorized dealers and service providers in your area.
- Check online reviews. Look for companies with positive reviews and a good reputation.
- Ask for recommendations. Ask friends, family, or neighbors for recommendations.
When you contact a repair service, be prepared to provide them with the following information:
- Your Lennox model number. This is usually found on a sticker on the unit.
- A description of the problem. Be as specific as possible about the symptoms you're experiencing.
- Any troubleshooting steps you've already taken. This will help the technician diagnose the problem more quickly.
By following these troubleshooting steps, you can potentially save yourself time and money while ensuring your Lennox HVAC system is running efficiently. Remember, your safety is paramount. If you're uncomfortable working with electricity or unsure about any of these steps, always call a qualified technician. Knowing when to DIY and when to call a "Lennox Authorized Repair Service Near Me" is key to keeping your home comfortable and your HVAC system in top condition.