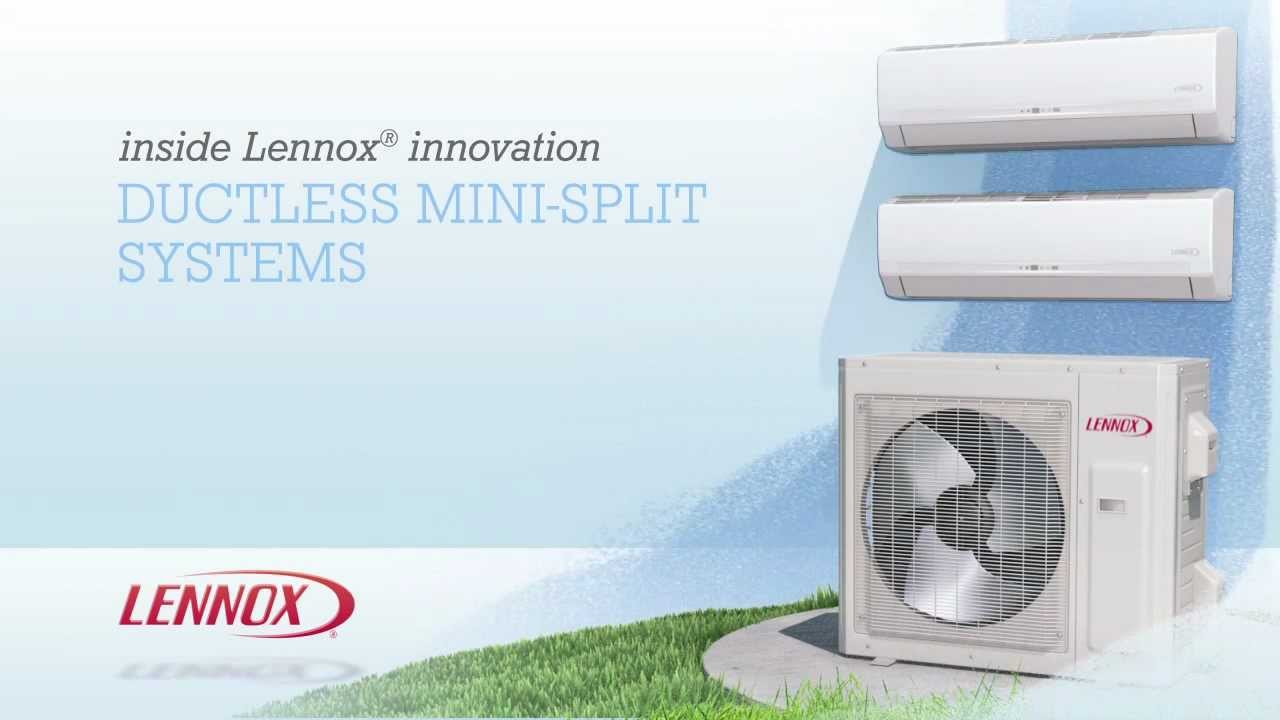
Lennox Ducted Mini Split

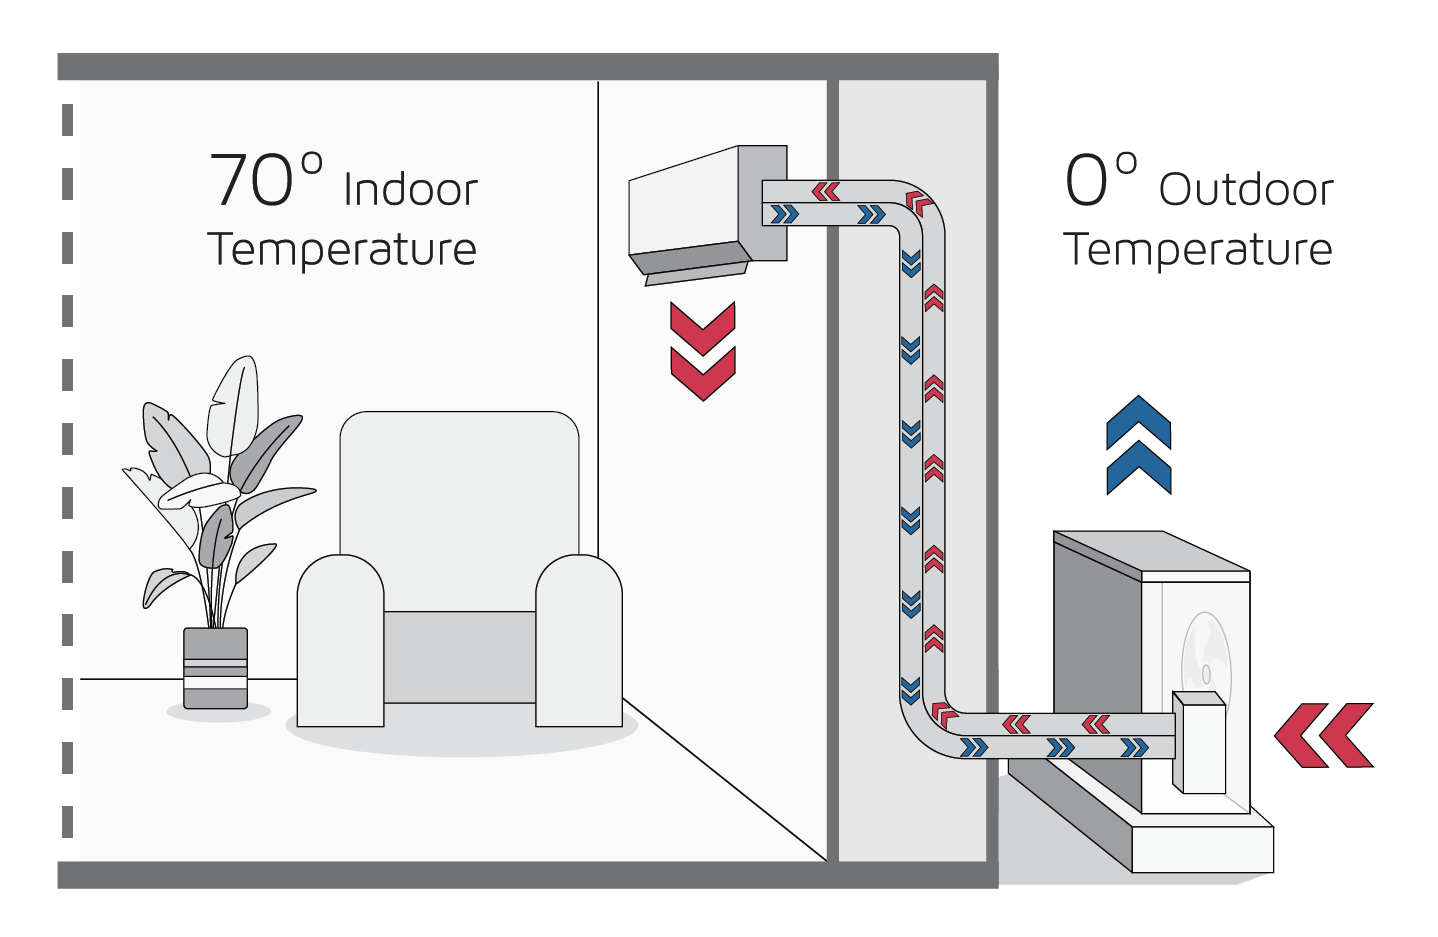
Lennox ducted mini-split systems offer efficient and discreet climate control for homes. However, like any HVAC system, they can experience issues. One of the most common complaints is inadequate cooling during the summer months. This article provides a systematic approach to diagnosing and potentially resolving this problem before calling a professional.
Troubleshooting Inadequate Cooling in Your Lennox Ducted Mini-Split
Before diving into troubleshooting, remember that safety is paramount. Never work on electrical components with the power on. If you are uncomfortable with any of these steps, contact a qualified HVAC technician.
Step 1: Preliminary Checks (No Tools Required)
These initial checks address the most common and easily rectifiable causes of cooling issues.
- Thermostat Setting: Ensure your thermostat is set to COOL mode and the desired temperature is significantly lower than the current room temperature. A common mistake is accidentally leaving the thermostat in HEAT or AUTO mode.
- Air Filters: This is the most frequent culprit behind cooling problems. Dirty air filters restrict airflow, reducing the system's cooling capacity and potentially damaging components. Locate the air filter(s) – usually near the indoor unit(s) or return vents.
- Visual Inspection: Remove the filter(s) and hold them up to the light. If you can't see much light through the filter, it's likely dirty.
- Action: Replace disposable filters immediately. Wash reusable filters according to the manufacturer's instructions (usually with mild soap and water), allow them to dry completely, and then reinstall.
- Frequency: Check your filters at least monthly, especially during peak cooling season. High-efficiency filters may require more frequent replacement.
- Supply and Return Vents: Check that all supply (blowing cool air) and return (sucking air in) vents are open and unobstructed. Furniture, rugs, or curtains blocking vents can significantly reduce airflow.
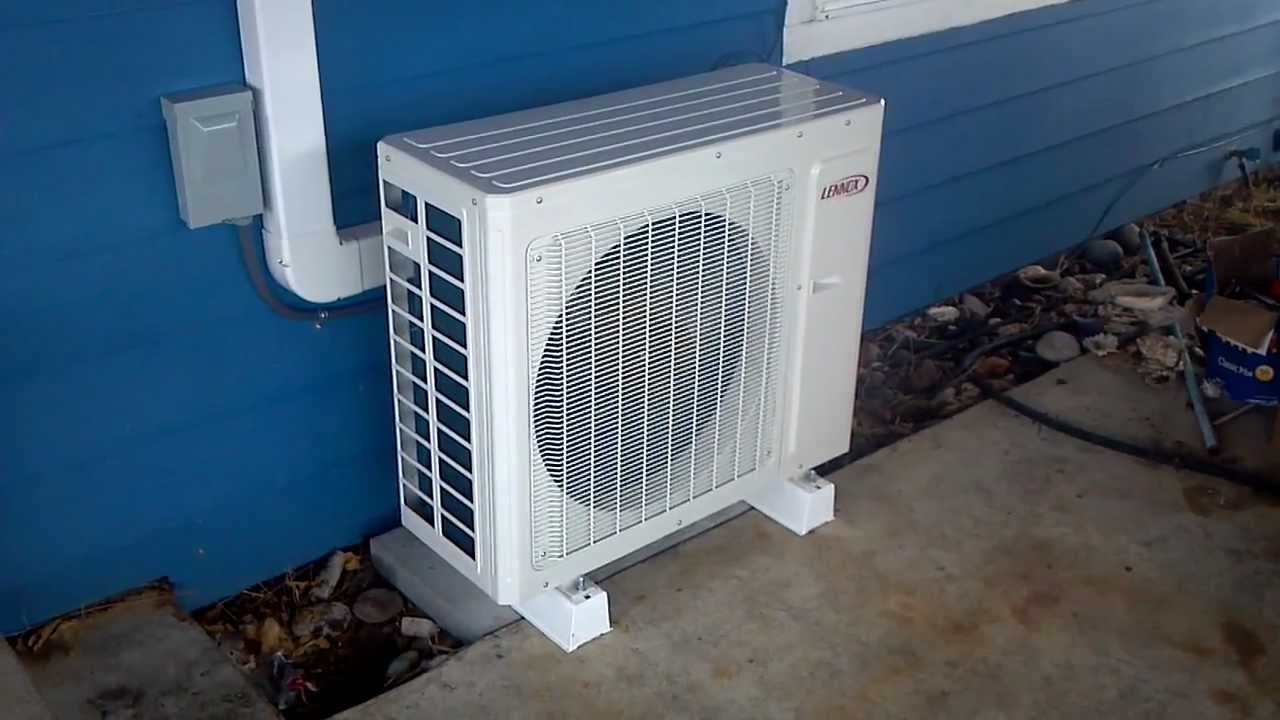
- Outdoor Unit Obstruction: Inspect the outdoor unit (condenser). Ensure it's free from obstructions like bushes, weeds, leaves, or snow. Clear any debris within at least two feet around the unit. Good airflow is critical for efficient heat dissipation.
- Breaker Panel: Check the circuit breaker for the indoor and outdoor units. Make sure it hasn't tripped. If it has, reset it. If it trips again immediately, do not reset it again and call a professional. This indicates a more serious electrical problem.
Step 2: Advanced Checks (Basic Tools Required)
If the preliminary checks don't resolve the issue, these steps require a few basic tools and a bit more technical understanding. Always disconnect power before working on electrical components.
- Coil Inspection (Indoor Unit): The evaporator coil (inside the indoor unit) can become dirty, hindering heat transfer.
- Access: You'll likely need a screwdriver to remove the access panel. Consult your owner's manual for specific instructions.
- Visual Inspection: Look for dust, dirt, or mold buildup on the coil.
- Cleaning (with caution): You can use a soft brush or a vacuum cleaner with a brush attachment to gently remove loose debris. Do not use harsh chemicals or metal objects that could damage the coil. Special coil cleaning sprays are available, but follow the product instructions carefully and ensure adequate ventilation. If the coil is heavily soiled or you're uncomfortable cleaning it, call a professional.
- Coil Inspection (Outdoor Unit): Similar to the indoor coil, the condenser coil (outside unit) needs to be clean to function effectively.
- Safety First: Ensure the power is off at the breaker before accessing the outdoor unit.
- Visual Inspection: Check for dirt, leaves, grass clippings, and other debris.
- Cleaning (with caution): Use a garden hose with a gentle spray nozzle to rinse the coil from the inside out. Avoid using high pressure, which can damage the fins. Do not use chemicals unless specifically designed for condenser coil cleaning.
- Refrigerant Lines: Check the refrigerant lines (copper pipes connecting the indoor and outdoor units) for signs of leaks.
- Visual Inspection: Look for oily residue or ice forming on the lines. These are strong indicators of a refrigerant leak.
- Important: Do not attempt to repair refrigerant leaks yourself. Refrigerant handling requires specialized equipment and training. Contact a qualified HVAC technician immediately.
- Capacitor Check (Outdoor Unit): The capacitor helps start and run the compressor in the outdoor unit. A failing capacitor is a common cause of cooling problems. This step involves working with electrical components and requires extreme caution. If you are not comfortable, skip this step and call a professional.
- Safety First: Ensure the power is off at the breaker before proceeding. Discharge the capacitor before touching it. You can use a screwdriver with an insulated handle to short the terminals (be very careful!).
- Visual Inspection: Look for signs of bulging, leaking, or corrosion on the capacitor.
- Testing (Requires Multimeter): If you have a multimeter and know how to use it, you can test the capacitor's capacitance. The reading should be within the specified range printed on the capacitor. If the capacitor is damaged or the reading is significantly off, it needs to be replaced by a qualified technician. Incorrect installation or handling of capacitors can be dangerous.
Step 3: When to Call a Professional
Despite your best efforts, some issues require the expertise of a qualified HVAC technician. Here are some situations where professional help is necessary:
- Refrigerant Leaks: As mentioned earlier, refrigerant handling is regulated and requires specialized equipment.
- Compressor Problems: The compressor is the heart of the cooling system. If it's not working properly, the system won't cool effectively. Diagnosing and repairing compressor issues requires specialized knowledge and tools.
- Electrical Issues: Repeatedly tripping breakers, unusual noises from the system, or any signs of electrical arcing or burning smells are serious electrical problems that require immediate attention from a qualified electrician or HVAC technician.
- Frozen Evaporator Coil: If the evaporator coil is completely frozen over, it indicates a serious airflow problem, refrigerant issue, or a faulty component. Attempting to thaw the coil yourself can damage it.
- Complex Ductwork Issues: If you suspect problems with the ductwork itself (e.g., leaks, collapsed ducts), diagnosing and repairing these issues may require specialized equipment and knowledge.
- You've exhausted all the DIY troubleshooting steps and the system still isn't cooling properly.
Additional Tips for Lennox Ducted Mini-Split Systems
- Consult Your Owner's Manual: Your owner's manual is a valuable resource for troubleshooting and maintenance information specific to your Lennox model.
- Regular Maintenance: Schedule annual professional maintenance for your system to ensure optimal performance and longevity. A technician can identify and address potential problems before they become major issues.
- Keep Records: Maintain a log of any issues you encounter and the steps you take to resolve them. This information can be helpful for future troubleshooting and for your HVAC technician.
- Energy Efficiency: Ensure proper insulation in your home to reduce the load on your cooling system. Sealing air leaks around windows and doors can also improve energy efficiency.
By following these troubleshooting steps, you can often identify and resolve simple cooling problems with your Lennox ducted mini-split system. However, remember to prioritize safety and don't hesitate to call a professional when the situation warrants it. Regular maintenance and prompt attention to problems will help keep your system running efficiently and reliably for years to come.


 (4).png)

