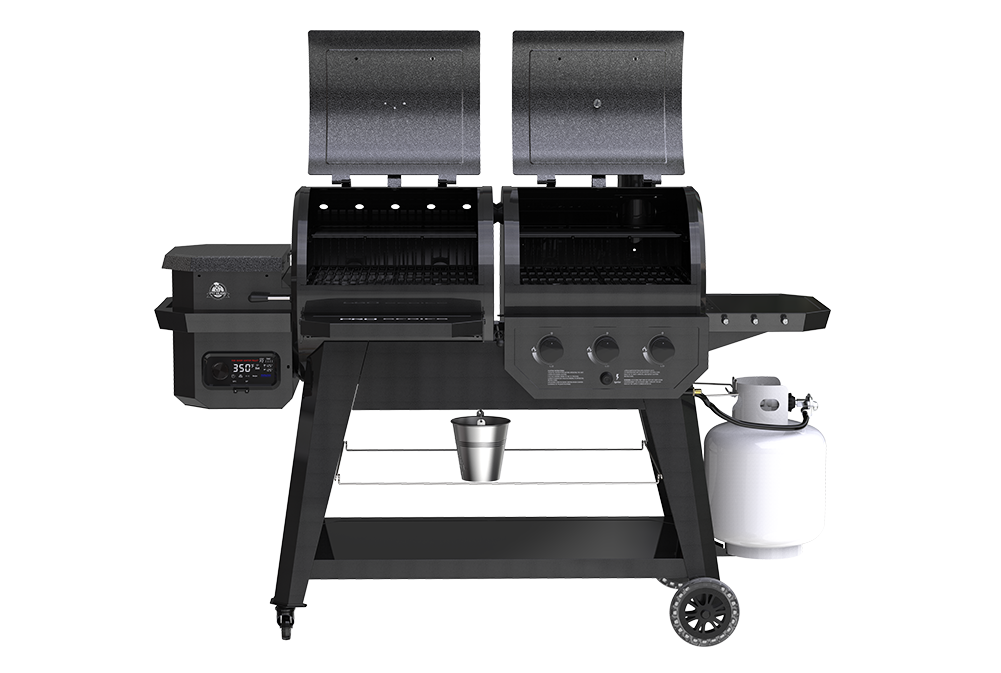
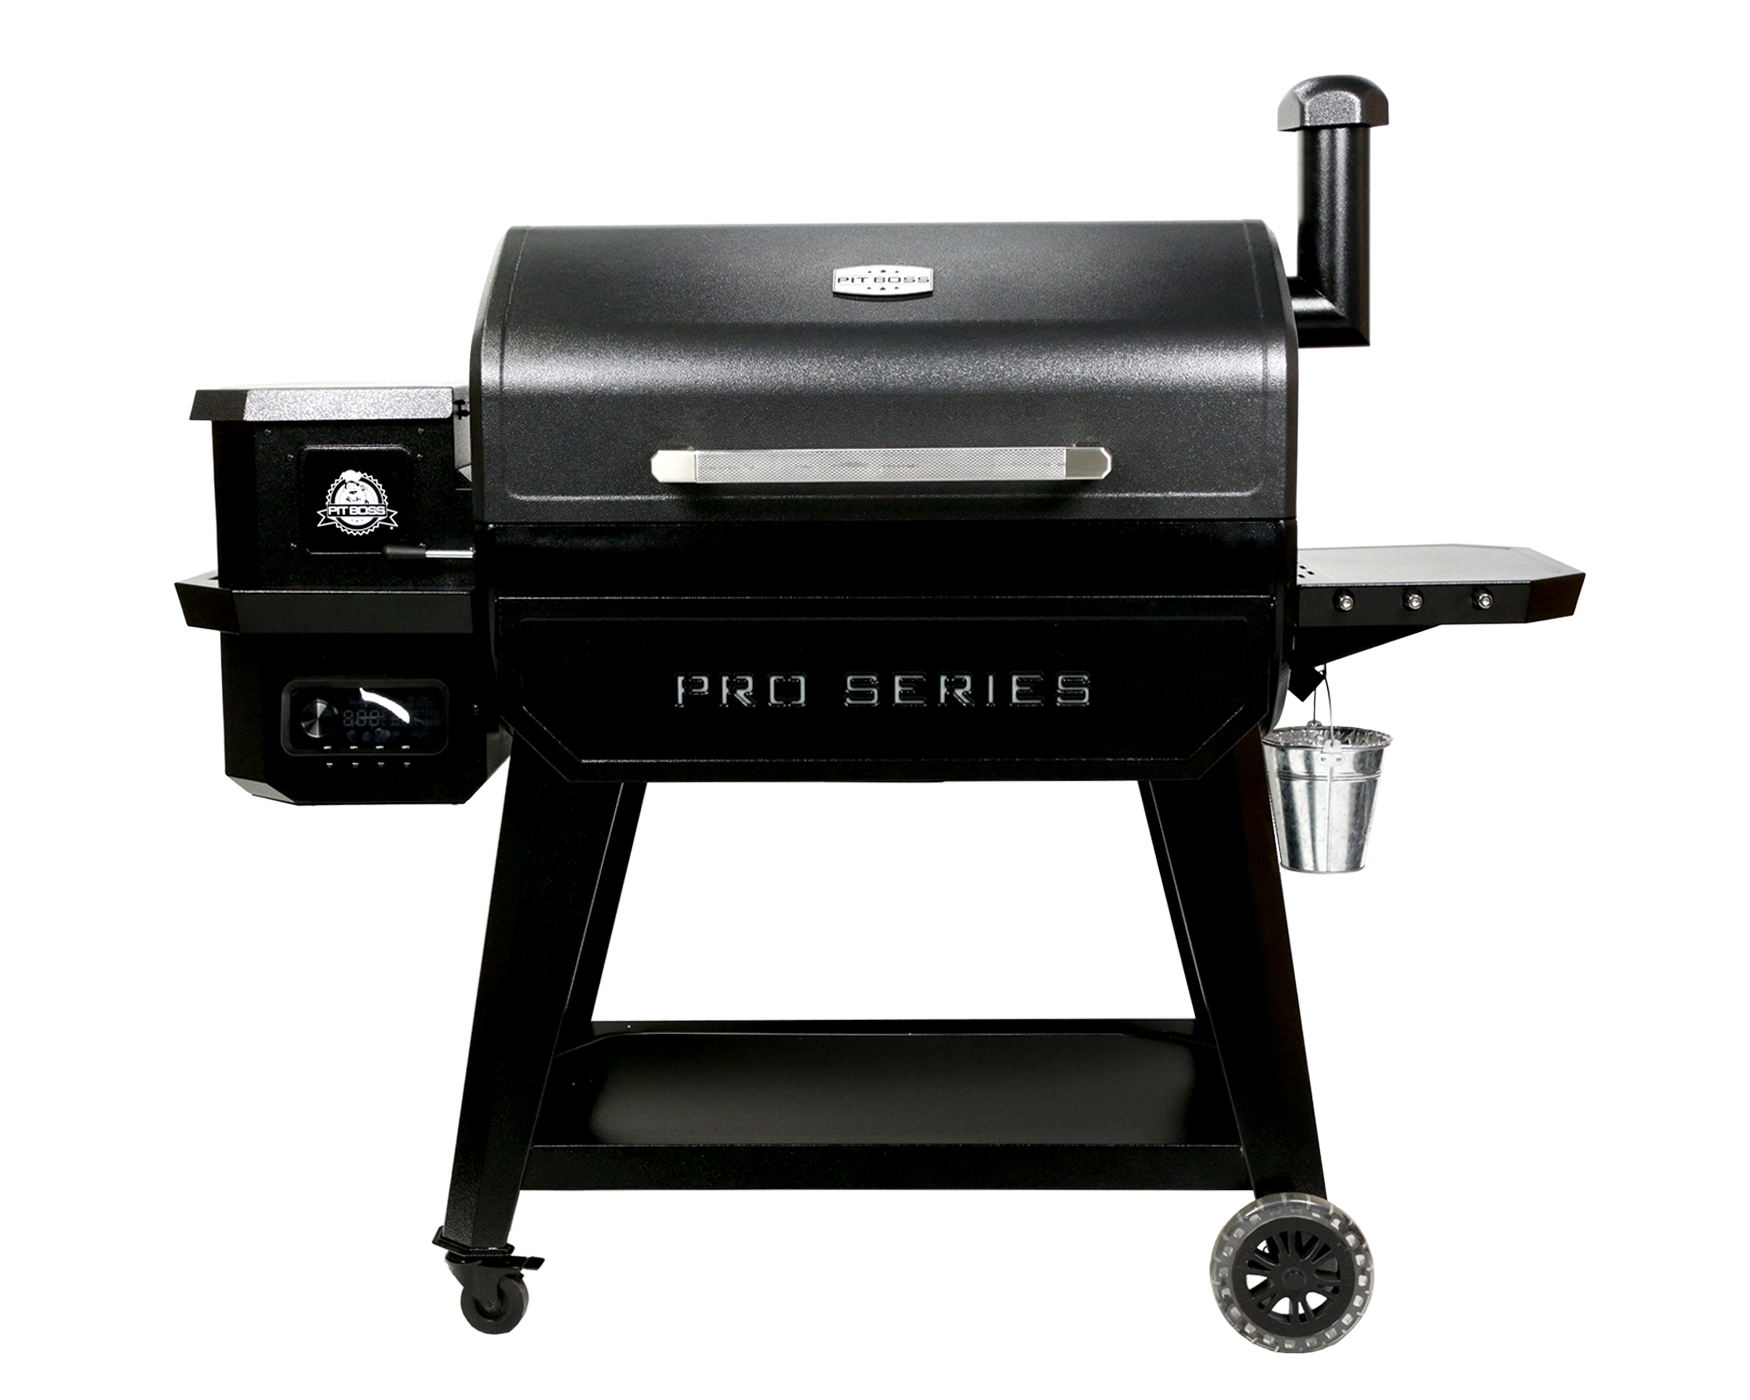
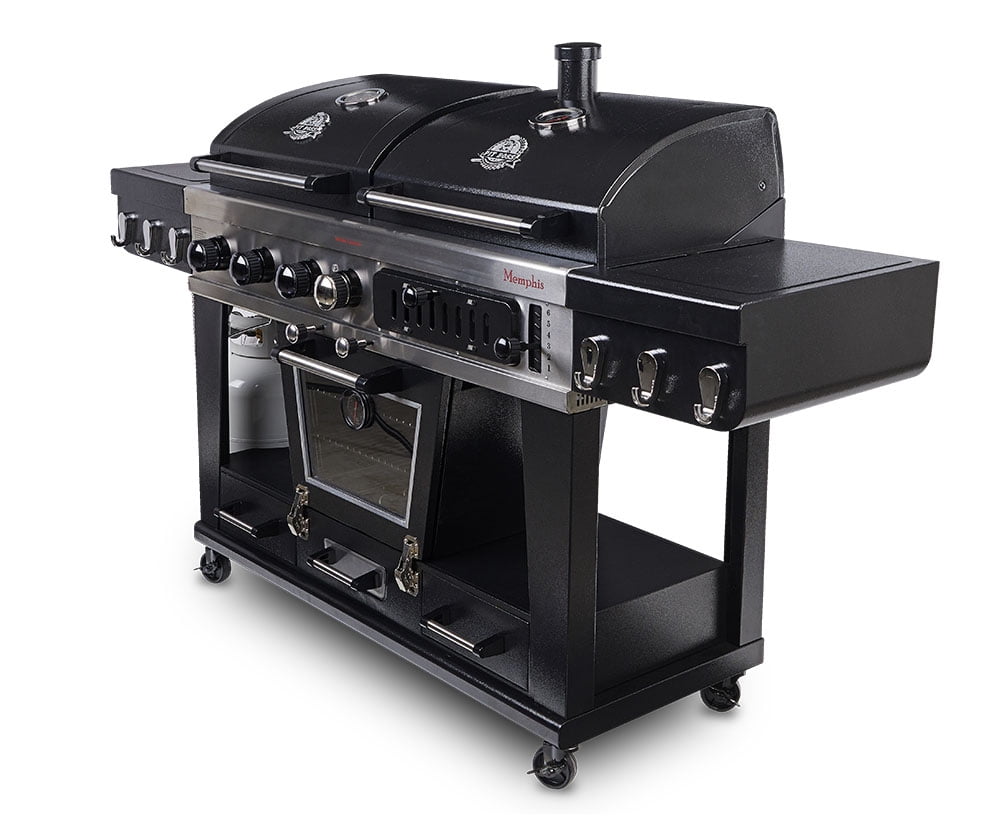
Lowes Pit Boss Combo
One of the most frustrating experiences for any Pit Boss Combo grill owner is inconsistent temperature and smoke production. You've planned the perfect barbecue, loaded up the hopper, and then the grill either struggles to reach the desired temperature, or it fluctuates wildly, resulting in unevenly cooked food. This article provides a calm, methodical approach to troubleshooting this common problem, empowering you with DIY fixes before calling in the pros.
Diagnosis: Inconsistent Temperature and Smoke
Before diving into fixes, it's crucial to pinpoint the root cause. Here's a step-by-step diagnostic process:
Step 1: Fuel Check
Start with the basics. The quality and quantity of your wood pellets directly impact temperature and smoke.
- Inspect the Pellets: Are they dry and in good condition? Damp or old pellets burn poorly and can clog the auger. Look for signs of swelling or mold.
- Hopper Level: Is the hopper adequately filled? A low hopper can lead to the auger running dry and temperature fluctuations.
- Pellet Type: Are you using the correct type of pellets for your Pit Boss? Avoid using heating pellets as they are not food-grade.
Step 2: Initial Startup and Prime
Improper startup can lead to temperature issues from the beginning. The initial priming process is critical.
- Follow the Manual: Always adhere to the startup procedure outlined in your Pit Boss manual. This typically involves selecting the "Smoke" setting and allowing the auger to prime.
- Observe the Auger: During priming, visually confirm that pellets are being fed into the fire pot. Listen for the auger motor working. If the auger isn't moving, that's a critical clue.
- Ignition Confirmation: Once the fire pot is filled, the igniter should glow and ignite the pellets. Look for smoke and the distinct smell of burning wood.
Step 3: Grill Environment
External factors can significantly affect grill performance.
- Ambient Temperature: Cold weather requires more fuel to maintain temperature. Be prepared to adjust your settings accordingly.
- Wind: Wind can steal heat from the grill and disrupt the airflow. Consider positioning the grill in a sheltered location.
- Direct Sunlight: While not as impactful as cold or wind, direct sunlight can affect the grill's internal temperature readings.
Step 4: Component Functionality
Several components work together to maintain the correct temperature. Assess each one systematically.
- Temperature Probe: The temperature probe sends readings to the control board. A faulty probe can provide inaccurate information.
- Auger Motor: This motor drives the auger, feeding pellets into the fire pot. A malfunctioning motor will disrupt fuel delivery.
- Igniter: The igniter lights the pellets. A failed igniter will prevent the grill from starting or maintaining a flame.
- Fan: The fan circulates air within the grill, promoting even cooking. A non-functioning fan can lead to hot spots and uneven temperature distribution.
- Control Board: The control board is the brain of the grill, managing all the components. A faulty control board can cause erratic behavior.
Step 5: Physical Inspection
A thorough physical inspection can reveal obvious problems.
- Fire Pot: Check for excessive ash buildup in the fire pot. Too much ash can smother the flame.
- Grease Trap: Ensure the grease trap is clean and not overflowing. A full grease trap is a fire hazard and can impact airflow.
- Exhaust Vent: Verify that the exhaust vent is clear of obstructions. Blocked vents restrict airflow and affect temperature.
- Seals and Gaskets: Inspect the seals around the lid and hopper for any damage or gaps. Leaks can allow heat to escape and disrupt temperature control.
DIY Fixes: Taking Action
Based on your diagnosis, here are some simple DIY fixes you can try:
1. Pellet Replacement and Hopper Cleaning
If your pellets are damp or old, replace them with fresh, dry pellets. Thoroughly clean the hopper to remove any debris or pellet dust that may be obstructing the auger.
How-to:
- Empty the hopper completely.
- Use a shop vac to remove all loose pellets, dust, and debris.
- Wipe down the inside of the hopper with a clean, dry cloth.
- Refill with fresh pellets.
2. Auger Cleaning and Inspection
A clogged auger is a common cause of pellet starvation. Here's how to clean it:
How-to:
- Unplug the grill! Safety first.
- Empty the hopper.
- Consult your Pit Boss manual for instructions on removing the auger. This usually involves removing a few screws and disconnecting the auger motor.
- Carefully remove the auger.
- Clean the auger flighting with a wire brush to remove any compacted pellet residue.
- Inspect the auger for any damage, such as bent or broken flighting.
- Reinstall the auger, ensuring it is properly seated.
- Reconnect the auger motor.
3. Fire Pot Cleaning
Regular cleaning of the fire pot is essential for proper combustion.
How-to:
- Unplug the grill!
- Allow the grill to cool completely.
- Remove the grates, heat deflector, and any other components covering the fire pot.
- Use a shop vac to remove all ash from the fire pot.
- Scrape any stubborn residue with a putty knife.
- Ensure the air intake holes in the fire pot are clear.
- Reassemble the grill.
4. Temperature Probe Cleaning
A dirty temperature probe can provide inaccurate readings. Gently clean it with a soft cloth.
How-to:
- Unplug the grill!
- Locate the temperature probe inside the grill.
- Using a soft, dry cloth, gently wipe the probe to remove any grease or residue.
- Avoid using abrasive cleaners, as they can damage the probe.
5. Grease Management
A clean grease management system is vital for safety and performance.
How-to:
- Regularly check and empty the grease trap.
- Clean the grease drain channel to ensure proper flow.
- Consider using disposable grease bucket liners for easy cleanup.
6. Lid Seal Inspection and Repair
A damaged lid seal can allow heat to escape. Inspect the seal and replace it if necessary.
How-to:
- Visually inspect the lid seal for any cracks, tears, or gaps.
- If the seal is damaged, purchase a replacement seal specifically designed for your Pit Boss model.
- Remove the old seal and clean the surface where the new seal will be installed.
- Apply the new seal according to the manufacturer's instructions.
When to Call a Professional
While many temperature and smoke issues can be resolved with DIY fixes, some problems require professional attention. It's time to call a qualified appliance repair technician if:
- Auger Motor Failure: If the auger motor is completely unresponsive, even after cleaning the auger, it likely needs to be replaced. Attempting to repair the motor yourself can be dangerous.
- Igniter Failure: If the igniter isn't glowing and the pellets aren't igniting, even after confirming proper pellet feed, the igniter is likely faulty. Replacing the igniter involves working with electrical components and should be handled by a professional.
- Control Board Malfunction: If the control board is displaying error codes, behaving erratically, or failing to control the grill's functions, it needs to be replaced. Control board replacement requires specialized knowledge and tools.
- Electrical Issues: If you suspect any electrical problems, such as shorts or damaged wiring, immediately disconnect the grill and call a qualified electrician. Never attempt to repair electrical issues yourself unless you are a trained professional.
- Gas Leak: If your Pit Boss Combo is equipped with a gas grill and you suspect a gas leak, immediately shut off the gas supply and call your gas company or a qualified gas appliance technician. Gas leaks are extremely dangerous.
Important Safety Note: Always disconnect the grill from the power source before performing any maintenance or repairs. Refer to your Pit Boss owner's manual for specific safety instructions and warnings.
By following this troubleshooting guide, you can diagnose and resolve many common temperature and smoke issues with your Pit Boss Combo grill. Remember to prioritize safety and when in doubt, consult a professional. With a little preventative maintenance and timely intervention, you can keep your grill running smoothly and enjoy countless delicious barbecues.