Medford Hvac Companies Top Heater Repair

Winter in Medford can be brutal, and a malfunctioning heater is more than an inconvenience; it's a safety concern. Many homeowners experience the frustration of a heater that simply won't turn on, leaving them in the cold. Before you panic and call a professional, let's explore some common causes and simple troubleshooting steps you can take yourself.
Troubleshooting Your Heater: A Step-by-Step Guide
This guide will help you diagnose and potentially fix common heater problems. Remember, safety is paramount. If you're uncomfortable with any step, or if you suspect a gas leak, immediately call a qualified HVAC technician from a reputable Medford HVAC company.
Step 1: Check the Thermostat
This might seem obvious, but it's often the culprit. Start with the simplest solution first.
- Verify the Thermostat is On and Set to "Heat": Make sure the thermostat is switched to the "Heat" setting, not "Cool" or "Off."
- Check the Temperature Setting: Is the desired temperature set higher than the current room temperature? If not, the heater won't kick on. Increase the temperature setting by a few degrees and wait a few minutes. Listen for the heater to engage.
- Inspect the Batteries: Many thermostats, especially digital ones, require batteries. Low batteries can cause erratic behavior or prevent the thermostat from communicating with the heater. Replace the batteries with fresh ones.
- Thermostat Calibration: Some thermostats can lose their calibration over time. Consult your thermostat's manual for instructions on how to recalibrate it.
When to Call a Pro: If the thermostat still doesn't seem to be functioning correctly after these steps, or if the display is blank even with fresh batteries, you likely have a faulty thermostat that needs professional replacement.
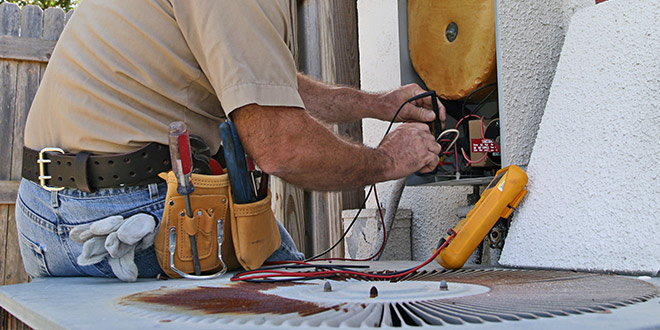
Step 2: Inspect the Power Supply
A heater needs a reliable power source to operate. Let's check a few key areas.
- Check the Circuit Breaker: Locate your home's electrical panel and identify the circuit breaker that controls your heater (it should be labeled). If the breaker is tripped (in the "off" or middle position), flip it fully to the "off" position and then back to the "on" position.
- Check the Emergency Shut-Off Switch: Many heaters, especially those in attics or basements, have an emergency shut-off switch (often a red switch). Make sure this switch is in the "on" position.
- Verify the Heater's Power Switch: Some heaters have a dedicated power switch located directly on the unit. Ensure this switch is turned on.
Important Safety Note: If the circuit breaker trips repeatedly, do not continue to reset it. This could indicate a serious electrical problem. Call a qualified electrician or HVAC technician immediately.
When to Call a Pro: If the breaker trips repeatedly, or if you're uncomfortable working with electrical panels, it's best to call a professional.
Step 3: Check the Air Filter
A dirty air filter is one of the most common causes of heater problems. A clogged filter restricts airflow, causing the heater to overheat and potentially shut down.
- Locate the Air Filter: The air filter is usually located near the heater unit itself, often in a slot or compartment.
- Inspect the Filter: Remove the filter and examine it. If it's visibly dirty, clogged with dust, or has debris stuck to it, it needs to be replaced.
- Replace the Filter: Install a new, clean air filter of the correct size and type for your heater. Check your heater's manual for the recommended filter specifications.
- Regular Filter Changes: For optimal performance and to prevent future problems, replace your air filter every 1-3 months, depending on usage and air quality.
When to Call a Pro: If you continue to have airflow problems even after replacing the filter, or if you're unsure about the correct filter type for your heater, contact a professional.
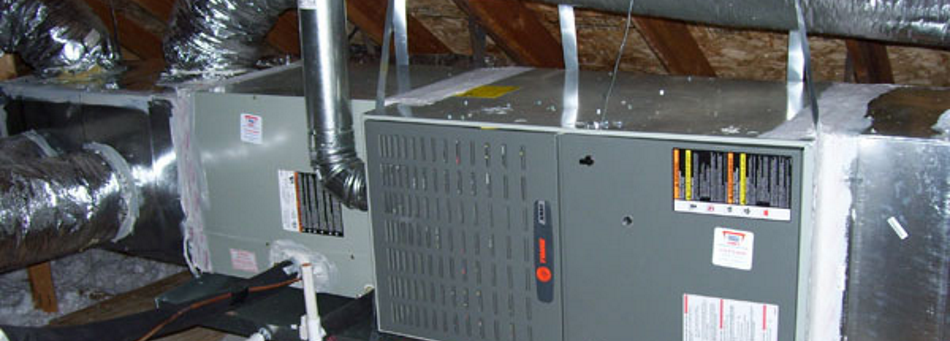
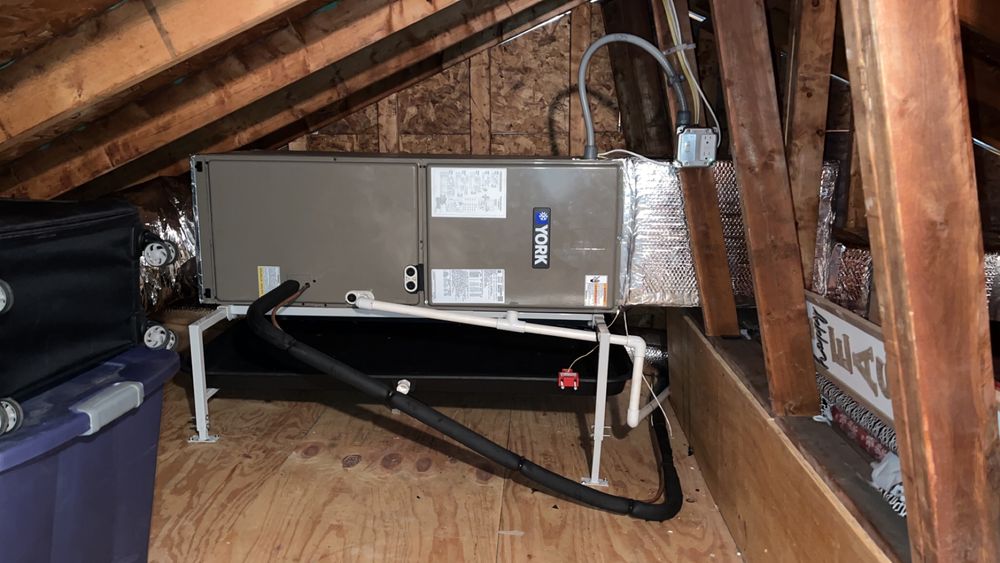
Step 4: Inspect the Pilot Light (Gas Heaters Only)
If you have a gas heater, a blown-out pilot light can prevent the heater from igniting. Proceed with caution when working with gas. If you smell gas at any time, immediately evacuate the area and call your gas company.
- Locate the Pilot Light Assembly: Refer to your heater's manual to find the location of the pilot light assembly.
- Check for a Lit Pilot Light: Look through the small viewing window to see if the pilot light is lit. If it's not, you'll need to relight it.
- Relighting the Pilot Light:
- Turn the gas valve to the "Off" position and wait a few minutes to allow any accumulated gas to dissipate.
- Turn the gas valve to the "Pilot" position.
- Press and hold the reset button (usually a small red or black button near the gas valve).
- While holding the reset button, use a long lighter or match to ignite the pilot light.
- Continue holding the reset button for about 30-60 seconds after the pilot light ignites.
- Release the reset button. The pilot light should remain lit. If it goes out, repeat steps 2-5.
- Turn the gas valve to the "On" position.
Important Safety Note: If you have trouble relighting the pilot light, or if it repeatedly goes out, there may be a problem with the gas valve, thermocouple, or other components. Do not attempt to fix these issues yourself. Call a qualified HVAC technician immediately.
When to Call a Pro: If you smell gas, are uncomfortable working with gas, or the pilot light won't stay lit, call a professional immediately. This is not a DIY situation.
Step 5: Check the Vents and Registers
Blocked vents and registers can restrict airflow and reduce the efficiency of your heater.
- Inspect Vents and Registers: Make sure that all vents and registers are open and unobstructed. Remove any furniture, rugs, or other items that might be blocking them.
- Clean Vents and Registers: Use a vacuum cleaner to remove any dust or debris from the vents and registers.
- Check for Leaks: Feel around the vents and registers for any drafts or leaks. Seal any leaks with duct tape or caulk.
When to Call a Pro: If you suspect a more significant ductwork problem, such as a collapsed or disconnected duct, it's best to call a professional for an inspection and repair.
Step 6: Listen for Unusual Noises
Unusual noises coming from your heater can indicate a variety of problems.
- Rattling: Could indicate loose parts or debris inside the heater.
- Screeching: Often points to a problem with the blower motor or its bearings.
- Banging: May be caused by expanding or contracting ductwork, or a problem with the combustion process.
- Whistling: Could indicate a restricted airflow due to a dirty filter or blocked vents.
When to Call a Pro: Any persistent or unusual noises should be investigated by a qualified HVAC technician. Ignoring these noises can lead to more serious and expensive repairs.
Step 7: Check for Error Codes (Digital Heaters)
Many newer heaters have digital displays that show error codes when a problem is detected. These codes can provide valuable information about the nature of the issue.
- Consult the Manual: Refer to your heater's manual to find a list of error codes and their corresponding meanings.
- Troubleshoot the Code: Follow the troubleshooting steps recommended in the manual for the specific error code.
When to Call a Pro: If you're unable to resolve the issue after following the troubleshooting steps for the error code, or if the error code indicates a serious problem, call a professional.
When to Always Call a Professional HVAC Technician
While the above steps can help you resolve some common heater problems, there are situations where professional intervention is essential. Always call a qualified HVAC technician from a reputable Medford HVAC company if:
- You smell gas.
- You are uncomfortable working with gas or electricity.
- The circuit breaker trips repeatedly.
- The pilot light repeatedly goes out.
- You suspect a gas leak.
- You hear unusual or loud noises coming from the heater.
- You are unable to diagnose the problem.
- You have a complex or serious issue that requires specialized knowledge or tools.
- Your heater is old or nearing the end of its lifespan.
Attempting to fix a problem beyond your expertise can be dangerous and could potentially damage your heater further, leading to more costly repairs. It's always better to err on the side of caution and call a professional when in doubt.
Preventative Maintenance: The Key to a Reliable Heater
The best way to avoid heater problems is to perform regular preventative maintenance. This includes:
- Changing the air filter regularly (every 1-3 months).
- Having your heater professionally inspected and tuned up annually.
- Keeping the area around your heater clean and free of debris.
- Checking vents and registers for obstructions.
By following these simple steps, you can help ensure that your heater runs efficiently and reliably for years to come, keeping you warm and comfortable throughout the Medford winter.
Remember, this article is intended for informational purposes only and should not be considered a substitute for professional advice. Always consult with a qualified HVAC technician for any heater problems that you are unable to resolve yourself.