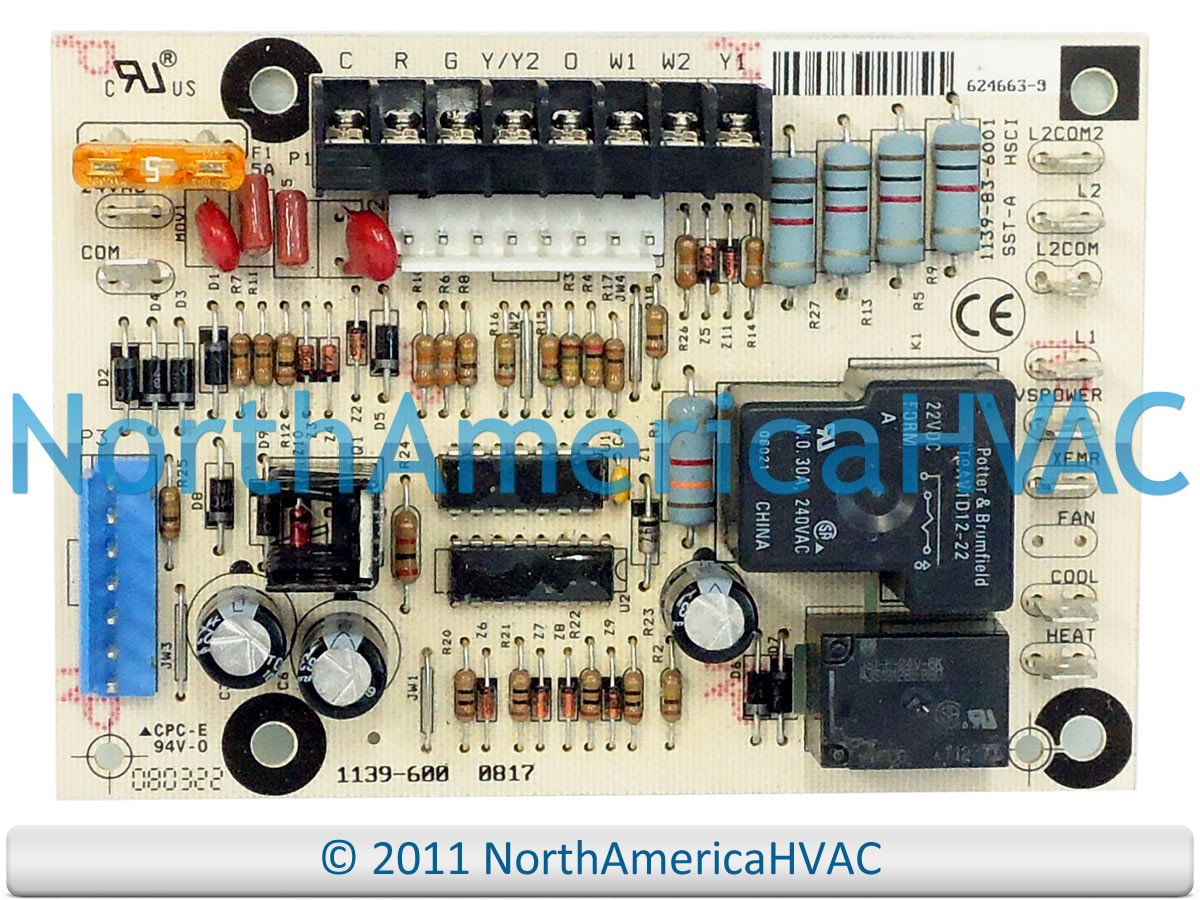
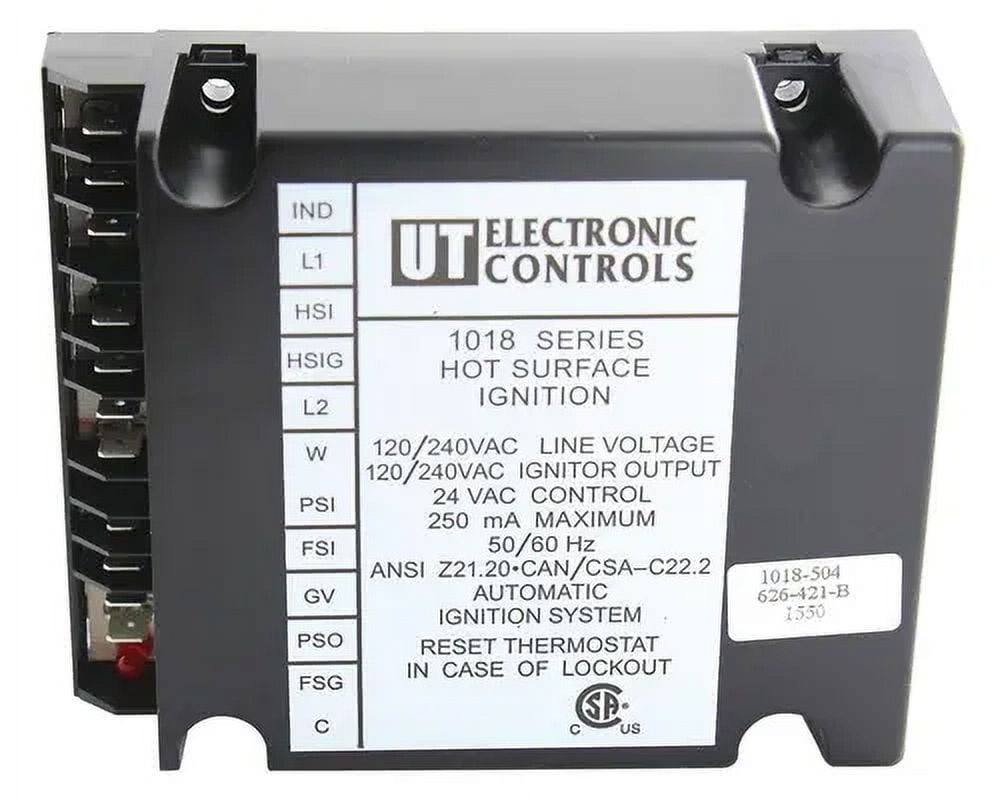
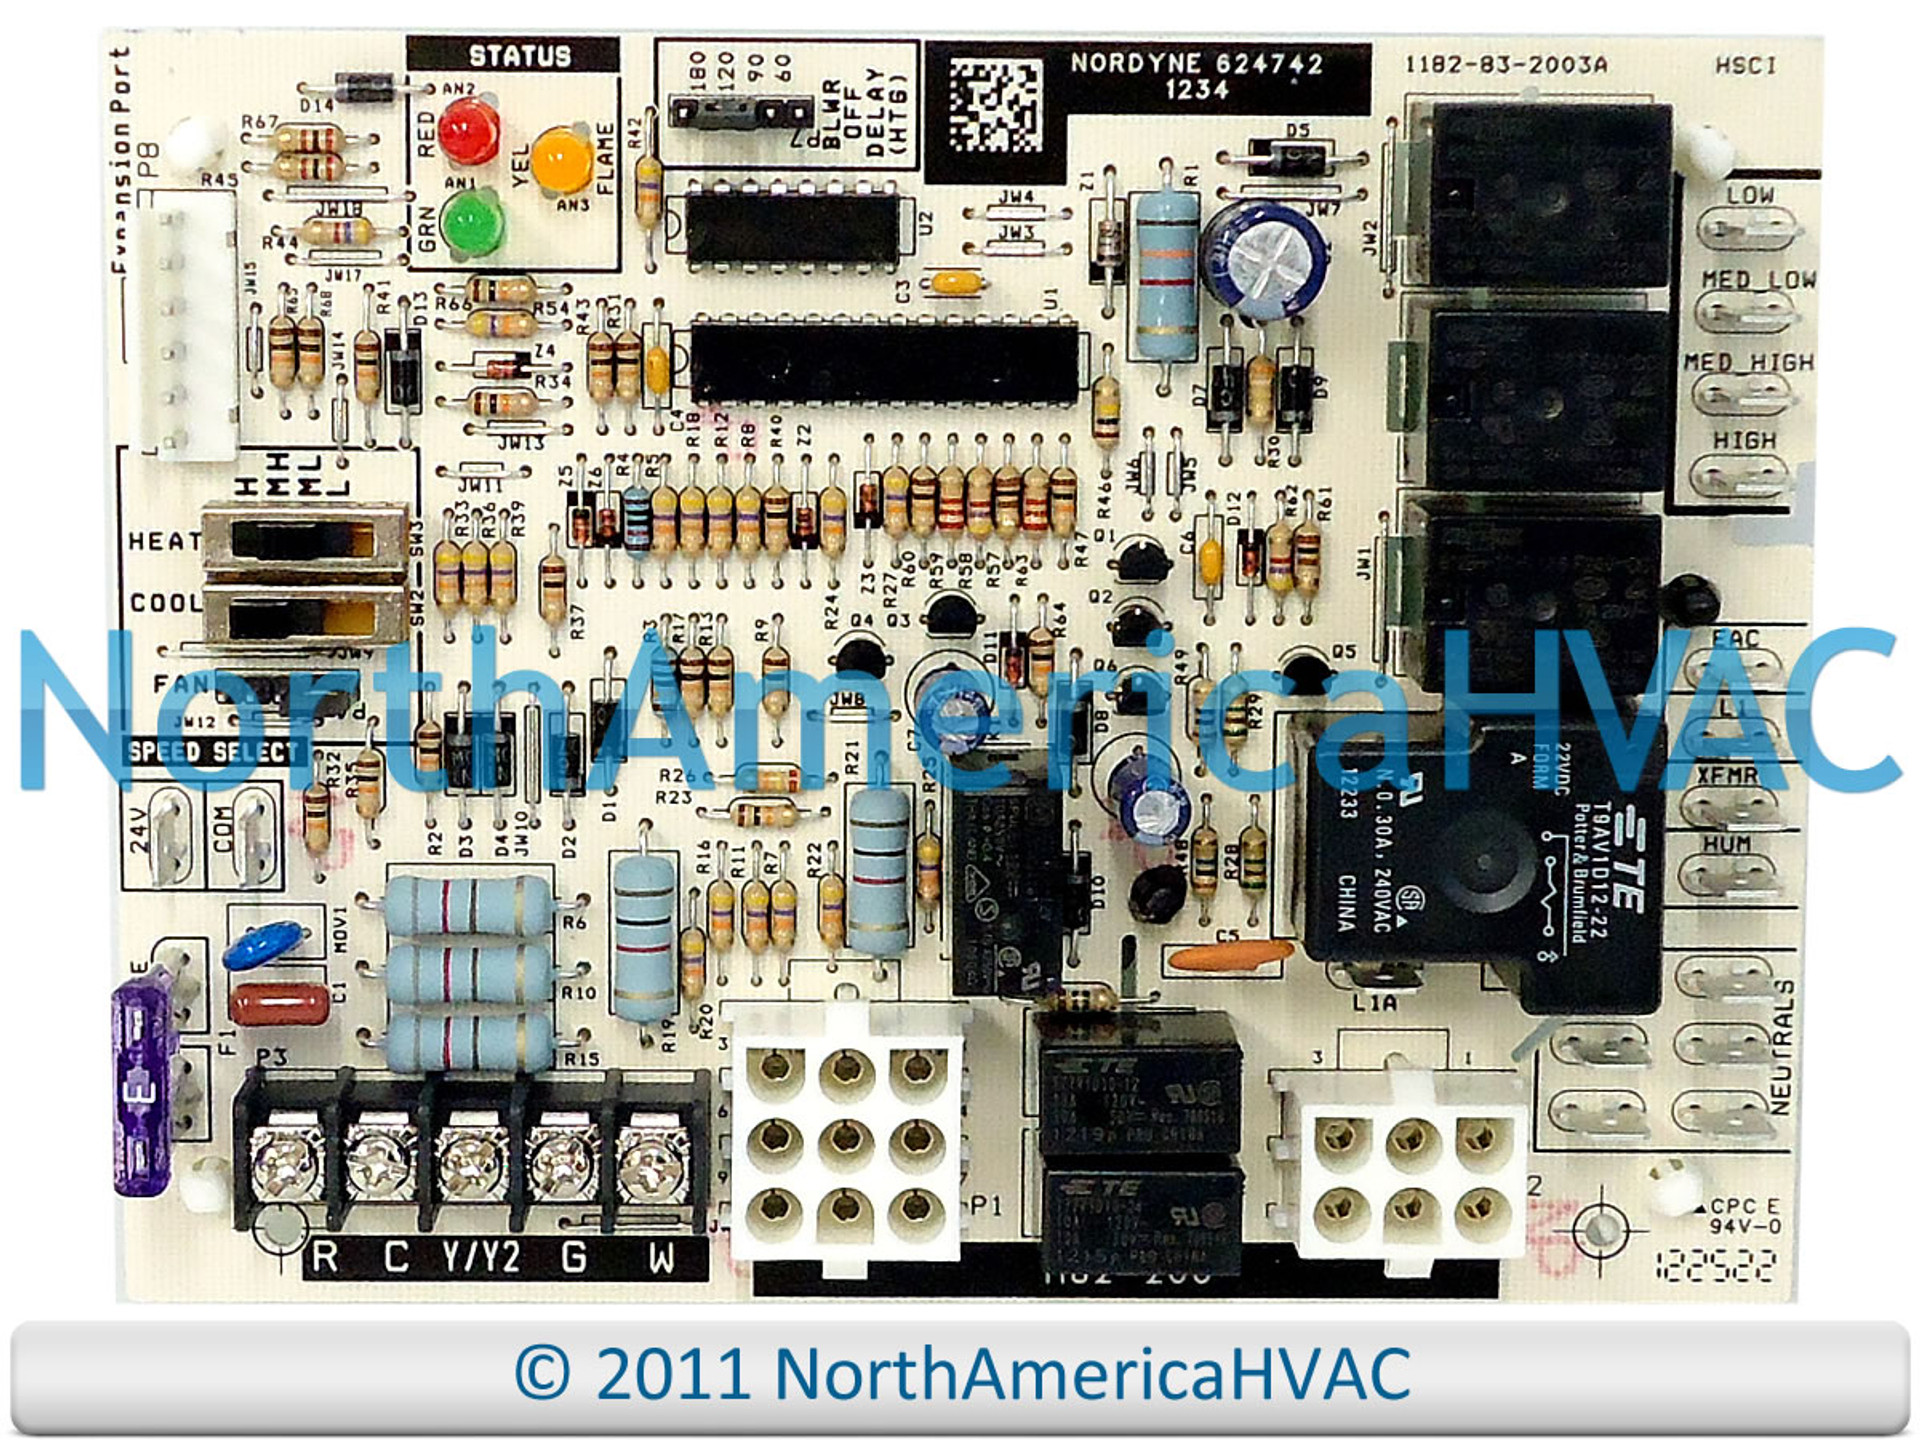
Miller Furnace Control Board

The Miller furnace control board is the brains of your heating system. It manages and coordinates all the components to ensure your furnace runs safely and efficiently. Understanding its role and troubleshooting potential issues can save you money and keep you comfortable during the colder months. This guide will break down the function of a Miller furnace control board, explain common problems, and offer insights into troubleshooting and replacement.
What is a Furnace Control Board?
Think of the control board as a miniature computer dedicated solely to your furnace. It's a printed circuit board (PCB) packed with electronic components like relays, microprocessors, resistors, and capacitors. These components work together to manage the various stages of the heating cycle.
Here's what it does:
- Receives signals: The board monitors signals from various sensors within the furnace, such as the thermostat, flame sensor, pressure switch, and limit switches.
- Processes information: It interprets these signals to determine the furnace's operational needs. For instance, if the thermostat calls for heat, the board initiates the start-up sequence.
- Controls components: Based on the information it receives, the control board activates or deactivates different components, including the inducer motor, gas valve, igniter, and blower motor.
- Safety monitoring: A crucial role of the control board is to monitor safety devices. If it detects a problem, like a blocked vent or overheating, it will shut down the furnace to prevent damage or hazards.
In essence, the control board ensures that all furnace components work together in the correct sequence and operates within safe parameters.
Key Components of a Miller Furnace Control Board
While the specifics can vary depending on the model, most Miller furnace control boards have these key components:
- Microprocessor: The "brain" of the board, responsible for processing information and making decisions.
- Relays: Electrically operated switches that control high-voltage components like the blower motor and gas valve. They act like intermediaries, allowing the low-voltage control board to safely control high-voltage devices.
- Terminals: Connection points for wiring from the thermostat, sensors, and other furnace components. These are usually labeled with letters like "W," "G," "R," "C," etc., indicating their function.
- Fuses: Safety devices that protect the board from electrical overloads. A blown fuse indicates a problem that needs to be addressed.
- LED Indicators: Small lights that display the status of the furnace and can provide diagnostic codes. Flashing patterns often indicate specific problems.
- Jumpers: Small connectors that can be moved to different positions to configure the board for different furnace models or settings.
- Capacitors: Store electrical energy and help to smooth out voltage fluctuations.
- Resistors: Limit the flow of electrical current in circuits.
Common Problems with Miller Furnace Control Boards
Furnace control boards are susceptible to various issues, often due to age, electrical surges, or component failure.
- Blown Fuses: This is usually the first sign of a problem. A blown fuse indicates an overcurrent situation, and simply replacing the fuse without addressing the underlying cause is not recommended. Possible causes include a short circuit in a component, a faulty transformer, or an overloaded motor.
- Faulty Relays: Relays can wear out over time, leading to intermittent or complete failure of the components they control. Symptoms include the blower motor not turning on, the gas valve not opening, or the inducer motor failing to start.
- Capacitor Failure: Capacitors can dry out or leak, affecting the board's ability to regulate voltage. This can cause erratic behavior, such as the furnace short cycling (turning on and off frequently) or failing to start.
- Burned or Corroded Components: Overheating, electrical surges, or moisture can damage components on the board. Visible signs of damage, such as burned spots or corrosion, indicate a need for replacement.
- LED Error Codes: Most modern Miller furnace control boards have LED lights that flash in specific patterns to indicate error codes. These codes can help you diagnose the problem. Consult your furnace's manual for a list of error codes and their meanings.
- Complete Failure: In some cases, the control board may simply stop working altogether. This could be due to a catastrophic component failure or a power surge.
Troubleshooting a Miller Furnace Control Board
Before attempting any troubleshooting, always turn off the power to the furnace at the circuit breaker. Safety is paramount. If you're not comfortable working with electricity, it's best to call a qualified HVAC technician.
Here are some troubleshooting steps you can take:
- Check the Power Supply: Ensure that the furnace is receiving power. Check the circuit breaker and the furnace's on/off switch.
- Inspect the Fuses: Locate the fuse(s) on the control board and check them for continuity with a multimeter. If a fuse is blown, replace it with one of the same amperage rating. If the fuse blows again immediately, there is a serious electrical fault and you should consult an HVAC professional.
- Read the LED Error Codes: If your board has LED indicators, note the flashing pattern and consult your furnace's manual for the corresponding error code. This will provide valuable clues about the problem.
- Visually Inspect the Board: Look for any signs of damage, such as burned spots, corrosion, or bulging capacitors. These are clear indicators of a faulty board.
- Check the Wiring: Ensure that all wires are securely connected to the terminals on the board. Loose or corroded connections can cause problems.
- Test the Thermostat: Make sure your thermostat is functioning correctly. A faulty thermostat can send incorrect signals to the control board.
- Consult the Manual: Your furnace's manual should provide specific troubleshooting steps for common problems.
Tools you might need:
- Multimeter
- Screwdrivers (Phillips and flathead)
- Wire strippers
- Pliers
- Voltage tester
When to Replace a Miller Furnace Control Board
In many cases, a faulty control board is beyond repair and needs to be replaced. Here are some situations where replacement is the best option:
- Visible Damage: If the board has burned spots, corrosion, or damaged components, it should be replaced.
- Repeated Failures: If the board has failed multiple times, even after repairs, it's likely that there are underlying issues that are causing the failures. Replacement is a more reliable solution.
- Availability of Parts: In some cases, replacement parts for the control board may be difficult or impossible to find. In this situation, replacing the entire board is the only option.
- Cost-Effectiveness: If the cost of repairing the board is close to the cost of replacing it, it's often better to opt for replacement. A new board will provide greater reliability and peace of mind.
- Error codes pointing to main board failure: Some error codes definitively indicate a failure of the main board, leaving no other reasonable option but replacement.
Choosing a Replacement Control Board
When selecting a replacement control board, it's crucial to choose the correct model. The replacement board must be compatible with your specific furnace model.
Here's how to find the right replacement:
- Check the Furnace Model Number: Locate the model number of your furnace. It's usually found on a sticker inside the furnace compartment.
- Check the Control Board Part Number: The control board itself will also have a part number. This is the most accurate way to identify the correct replacement.
- Consult a Parts Supplier: Contact a reputable HVAC parts supplier and provide them with your furnace model number or control board part number. They can help you identify the correct replacement.
- Cross-Reference: Some websites offer cross-reference tools that allow you to enter your furnace model number and find compatible control boards.
Consider these factors when choosing a replacement board:
- OEM vs. Aftermarket: OEM (Original Equipment Manufacturer) boards are made by the same company that made your furnace. Aftermarket boards are made by other manufacturers. OEM boards are generally considered to be more reliable, but they may also be more expensive.
- Warranty: Check the warranty offered on the replacement board. A longer warranty provides greater protection against defects.
- Price: Compare prices from different suppliers to find the best deal.
Replacing the Control Board
Replacing a furnace control board is a relatively straightforward process, but it requires care and attention to detail. Again, always turn off the power to the furnace at the circuit breaker before starting.
Here are the steps involved:
- Take Pictures: Before disconnecting any wires, take pictures of the existing control board. This will help you remember where each wire goes.
- Label the Wires: Use masking tape and a marker to label each wire before disconnecting it. This will prevent confusion during reassembly.
- Disconnect the Wires: Carefully disconnect all of the wires from the control board. Use pliers to gently remove any connectors that are stuck.
- Remove the Old Board: Unscrew the old control board from the furnace chassis.
- Install the New Board: Mount the new control board in the same location as the old one.
- Reconnect the Wires: Use your pictures and labels to reconnect all of the wires to the new control board. Make sure each wire is securely connected to the correct terminal.
- Double-Check Your Work: Before turning the power back on, double-check all of your connections to make sure everything is correct.
- Restore Power: Turn the power back on to the furnace at the circuit breaker.
- Test the Furnace: Set the thermostat to call for heat and observe the furnace to make sure it starts up and operates correctly.
Safety Precautions
Working with electrical components can be dangerous. Always follow these safety precautions:
- Turn off the power: Always disconnect the power to the furnace at the circuit breaker before working on any electrical components.
- Use proper tools: Use insulated tools to prevent electrical shock.
- Wear safety glasses: Protect your eyes from debris.
- Do not work alone: Have someone nearby in case of an emergency.
- If in doubt, call a professional: If you're not comfortable working with electricity, it's best to call a qualified HVAC technician.
Conclusion
The Miller furnace control board is a vital component of your heating system. Understanding its function, common problems, and troubleshooting steps can help you keep your furnace running smoothly. While some issues can be resolved with simple troubleshooting, others may require professional assistance or replacement of the control board. By following the guidelines in this article, you can make informed decisions about your furnace maintenance and ensure a comfortable and safe home environment.