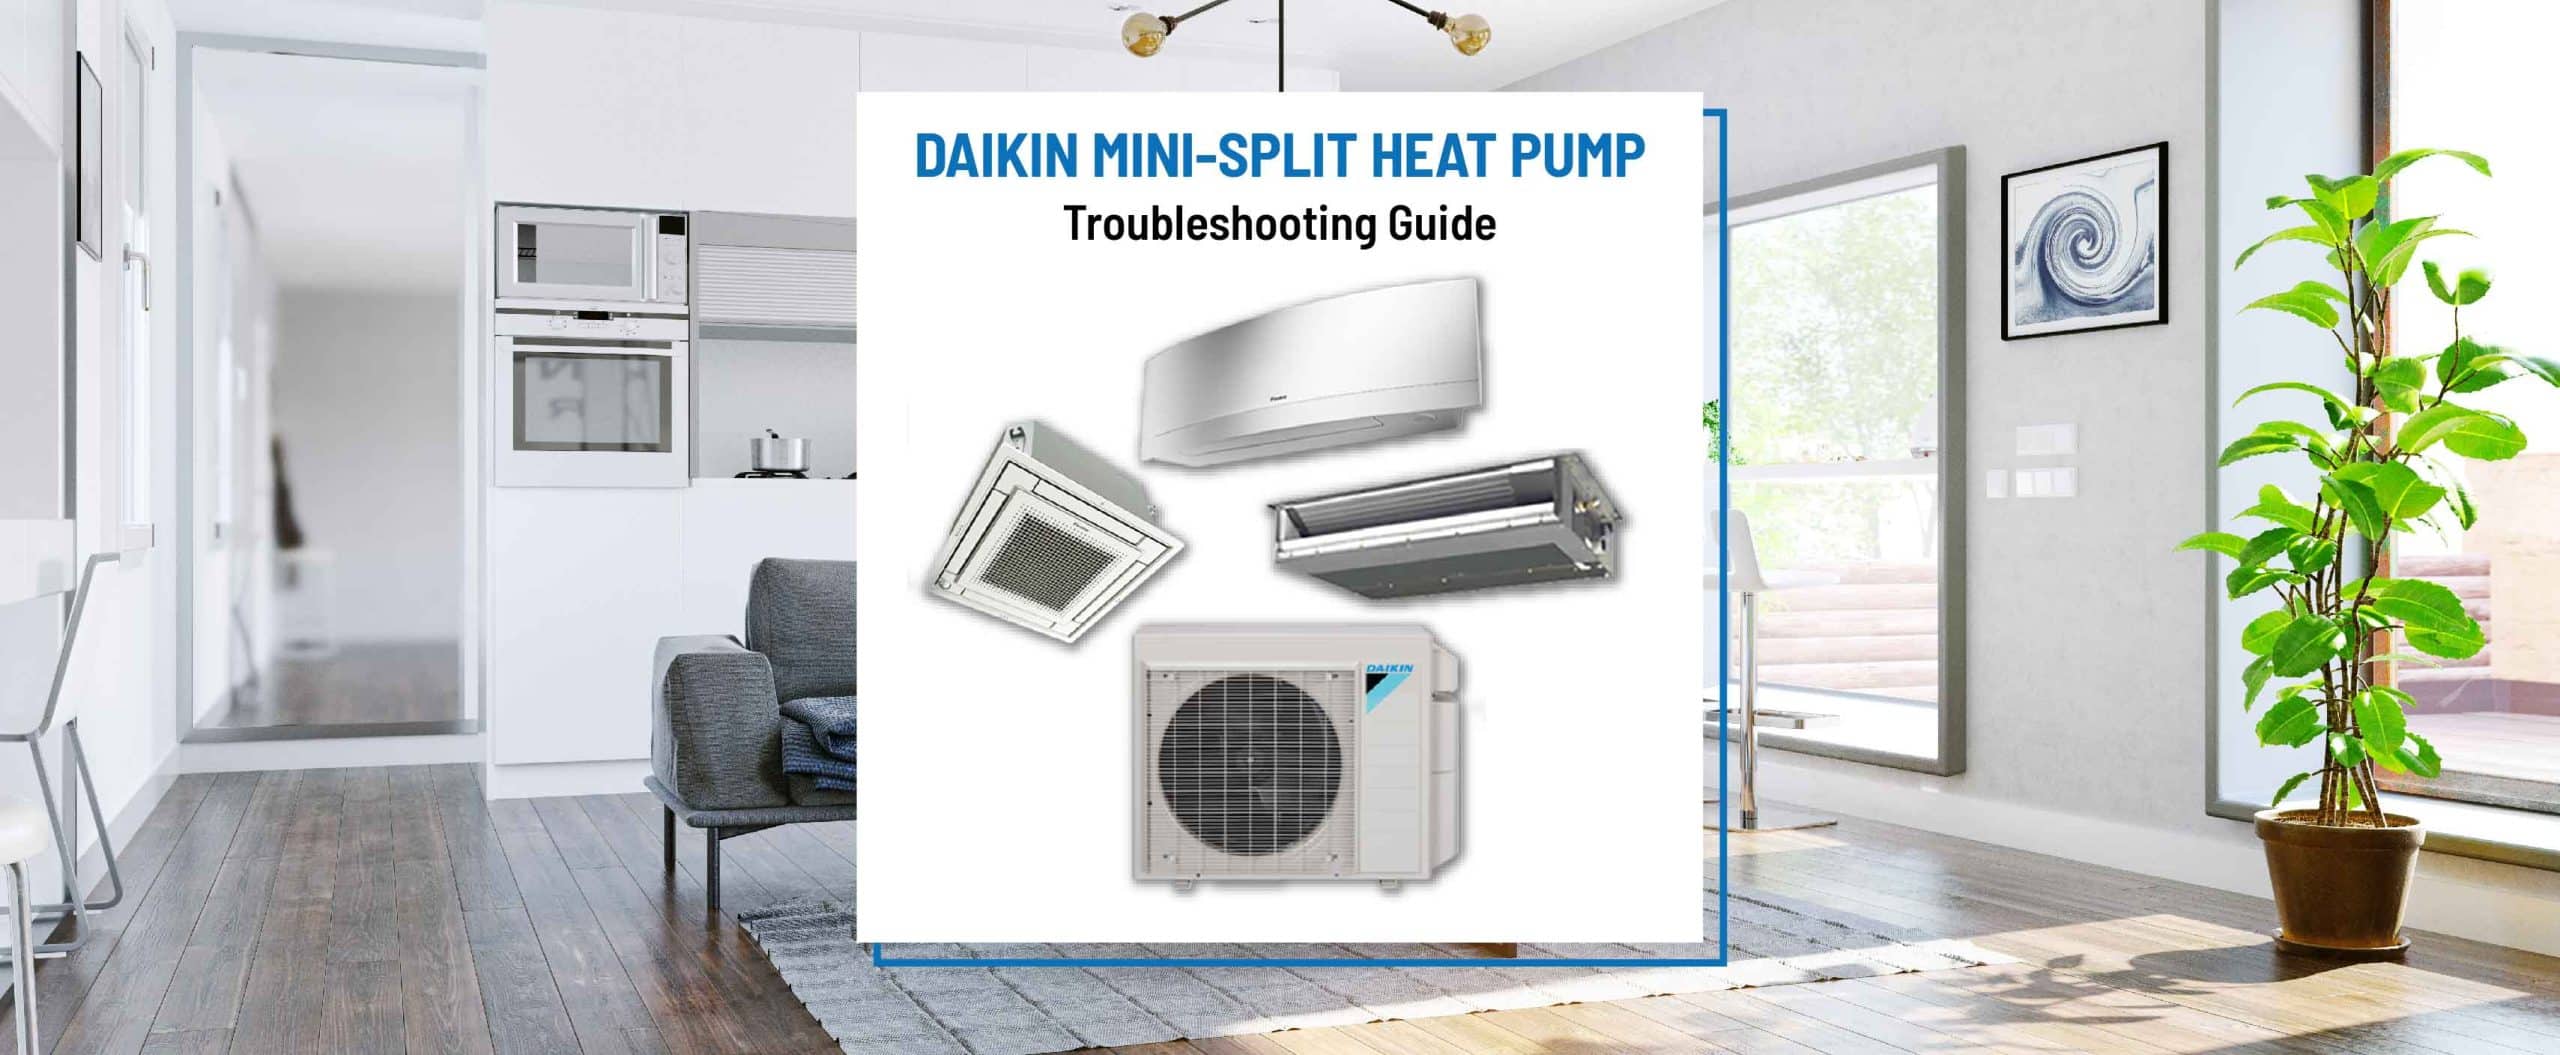
Mini Split Condensate Pump Not Working

Mini Split Condensate Pump Not Working: Troubleshooting & Solutions
A mini-split system offers efficient heating and cooling, but like any HVAC system, it can encounter problems. One common issue is a malfunctioning condensate pump. This vital component removes water produced during the cooling process. When it fails, water can back up, potentially causing damage to your walls, floors, and even the mini-split unit itself.
This guide helps you diagnose and potentially fix a faulty condensate pump. We'll cover common problems, DIY troubleshooting steps, and when it's time to call a qualified HVAC technician.
Safety First!
Before starting any work, turn off the power to your mini-split system at the breaker box. Water and electricity don't mix! If you're uncomfortable working with electrical components, please contact a professional. Working on HVAC systems involves potential hazards, and incorrect repairs can be dangerous or cause further damage.
Troubleshooting Steps
Begin with these checks before assuming the pump is completely dead.
1. Check the Power Supply
Ensure the condensate pump is receiving power.
- Verify the Pump is Plugged In: Obvious, but often overlooked. Make sure the pump is securely plugged into the outlet.
- Test the Outlet: Use a multimeter or test lamp to confirm the outlet is providing power. If not, check the circuit breaker.
- Inspect the Wiring: Look for any damaged or frayed wires leading to the pump. If you see any damage, replace the wiring or call a professional electrician.
2. Inspect the Drain Line
A clogged or blocked drain line can prevent the pump from functioning correctly.
- Check for Kinks or Obstructions: Examine the entire length of the drain line for any kinks, bends, or visible blockages.
- Clear the Drain Line: Use a wet/dry vacuum to suck out any debris from the drain line. You can also try using a stiff wire or plumber's snake to dislodge clogs. Be gentle to avoid damaging the line.
- Flush the Drain Line: Pour a mixture of warm water and vinegar into the drain pan to help dissolve mineral buildup.
3. Examine the Condensate Pan
The condensate pan collects water from the evaporator coil. If it's overflowing or has debris, it can affect the pump's operation.
- Check for Overflowing Water: An overflowing pan is a clear sign of a drainage problem.
- Clean the Pan: Remove any standing water and debris from the pan. Use a mild detergent and water to clean the pan thoroughly. Rinse well to remove any soap residue.
- Inspect the Pan for Cracks: Check for cracks or damage to the pan itself. A cracked pan will need to be replaced.
4. Test the Float Switch
The float switch activates the pump when the water level reaches a certain point. A faulty float switch is a common culprit.
- Locate the Float Switch: This is usually inside the condensate pump reservoir.
- Manually Activate the Float: Gently lift the float switch. You should hear the pump activate. If not, the float switch may be faulty.
- Inspect the Float for Debris: Sometimes, debris can prevent the float from moving freely. Clean the float and the surrounding area.
- Test the Float Switch with a Multimeter: If you have a multimeter, you can test the continuity of the float switch. When the float is in the "up" position (simulating a full reservoir), the multimeter should show continuity.
5. Inspect the Pump Reservoir
The reservoir holds the condensate water before it's pumped out.
- Check for Debris: Remove any debris from the reservoir. Small particles can clog the pump's intake.
- Clean the Reservoir: Use a mild detergent and water to clean the reservoir. Rinse well.
- Inspect for Cracks: Look for cracks or damage to the reservoir itself.
6. Listen to the Pump
Pay attention to the sounds the pump is making (or not making).
- No Sound: If the pump is completely silent when it should be running, it could indicate a power issue or a completely dead pump.
- Humming Sound: A humming sound but no pumping action often indicates a blockage within the pump or a failing motor.
- Grinding Sound: A grinding sound can indicate a damaged impeller or other internal component.
DIY Repairs vs. Calling a Professional
Many of the troubleshooting steps above are within the capabilities of a handy homeowner. Cleaning drain lines, inspecting wiring, and checking the float switch are relatively straightforward. However, some repairs are best left to a qualified HVAC technician.
When to Call a Professional
- Electrical Issues: If you suspect a problem with the electrical wiring or the pump's motor, call an electrician or HVAC technician.
- Pump Replacement: Replacing a condensate pump usually requires some plumbing and electrical knowledge. If you're not comfortable with these tasks, it's best to call a professional.
- Refrigerant Leaks: If you suspect a refrigerant leak, do not attempt to repair it yourself. This is a hazardous situation and requires specialized equipment and training.
- Complex System Issues: If you've tried the troubleshooting steps above and the pump still isn't working, there may be a more complex underlying problem with your mini-split system.
Condensate Pump Replacement
If your condensate pump is beyond repair, you'll need to replace it. Here's a general overview, but always follow the manufacturer's instructions for your specific pump model.
Tools & Materials
- New condensate pump (matching the original model)
- Screwdrivers
- Pliers
- Wire strippers/crimpers
- Electrical tape
- PVC primer and cement (if necessary for drain line connections)
- Multimeter (optional, for testing wiring)
- Level
Replacement Steps (General Guide)
- Disconnect Power: Turn off the power to the mini-split system at the breaker.
- Disconnect the Old Pump: Disconnect the electrical wiring to the old pump. Use wire strippers/crimpers to disconnect the wires. Label the wires to ensure you reconnect them correctly to the new pump.
- Disconnect the Drain Line: Disconnect the drain line from the old pump. Have a bucket or towels ready to catch any remaining water.
- Remove the Old Pump: Carefully remove the old pump from its mounting location.
- Install the New Pump: Place the new pump in the same location as the old pump. Ensure it's level.
- Connect the Drain Line: Connect the drain line to the new pump. Use PVC primer and cement if necessary to create a secure, leak-proof connection.
- Connect the Electrical Wiring: Connect the electrical wiring to the new pump, matching the wire labels you made earlier. Use electrical tape to insulate the connections.
- Test the Pump: Restore power to the mini-split system. Pour some water into the condensate pan to activate the pump. Verify that the pump is working correctly and that the water is being drained properly.
Preventative Maintenance
Preventing problems is always better than fixing them. Regular maintenance can significantly extend the life of your condensate pump and prevent costly repairs.
Maintenance Tips
- Clean the Condensate Pan Regularly: At least once a year, clean the condensate pan to remove debris and prevent clogs.
- Flush the Drain Line: Periodically flush the drain line with a mixture of warm water and vinegar to dissolve mineral buildup.
- Inspect the Pump: Visually inspect the pump for any signs of damage or wear.
- Consider a Professional Inspection: Have your mini-split system professionally inspected and maintained annually.
Estimated Repair Costs
Here's a rough estimate of the costs associated with repairing or replacing a condensate pump. Keep in mind that prices can vary depending on your location, the complexity of the job, and the specific pump model.
- New Condensate Pump (DIY): $50 - $200
- Professional Condensate Pump Replacement (Labor & Parts): $150 - $400
- Drain Line Cleaning (Professional): $75 - $150
- Diagnostic Fee: $75 - $150 (This is what a technician will charge to come out and determine the problem.)
Note: These are just estimates. Always get a quote from a qualified HVAC technician before proceeding with any repairs.
Common Condensate Pump Problems
Here's a quick recap of the most frequent issues.
- Clogged drain line
- Faulty float switch
- Debris in the pump reservoir
- Burned-out motor
- Electrical problems
- Cracked condensate pan
By following these troubleshooting steps and maintenance tips, you can keep your mini-split condensate pump running smoothly and prevent water damage to your home. Remember to prioritize safety and call a professional when necessary. Proper HVAC maintenance will always save you money in the long run.