Mini Split Freezing Up In Winter
Mini-split systems, also known as ductless air conditioners, are a popular choice for heating and cooling individual rooms or zones in a home. While they are known for their efficiency, homeowners sometimes encounter problems, especially during the winter months. A common issue is the outdoor unit freezing up. This article provides a step-by-step troubleshooting guide to help you identify and address the problem, while emphasizing safety and when professional help is necessary.
Understanding Why Mini-Splits Freeze in Winter
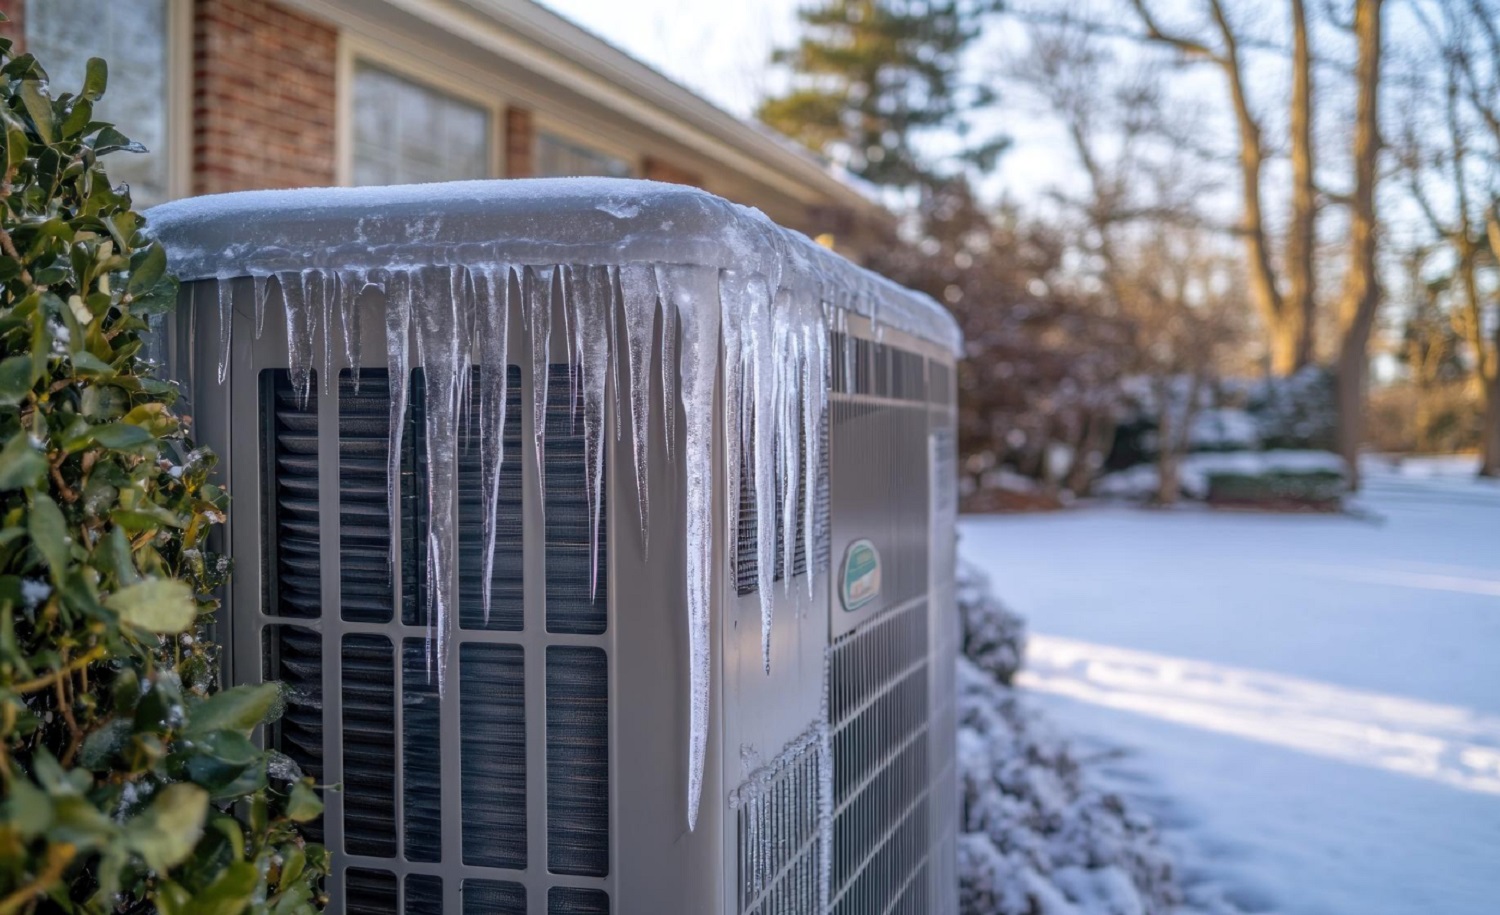
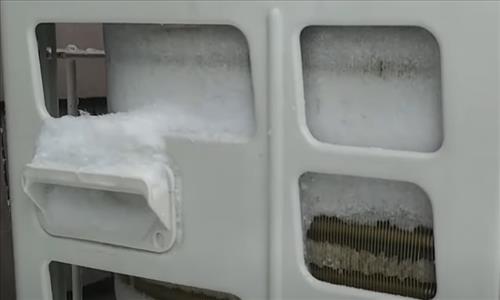
It might seem counterintuitive, but mini-splits can freeze up in winter, even when used for heating. This happens because the system works in reverse during heating mode. The outdoor unit extracts heat from the outside air and transfers it indoors. As the refrigerant absorbs heat, the outdoor coil becomes cold. When the outside temperature is low and humidity is high, frost can form on the coil. The system has a defrost cycle to melt this frost, but if the defrost cycle malfunctions or is insufficient, ice can accumulate, leading to a frozen outdoor unit.
Troubleshooting: Mini-Split Freezing Up in Winter
Follow these steps in order to diagnose and potentially fix the issue. Always prioritize safety. If you're uncomfortable with any step, call a qualified HVAC technician.
Step 1: Initial Assessment and Safety Precautions
Before you begin, take these preliminary steps:
- Turn off the system: Switch off the mini-split unit at the thermostat and, if possible, at the circuit breaker to prevent electrical shock. This is especially important if you suspect an electrical problem or plan to work near any electrical components.
- Observe the unit: Carefully examine the outdoor unit. Note the extent of the ice buildup and look for any obvious damage, such as bent fins, loose wires, or unusual noises.
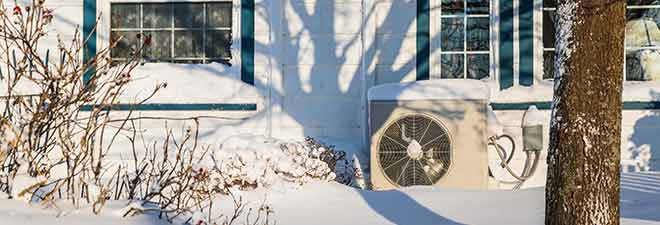
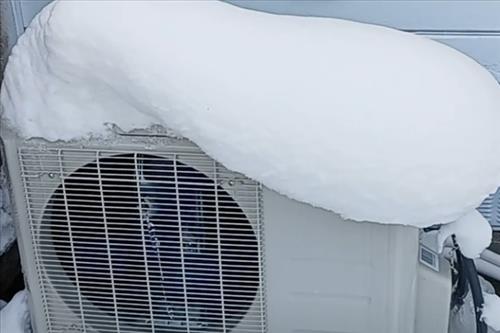
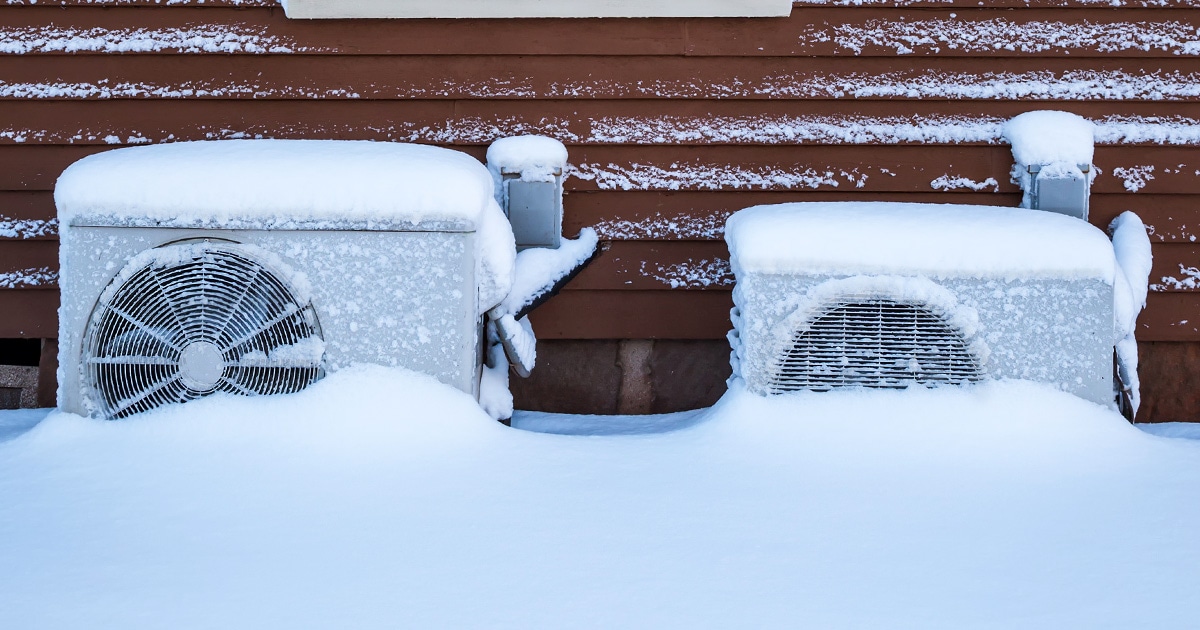
- Check the surroundings: Ensure that the area around the outdoor unit is clear of obstructions like snow, leaves, or debris. These can restrict airflow and contribute to icing.
- Protective Gear: Wear gloves to protect your hands from sharp edges or cold surfaces.
Step 2: Check the Power Supply
A stable power supply is crucial for the proper functioning of the mini-split.
- Inspect the breaker: Go to your electrical panel and check the circuit breaker for the mini-split unit. If it's tripped, reset it. If it trips again immediately, there might be a short circuit, and you should contact an electrician.
- Voltage check: If you're comfortable and have the necessary equipment (a multimeter), you can check the voltage at the outdoor unit's disconnect switch (if present). Turn off the power at the breaker before removing the disconnect switch cover. Verify that the voltage matches the unit's specifications. If the voltage is significantly low, there might be a problem with the electrical supply. If you're not comfortable working with electricity, skip this step and consult an electrician.
Step 3: Verify System Settings
Incorrect settings can prevent the defrost cycle from operating correctly.
- Thermostat settings: Make sure the thermostat is set to "Heat" mode and the desired temperature is within a reasonable range. A very low temperature setting might prevent the unit from initiating the defrost cycle.
- Fan speed: Some mini-split systems have a fan speed setting for the outdoor unit. Ensure that the fan speed is not set too low, as this can reduce airflow and contribute to icing. Experiment with different fan speed settings.
- Timer settings: Check the timer settings to ensure that the unit is not set to turn off during critical periods when it needs to run the defrost cycle.
Step 4: Inspect the Airflow
Restricted airflow is a common cause of freezing.
- Clean the outdoor coil: Use a soft brush or a fin comb to gently remove any debris, leaves, or dirt from the outdoor coil fins. Be careful not to bend the fins. A garden hose with a gentle spray nozzle can also be used to rinse the coil.
- Clear obstructions: Ensure that there are no obstructions blocking the airflow to the outdoor unit. This includes snowdrifts, bushes, or other objects.
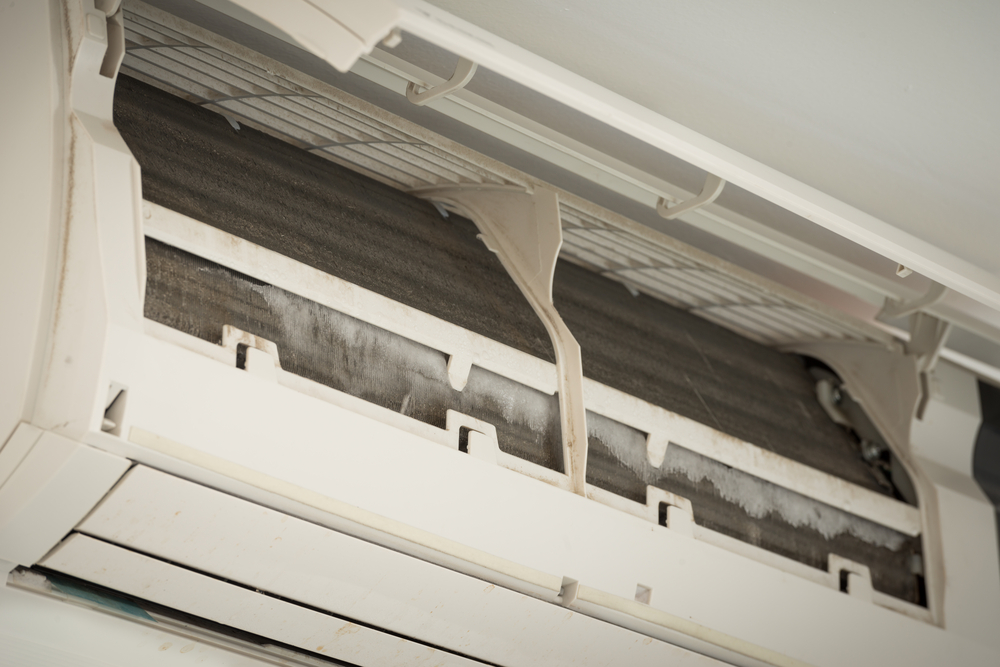
- Check the indoor air filter: A dirty indoor air filter restricts airflow and can indirectly contribute to the outdoor unit freezing up. Replace the air filter if it's dirty. A clogged filter reduces airflow across the indoor coil, making the system work harder and potentially causing the outdoor unit to overcool.
Step 5: Observe the Defrost Cycle
The defrost cycle is crucial for preventing ice buildup.
- Monitor the system: After clearing any obstructions and cleaning the coil, turn the system back on and observe its operation. Pay attention to whether the defrost cycle is activating. The defrost cycle typically runs every 30 to 90 minutes, depending on the model and conditions.
- Signs of defrost cycle: During the defrost cycle, you might notice steam or water dripping from the bottom of the outdoor unit. The fan might also stop running temporarily.
- No defrost cycle: If the defrost cycle doesn't seem to be activating, there might be a problem with the defrost sensor, defrost timer, or defrost control board. These components require specialized knowledge and tools to diagnose and repair, so it's best to call a qualified HVAC technician.
Step 6: Check the Condensate Drain
A blocked condensate drain can lead to ice buildup.
- Locate the drain: Find the condensate drain line connected to the outdoor unit. It's usually a small PVC pipe.
- Inspect for blockage: Check for any visible signs of blockage, such as ice or debris.
- Clear the drain: If you suspect a blockage, you can try to clear it using a wet/dry vacuum. Attach the vacuum hose to the drain opening and try to suck out any debris. You can also try using a stiff wire to gently poke and dislodge any obstructions. Be careful not to damage the drain line.
- Pour warm water: After clearing any visible blockage, pour warm (not hot) water down the drain to help melt any remaining ice and flush out any debris.
Step 7: Inspect the Refrigerant Lines
Refrigerant leaks can cause icing problems.
- Visual inspection: Carefully inspect the refrigerant lines (the copper pipes connecting the indoor and outdoor units) for any signs of damage, such as kinks, dents, or corrosion.
- Listen for leaks: Listen for any hissing sounds near the connections, which could indicate a refrigerant leak.
- Oil residue: Look for oily residue near the connections, as this can also be a sign of a leak.
- Refrigerant handling: Refrigerant is a hazardous substance, and handling it requires specialized equipment and training. If you suspect a refrigerant leak, do not attempt to repair it yourself. Contact a qualified HVAC technician immediately.
Step 8: Check the Fan Motor and Blades
A malfunctioning fan can reduce airflow and contribute to icing.
- Inspect the fan blades: Check the fan blades for any damage, such as cracks or bends. Ensure that the blades are securely attached to the motor shaft.
- Spin the fan: With the power off, try spinning the fan blades by hand. They should spin freely without any resistance or wobbling.
- Listen to the fan motor: When the system is running, listen to the fan motor for any unusual noises, such as grinding or squealing. These noises could indicate a failing fan motor.
- Fan motor replacement: Replacing a fan motor involves electrical connections and requires some mechanical aptitude. If you're not comfortable with this task, it's best to call a qualified HVAC technician.
When to Call a Professional
While many of the above steps can be performed safely by homeowners, certain repairs require specialized knowledge and tools. It's crucial to know when to call a qualified HVAC technician.
Call a professional if:
- You suspect a refrigerant leak.
- The defrost cycle is not working correctly.
- You need to replace the defrost sensor, defrost timer, or defrost control board.
- You need to replace the fan motor.
- You suspect an electrical problem.
- You're not comfortable performing any of the troubleshooting steps.
- The unit continues to freeze up after you've tried the above steps.
Preventative Maintenance
Preventing mini-split freezing is often easier than fixing it. Regular maintenance can help to keep your system running efficiently and prevent problems.
- Regular cleaning: Clean the outdoor coil and indoor air filter regularly.
- Clear obstructions: Keep the area around the outdoor unit clear of obstructions.
- Professional inspection: Schedule a professional inspection and maintenance check at least once a year. This will help to identify potential problems early and prevent them from becoming major issues.
Conclusion
A frozen mini-split in winter can be frustrating, but by following this troubleshooting guide, you can often identify and address the problem yourself. Remember to prioritize safety and know when to call a professional. With regular maintenance and prompt attention to issues, you can keep your mini-split system running efficiently and comfortably for years to come. Remember, attempting repairs beyond your skill level can be dangerous and could potentially void your warranty. When in doubt, always call a qualified HVAC technician.