Mini Split Has Power But Won't Turn On

One of the most frustrating experiences for any homeowner is when their mini-split system, seemingly humming with power, refuses to actually turn on and provide heating or cooling. The unit is plugged in, the lights are on, but nothing happens when you press the power button. This can be especially concerning during extreme weather. This article will guide you through a systematic troubleshooting process to identify the cause and potentially resolve the issue yourself.
Initial Checks – No Tools Required
Before diving into more complex diagnostics, let's start with the simplest and most common culprits. These checks require no tools and can often resolve the problem quickly.
1. Confirm Power to the Unit
While you might see lights on the indoor unit, it's crucial to ensure the system is receiving consistent power. Check the following:
- Power Cord/Plug: Make sure the power cord is securely plugged into the outlet. Sometimes, it can be partially dislodged without being immediately obvious.
- Outlet Functionality: Test the outlet with another appliance (like a lamp) to verify it's working. If the outlet isn't providing power, check the circuit breaker.
- Circuit Breaker: Locate the circuit breaker associated with your mini-split. It's usually labeled. Ensure the breaker is not tripped (in the "off" or middle position). If tripped, reset it by switching it completely off and then back on. If the breaker trips repeatedly, do not continue to reset it. This indicates a serious electrical problem and requires a qualified electrician.
2. Remote Control Issues
The remote control is the primary interface for your mini-split. Problems with the remote are a frequent cause of the "won't turn on" issue. Here's what to check:
- Batteries: Replace the batteries with fresh ones. Weak batteries are a common culprit, even if the remote displays information.
- Remote Display: Ensure the remote display is working and not blank or showing error messages.
- Direct Line of Sight: Make sure there's a clear, unobstructed line of sight between the remote control and the indoor unit's receiver. Obstacles like furniture, curtains, or even direct sunlight can interfere with the signal.
- Remote Settings: Verify the remote is set to the correct mode (heat, cool, auto) and temperature. Sometimes, a simple setting error can prevent the unit from starting. Also, check if the remote is in "lock" mode or "child lock" mode which prevents it from turning the unit on.
- Test with Mobile App (If Applicable): If your mini-split has smart features and a mobile app, try controlling the unit through the app. This can help determine if the problem lies with the remote itself.
3. Check the Thermostat Setting and Mode
Ensure the thermostat is set to a temperature that will actually trigger the unit to turn on. For example, if you're trying to cool the room, the thermostat setting should be lower than the current room temperature. Similarly, for heating, the thermostat setting should be higher.
Also, verify that the unit is set to the correct mode (heat, cool, auto, dry, etc.). If it's in "fan only" mode, the compressor won't engage, and you won't get heating or cooling.
4. Air Filters - A Simple Obstruction
While not directly preventing the unit from turning on, excessively dirty air filters can cause the unit to overheat quickly and shut down, or prevent it from starting if the sensors detect blockage. Remove and inspect the air filters. Clean them thoroughly with water and mild soap if they are dirty. Allow them to dry completely before reinstalling.
Intermediate Checks – Basic Tools May Be Required
If the initial checks haven't resolved the issue, the following steps require some basic tools and a slightly deeper understanding of your mini-split system.
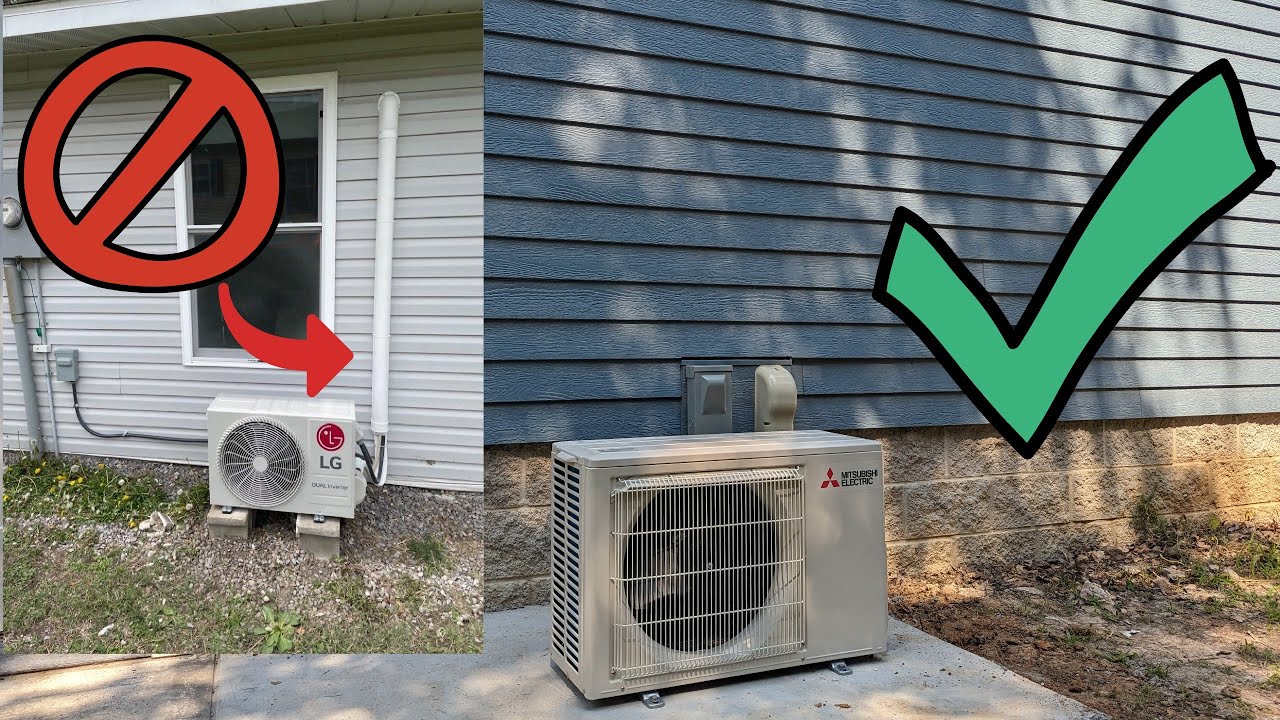
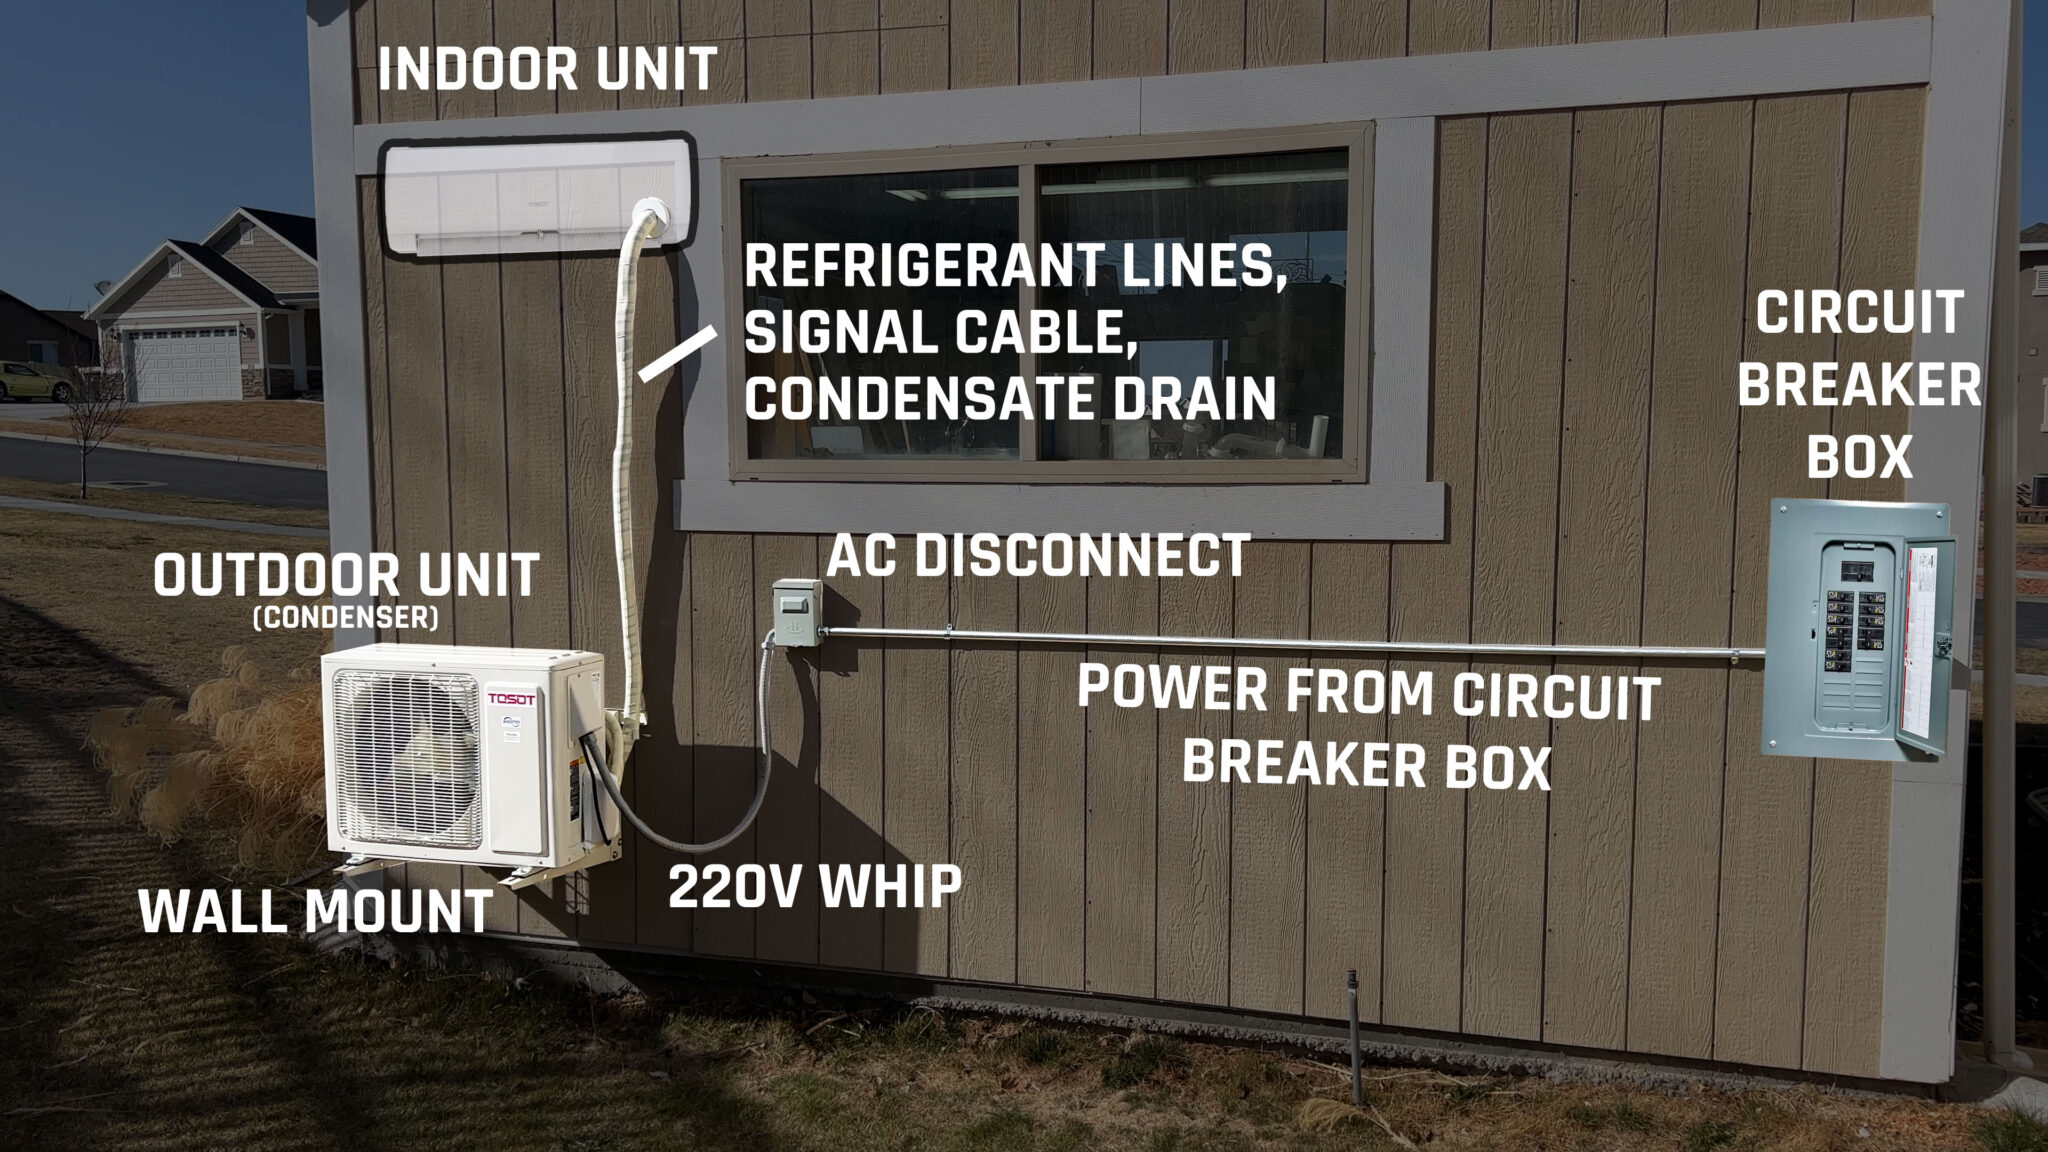
1. Inspect the Outdoor Unit (Condenser)
The outdoor unit is just as important as the indoor unit. Before inspecting the outdoor unit, ensure the power to the entire system is turned off at the circuit breaker.
- Physical Obstructions: Check for any physical obstructions around the outdoor unit, such as leaves, branches, snow, or debris. Ensure there's adequate airflow around the unit. Clear away any obstructions carefully.
- Fan Blades: Inspect the fan blades for damage or obstruction. If a blade is bent or blocked, it can prevent the fan from spinning, leading to overheating and shutdown. Do not attempt to straighten bent fan blades yourself; this can damage the motor.
- Condenser Fins: The condenser fins (the thin metal plates surrounding the unit) can become bent or damaged. Gently straighten any bent fins with a fin comb tool (available at most hardware stores). This will improve airflow and efficiency.
- Disconnect Switch: Many outdoor units have a disconnect switch located near the unit. Ensure this switch is in the "on" position.
2. Voltage Testing (Requires a Multimeter)
This step requires a multimeter and some basic electrical knowledge. If you're not comfortable working with electricity, skip this step and contact a qualified HVAC technician.
With the power on (exercise extreme caution), use a multimeter to test the voltage at the outdoor unit's disconnect switch or the indoor unit's power connection (if accessible). Verify that the voltage matches the rating of the unit (usually 220V or 110V). A significant voltage drop could indicate a wiring problem or a faulty circuit breaker.
3. Checking for Error Codes (Consult Your Manual)
Many mini-split systems have a self-diagnostic feature that displays error codes on the indoor unit's display or on the remote control. Consult your owner's manual to understand the meaning of any error codes you see. The manual will provide specific troubleshooting steps for each code.
4. Capacitor Check (Requires a Multimeter and Caution)
This step is best left to a qualified technician, as capacitors can store a dangerous electrical charge even after the unit is turned off. If you choose to proceed, exercise extreme caution and discharge the capacitor before testing.
The capacitor is a small, cylindrical component that helps start the compressor motor. A faulty capacitor is a common cause of mini-split failure. To test the capacitor, you'll need a multimeter with a capacitance testing function. Discharge the capacitor by shorting the terminals with an insulated screwdriver before testing. Compare the measured capacitance value to the value printed on the capacitor. If the measured value is significantly lower, the capacitor is likely faulty and needs to be replaced.
When to Call a Professional HVAC Technician
While many mini-split issues can be resolved with DIY troubleshooting, some problems require the expertise of a qualified HVAC technician. Call a professional if you encounter any of the following:
- Refrigerant Leaks: If you suspect a refrigerant leak (e.g., hissing sound, oily residue), do not attempt to repair it yourself. Refrigerant handling requires specialized equipment and training.
- Compressor Problems: The compressor is the heart of the mini-split system. If you suspect a compressor issue (e.g., unusual noises, failure to start), contact a professional.
- Electrical Problems: If you're not comfortable working with electricity or if you encounter any complex electrical issues (e.g., repeated circuit breaker tripping, wiring problems), do not attempt to repair it yourself.
- Error Codes You Can't Diagnose: If you're unable to understand or resolve the error codes displayed by your mini-split system, a technician can diagnose the problem and recommend the appropriate solution.
- Unit is Still Under Warranty: Attempting to repair the unit yourself while it's still under warranty may void the warranty. Contact the manufacturer or a qualified technician authorized to perform warranty repairs.
- You are unsure about any of the above steps, or feel uncomfortable performing them. It is always better to be safe and seek professional help than to risk injury or further damage to your mini-split system.
Preventative Maintenance
To minimize the risk of future problems, perform regular preventative maintenance on your mini-split system. This includes:
- Cleaning Air Filters Regularly: Clean the air filters every month or two, depending on usage and air quality.
- Cleaning the Outdoor Unit: Remove any debris or obstructions from around the outdoor unit.
- Professional Maintenance: Schedule annual or bi-annual maintenance with a qualified HVAC technician. They can inspect the system, clean the coils, check refrigerant levels, and identify any potential problems before they become major issues.
By following these troubleshooting steps and performing regular maintenance, you can keep your mini-split system running smoothly and efficiently for years to come. Remember, safety is always the priority. When in doubt, call a professional.